
This is part two of the build log, If you haven't seen part 1 click here.
After sending off all the files to the laser cutters I had to wait about 6 days after which a rather heavy, well packaged parcel turned up on my door step:
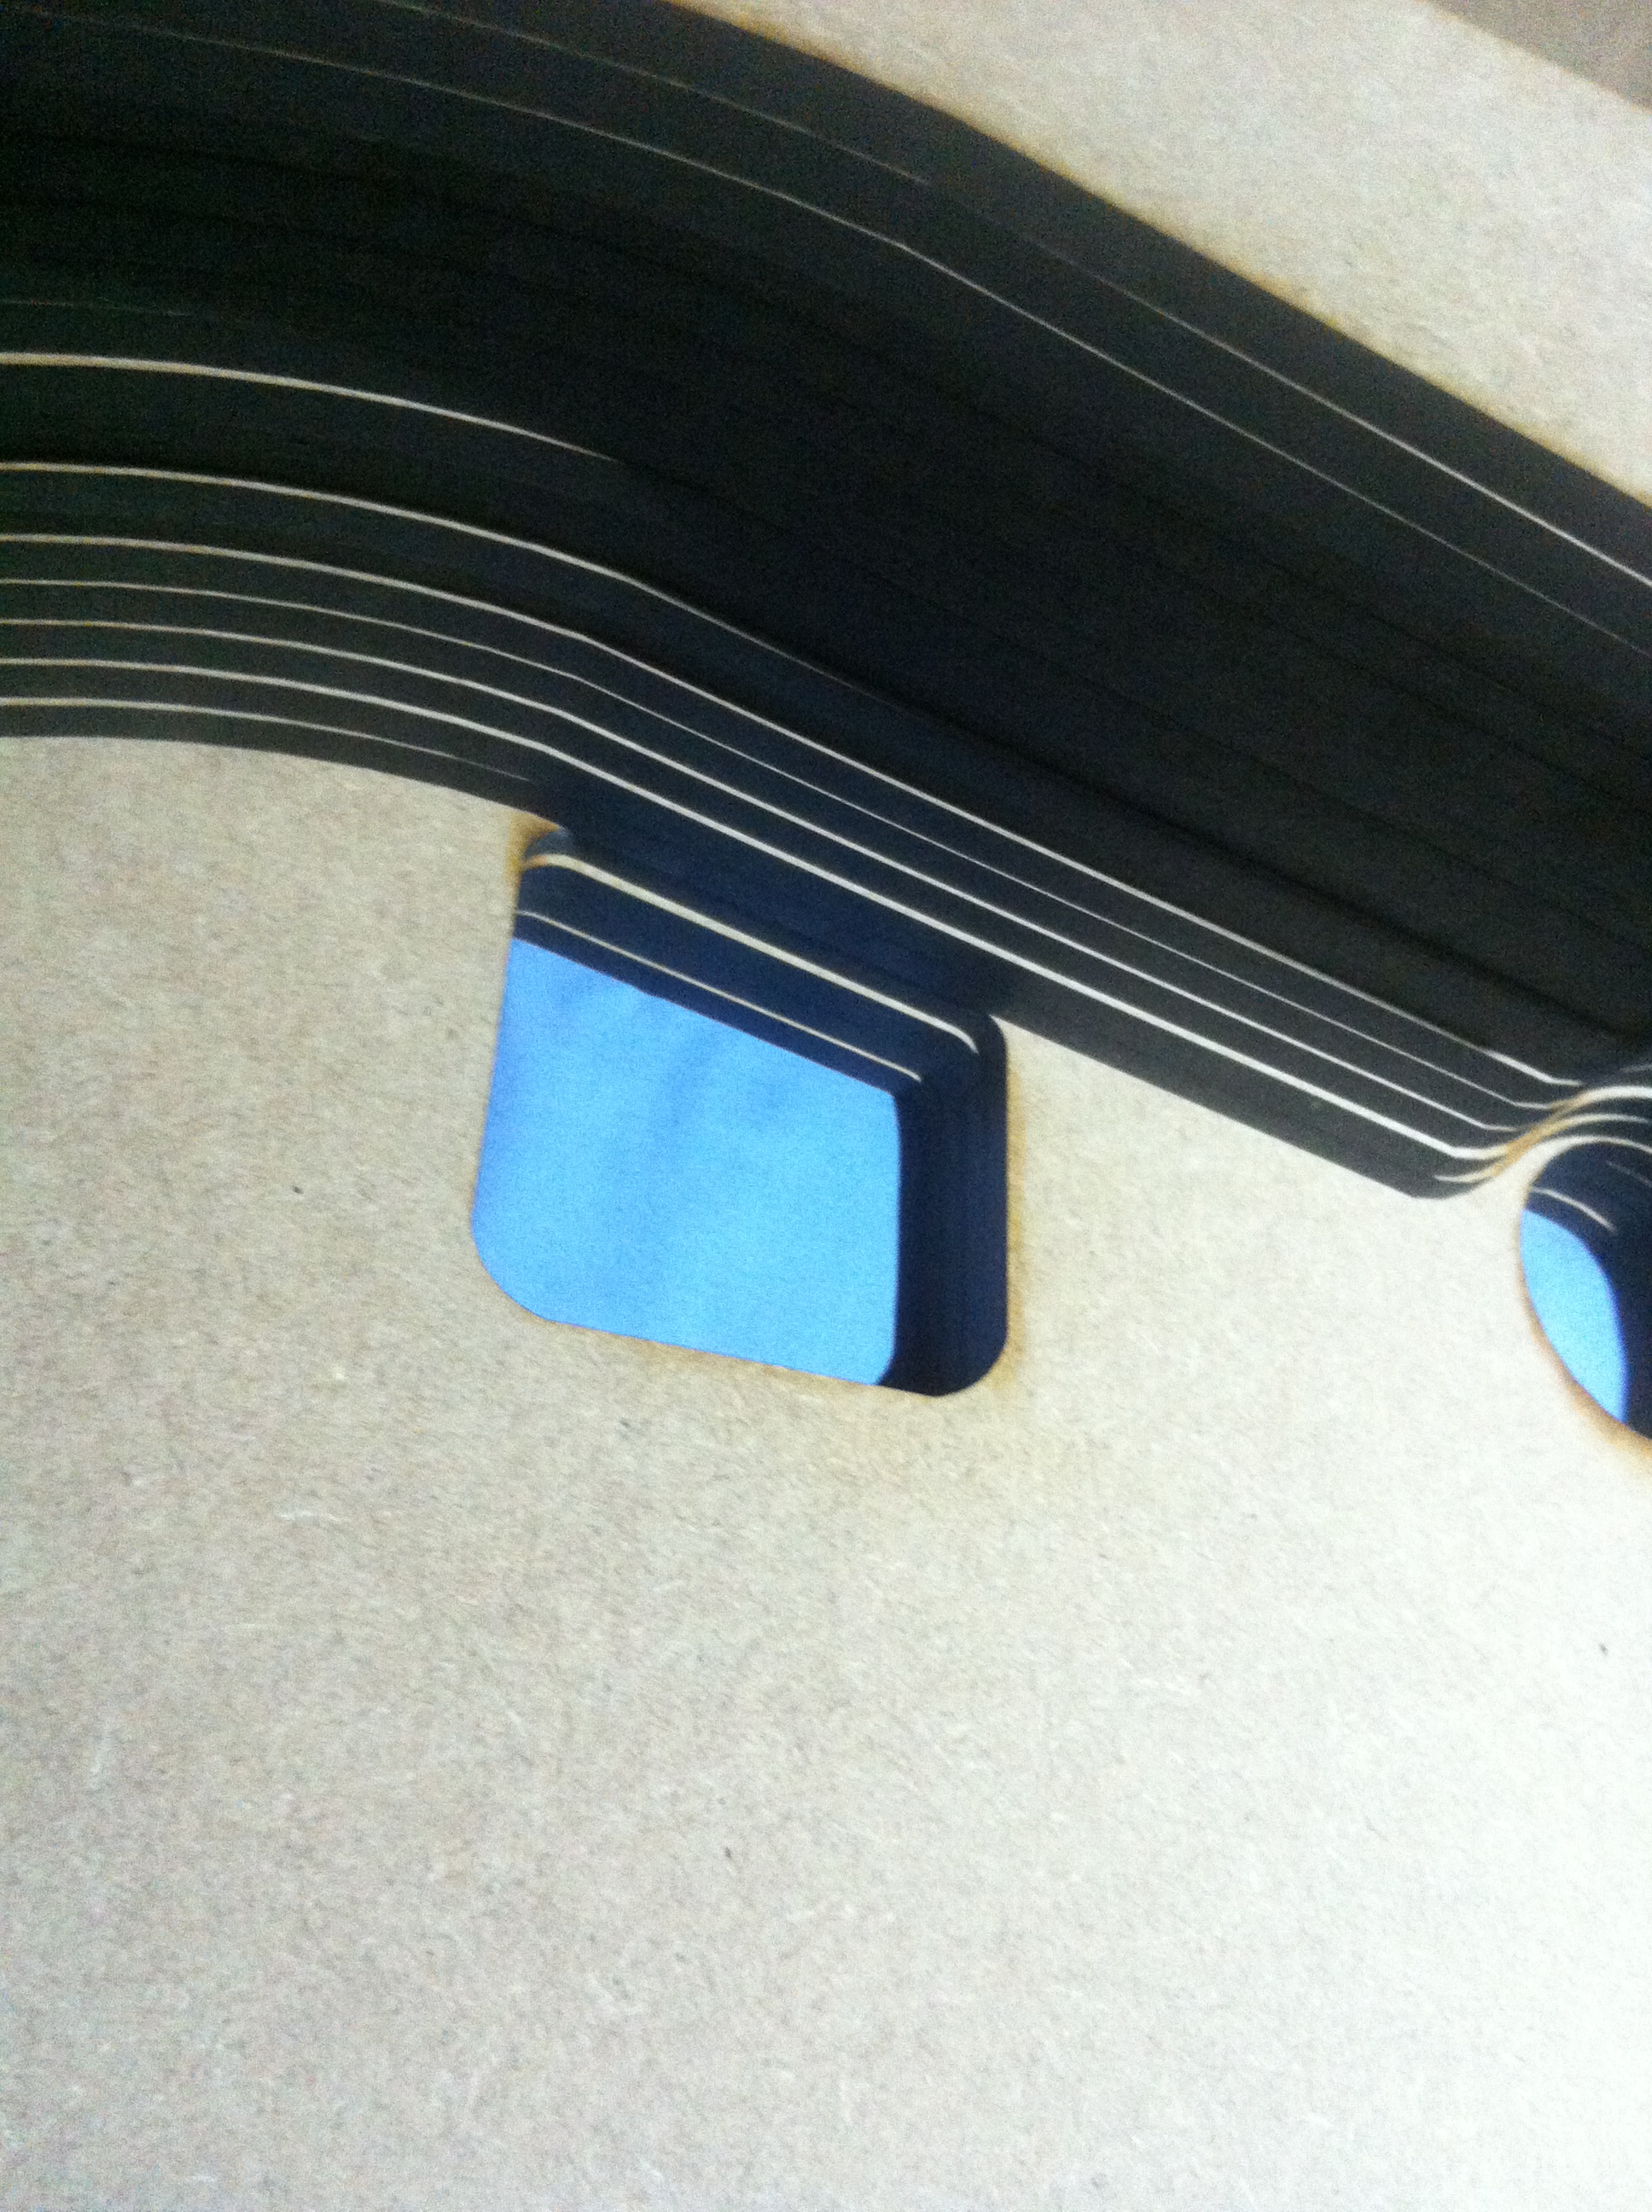
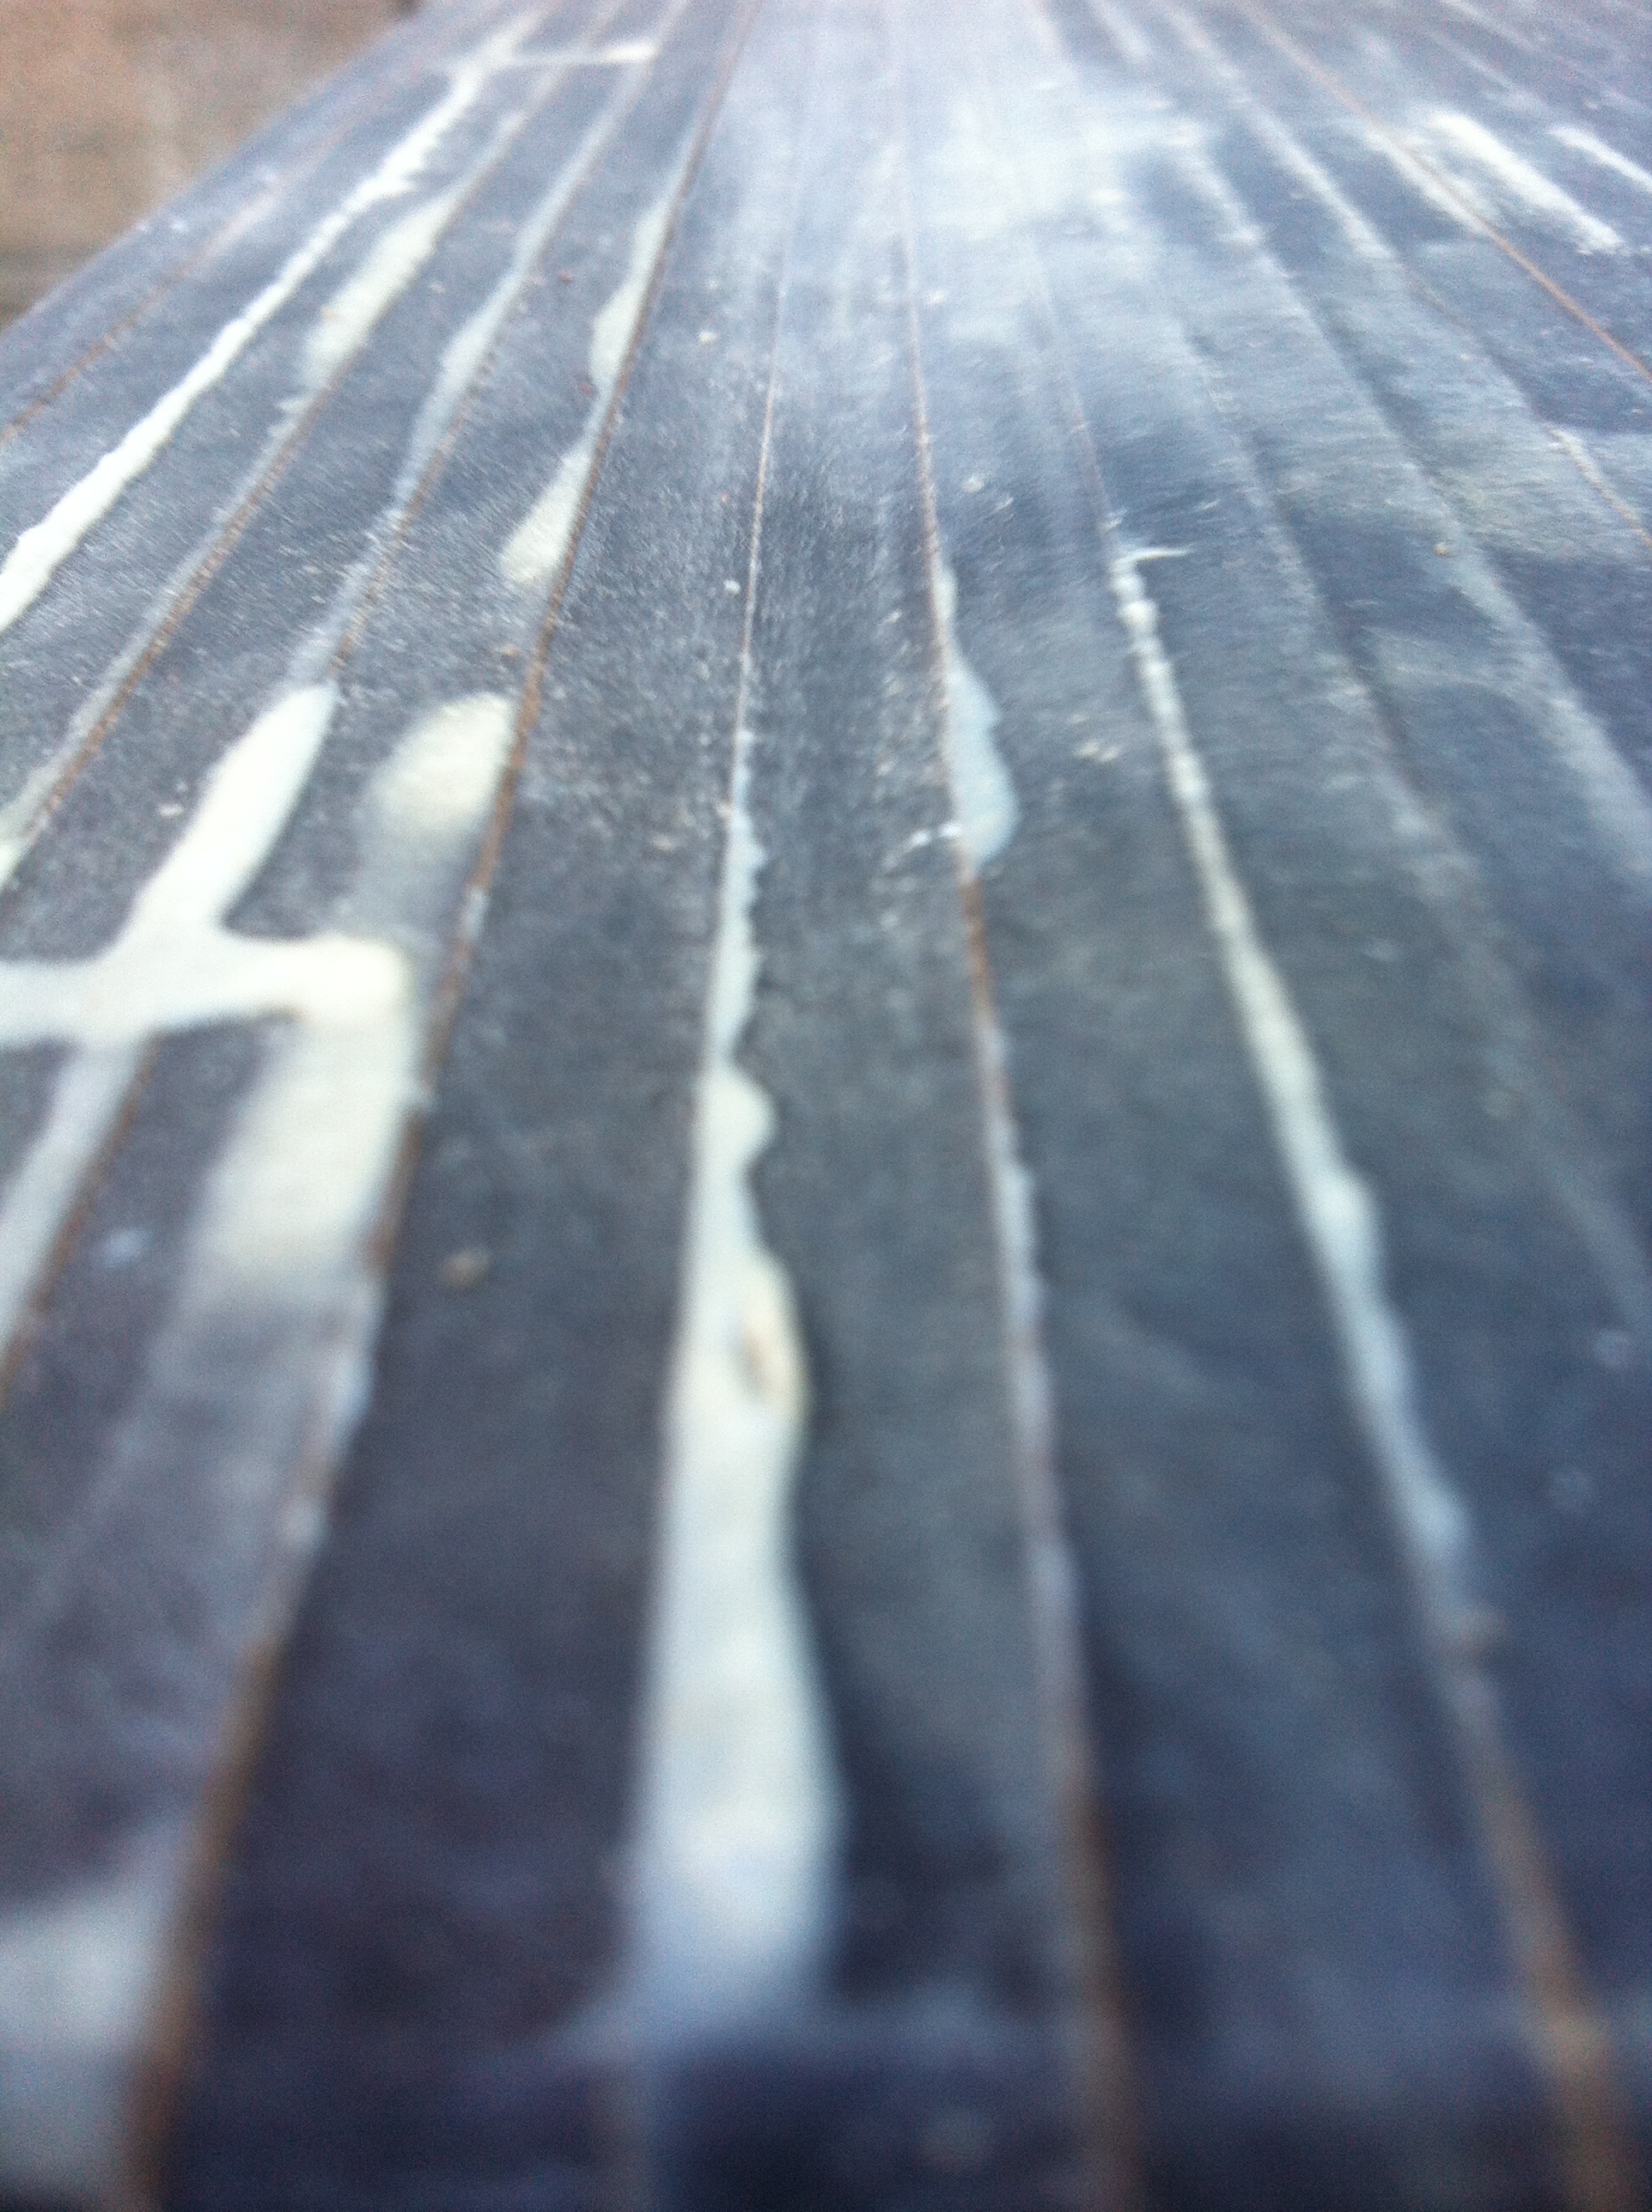
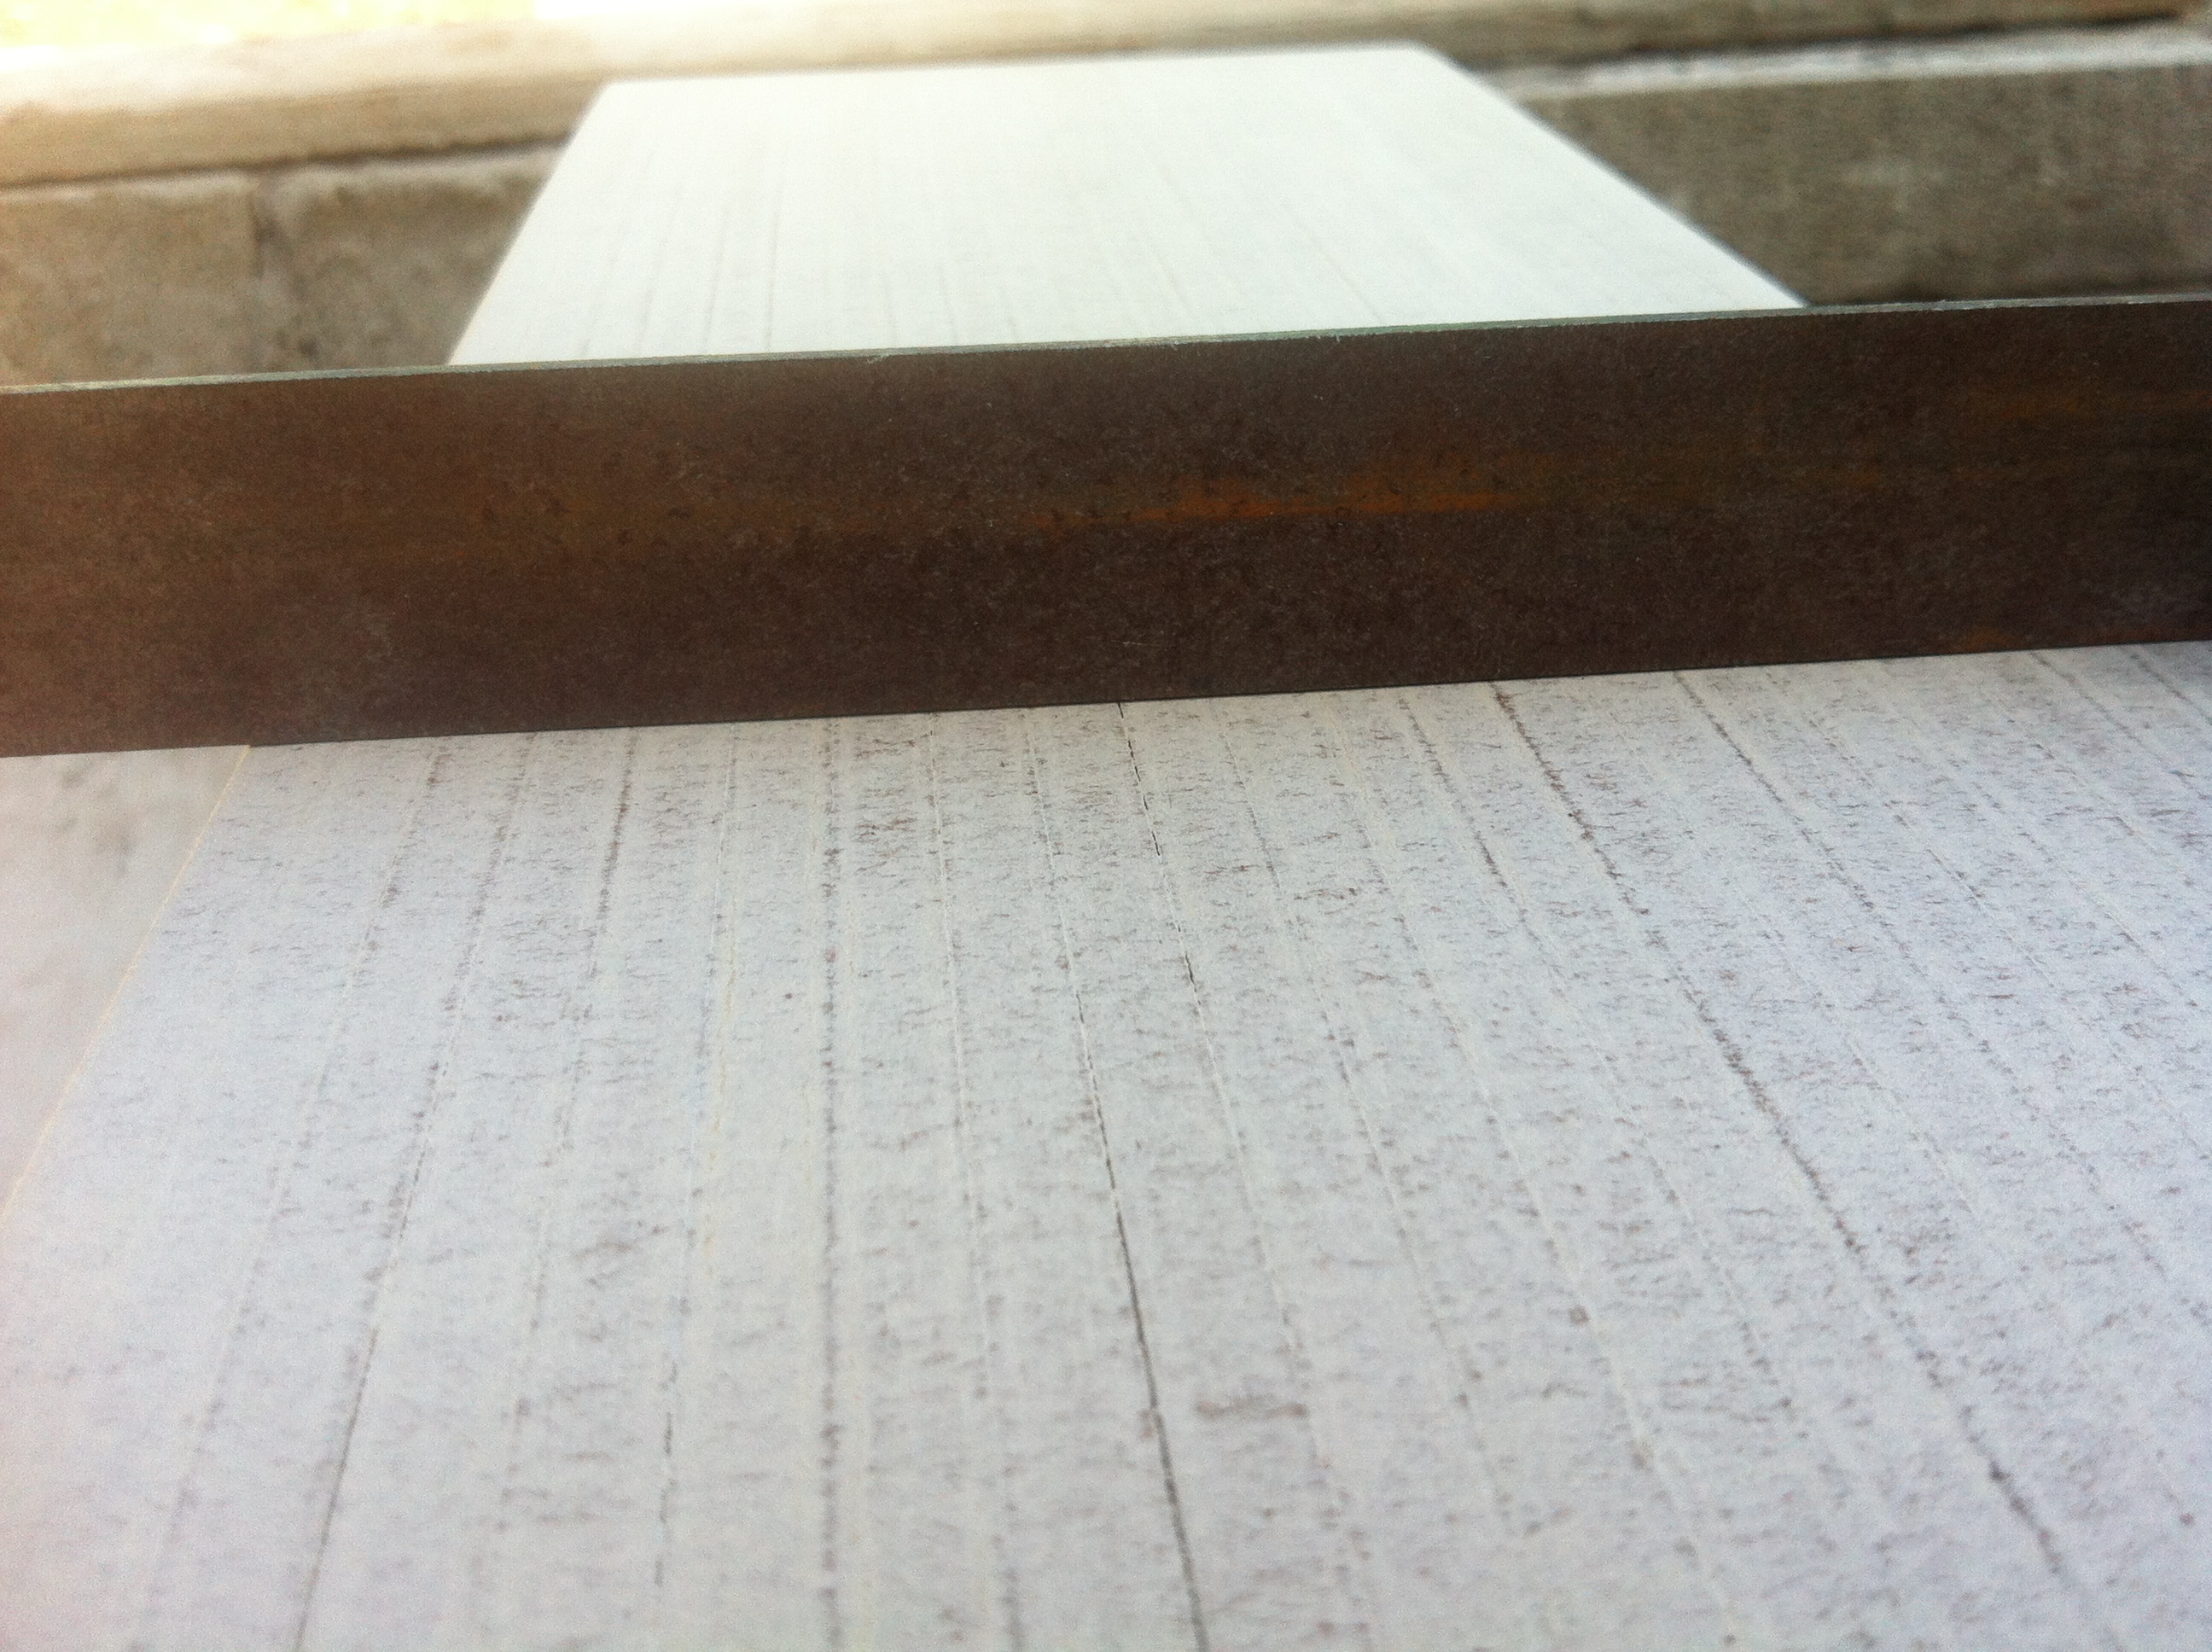
One thing i didn’t think about was how deep the laser burns were, the charcoal build up was pretty deep so It was obvious some hard core sanding of the edges will be required:
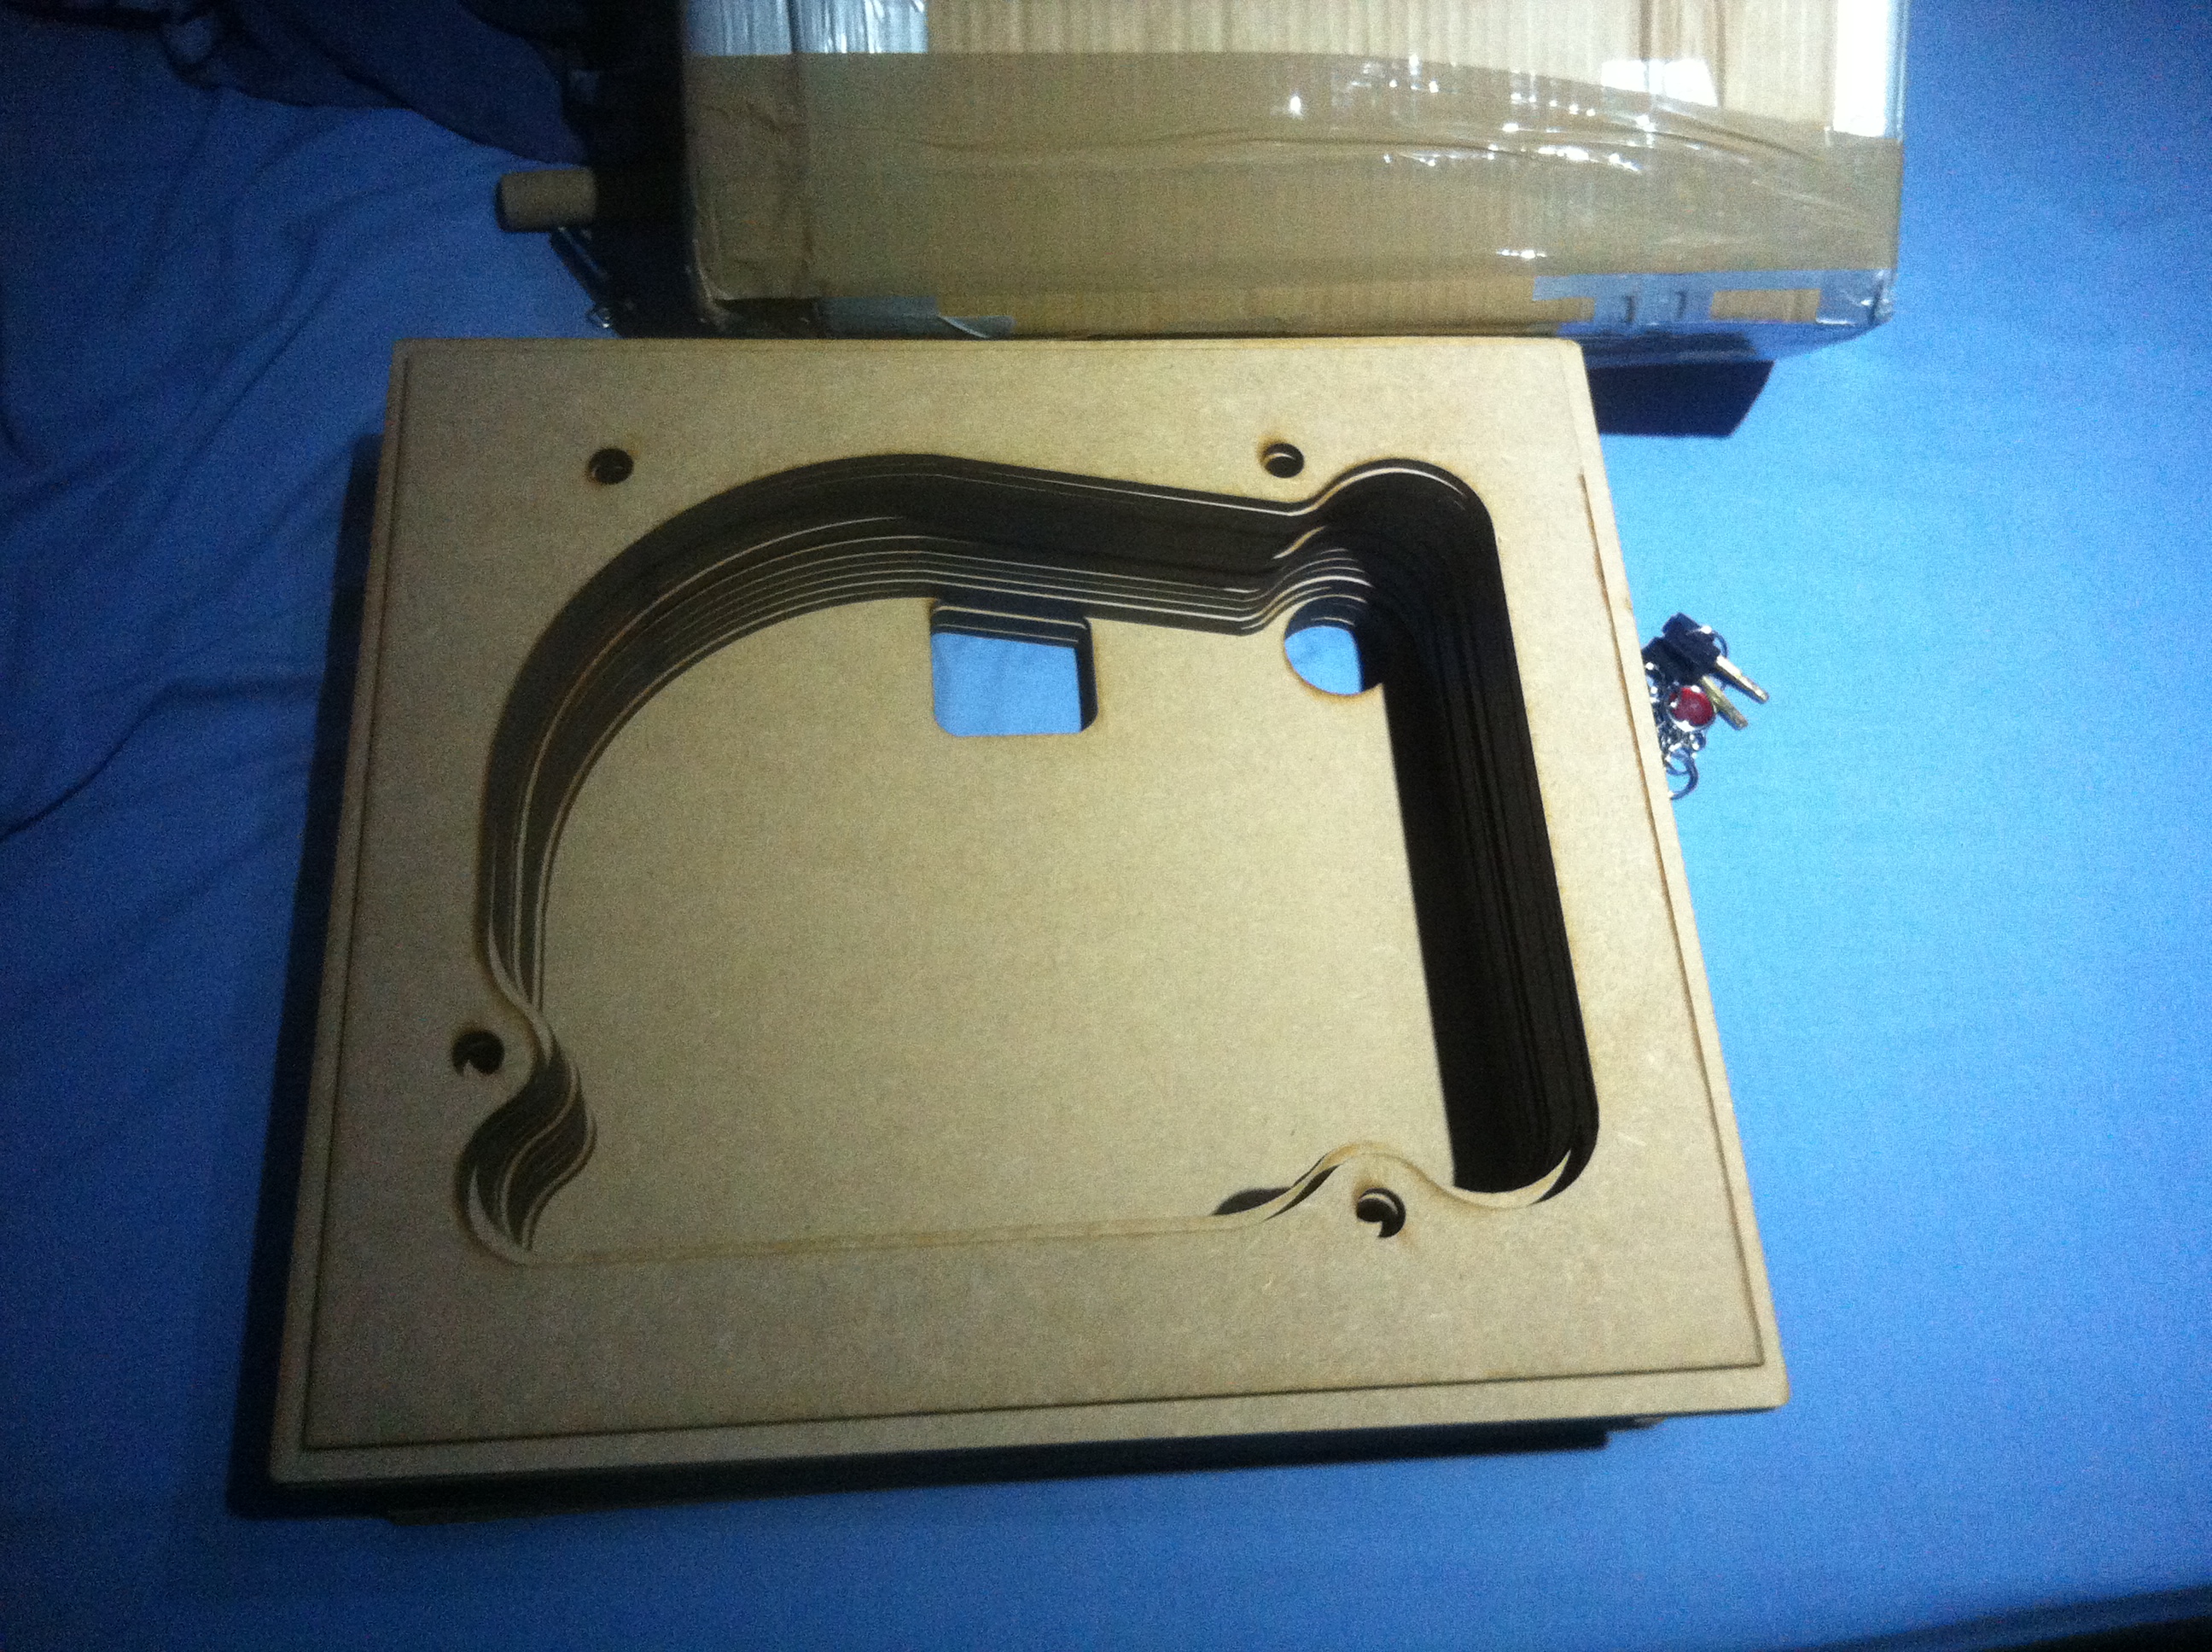
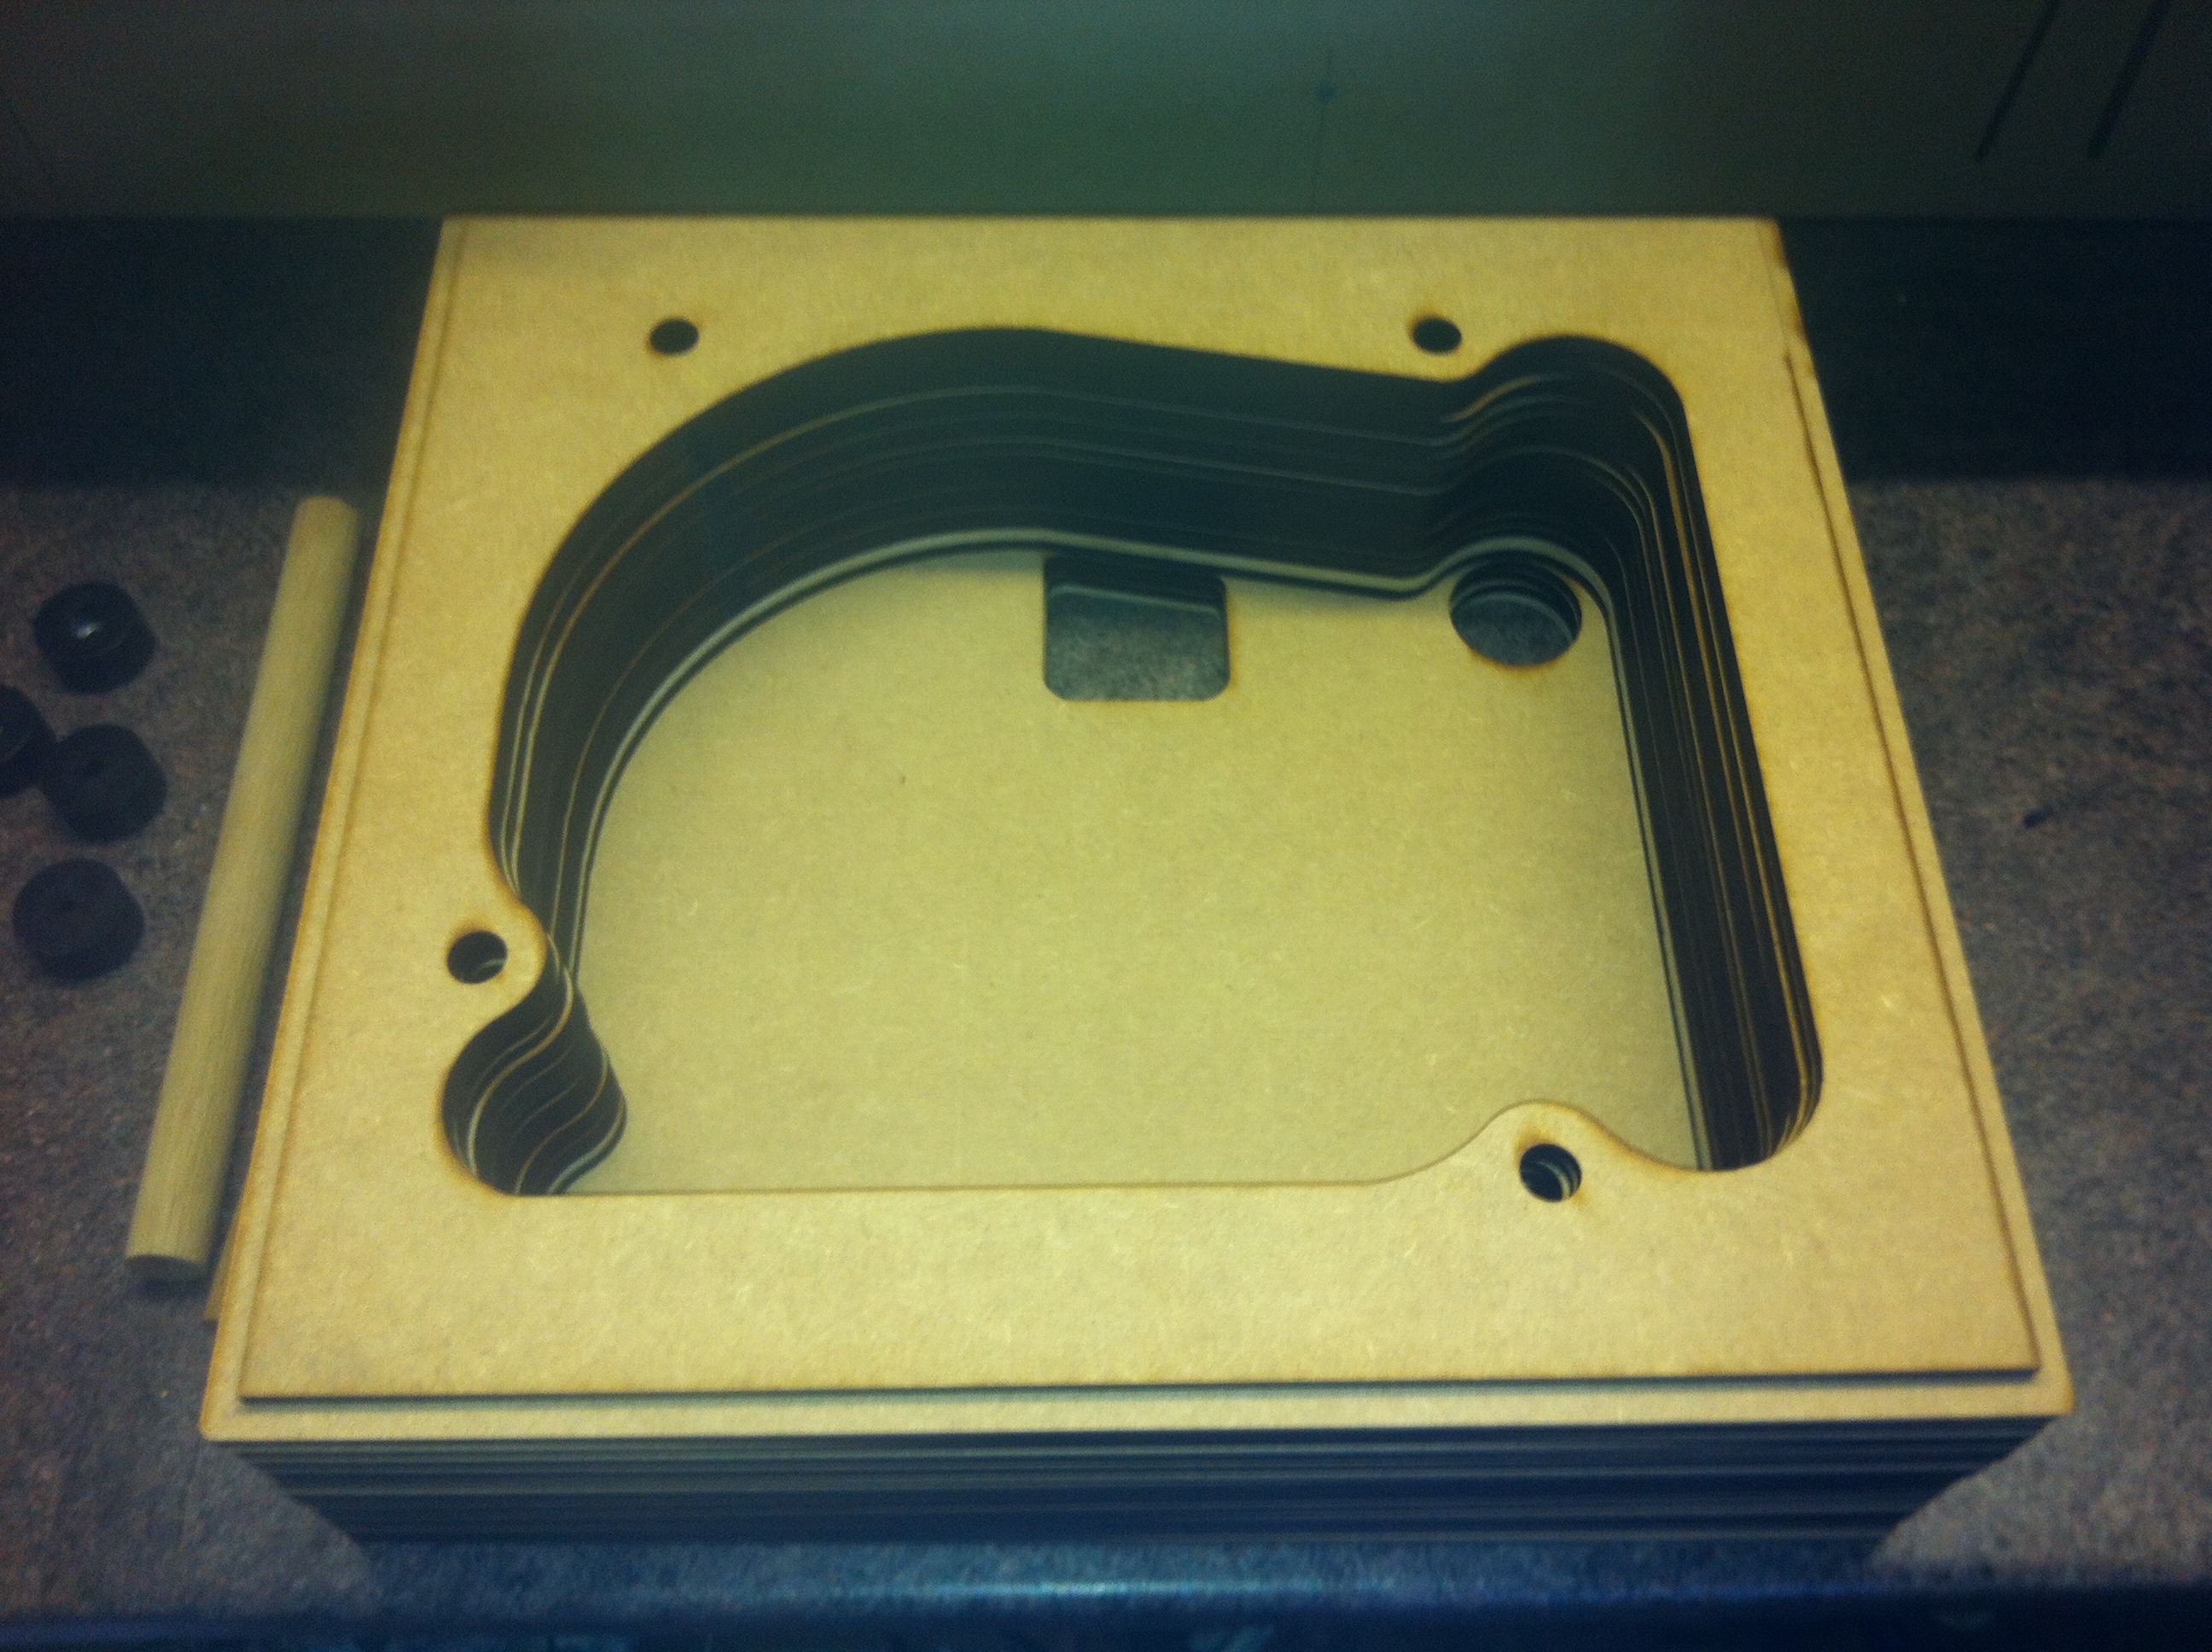
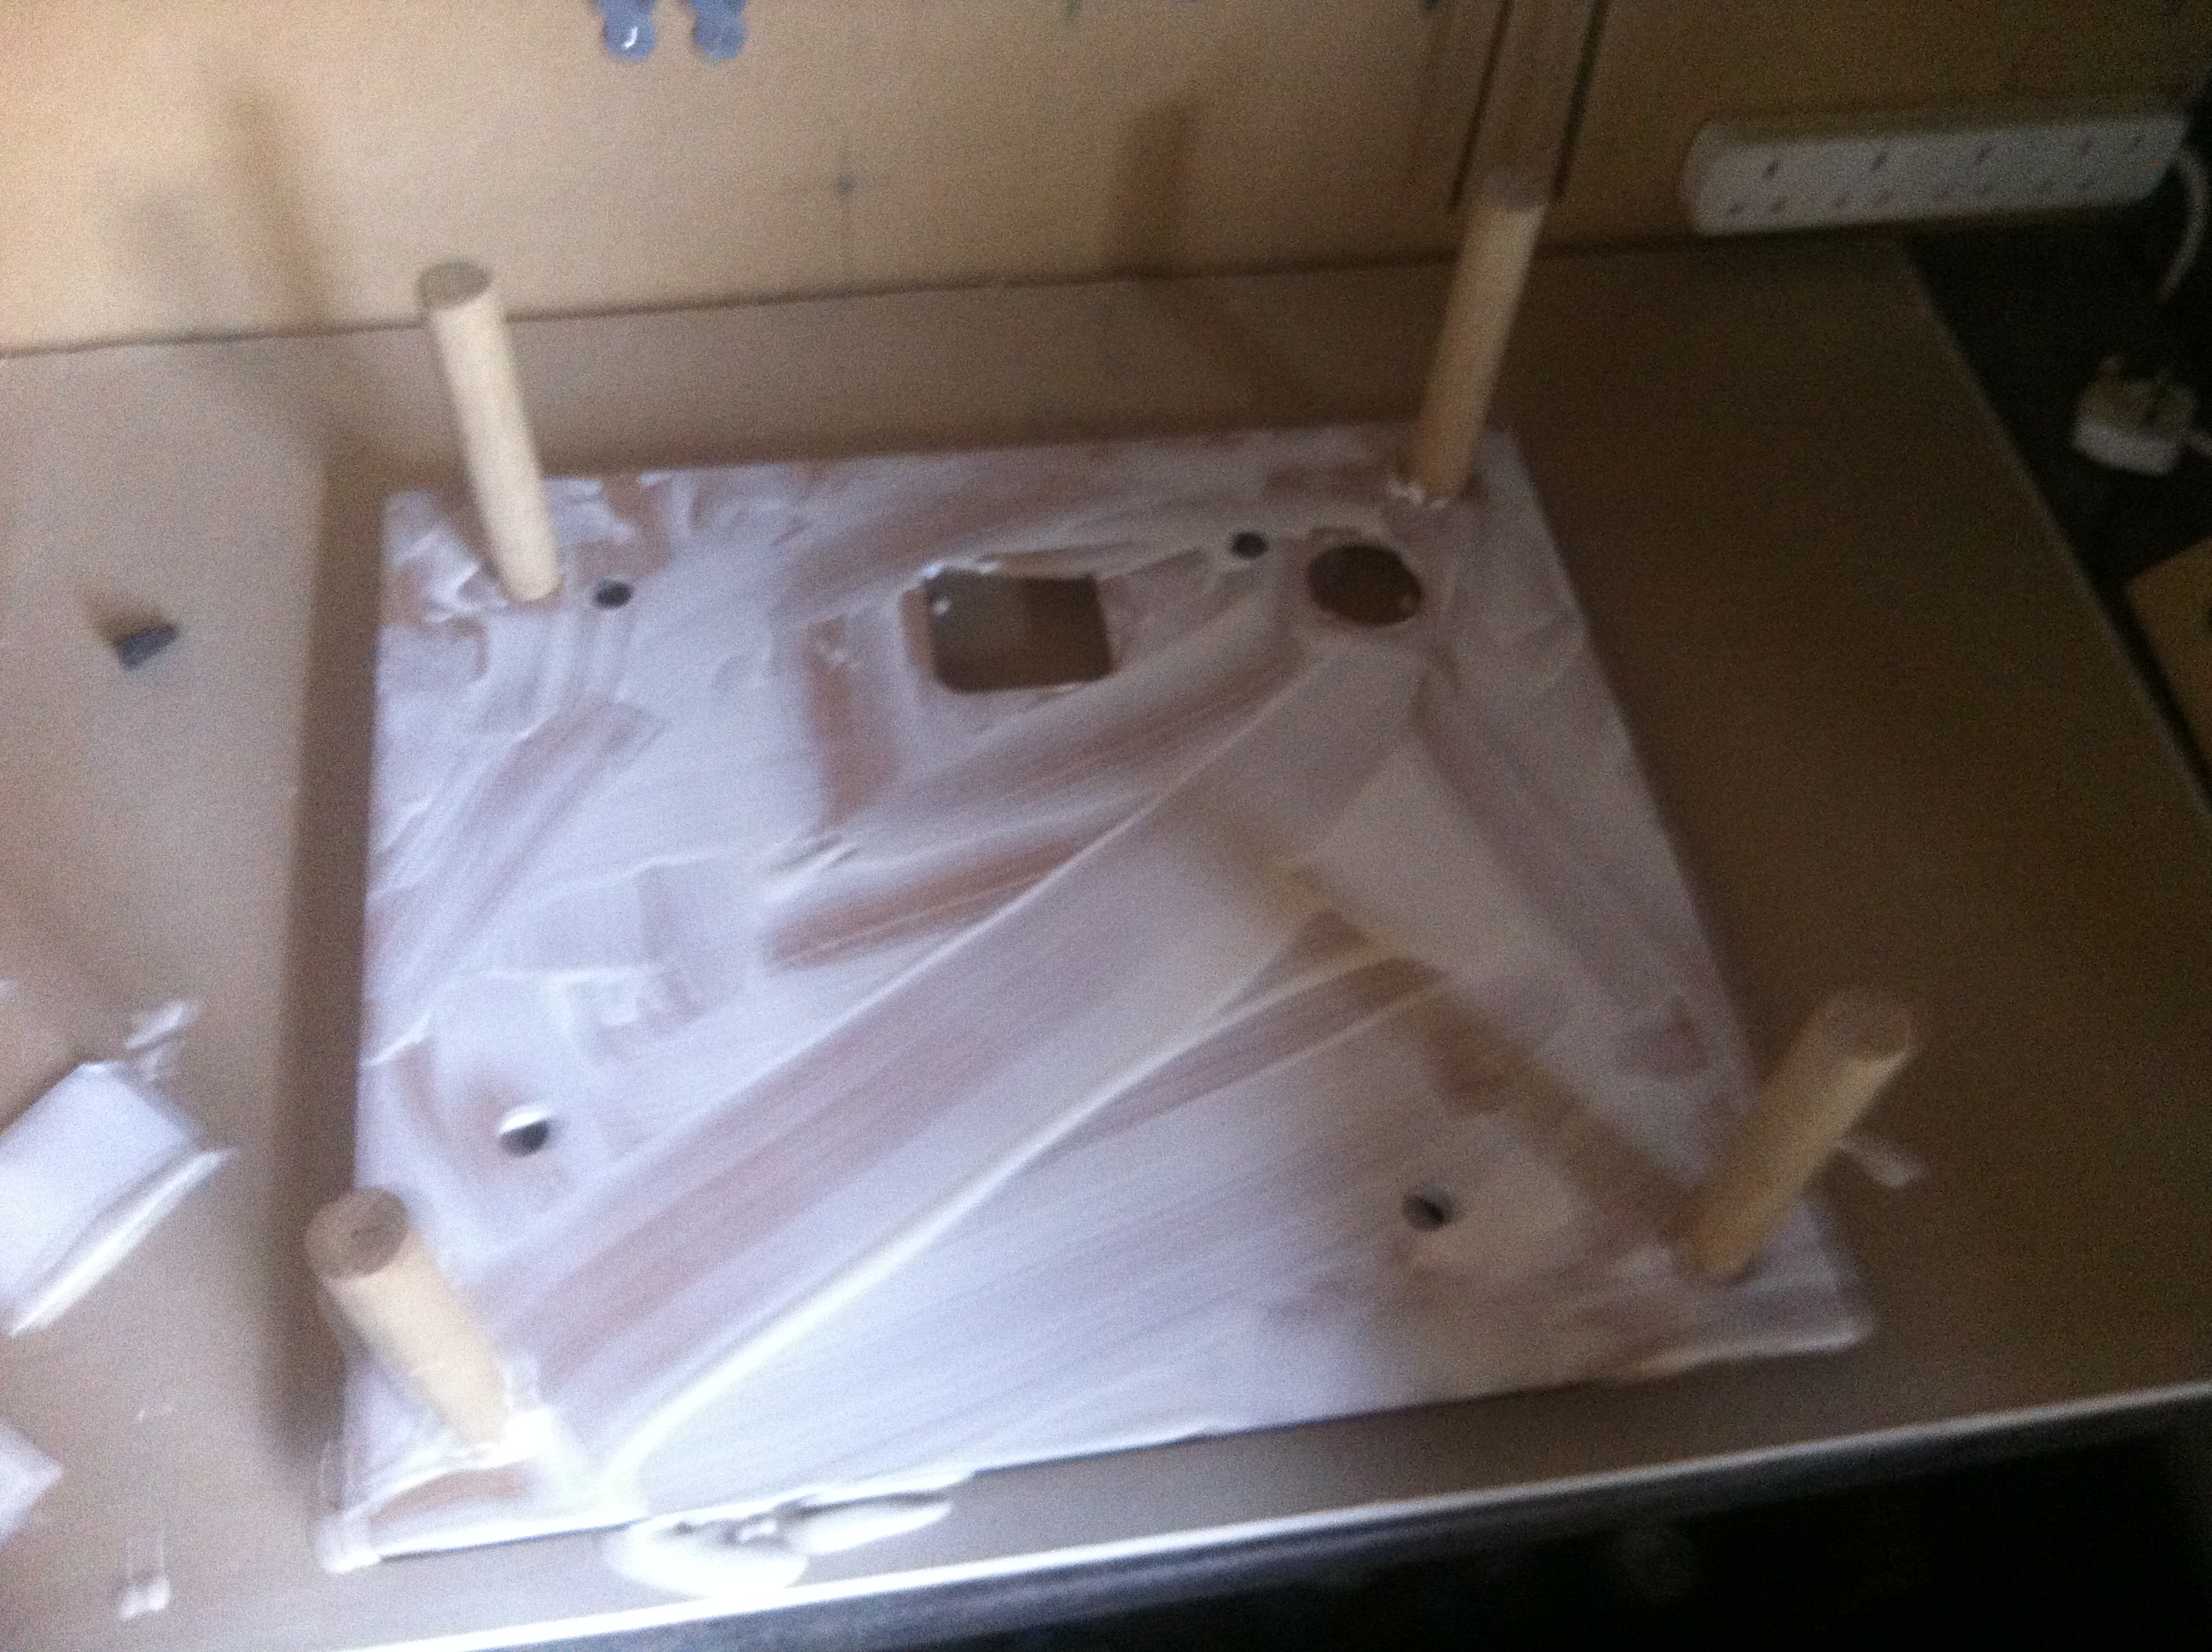
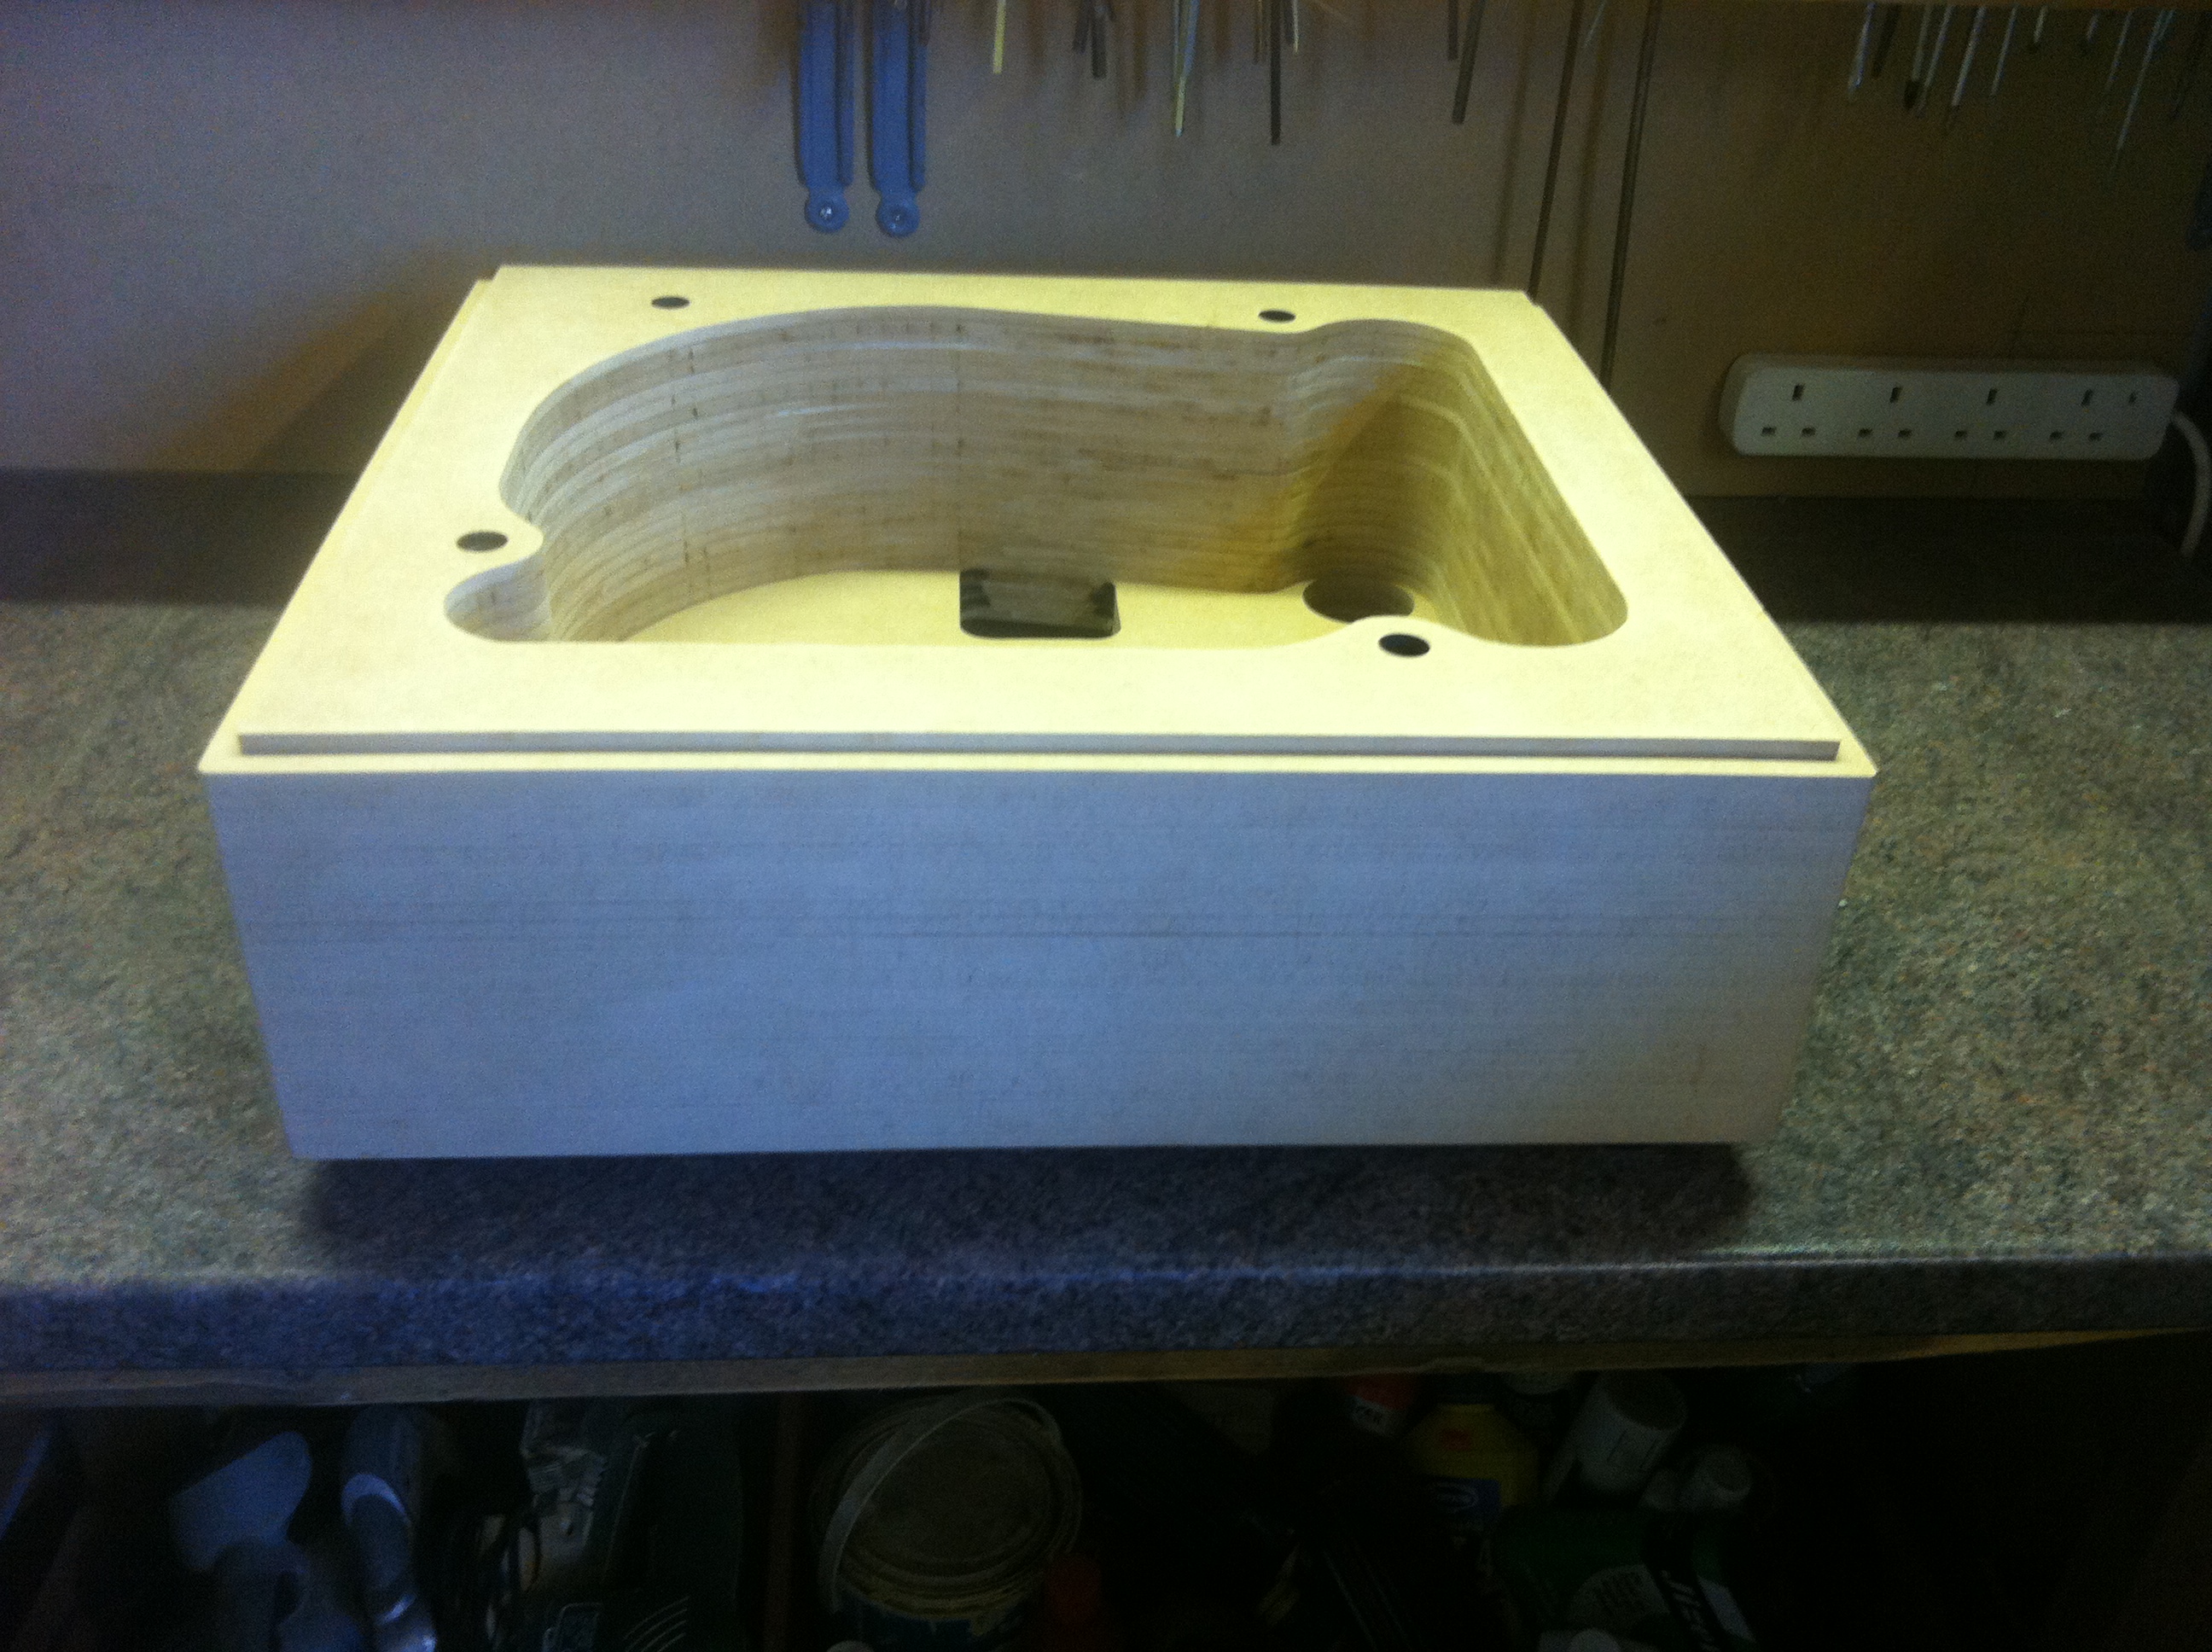
After unpacking all the pieces and inspecting those for damage I’ve stacked them up to see how it really is going to look:
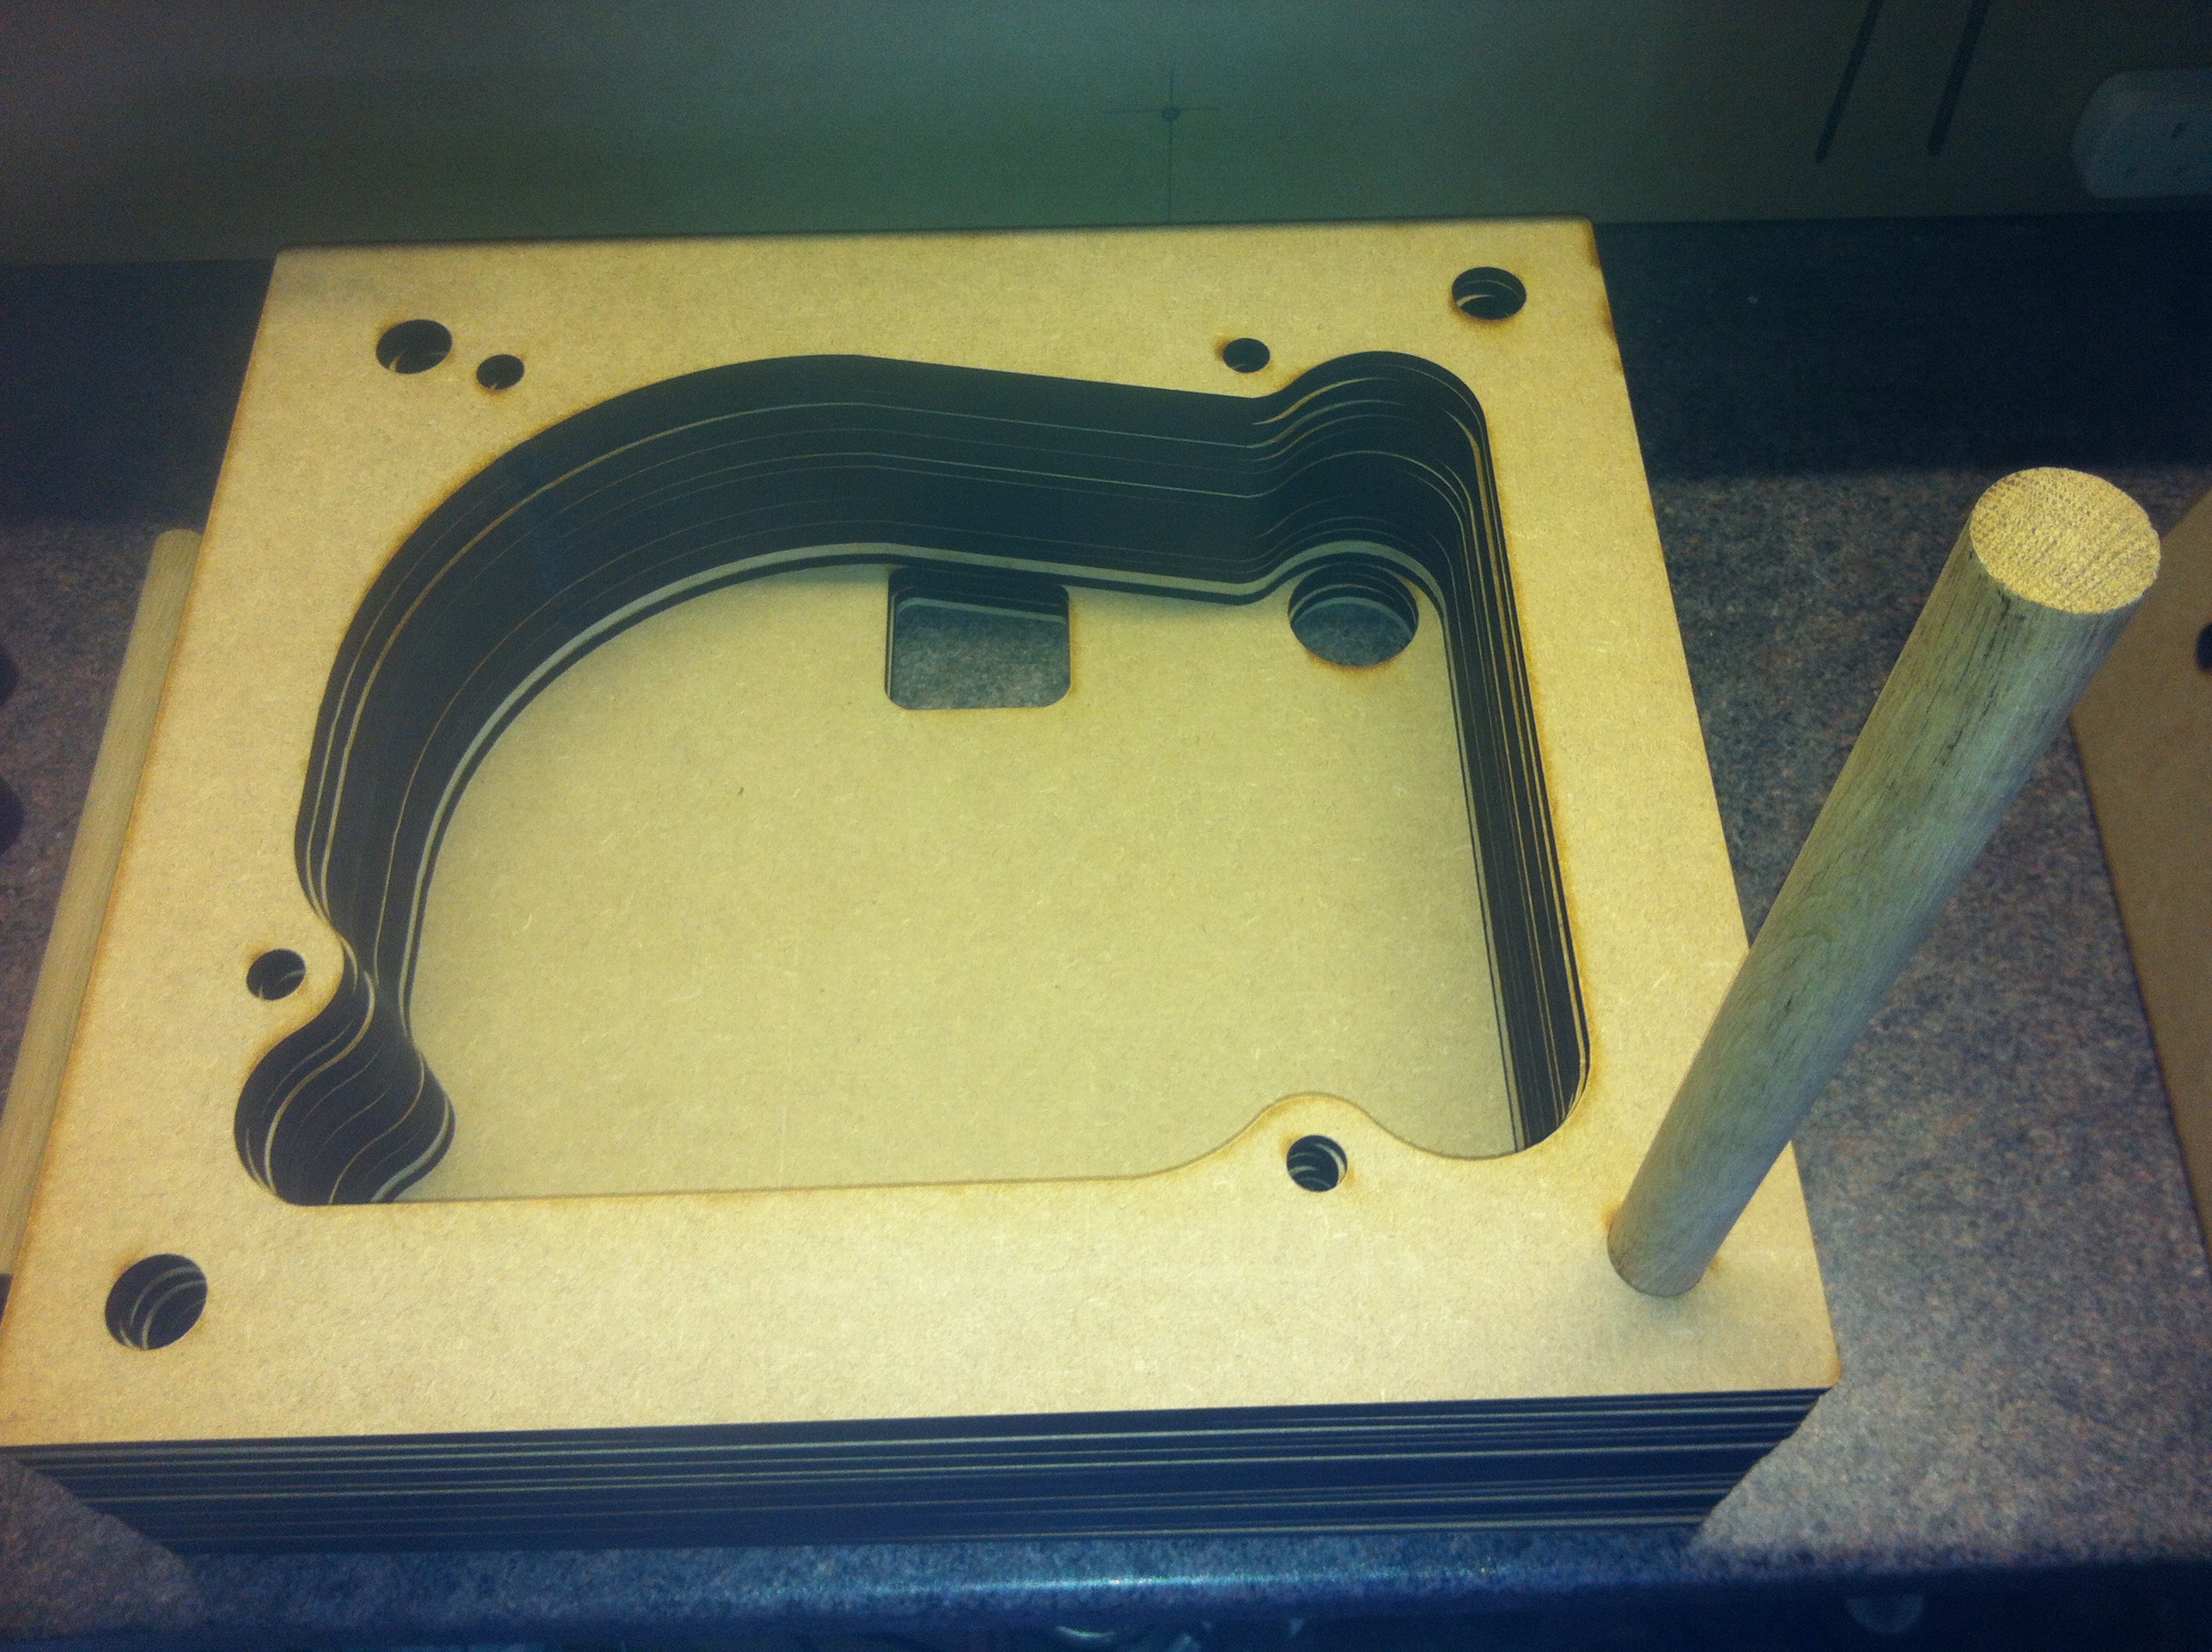
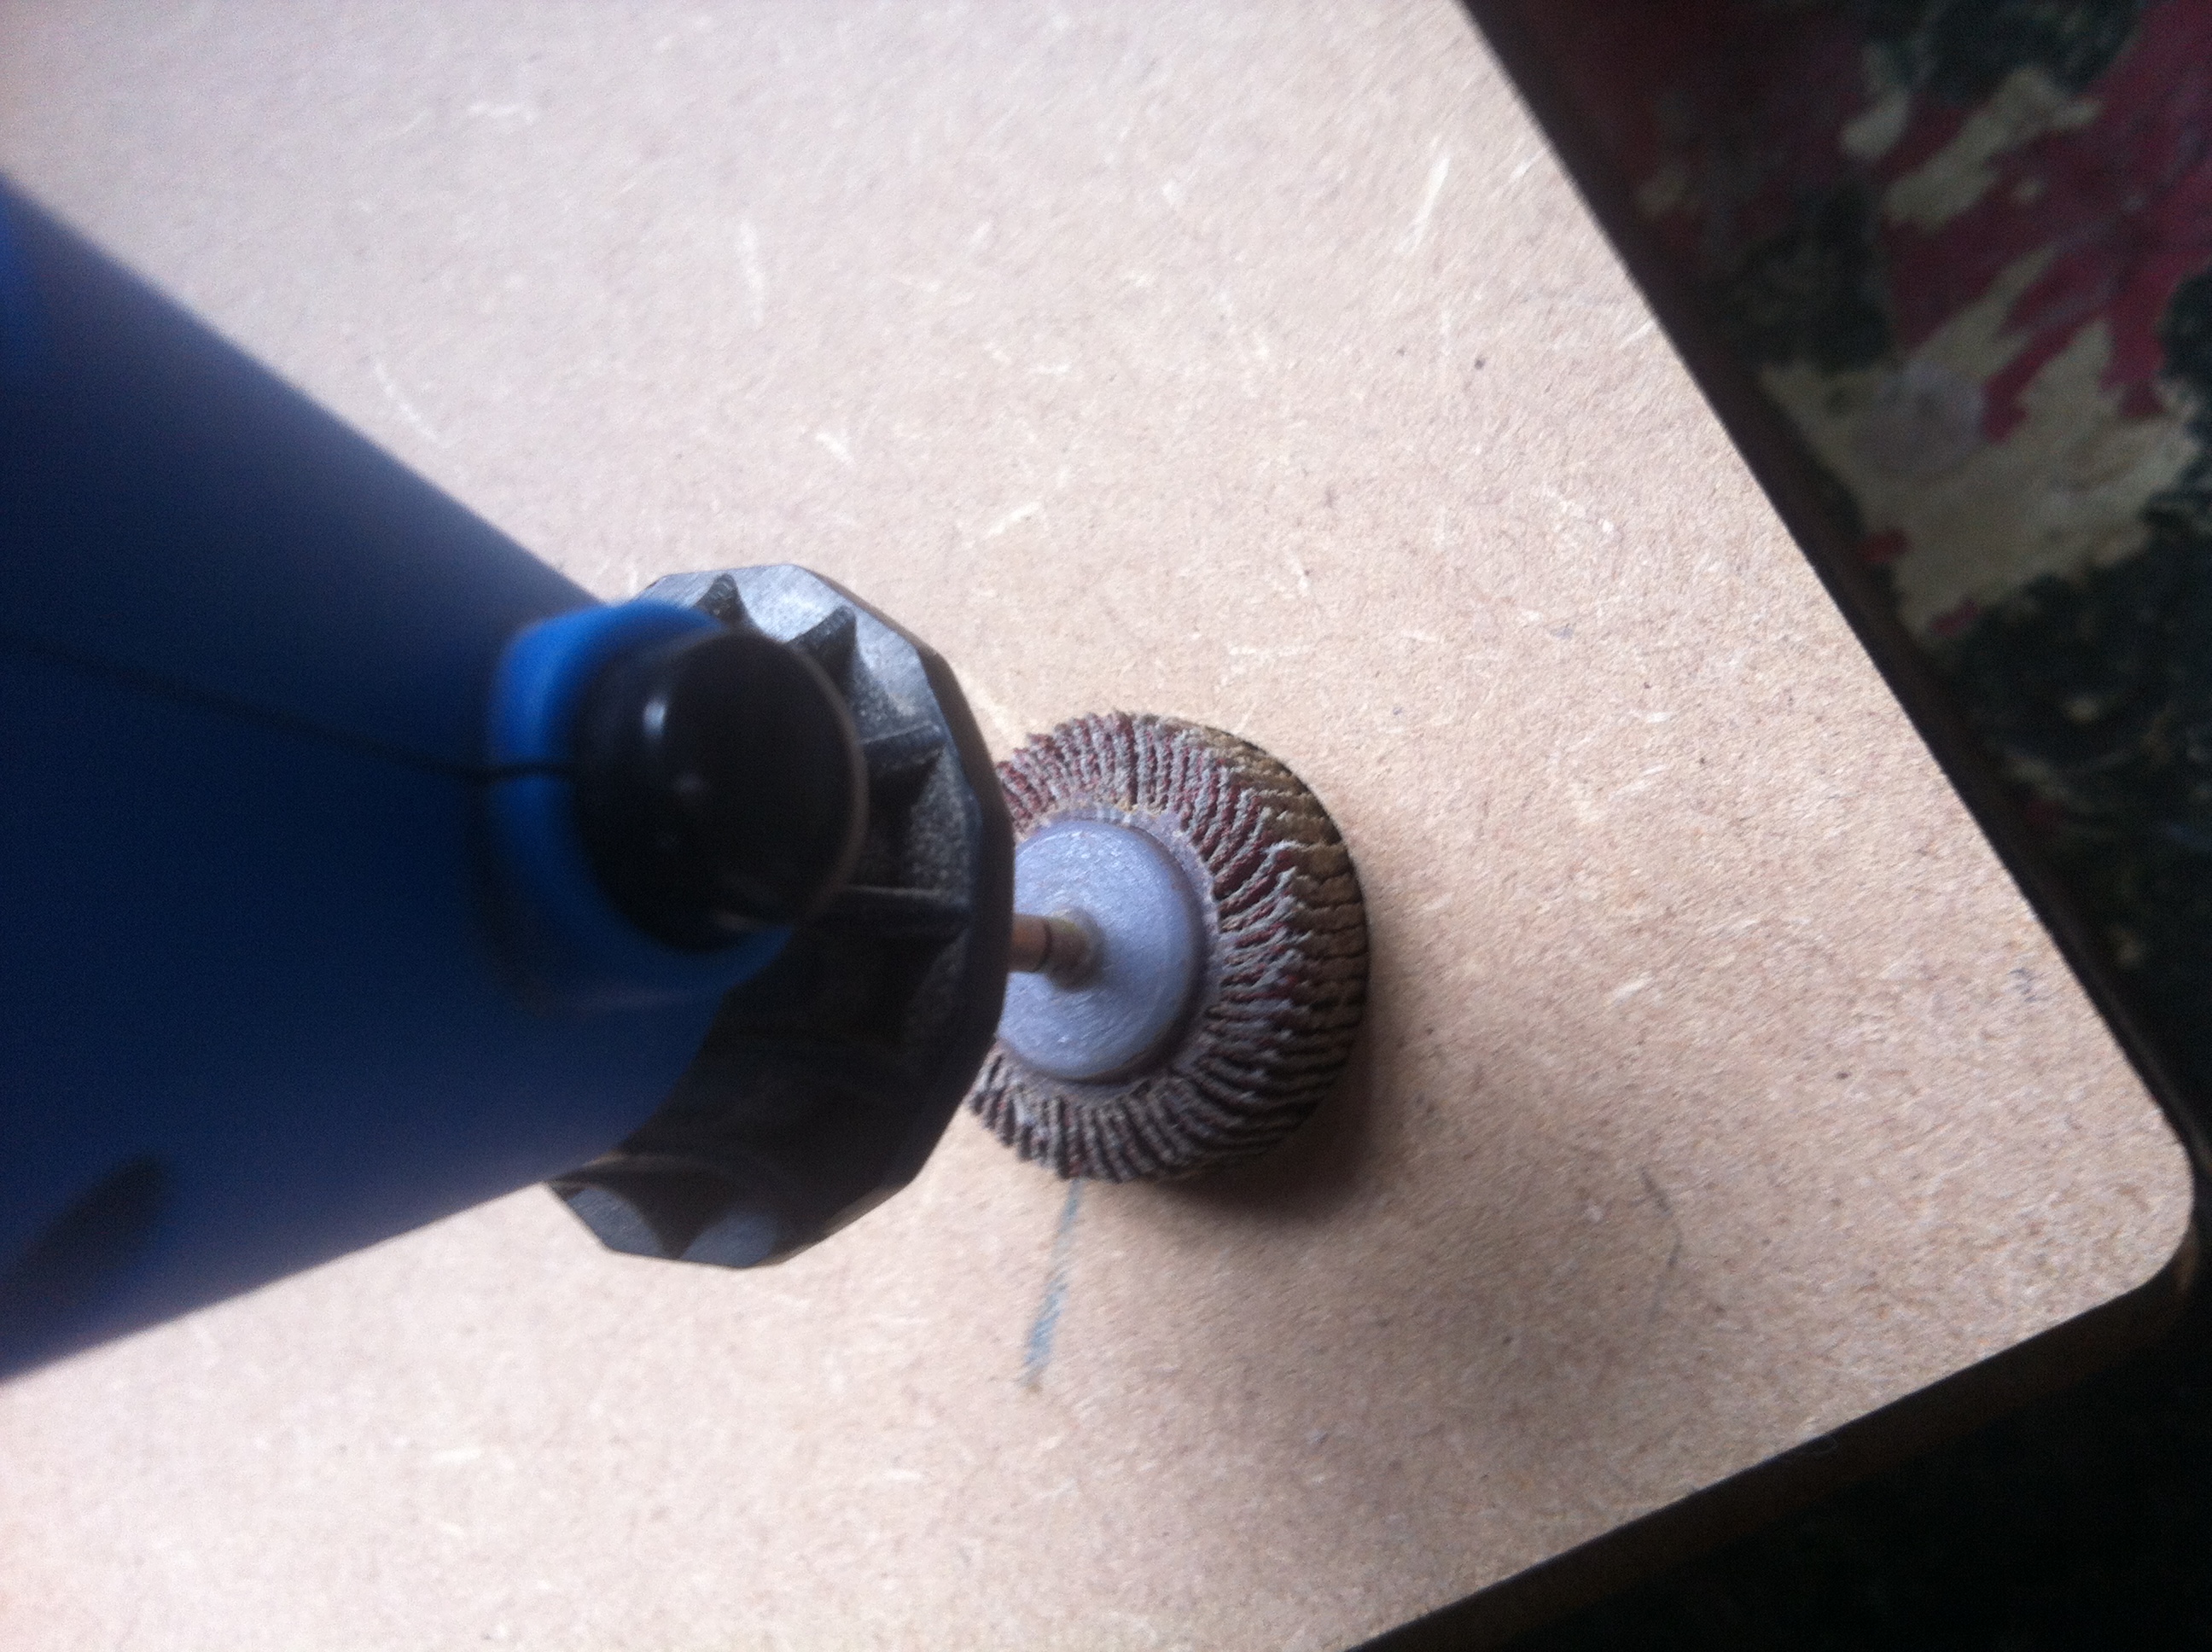
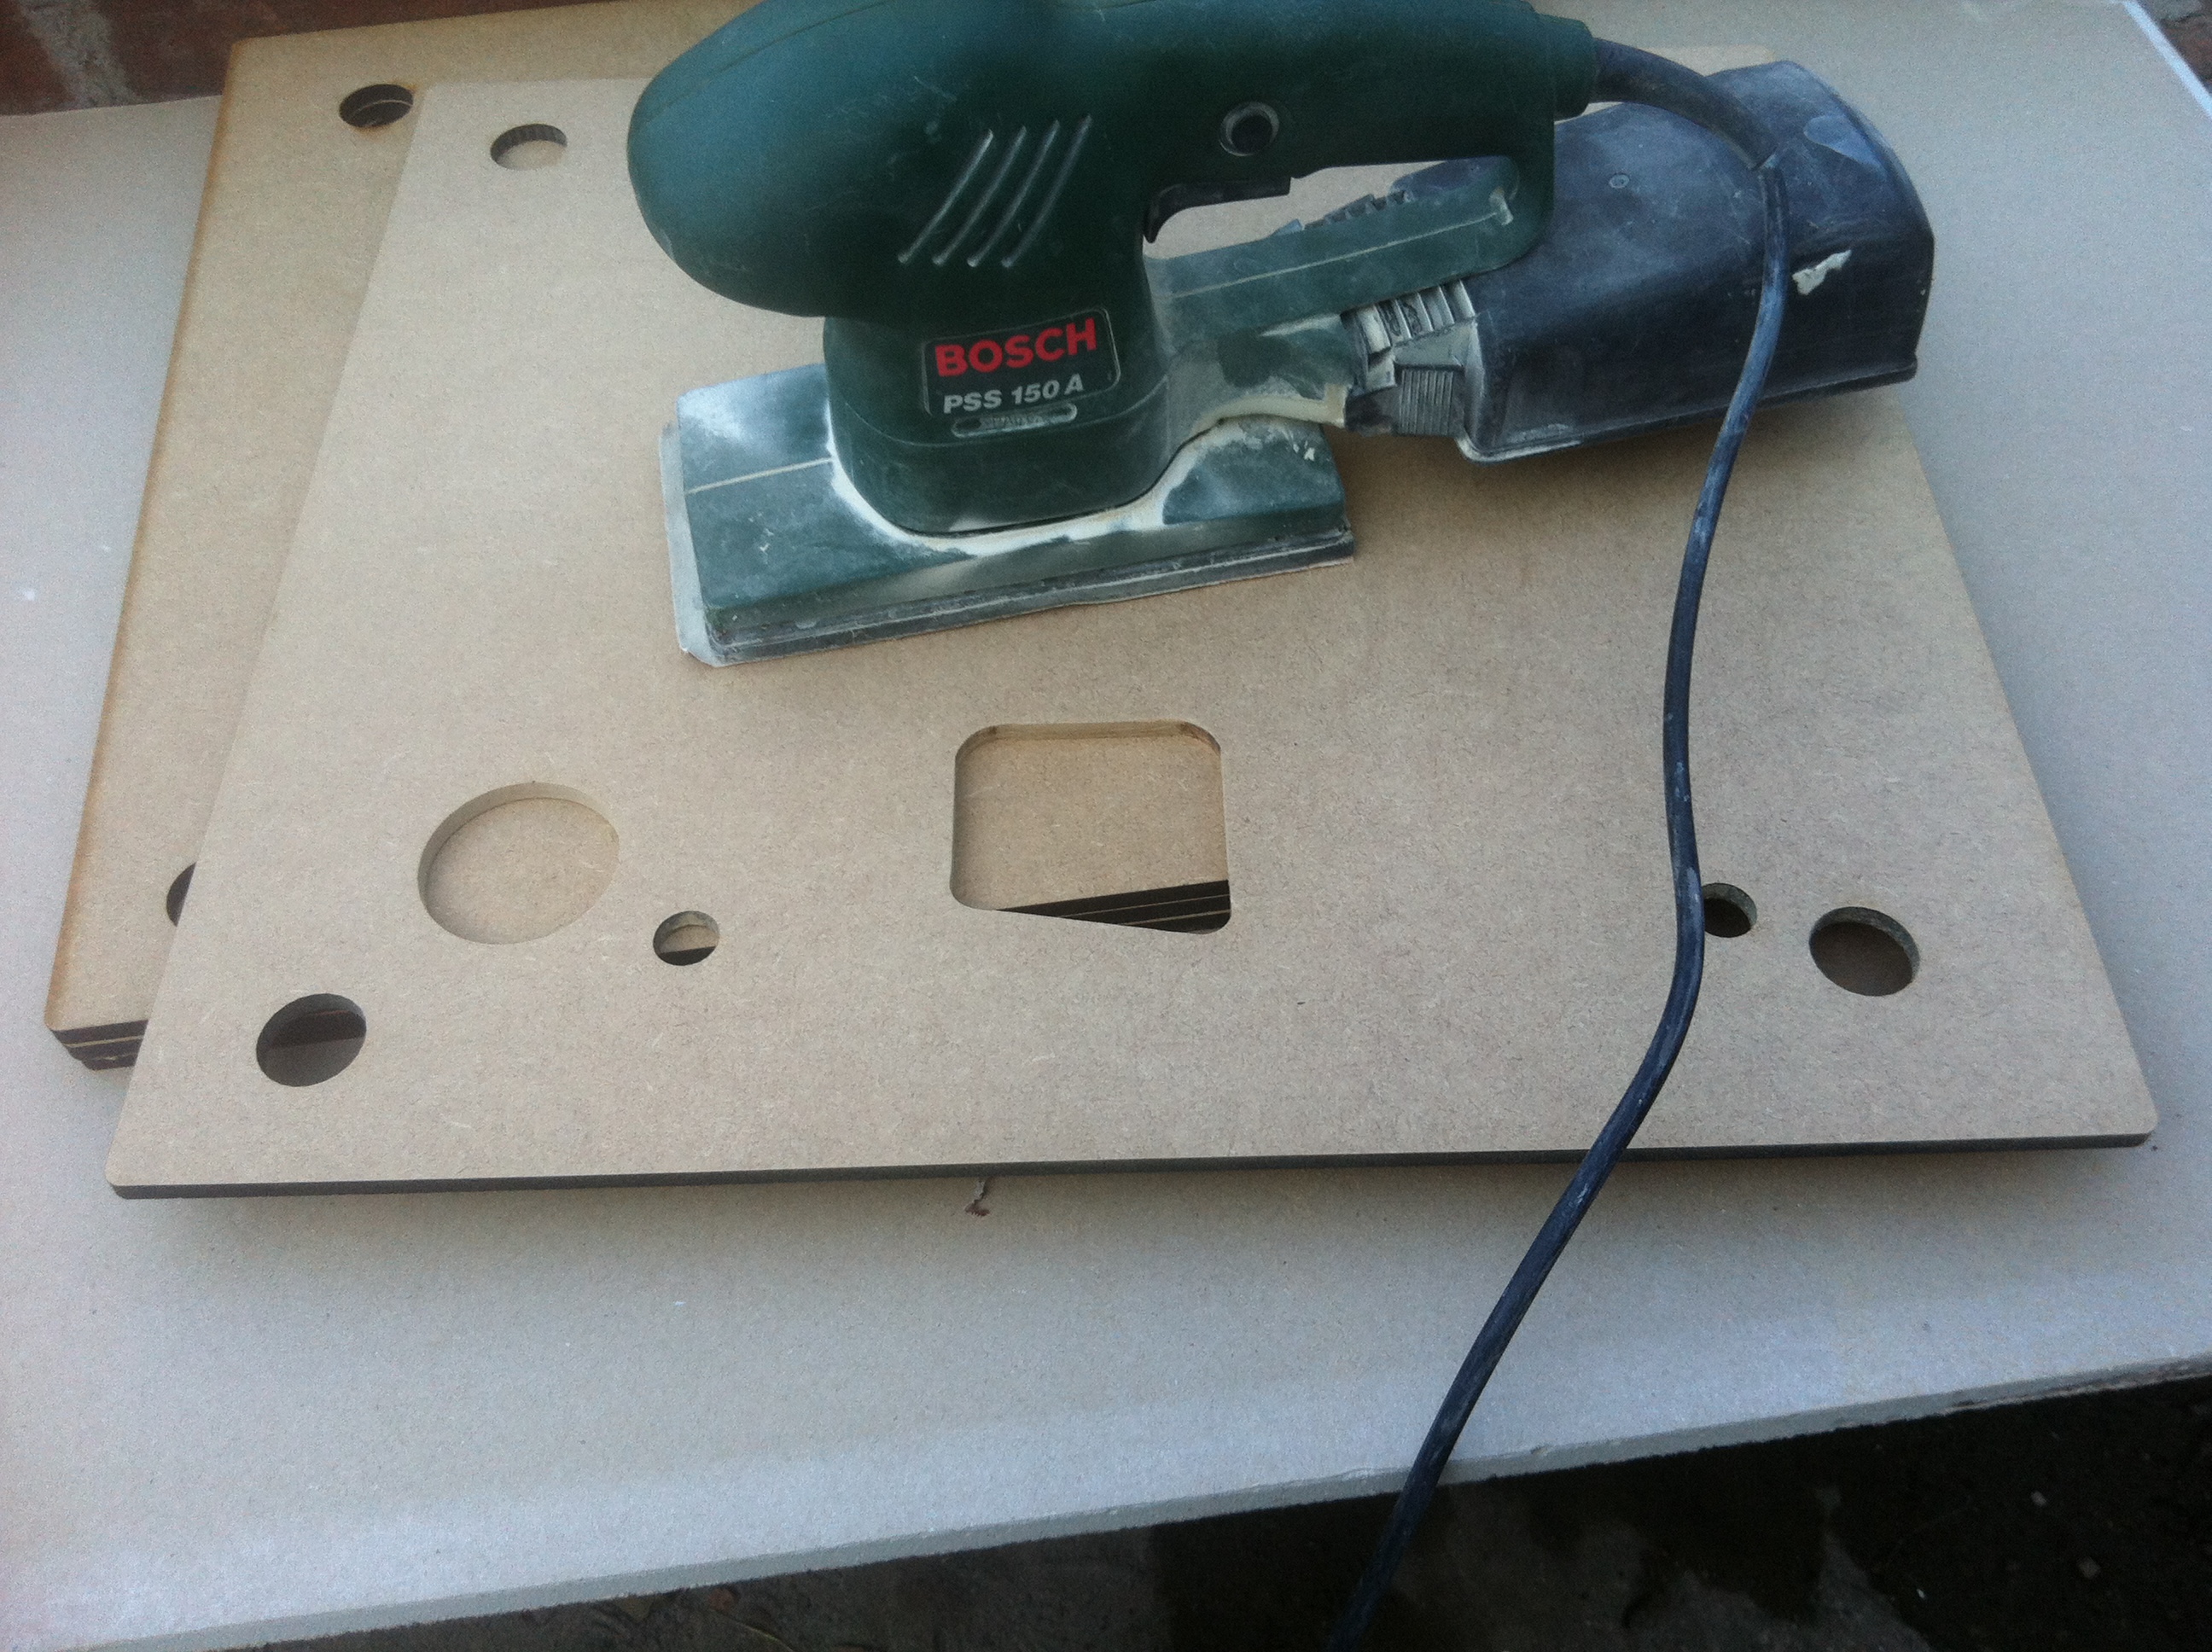
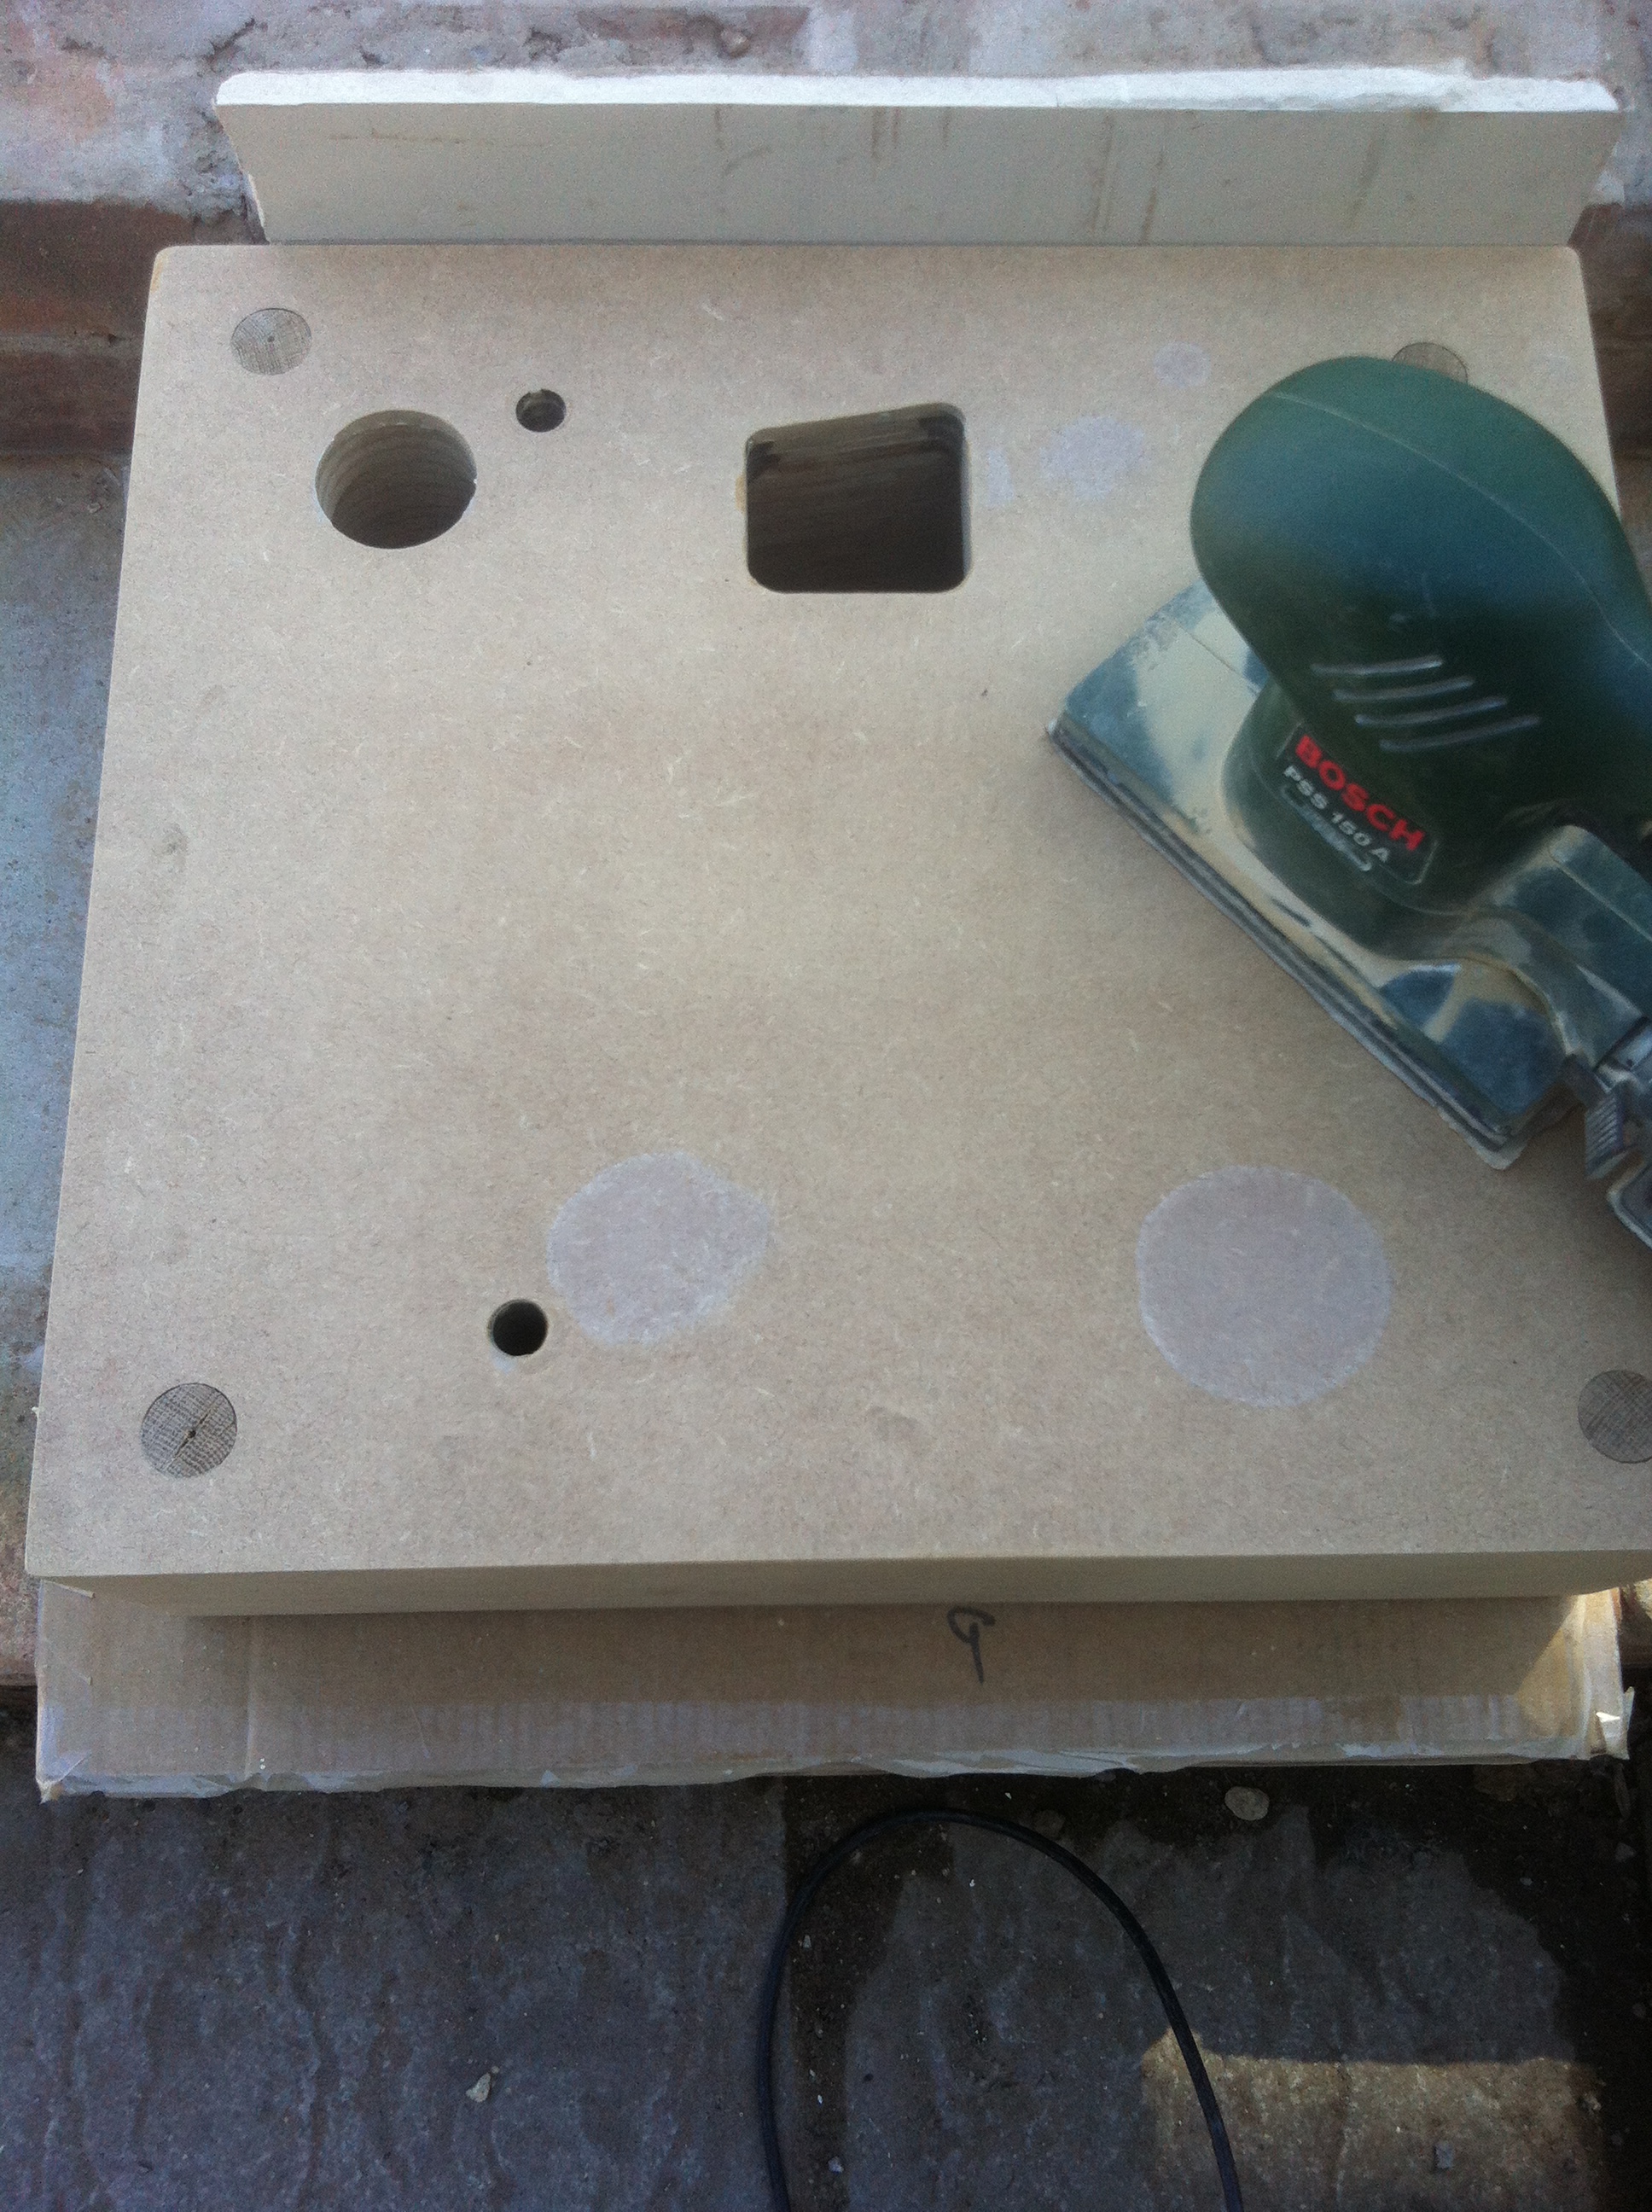
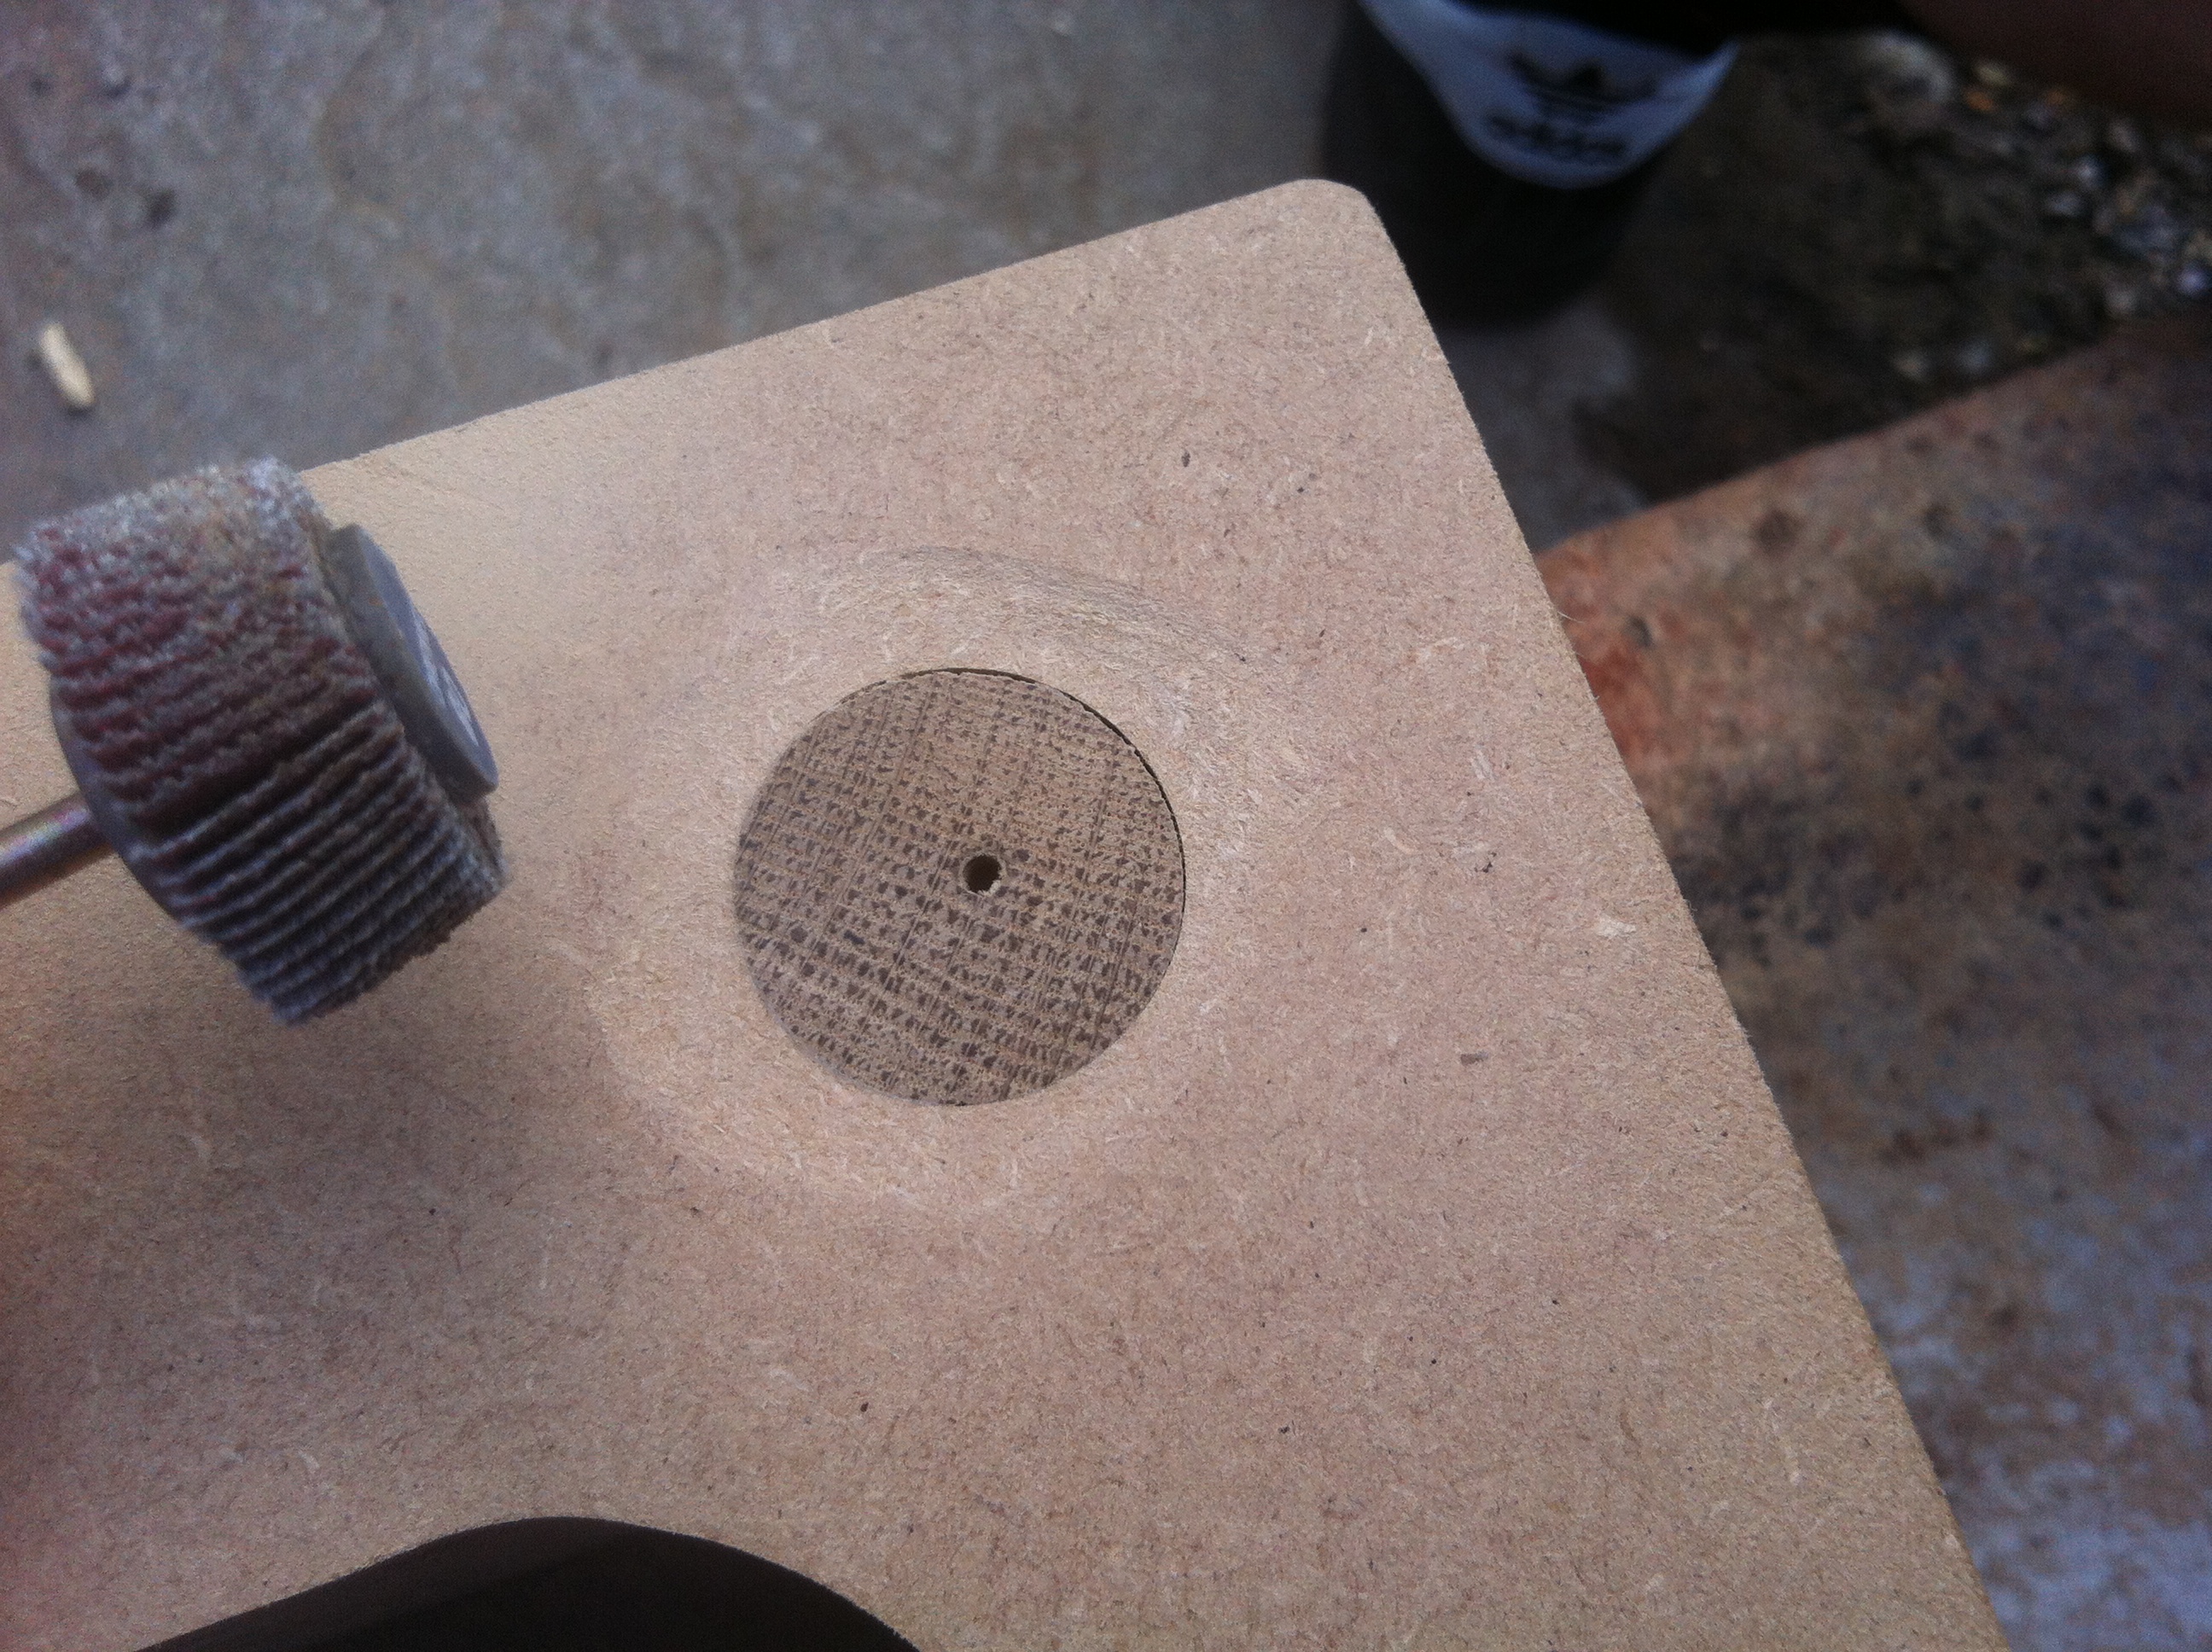
This picture shows the 3/4 inch dowel which the original concept of was to make the stacking and gluing much easier, but it turned out to be slightly too big probably due to the wood expanding because of the humidity so now I had to make all the holes in each of the 22 pieces larger. This means 22 pieces with 4 holes each! 88 holes:
So to make my job easier I invested in a £10 cheapo dremel with a genuine dremel sanding bit:
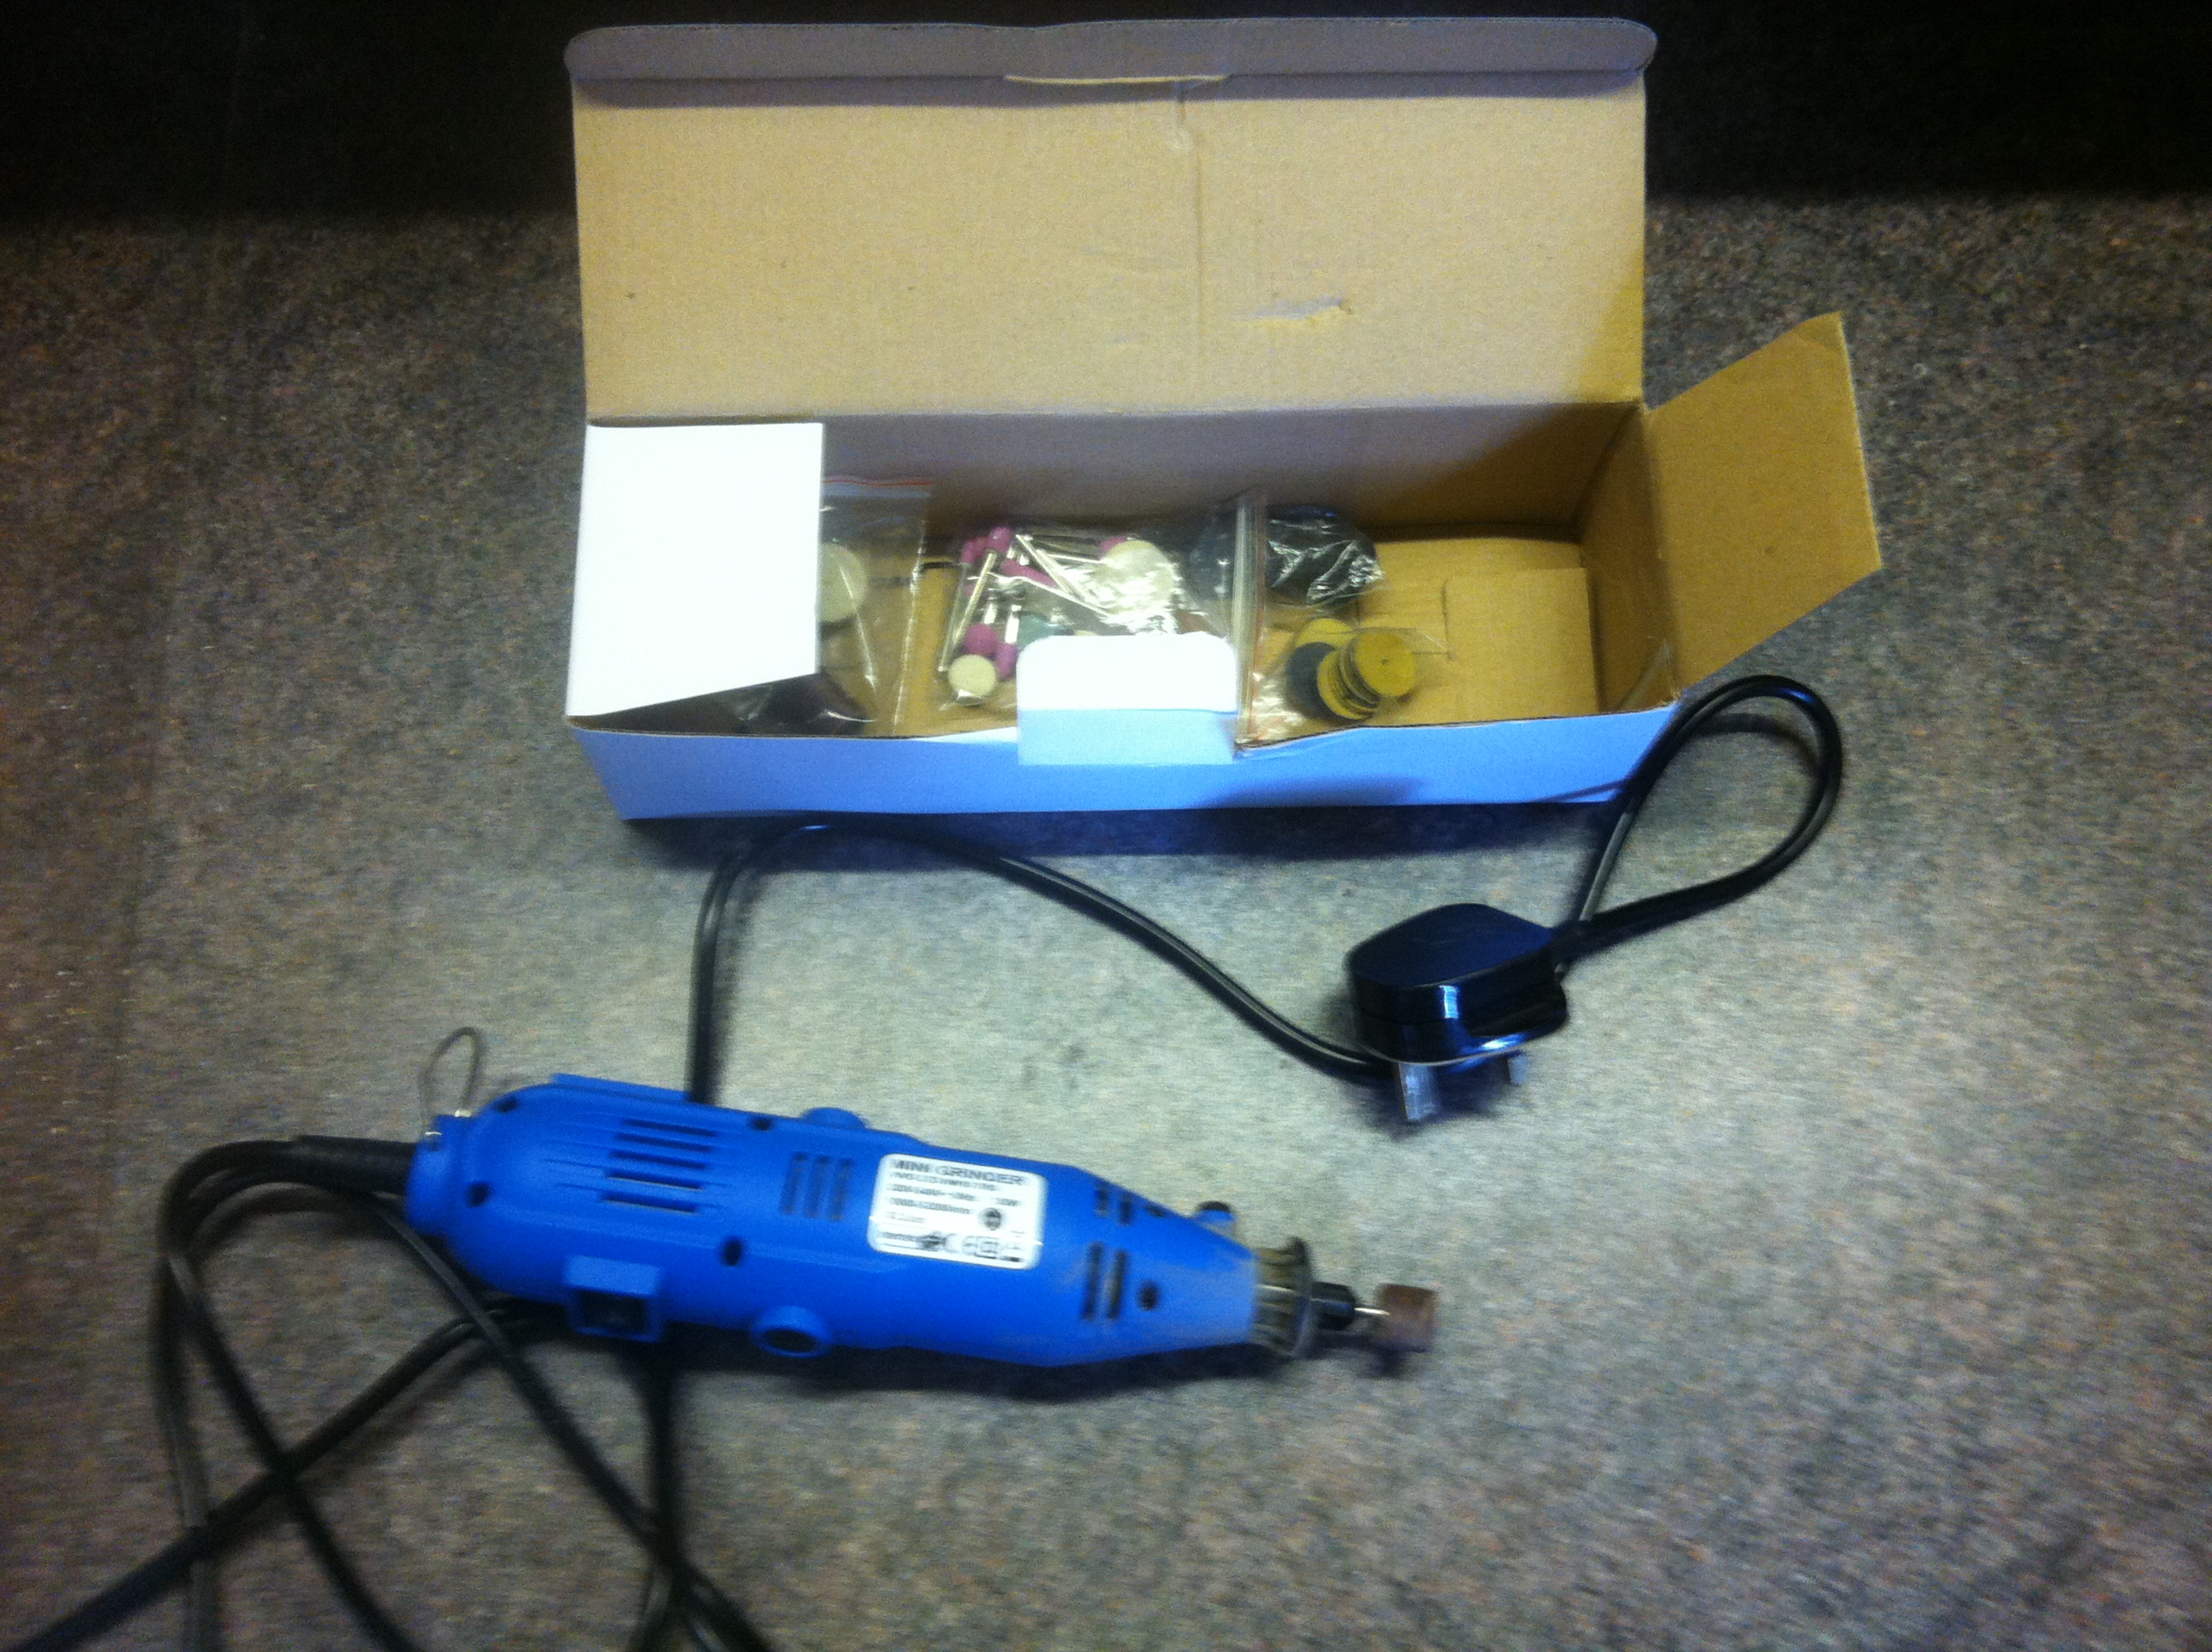
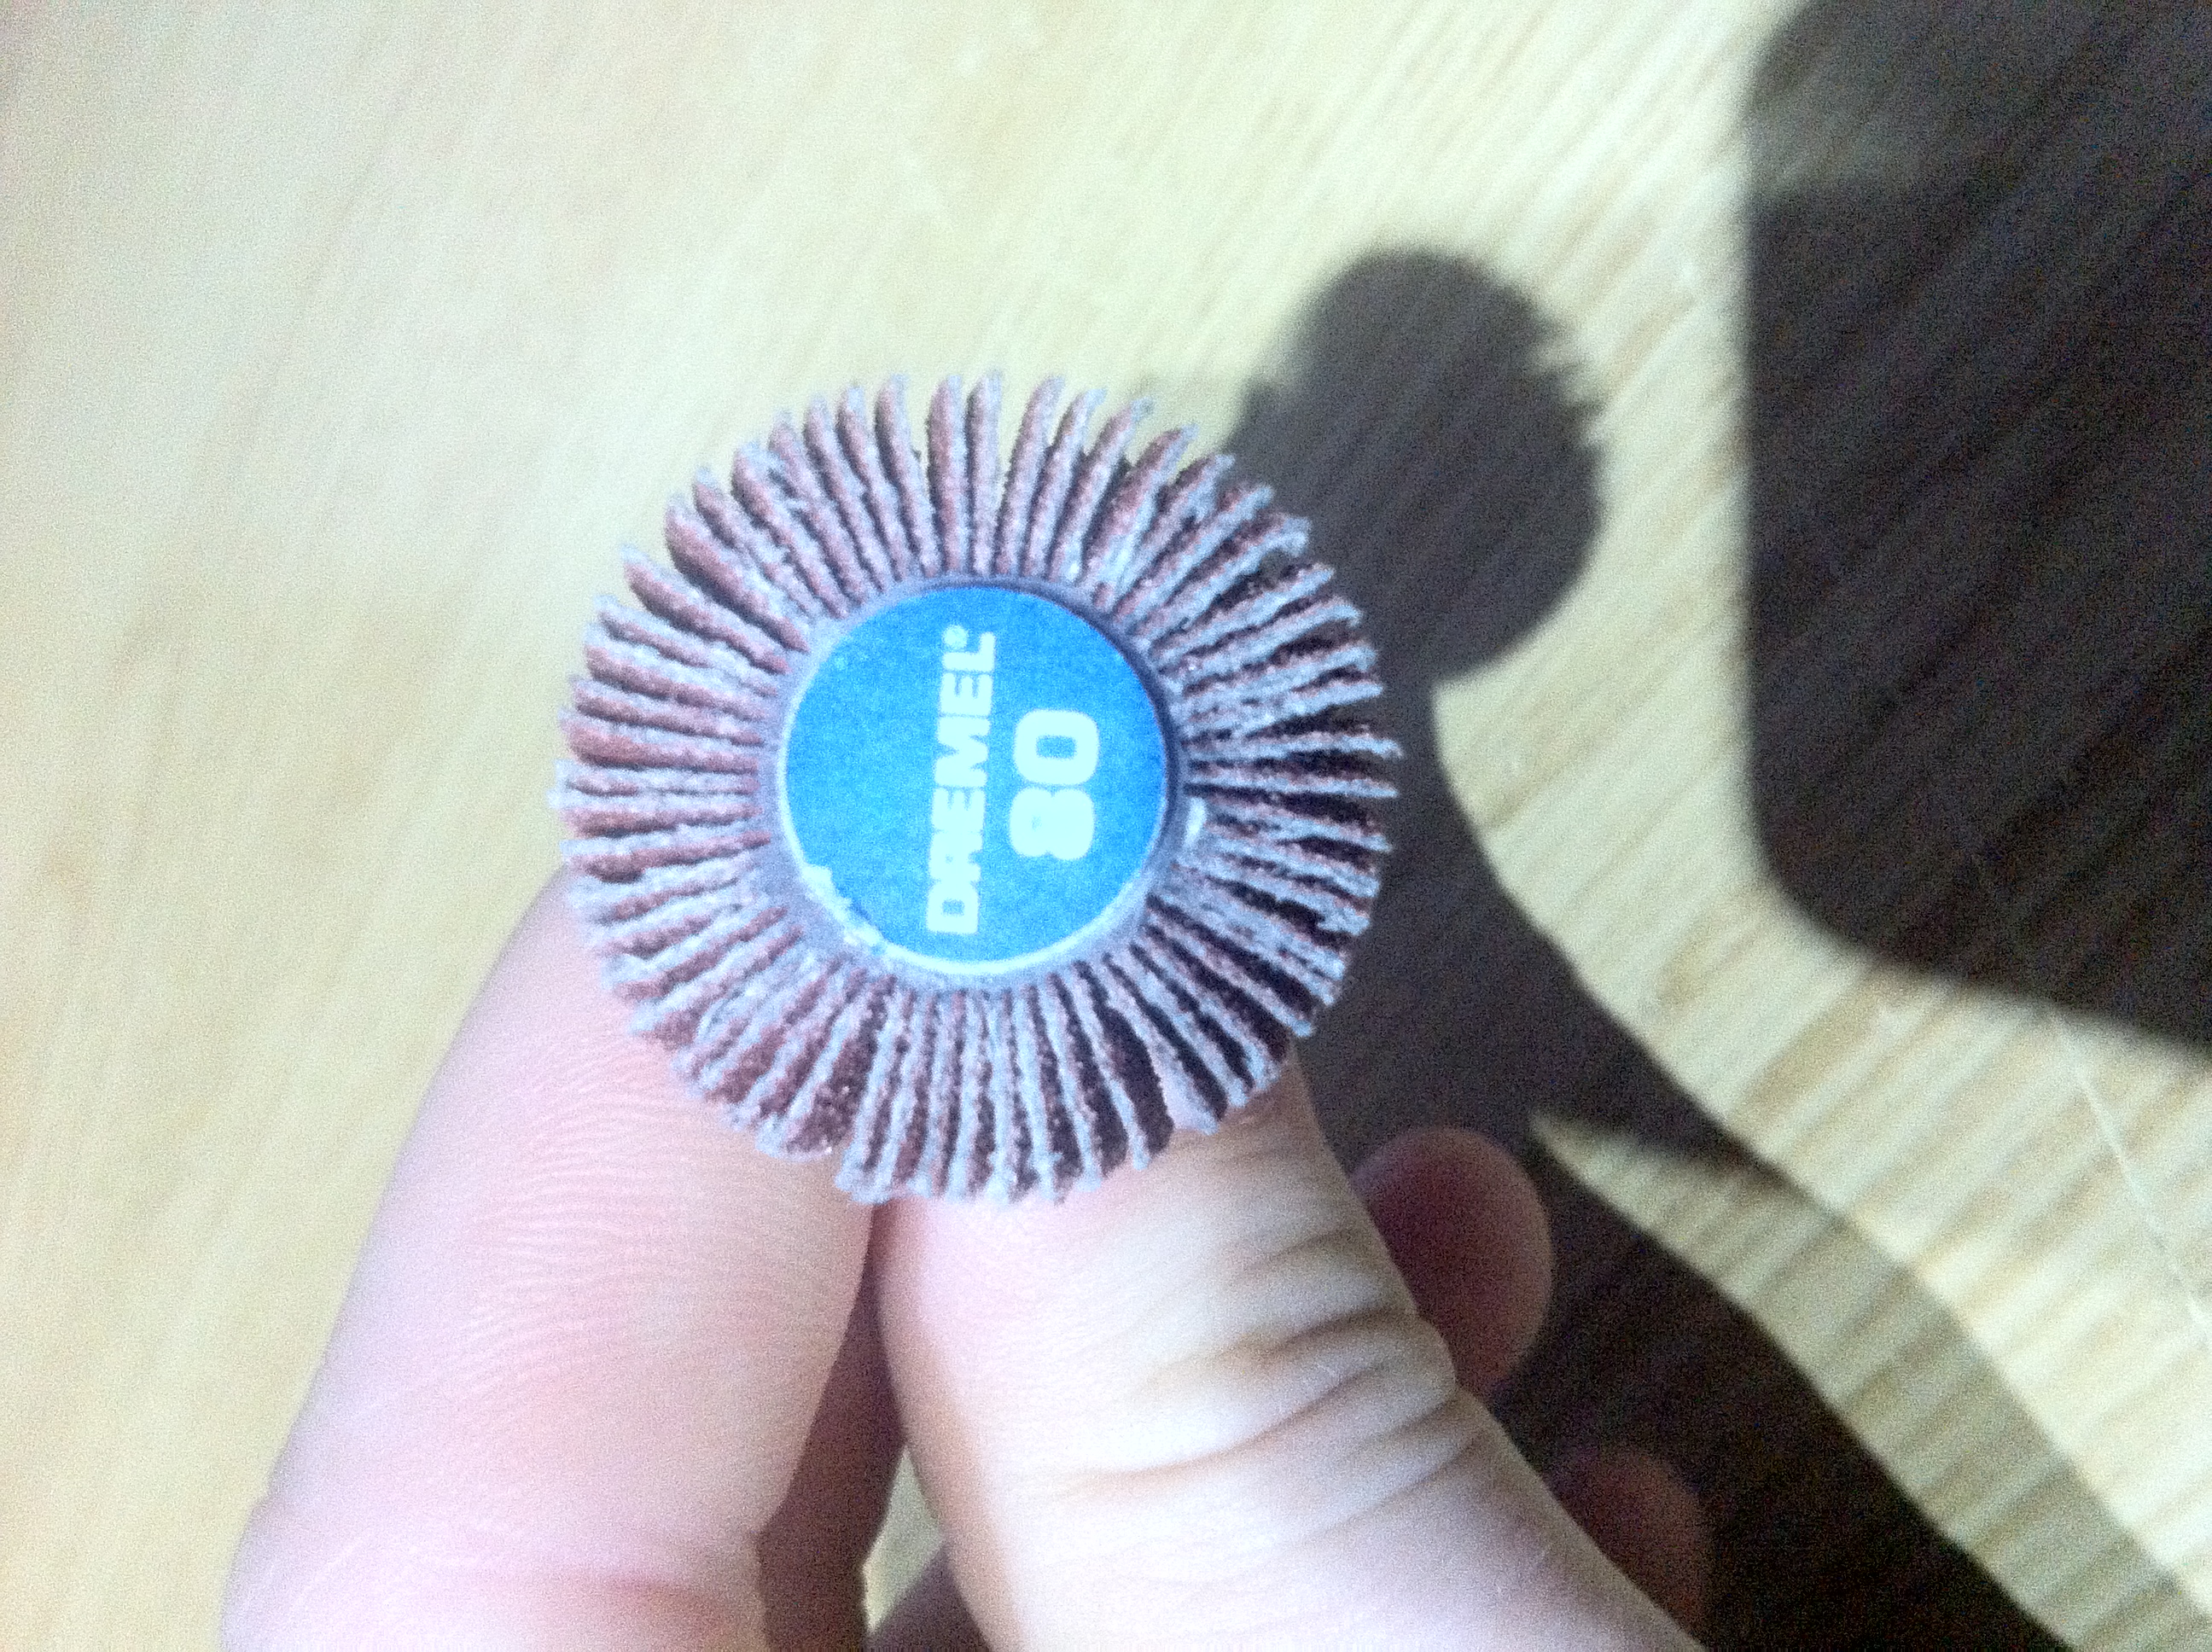
Here are two pictures showing the dremel at work enlarging the dowel holes:

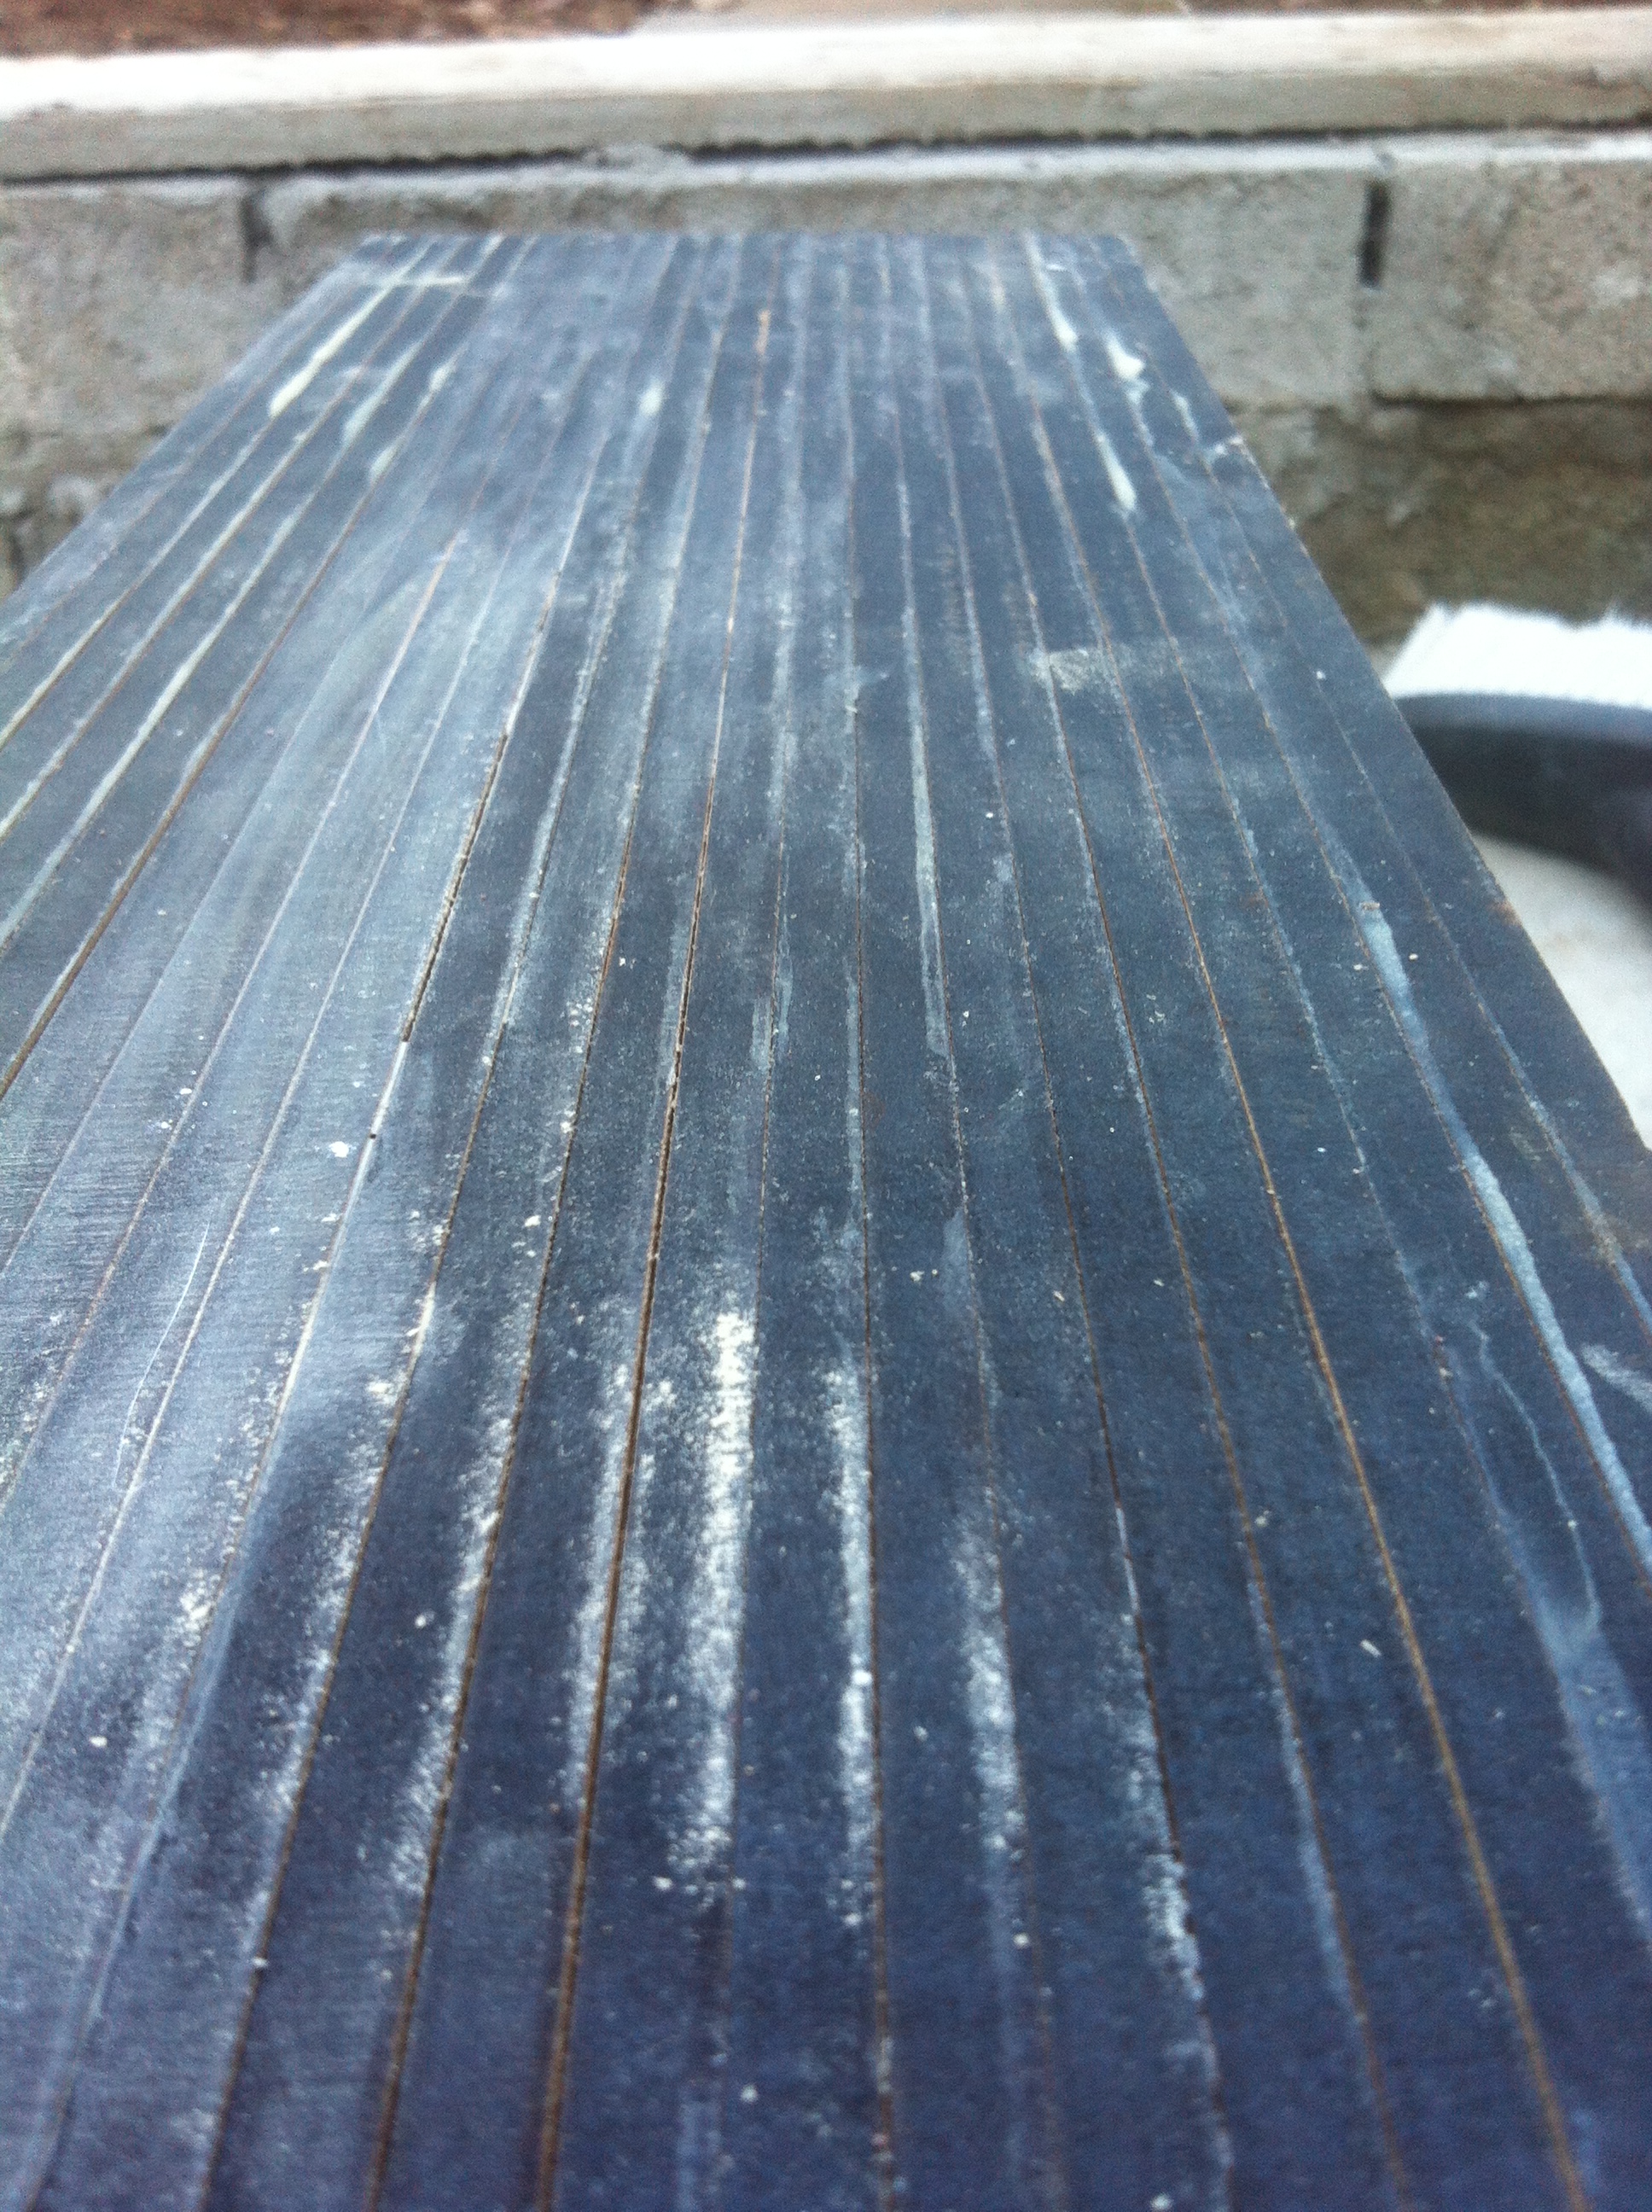
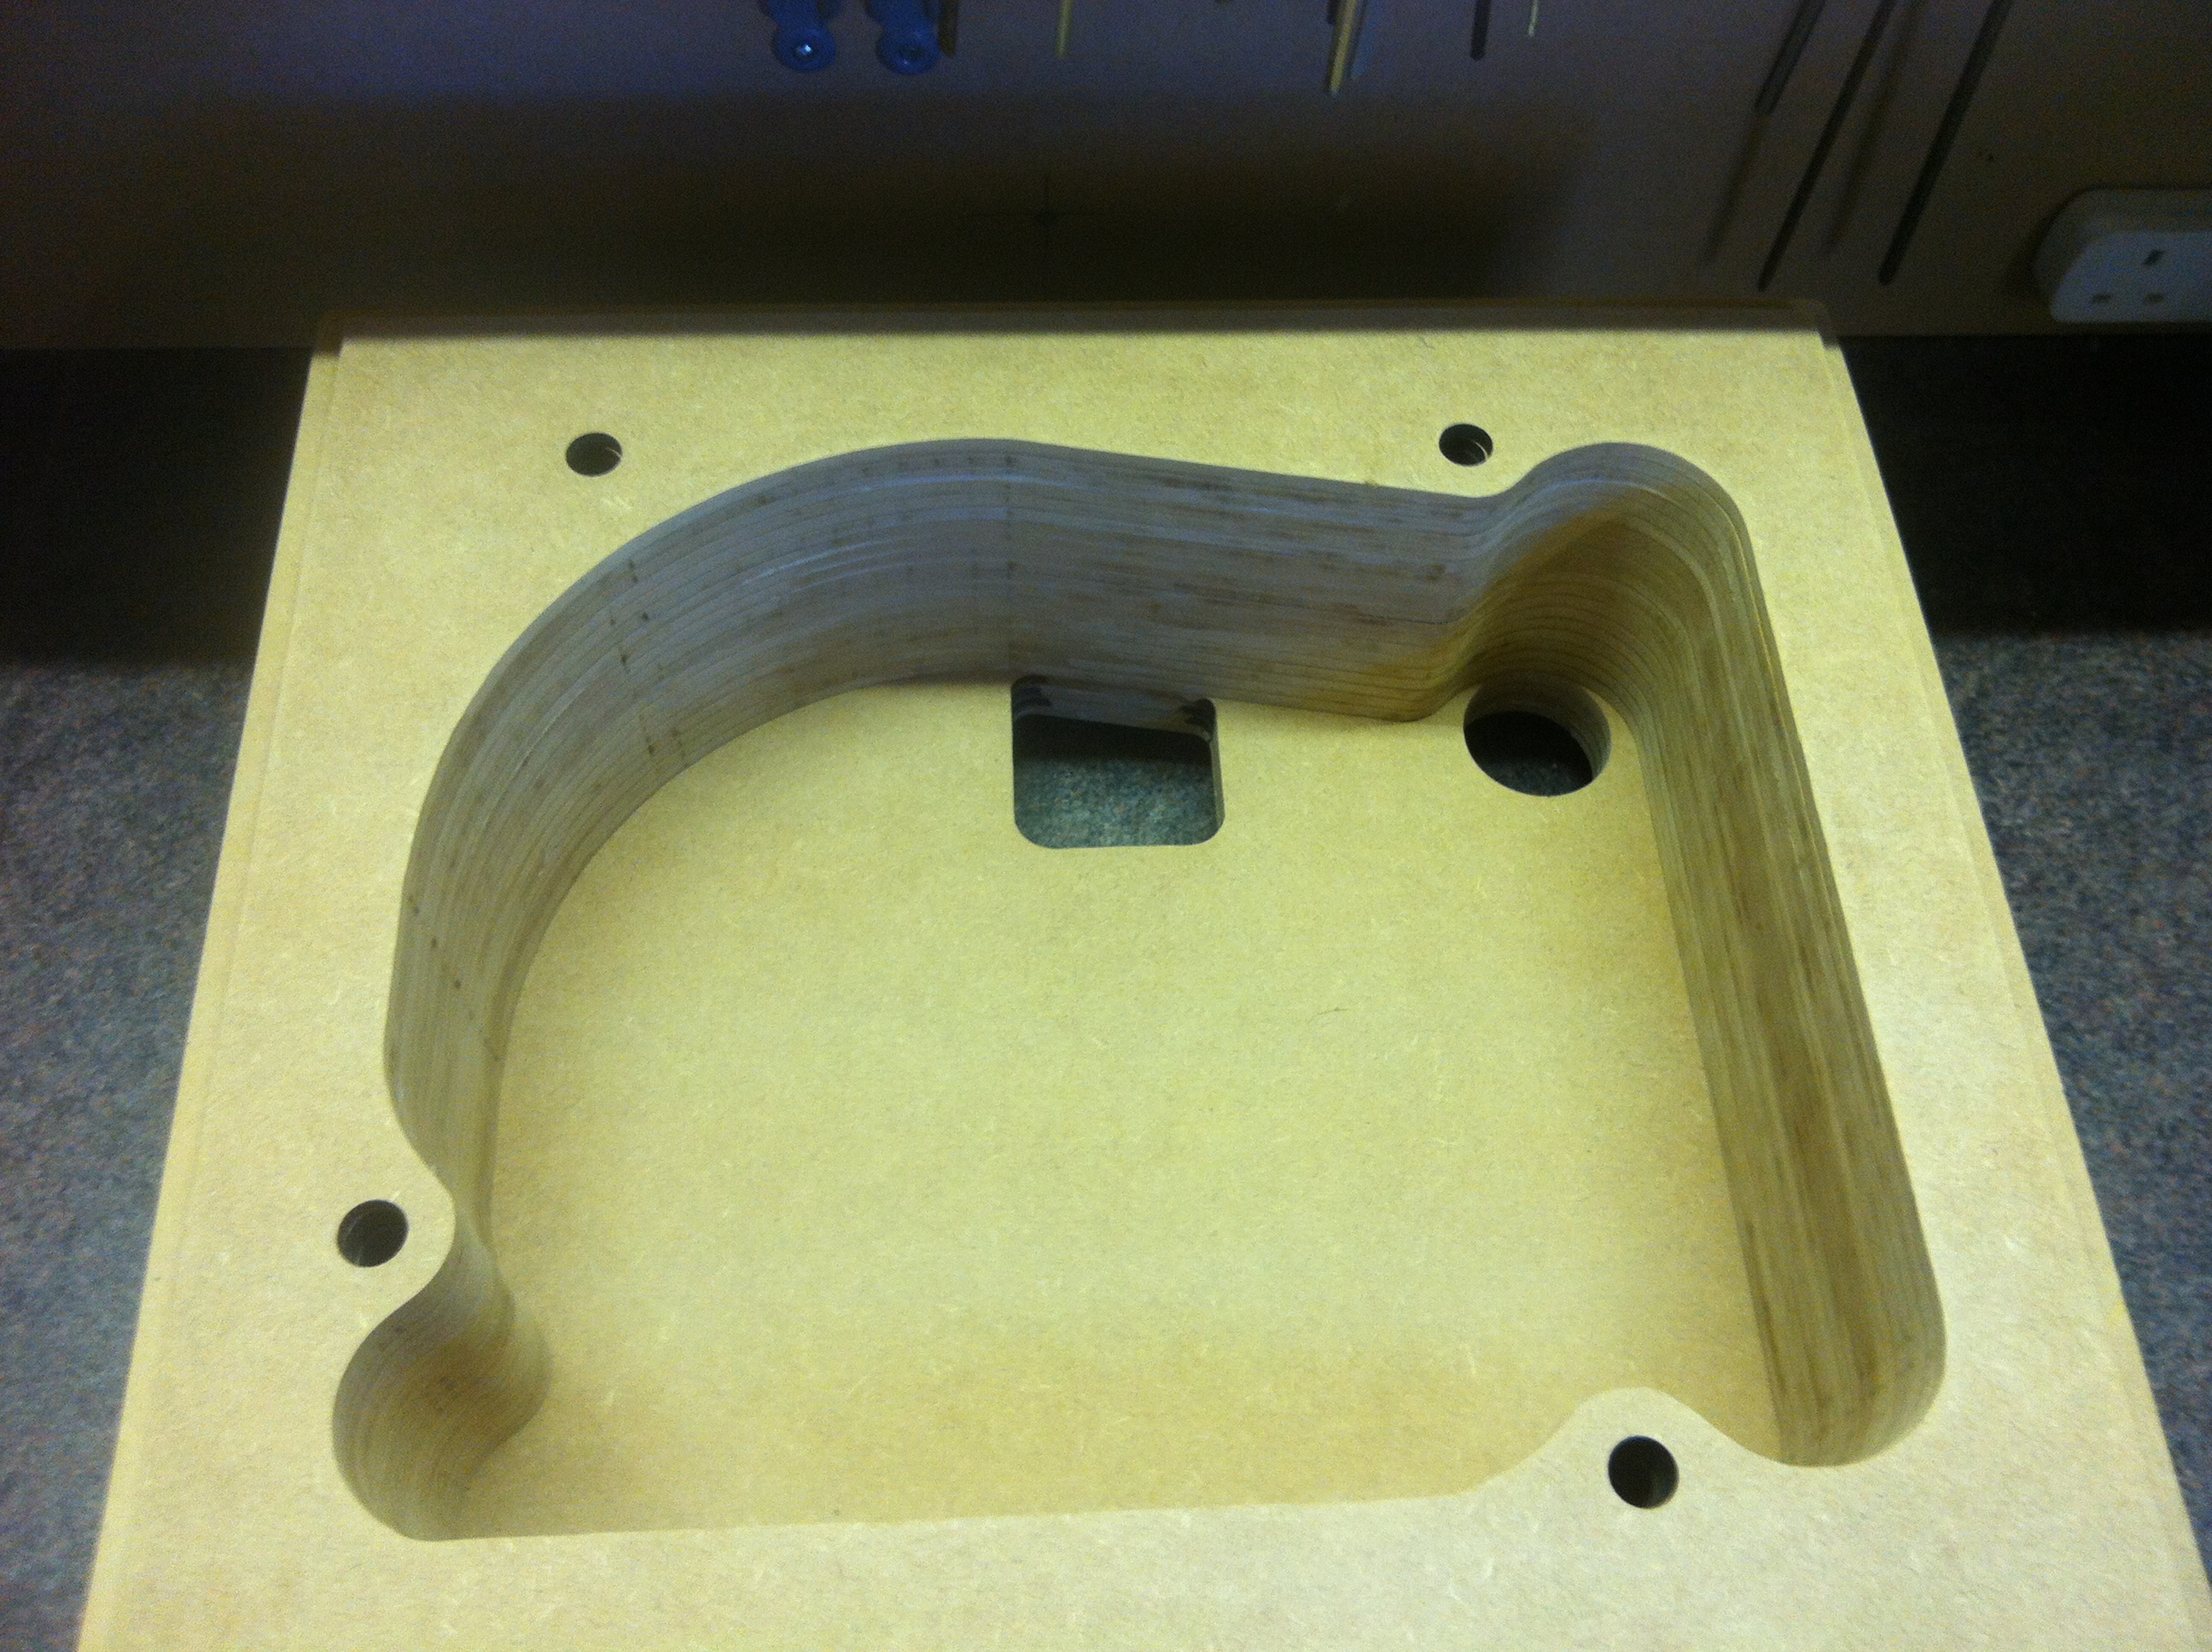
After doing each of the holes, I decided to also sand off the charcoal off the inside diameter of the plinth, this took about an hour of solid work:
No one is going to see them once the turntable is in place but I will still have to pain the inside and paint wouldn't stick to it well.
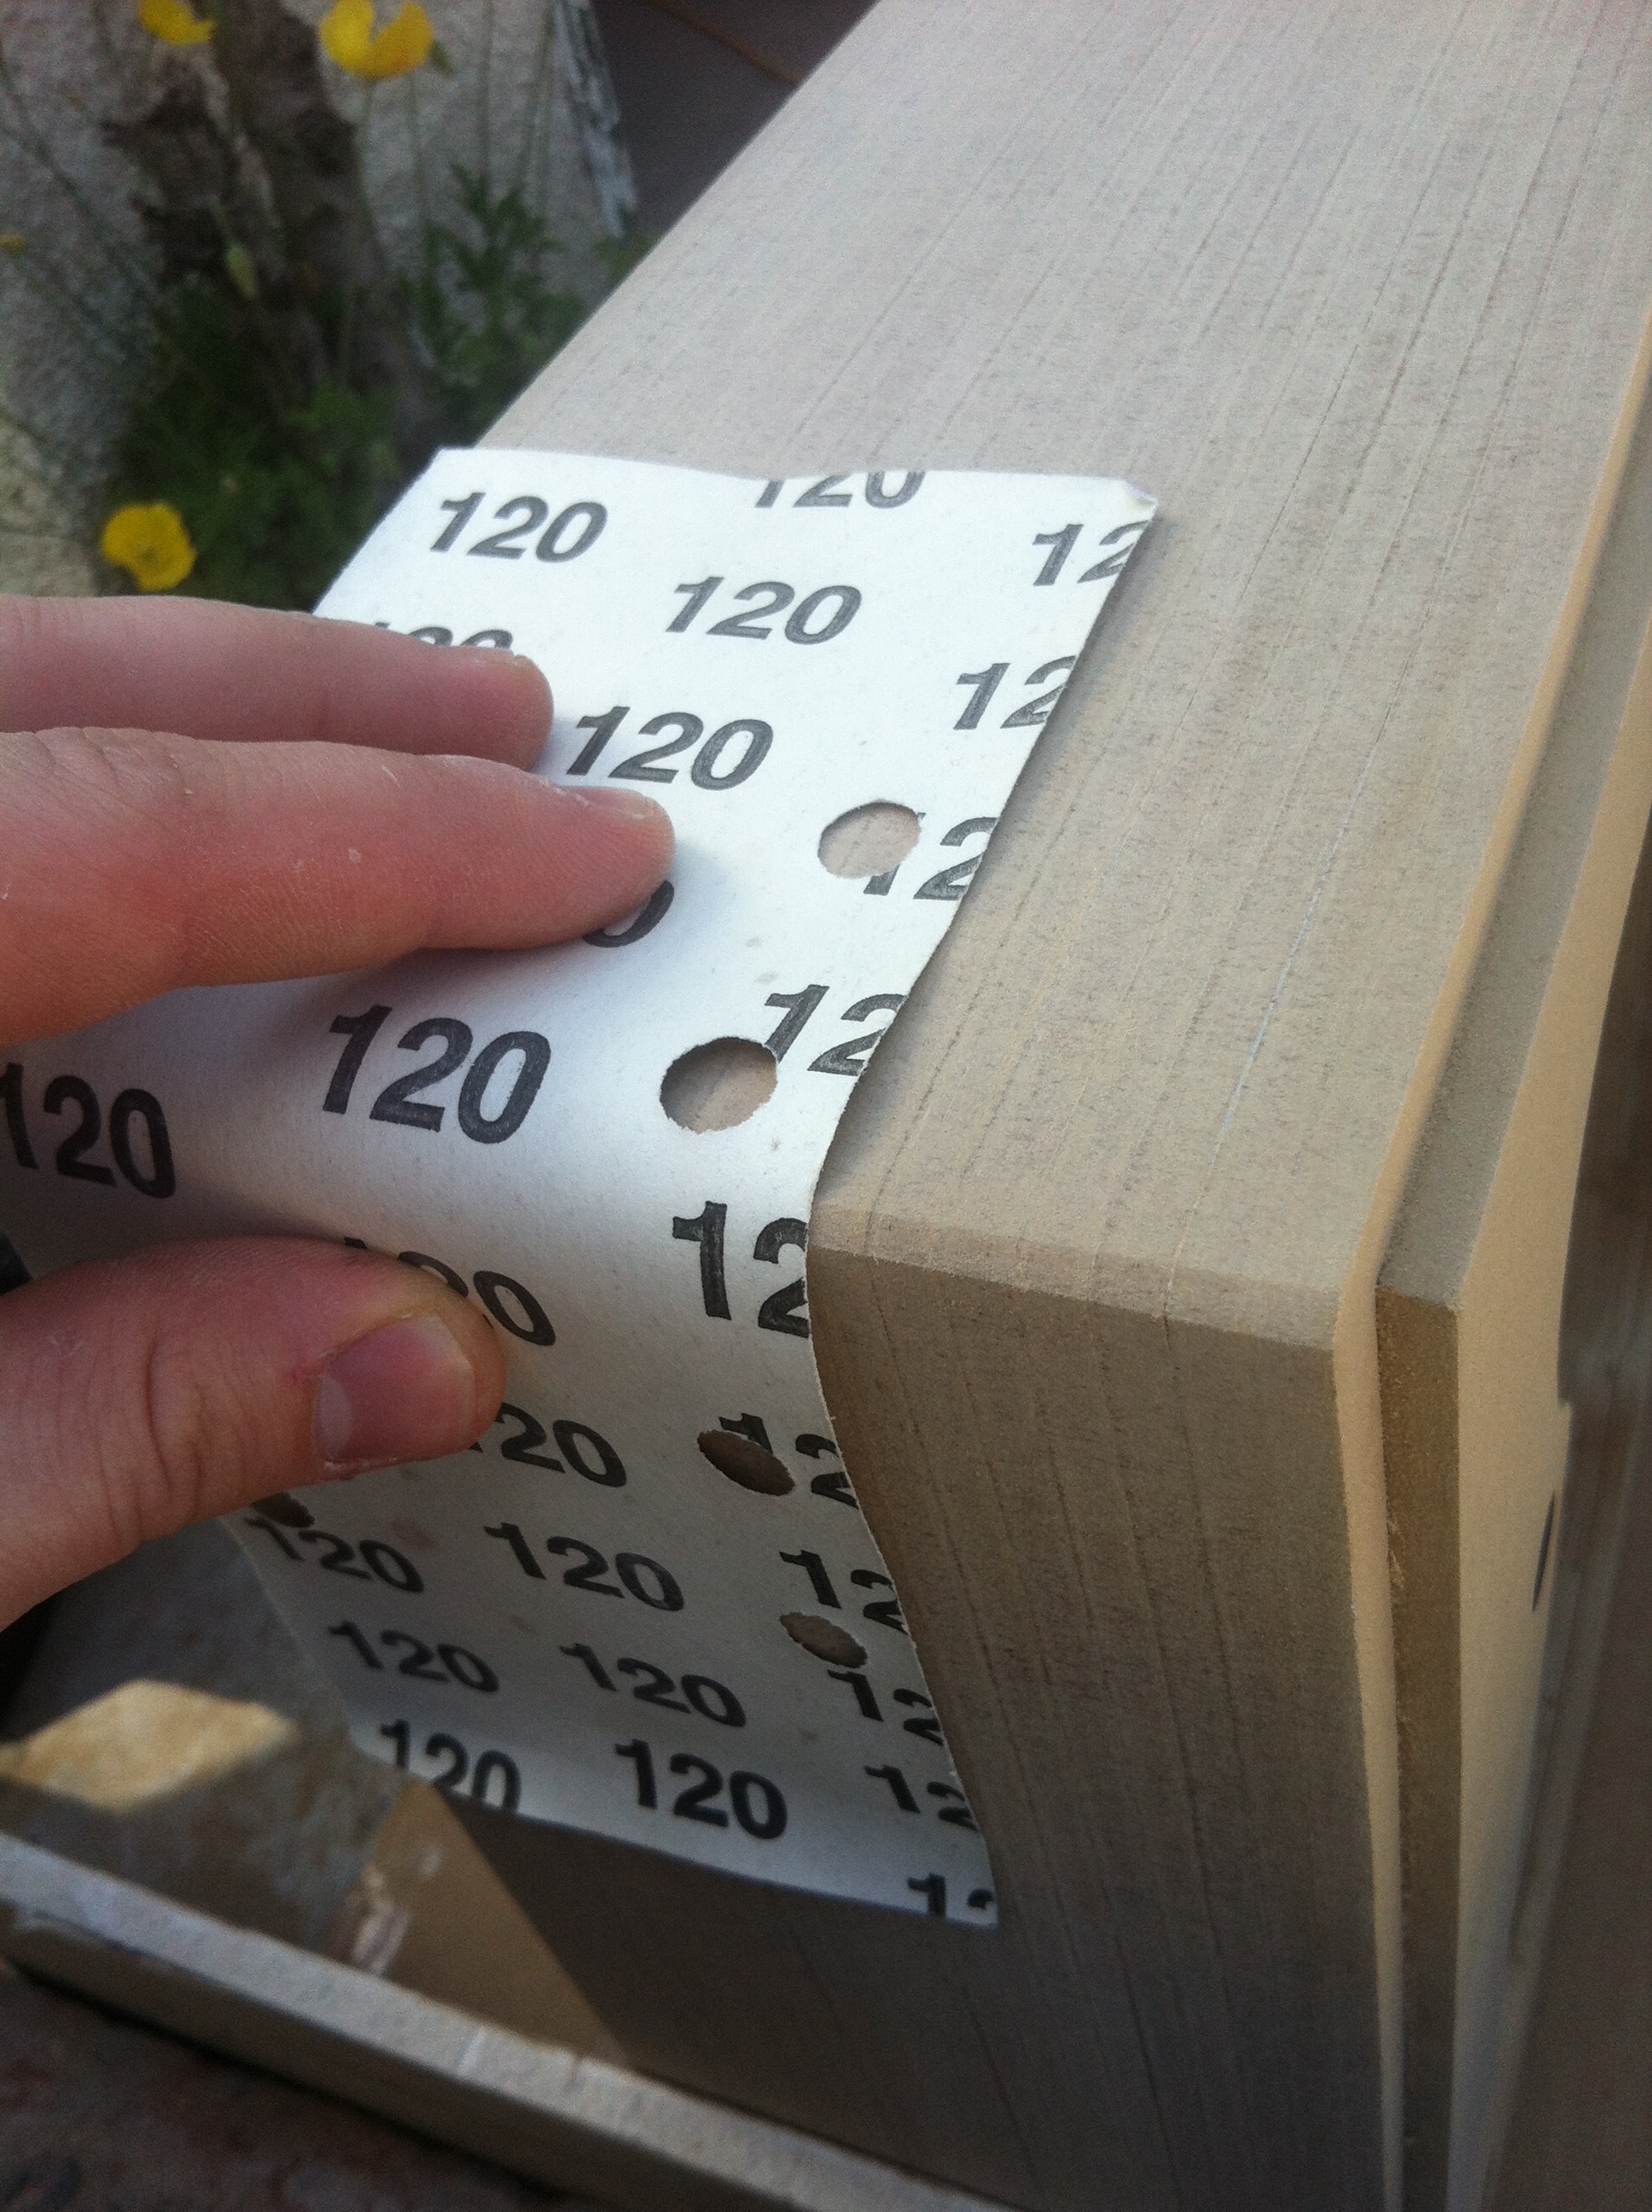
After all of the above was done I sanded down each panel with a 120 grit paper to make it flat and make the glue stick better to it:
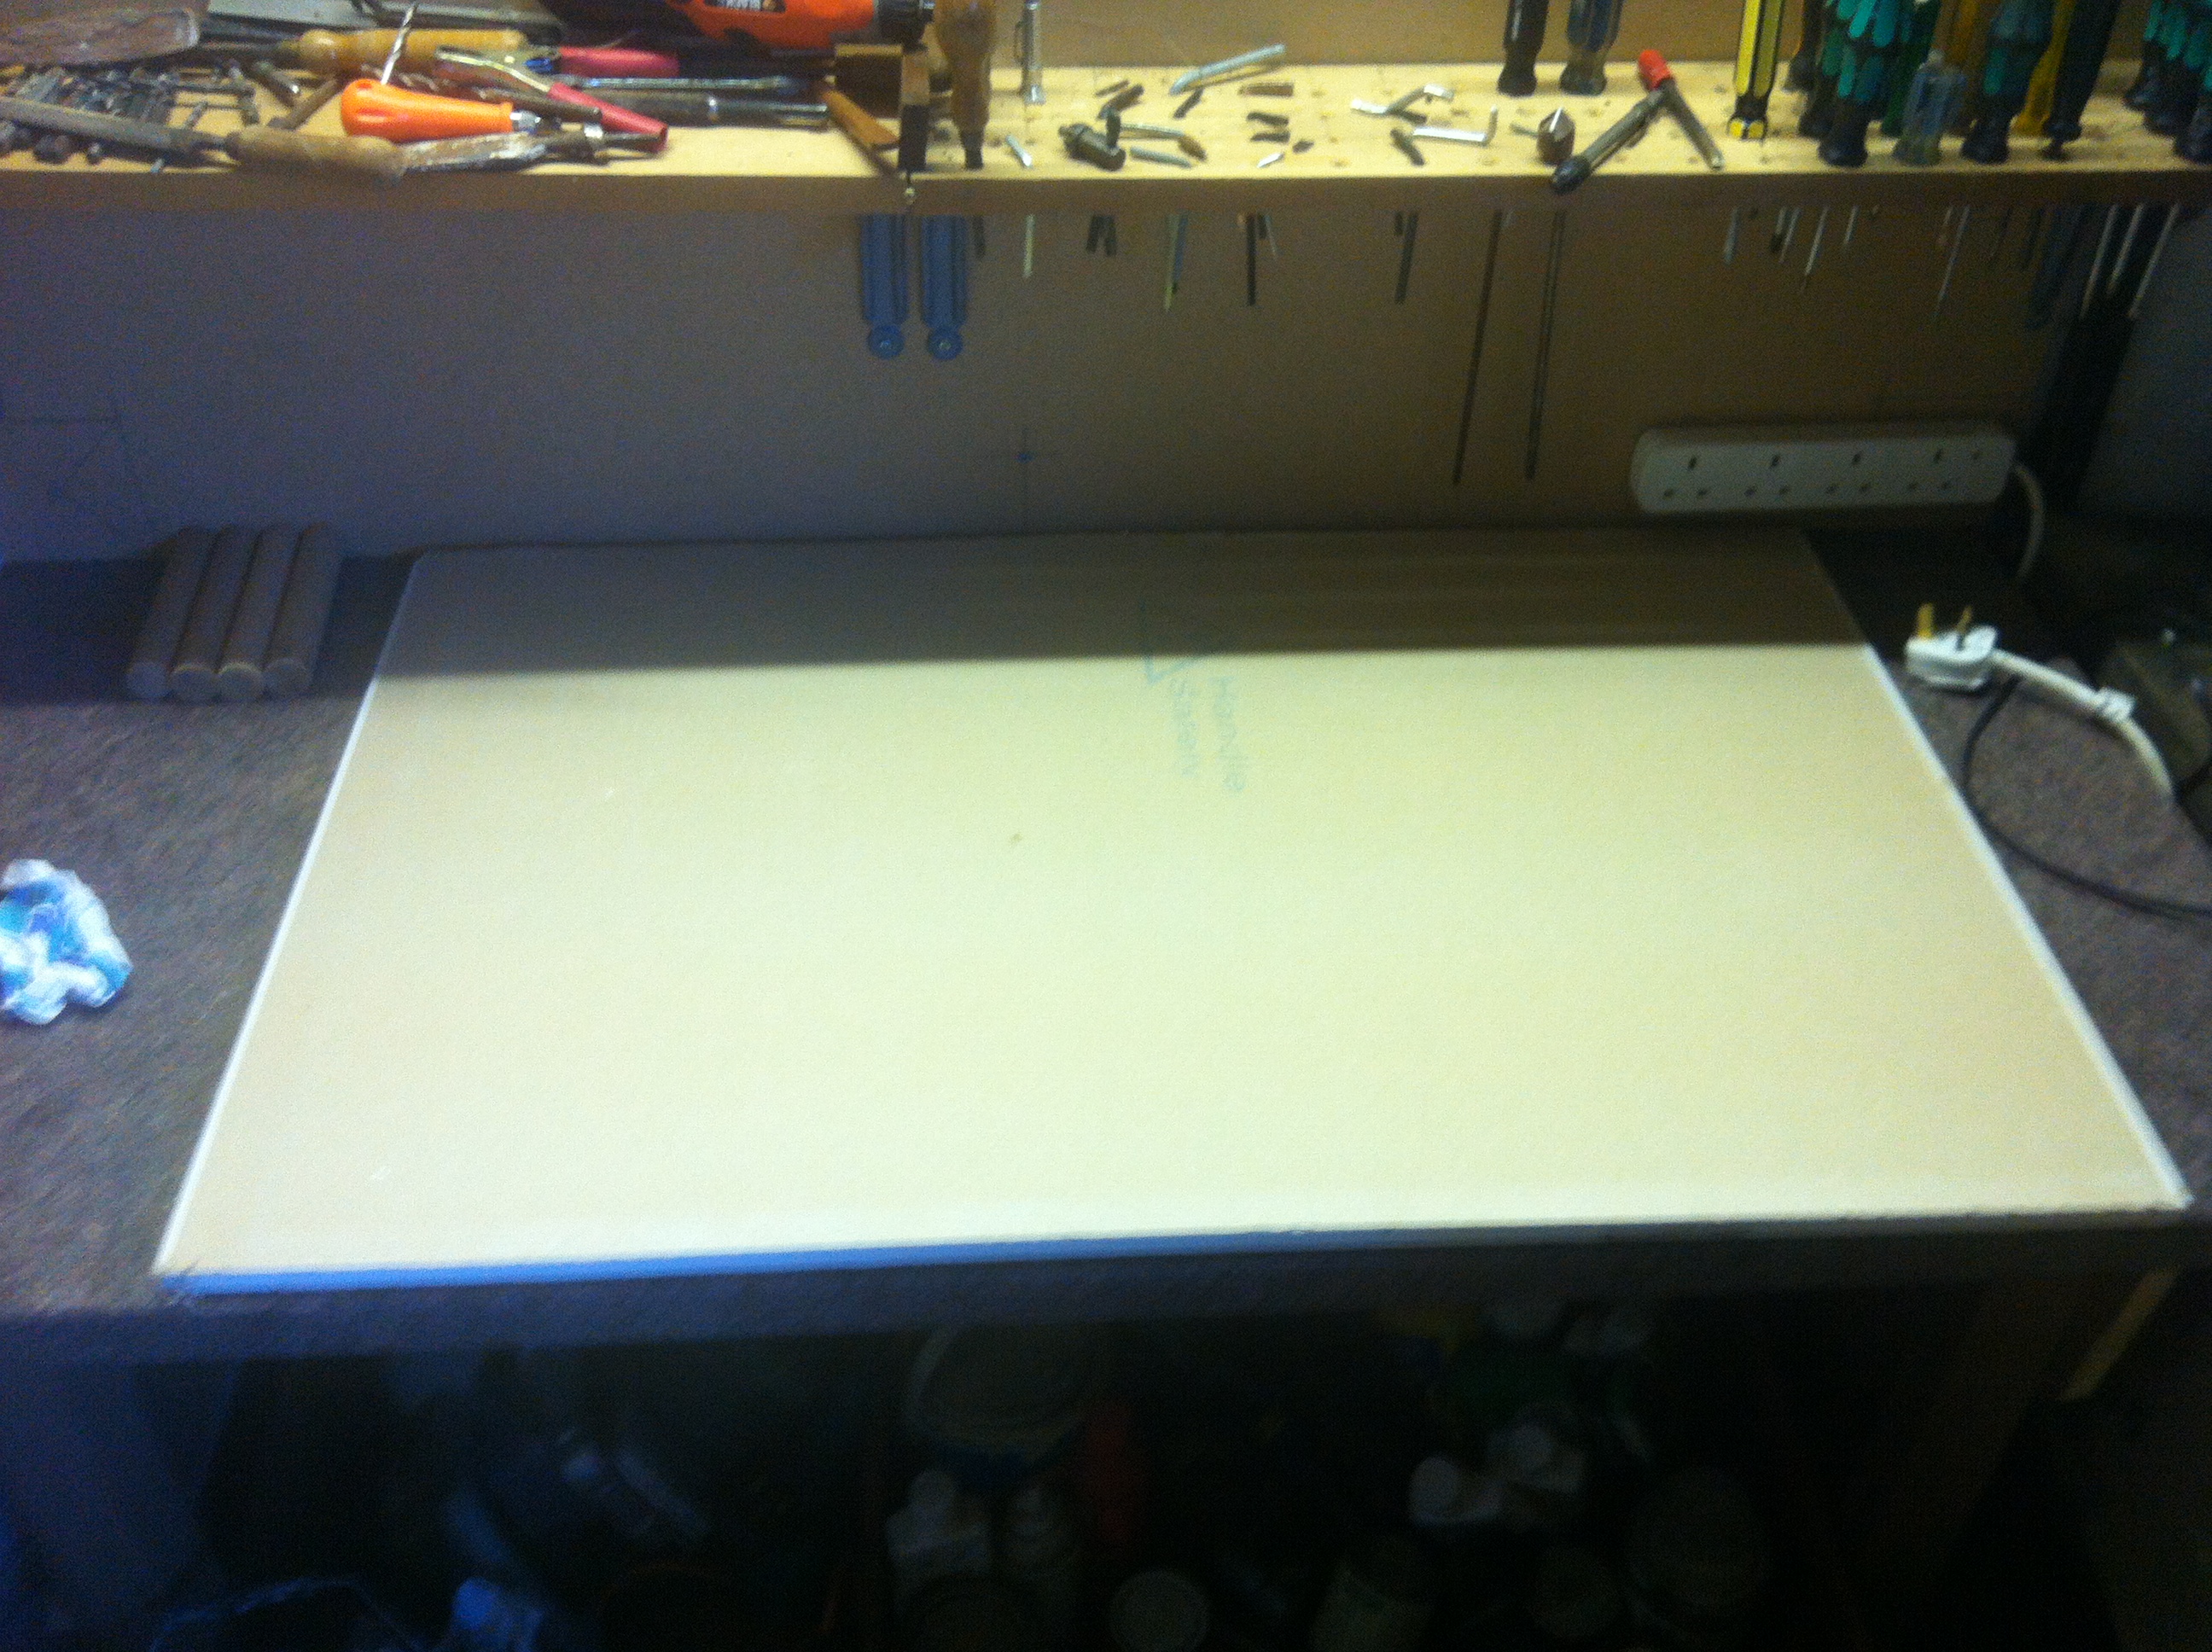
And then, my least favourite process of the whole project; gluing it all together. To start off I prepared my workbench by putting a bit of plasterboard on the bench so all the excess glue doesn't fall on it:
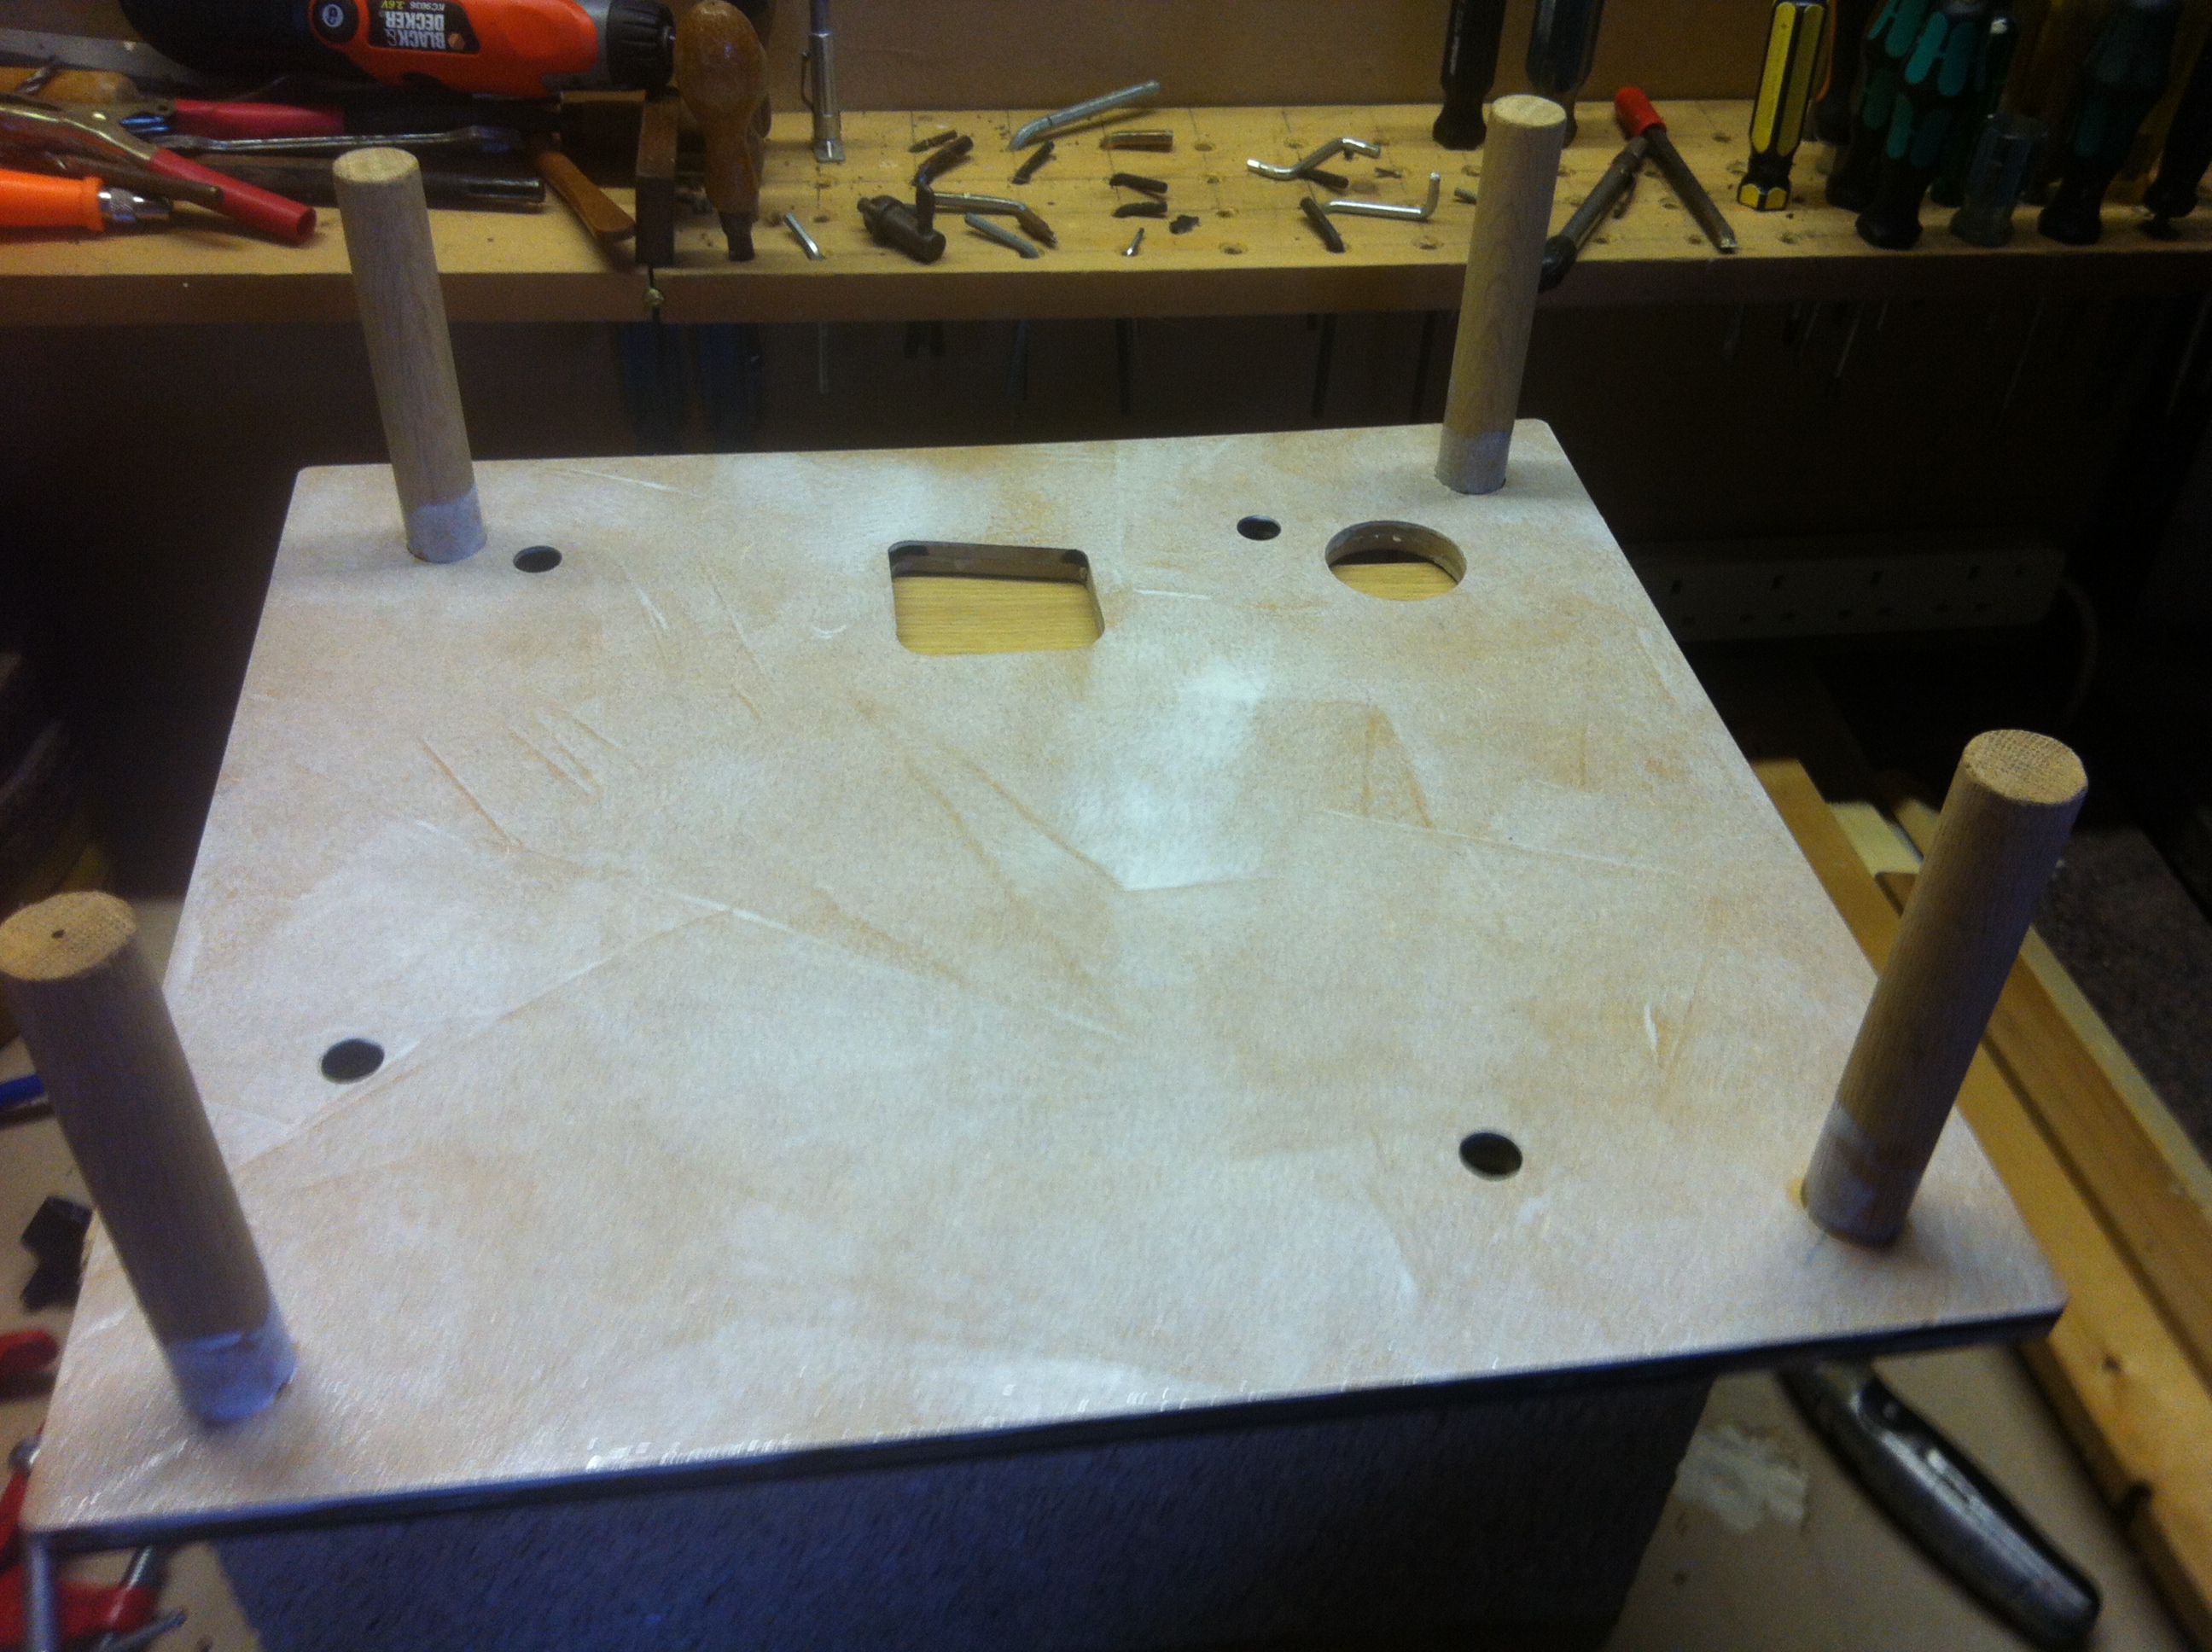
Then i started the gluing process by taking the first of the 4 bottom layers and gluing the wooden dowels to it:

The dowels fit perfectly:
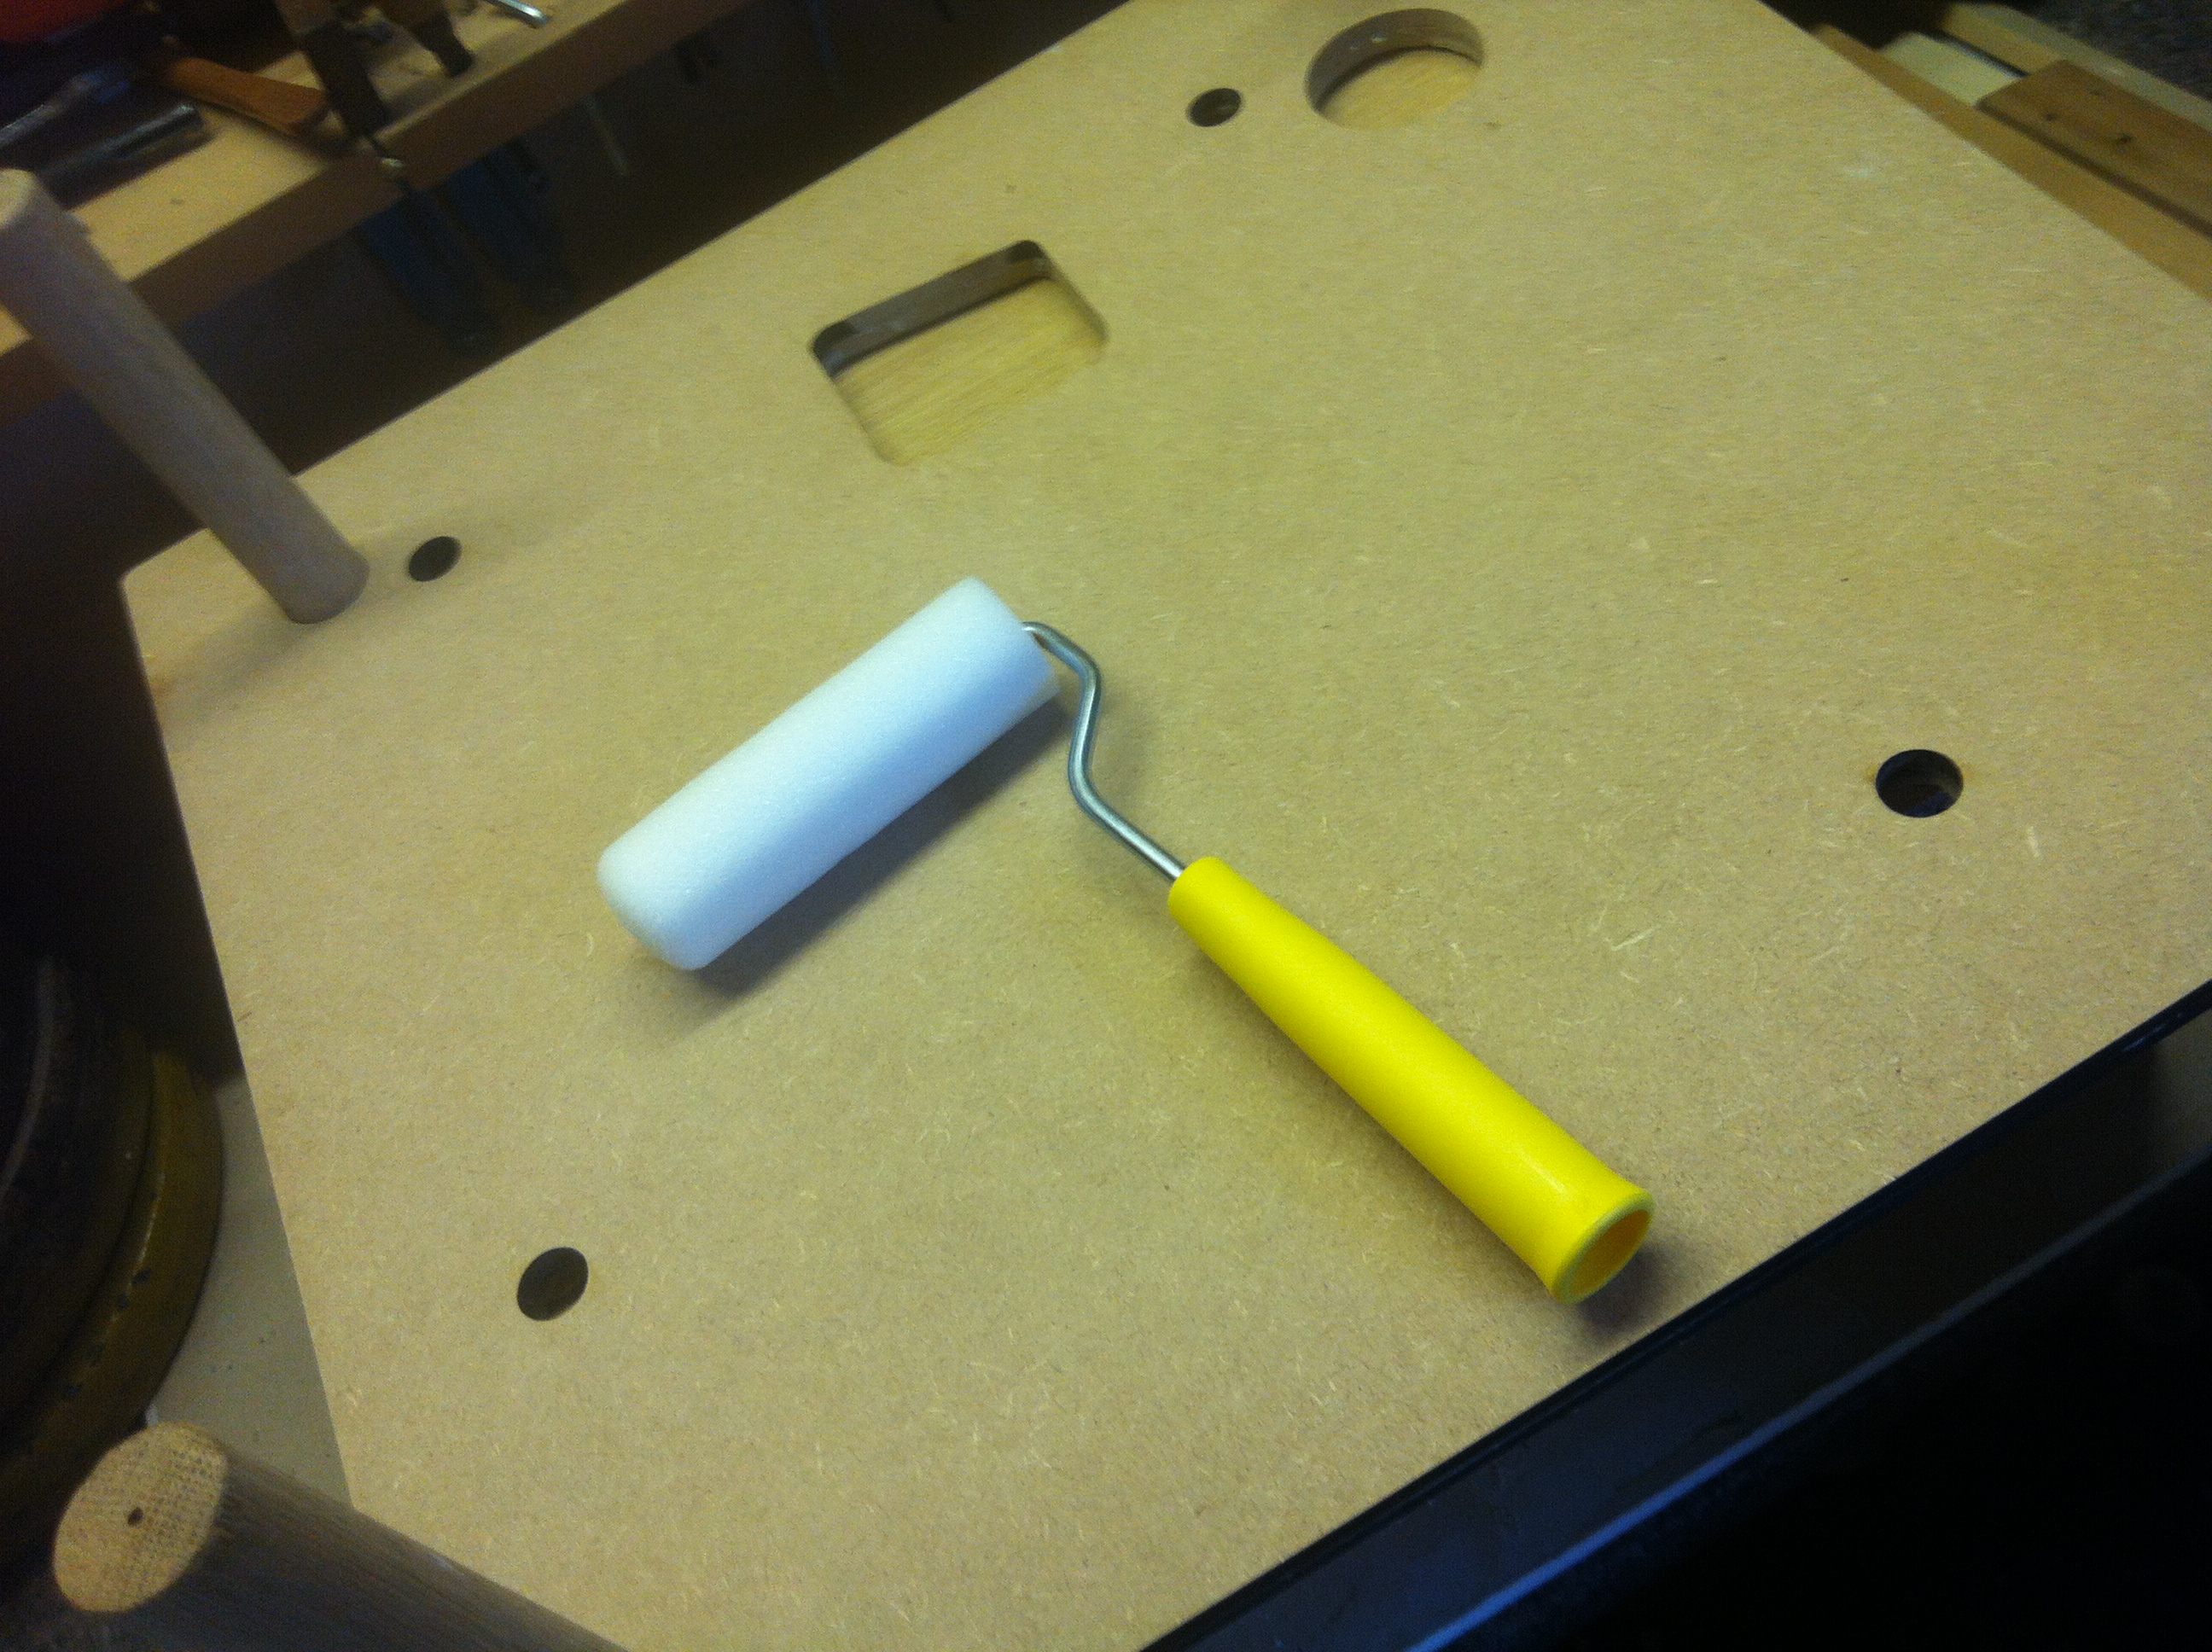
Now to glue the remaining 3 layers I had to pour quite a lot of glue onto the piece and try to evenly cover it all with a squeegee but I was wasting way too much glue:
So i decided to use a foam paint roller which made my job much quicker, less messy and used just the right amount of glue:
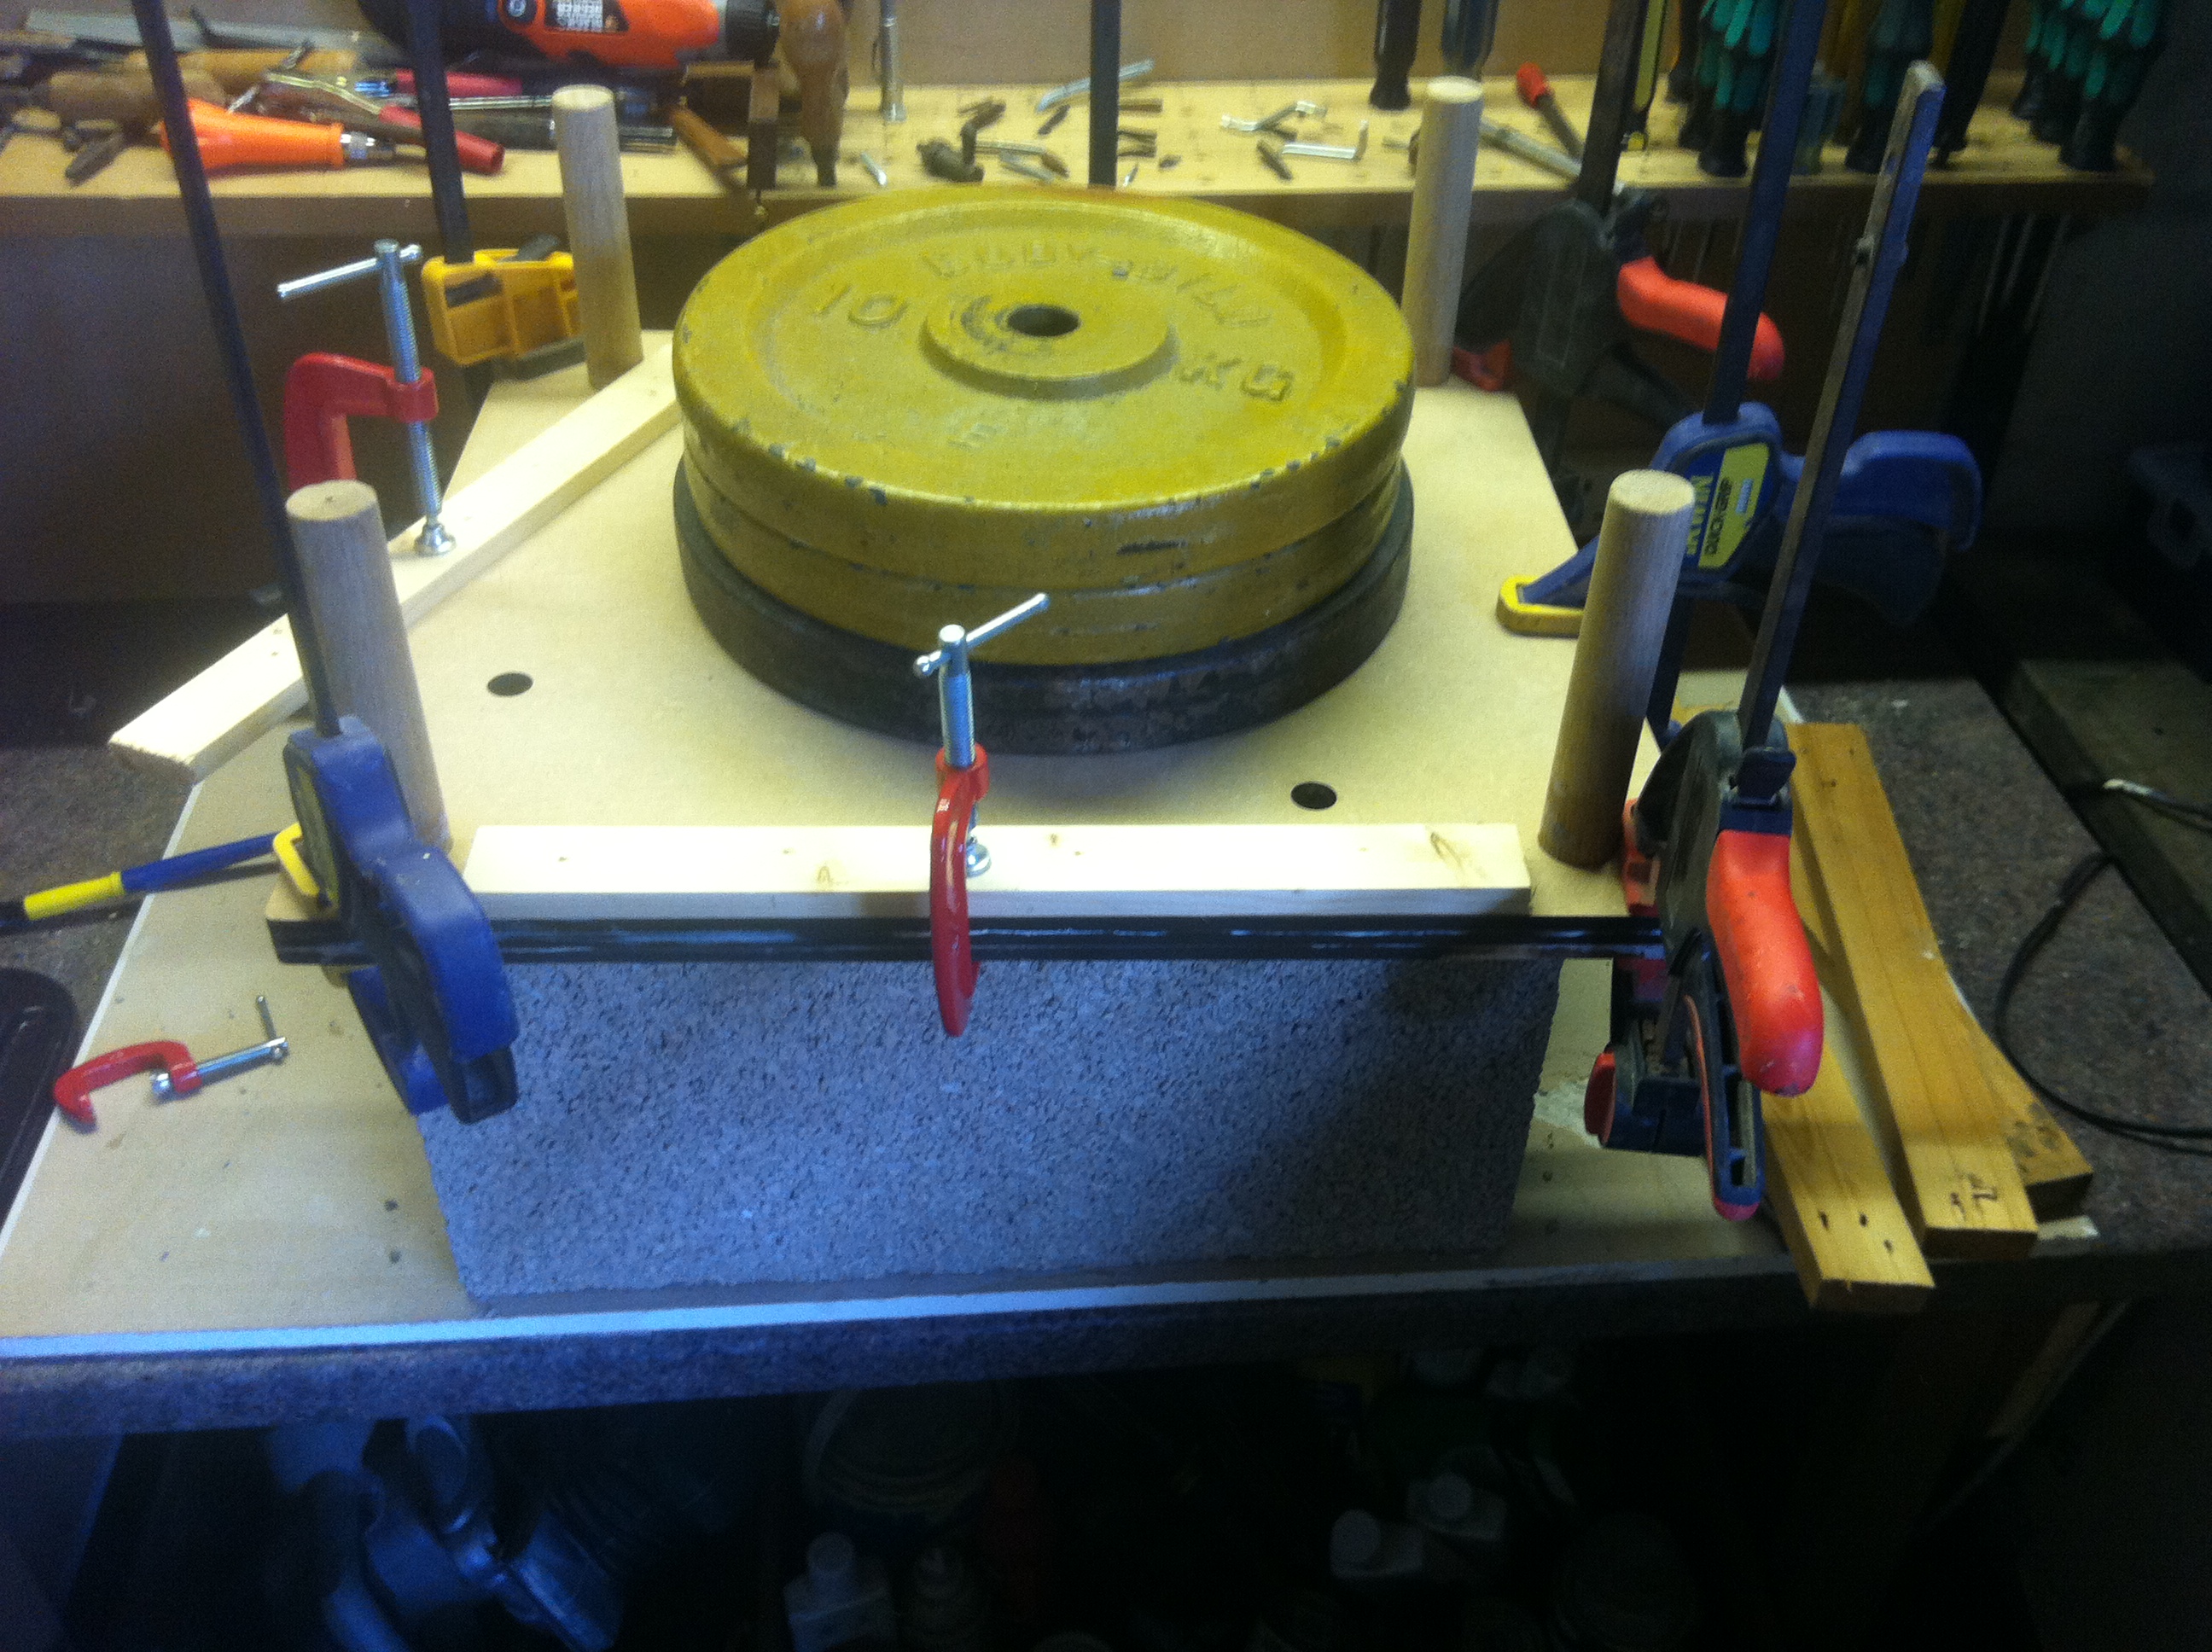
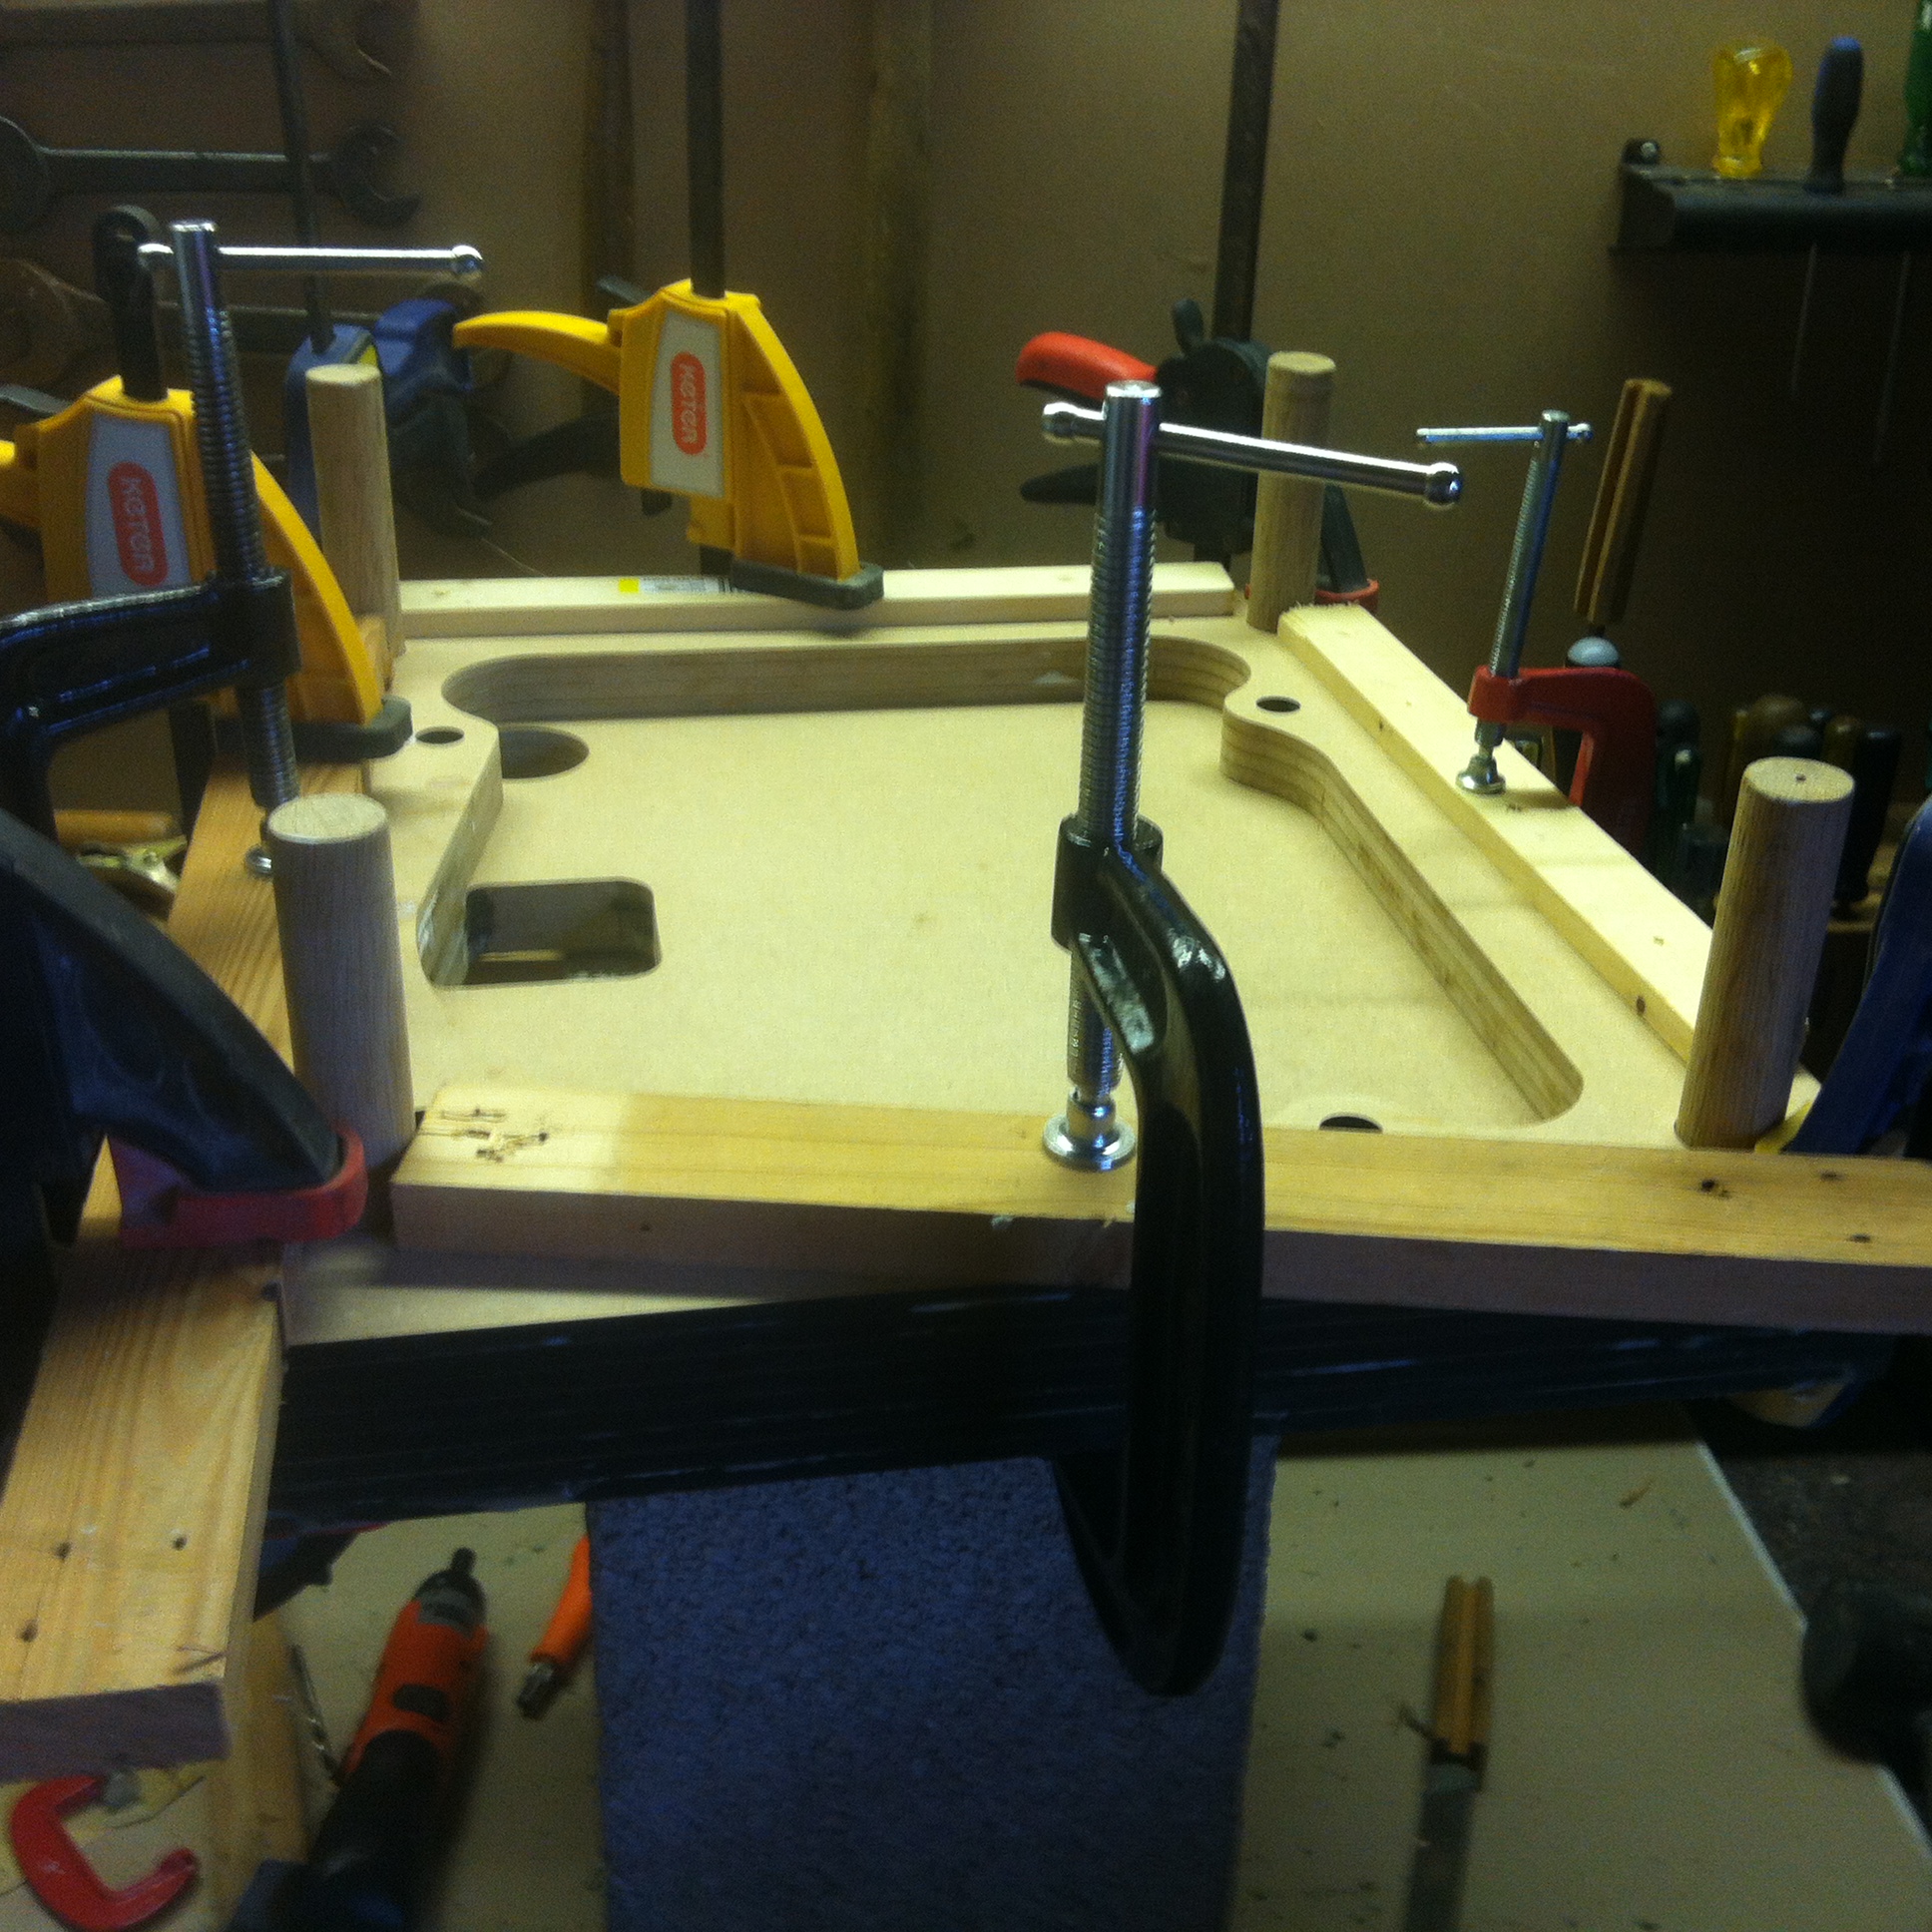
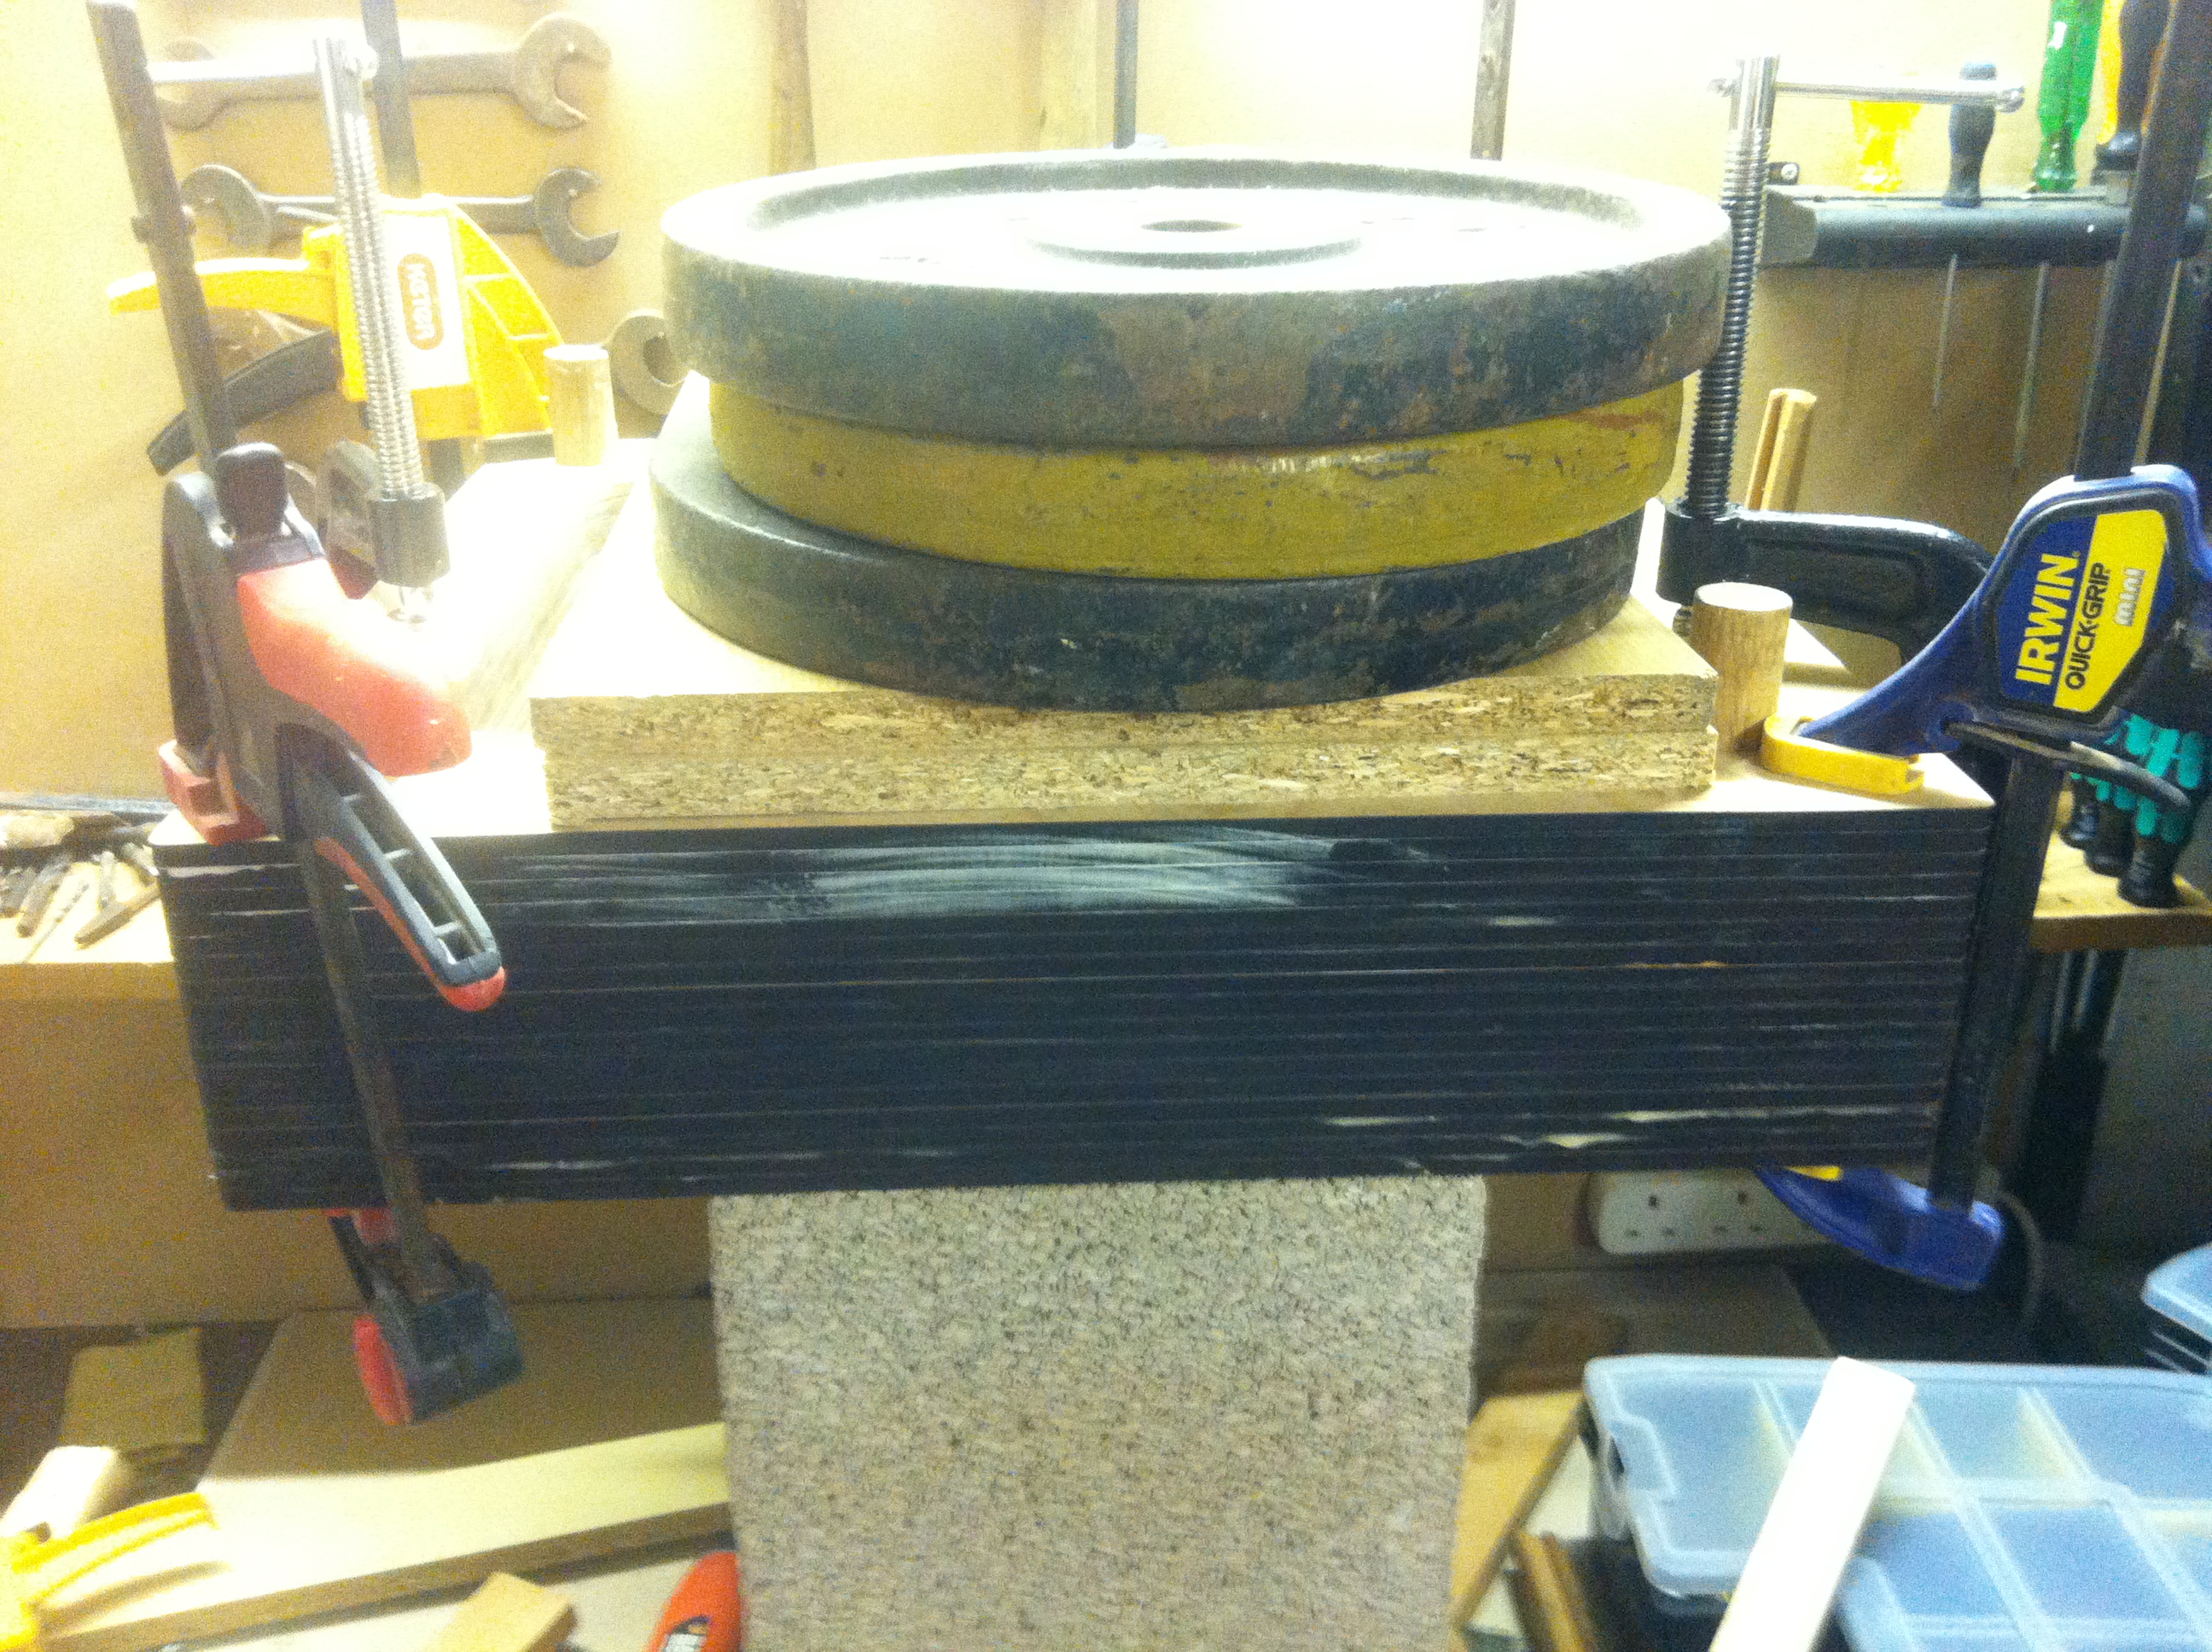
From now, i just kept stacking all the layers together, 4 at a time so the glue doesn't start drying and binding before I clamped everything down:
I used normal G clamps for the edges and then about 40kg of gym weights placed on a piece of wood to stop everything bowing out. The plinth was sitting on concrete blocks so I had the space for the clamp.
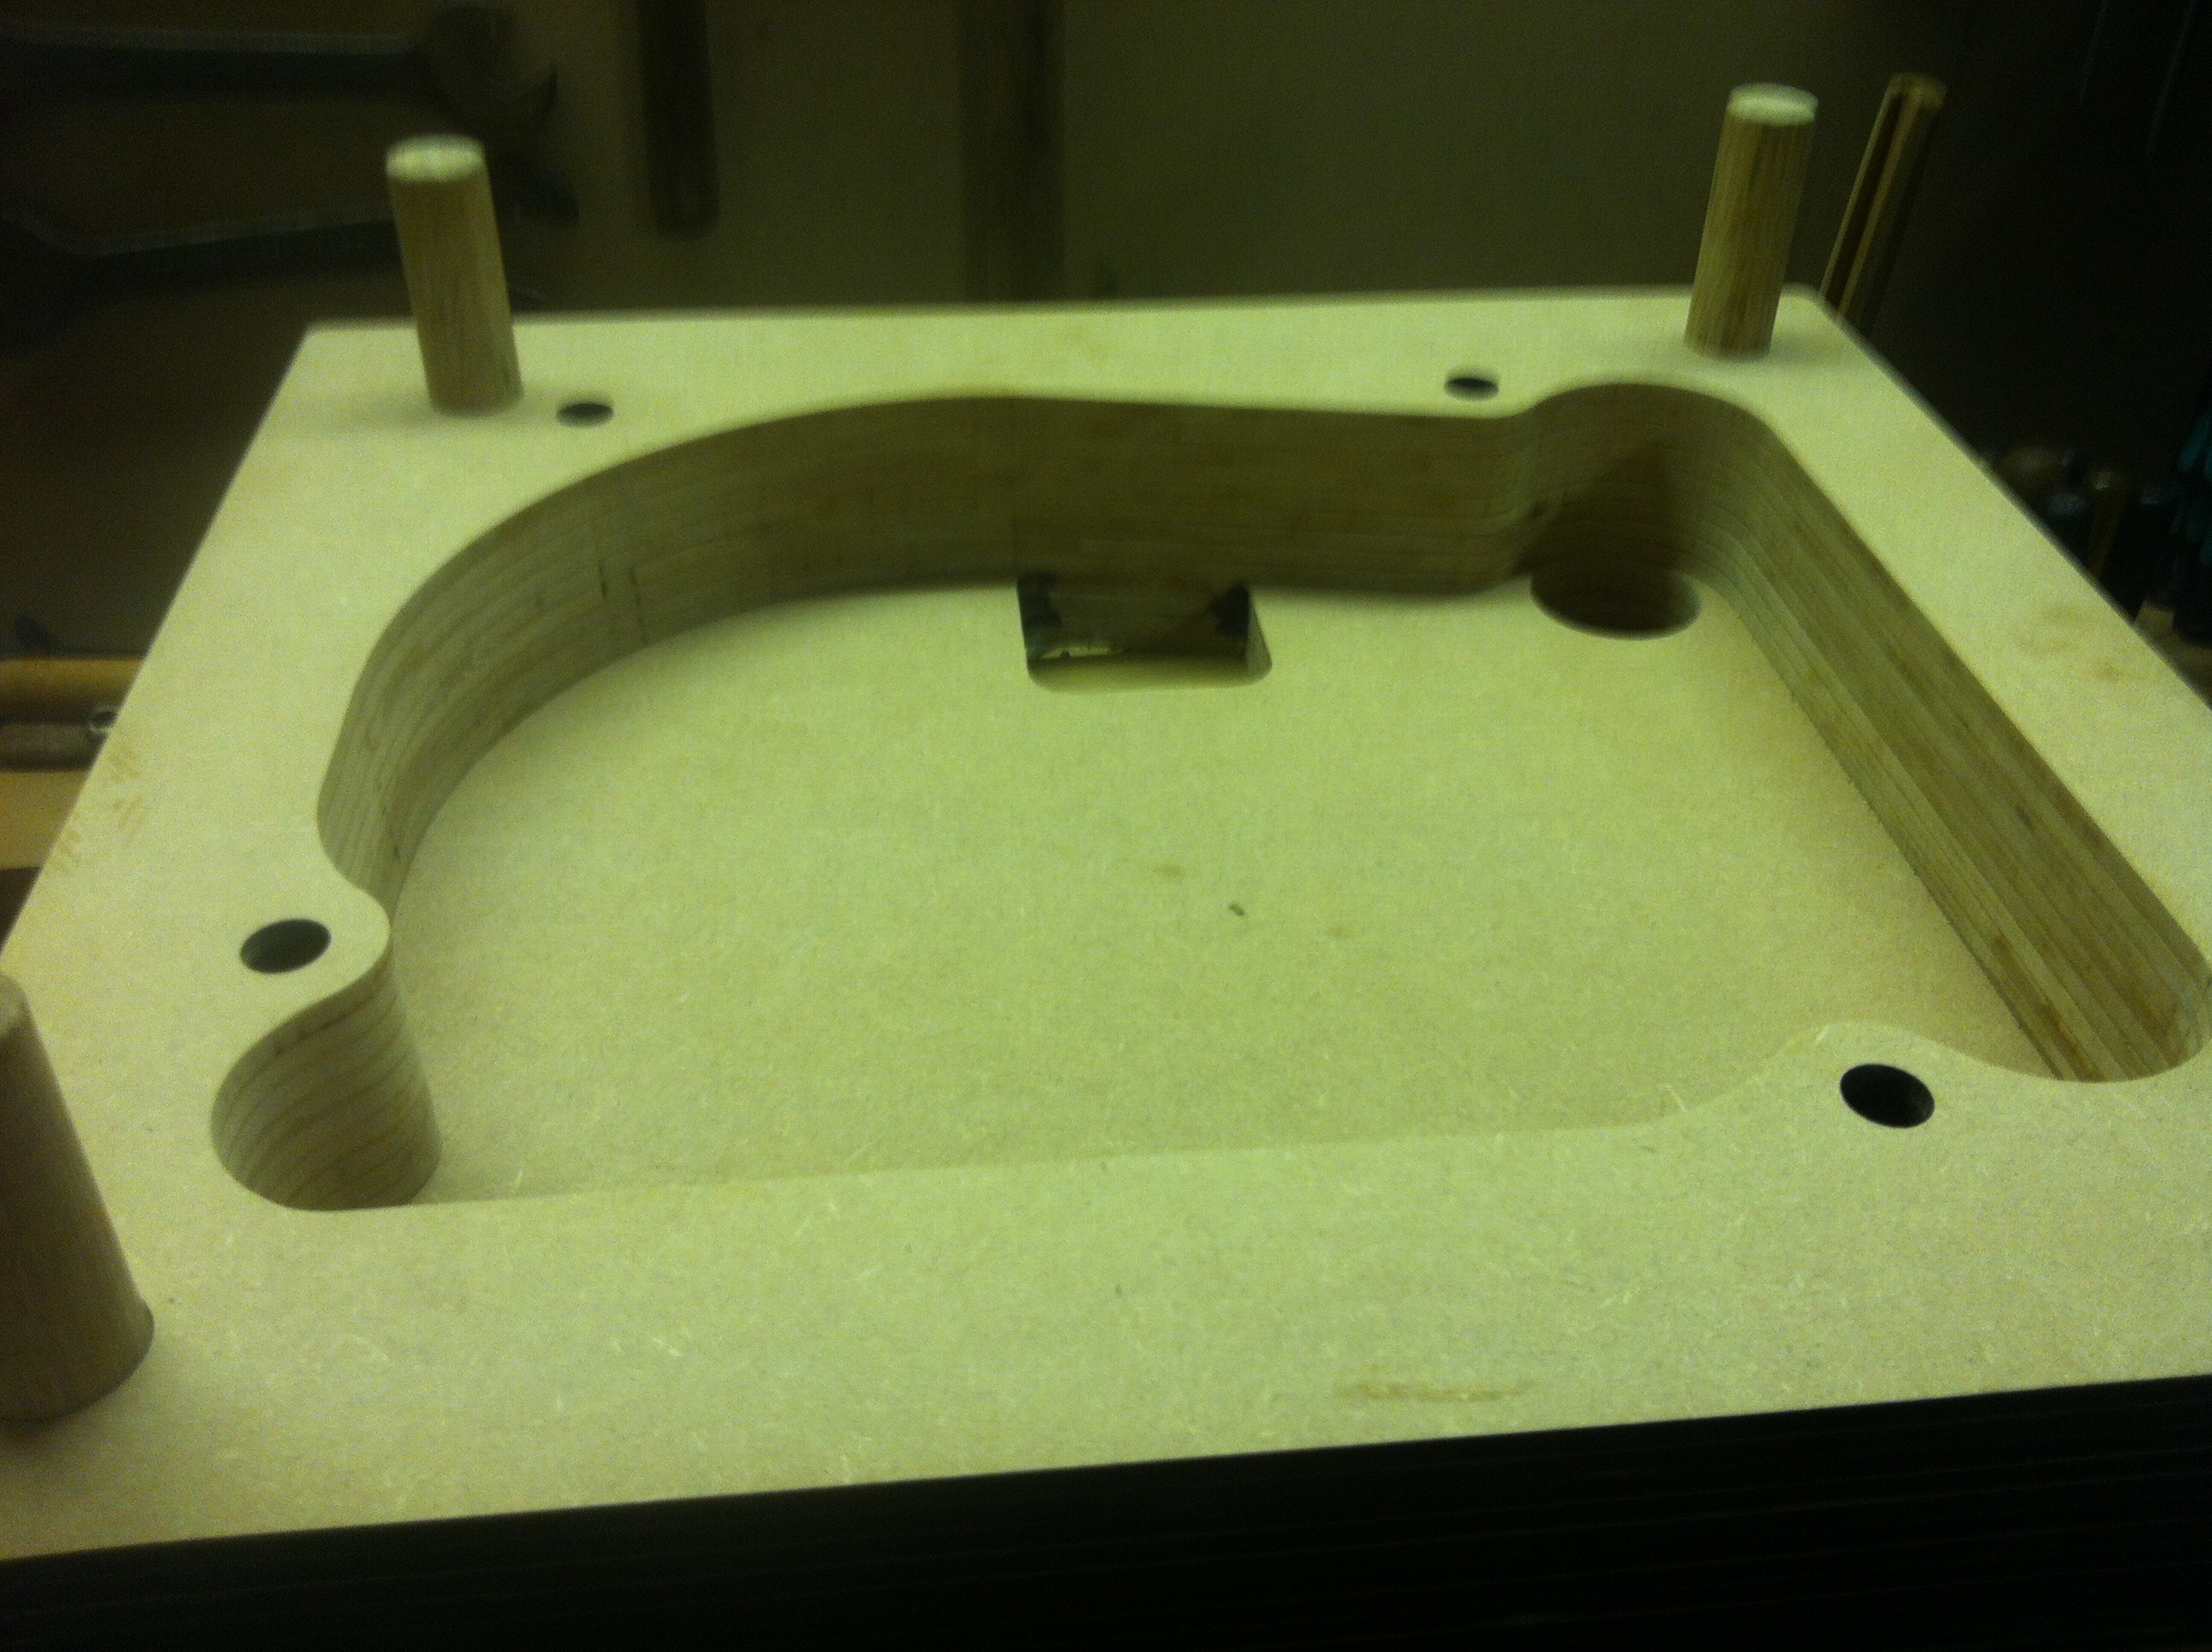
Here's a few progress shots:
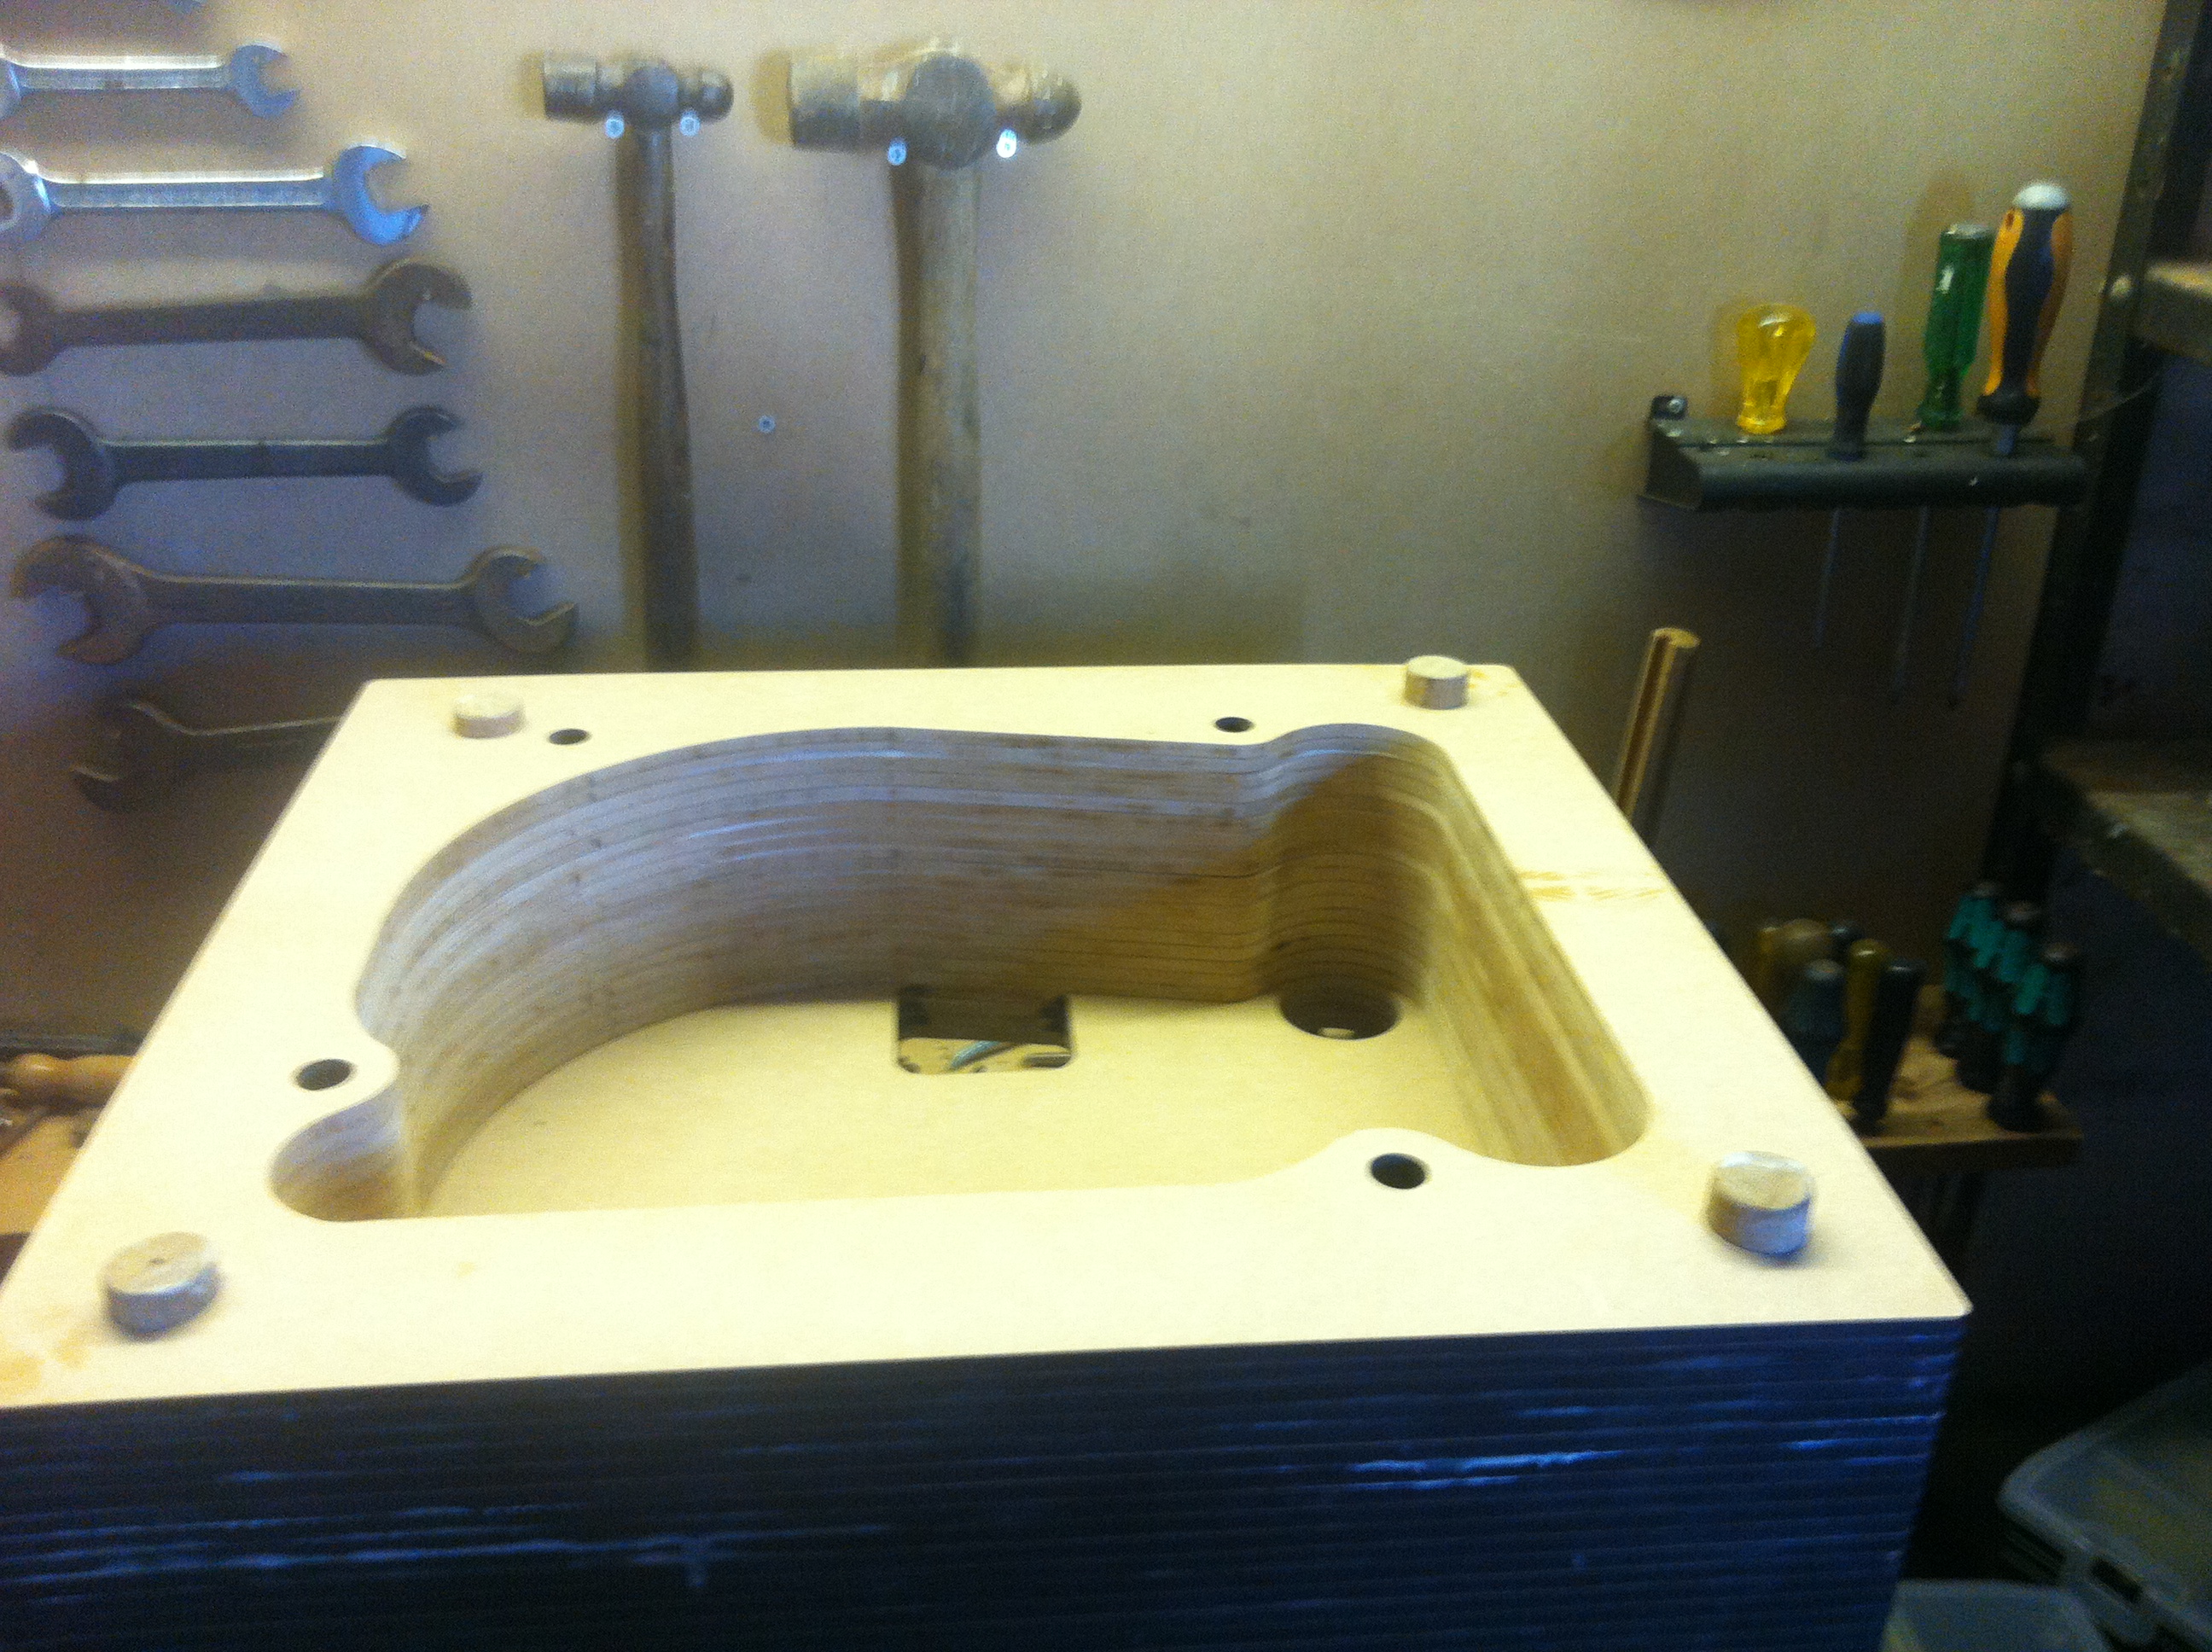
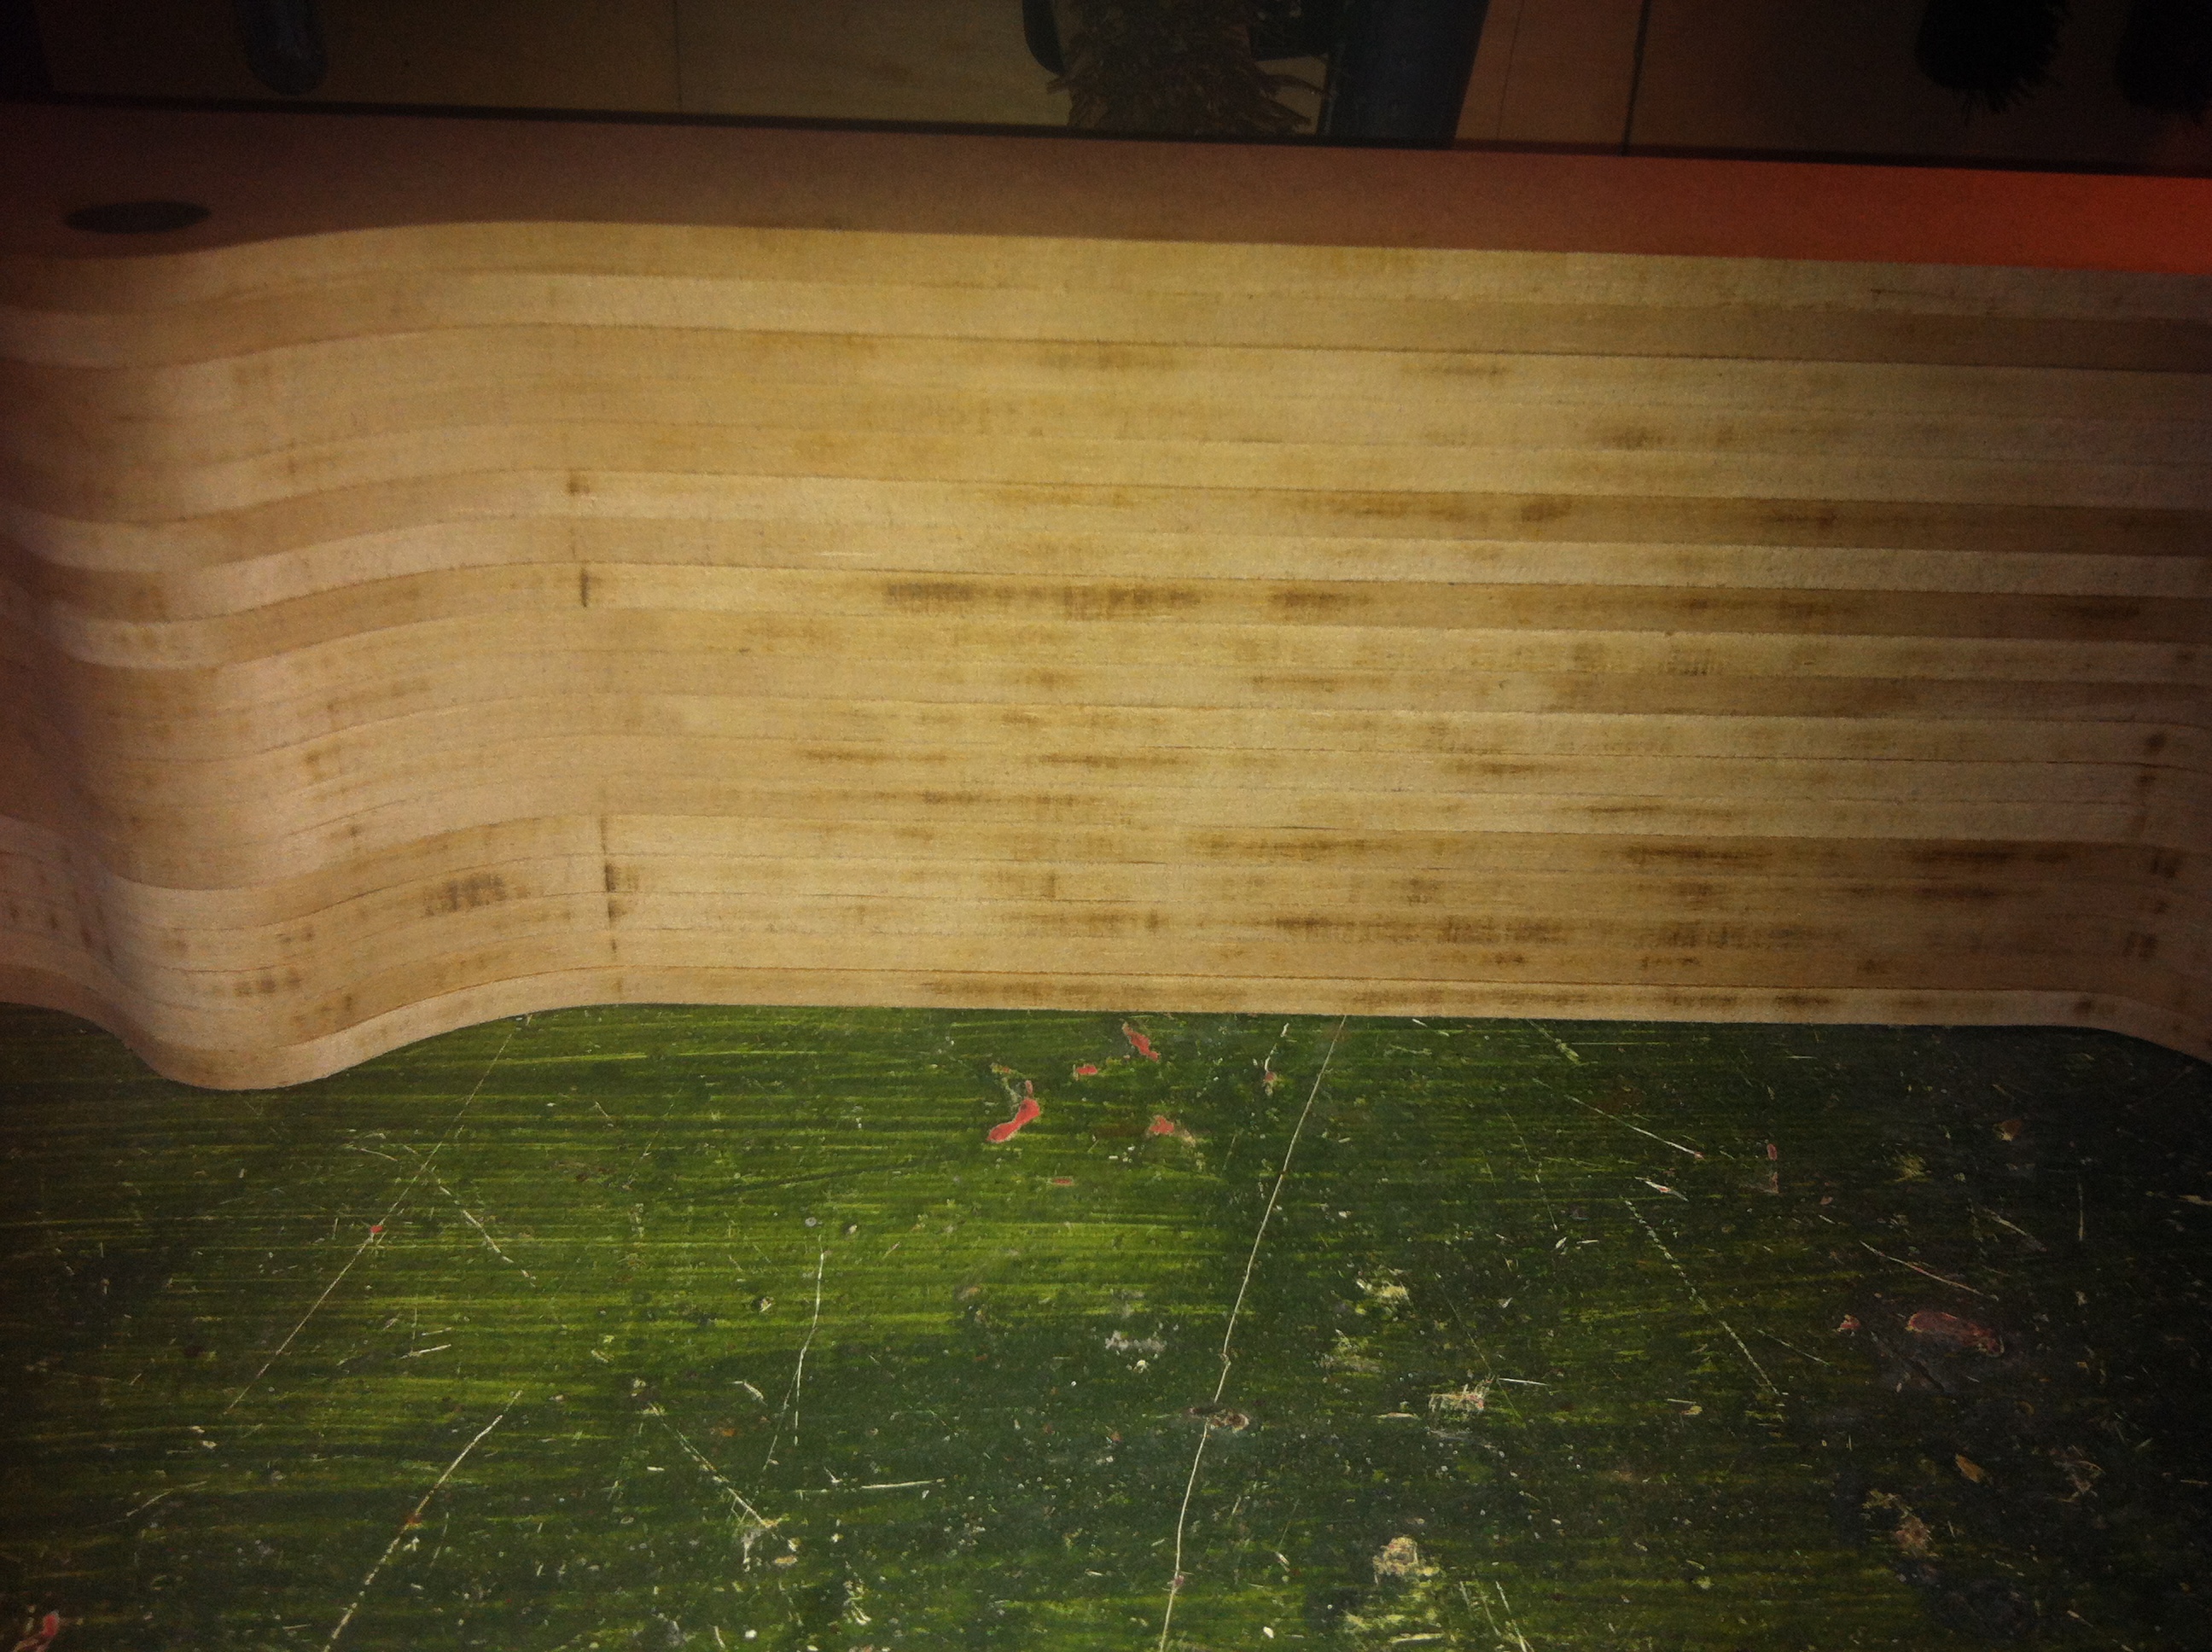
After gluing the whole plinth together the next step was to sand down the black sides of the plinth. This was a job and a half and it took me about an hour of careful sanding to sand down each of the 4 sides.
Before pics:
In the pic below you can see a couple of cracks that appeared. I don't know how this happened maybe I haven’t used enough glue. It's too late to fix it now so all I can do is hide it with filler later on.
Here are a couple more progress pics:
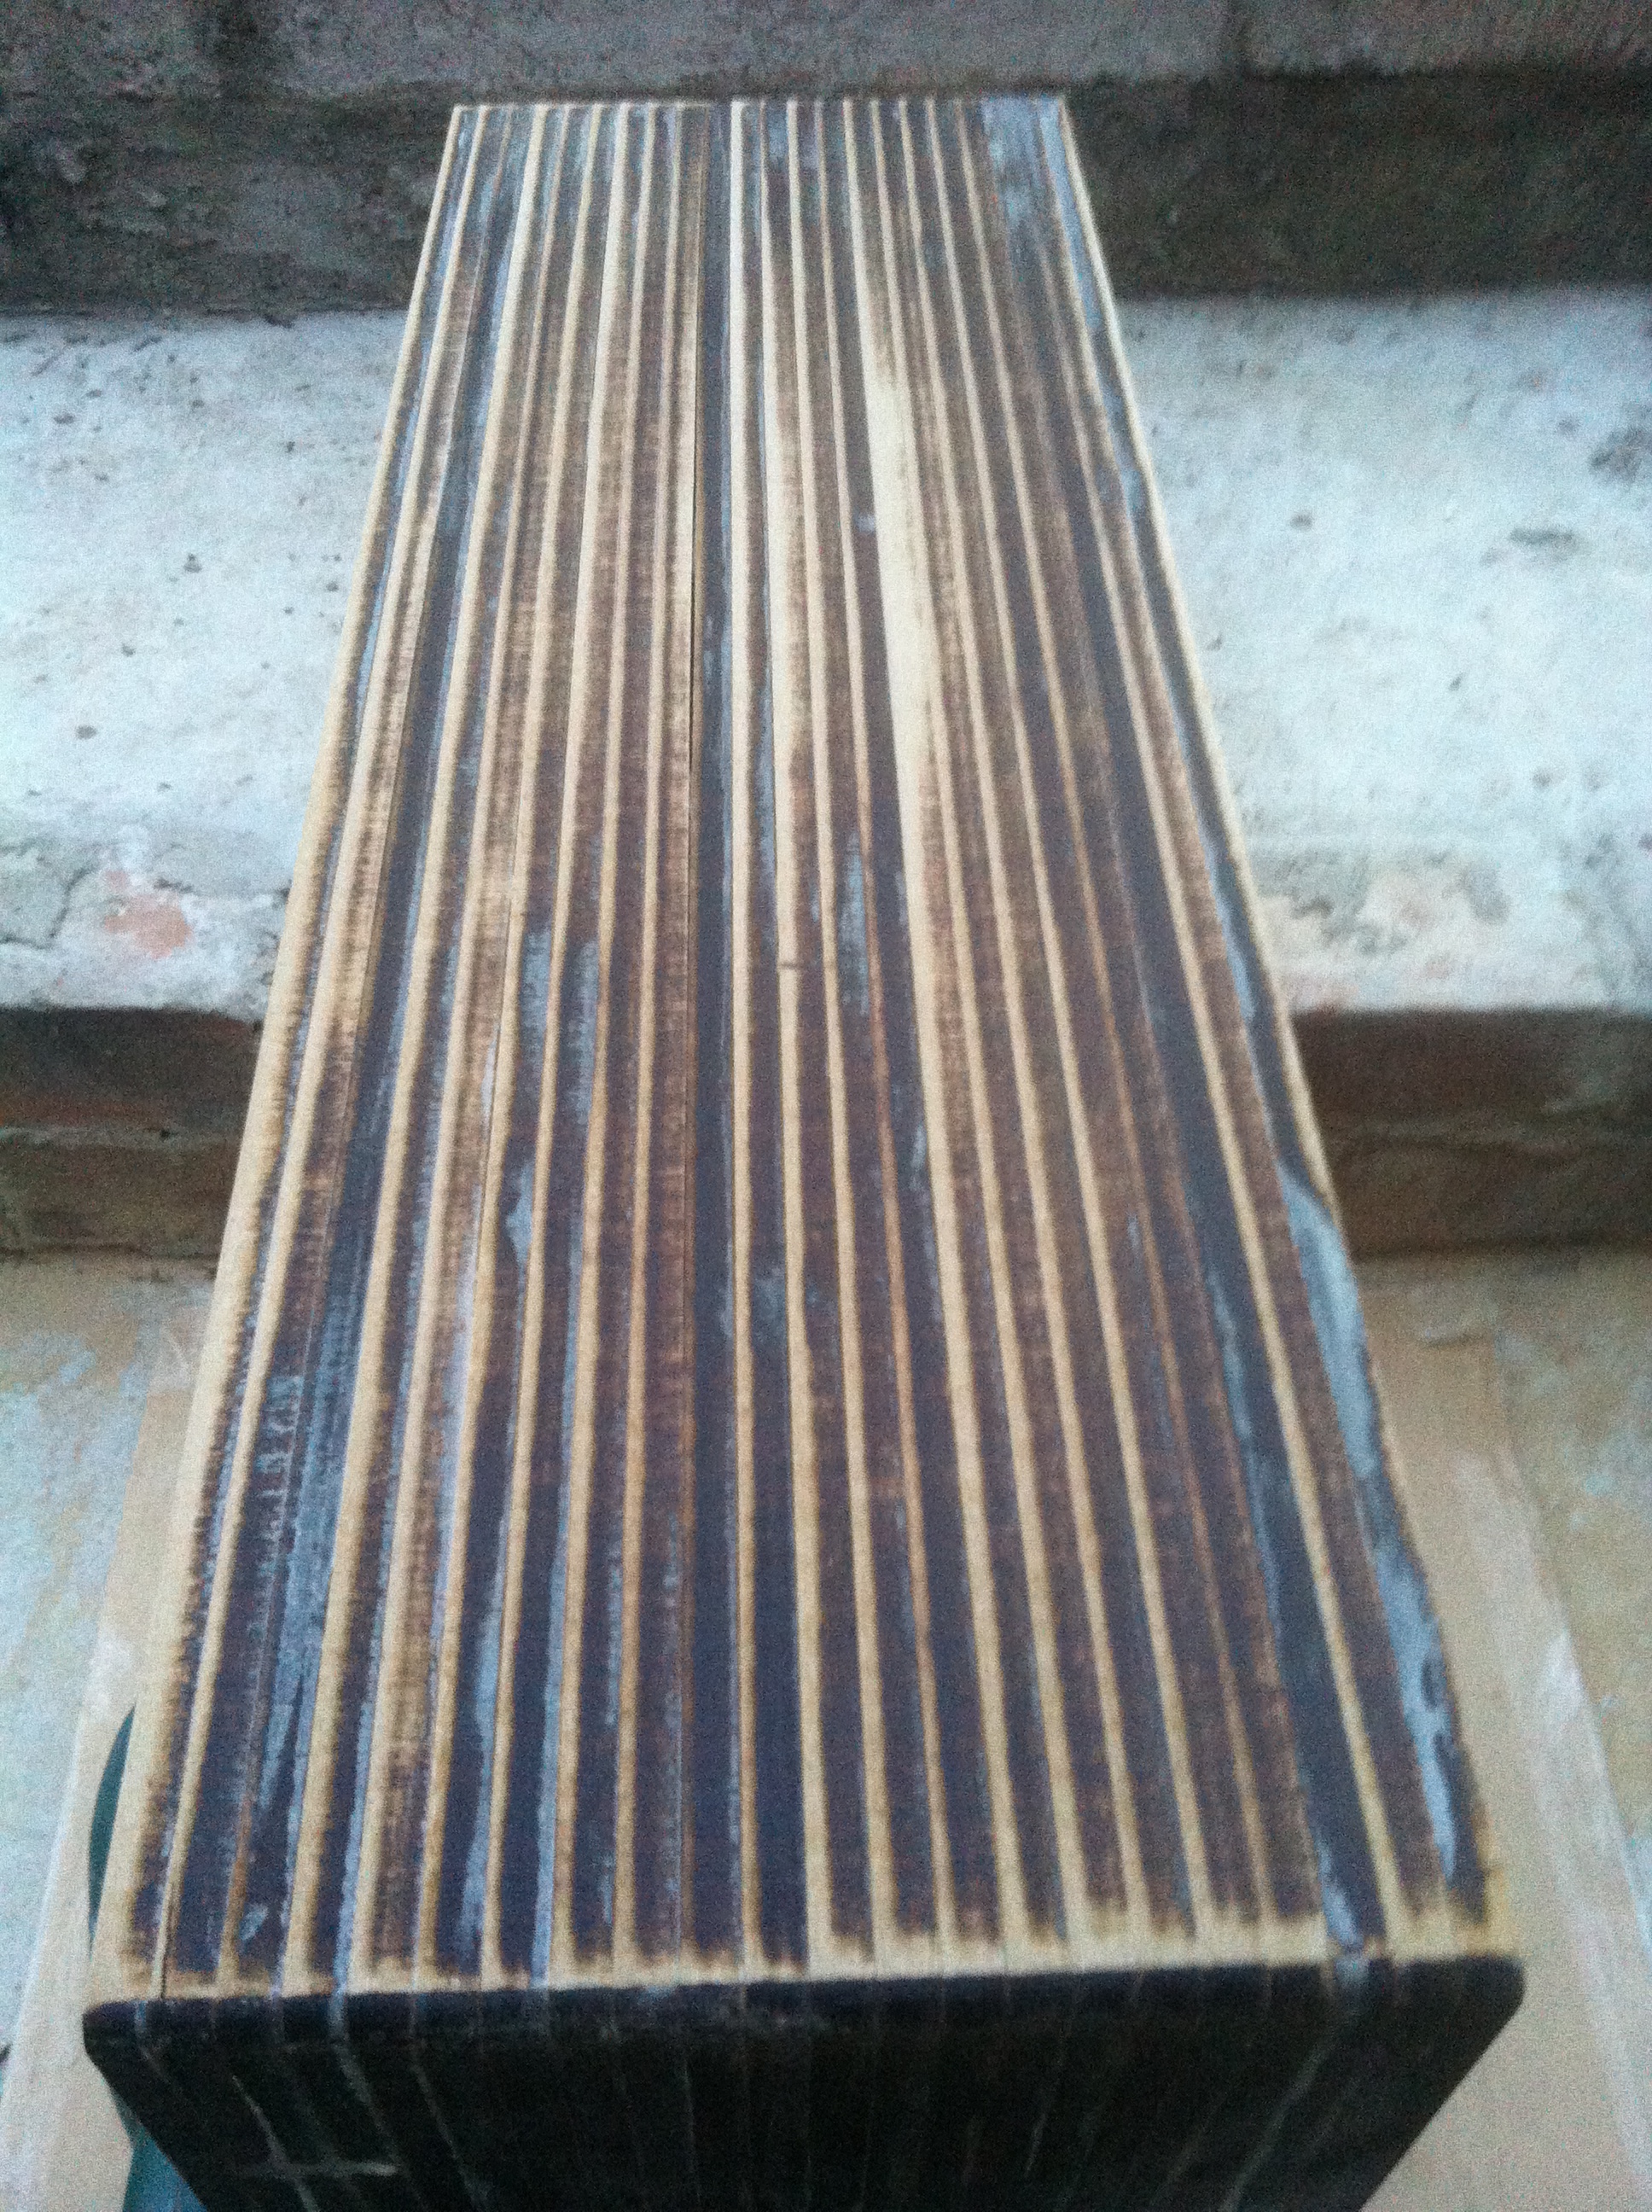
After sanded down the whole side flat, we can really see the separation between layers now:

Quality check:
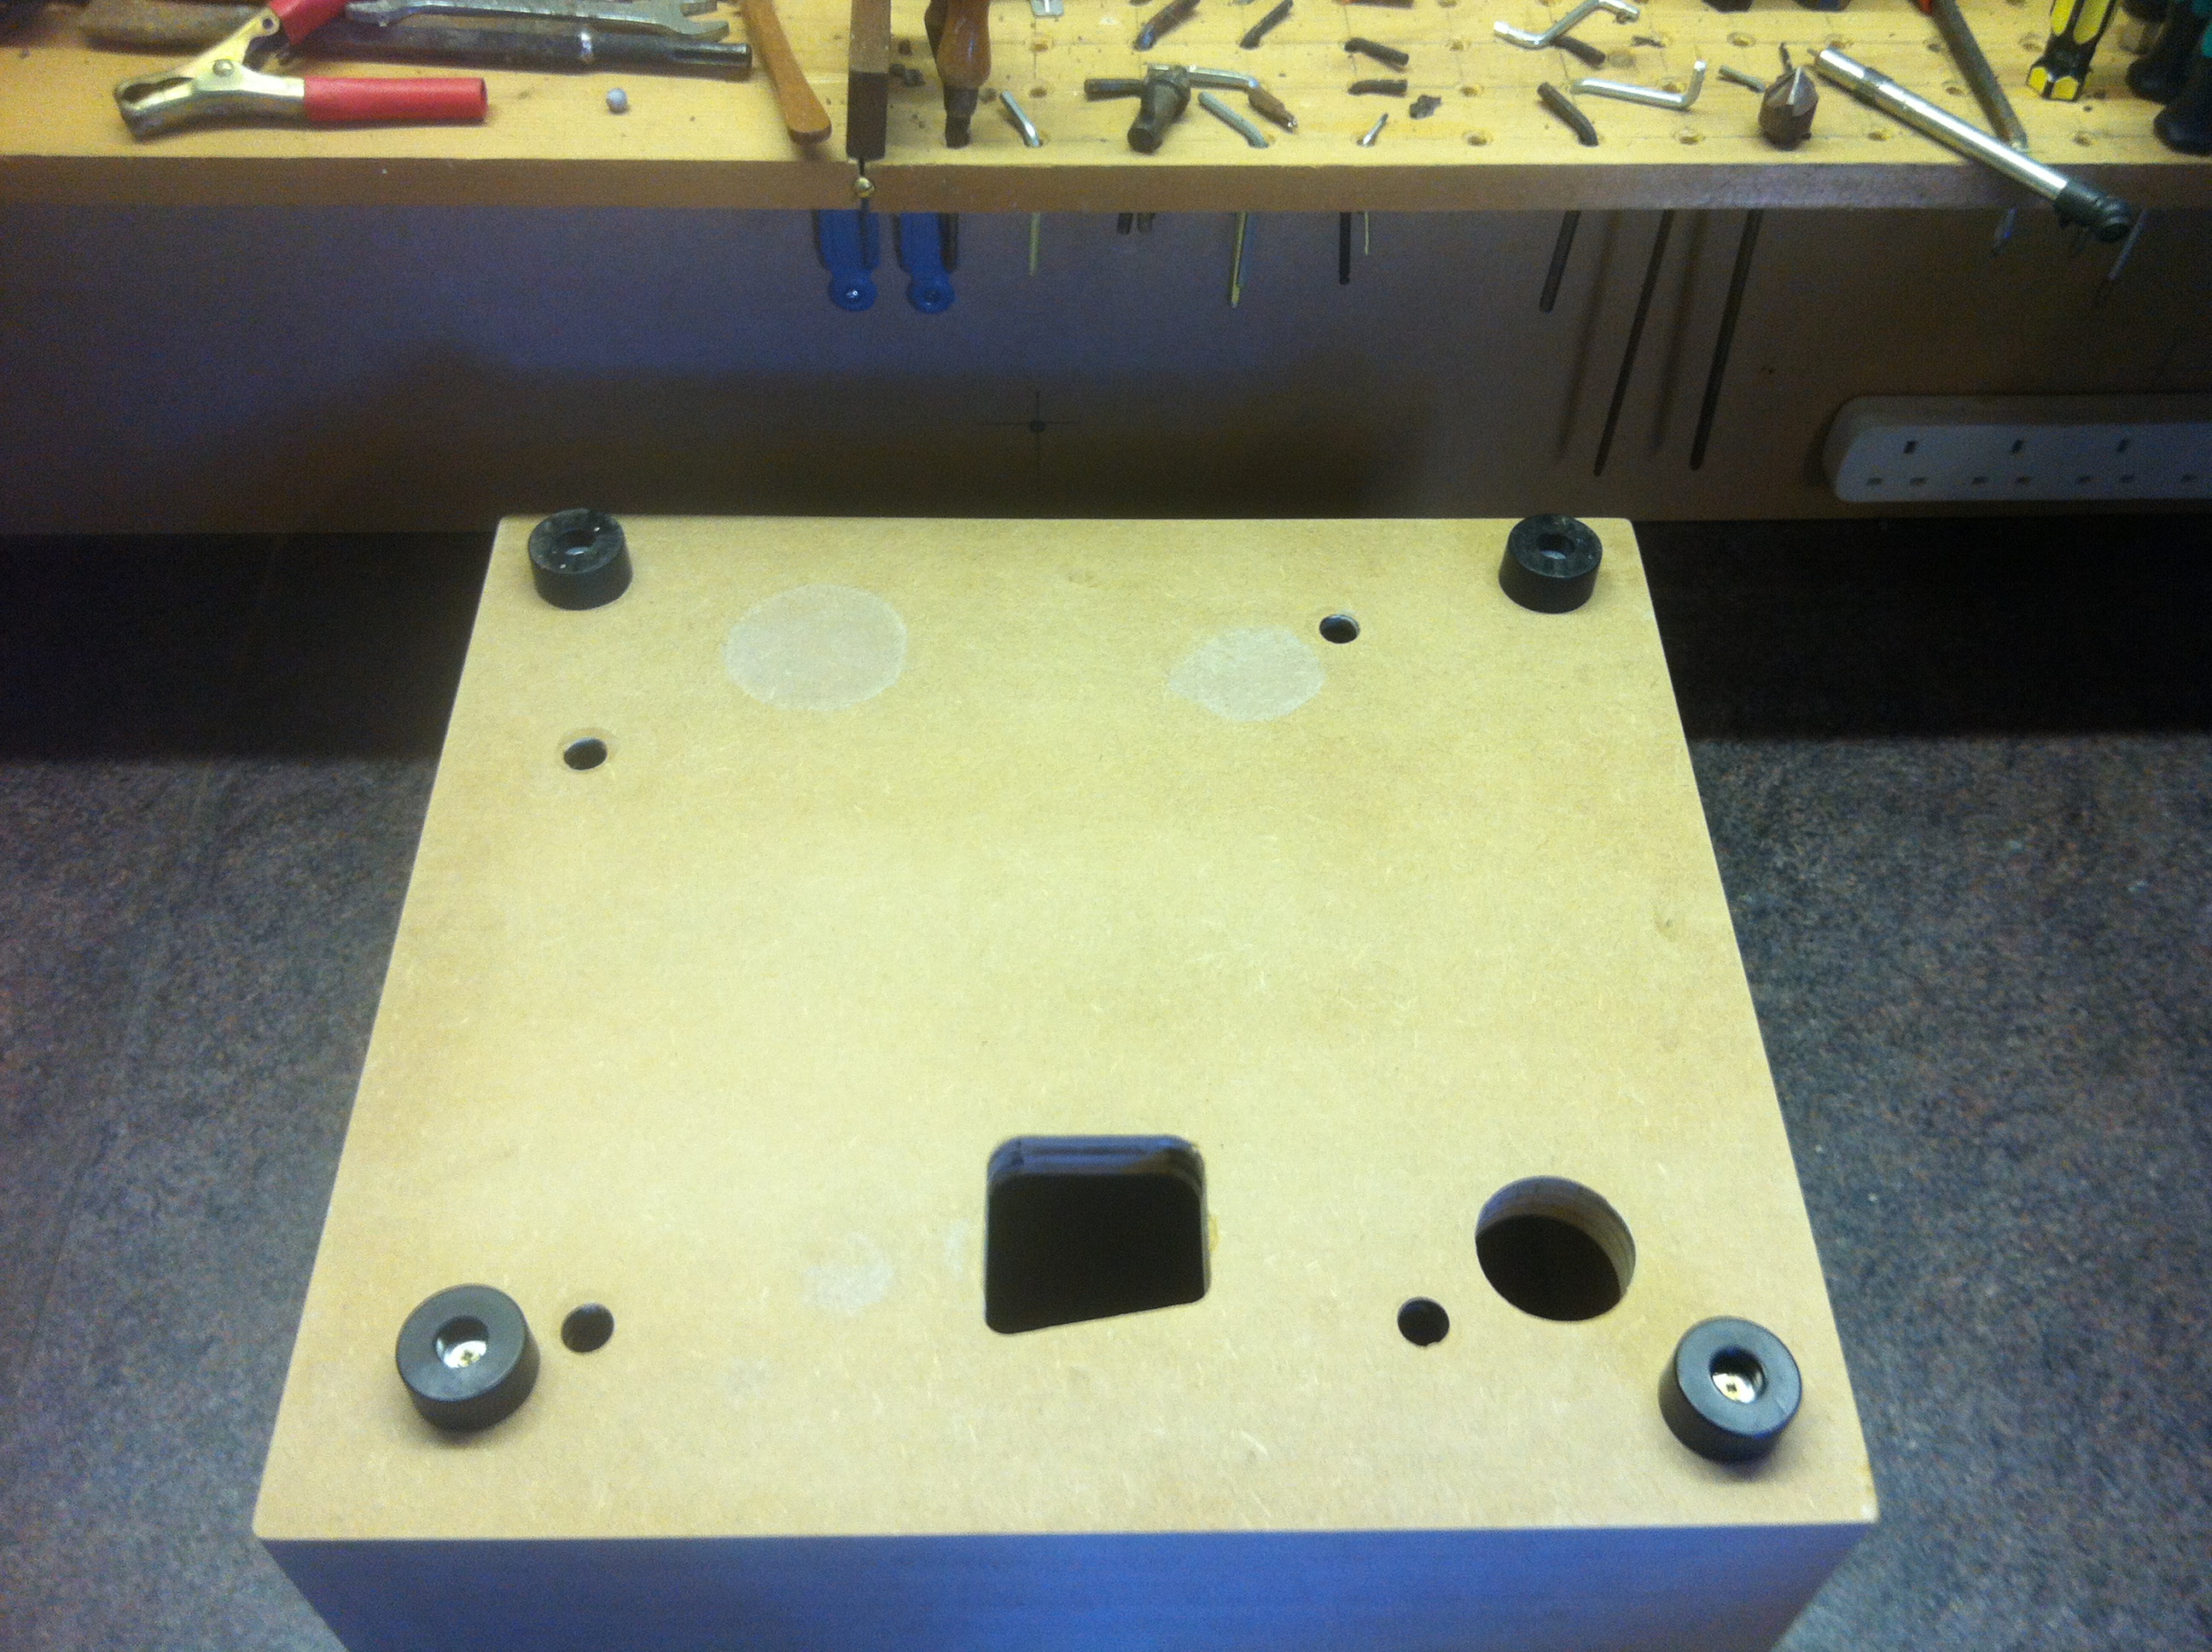
I sanded down the bottom too; the white circles were caused by excess glue leaking out when the plinth was being compressed by the clamps:
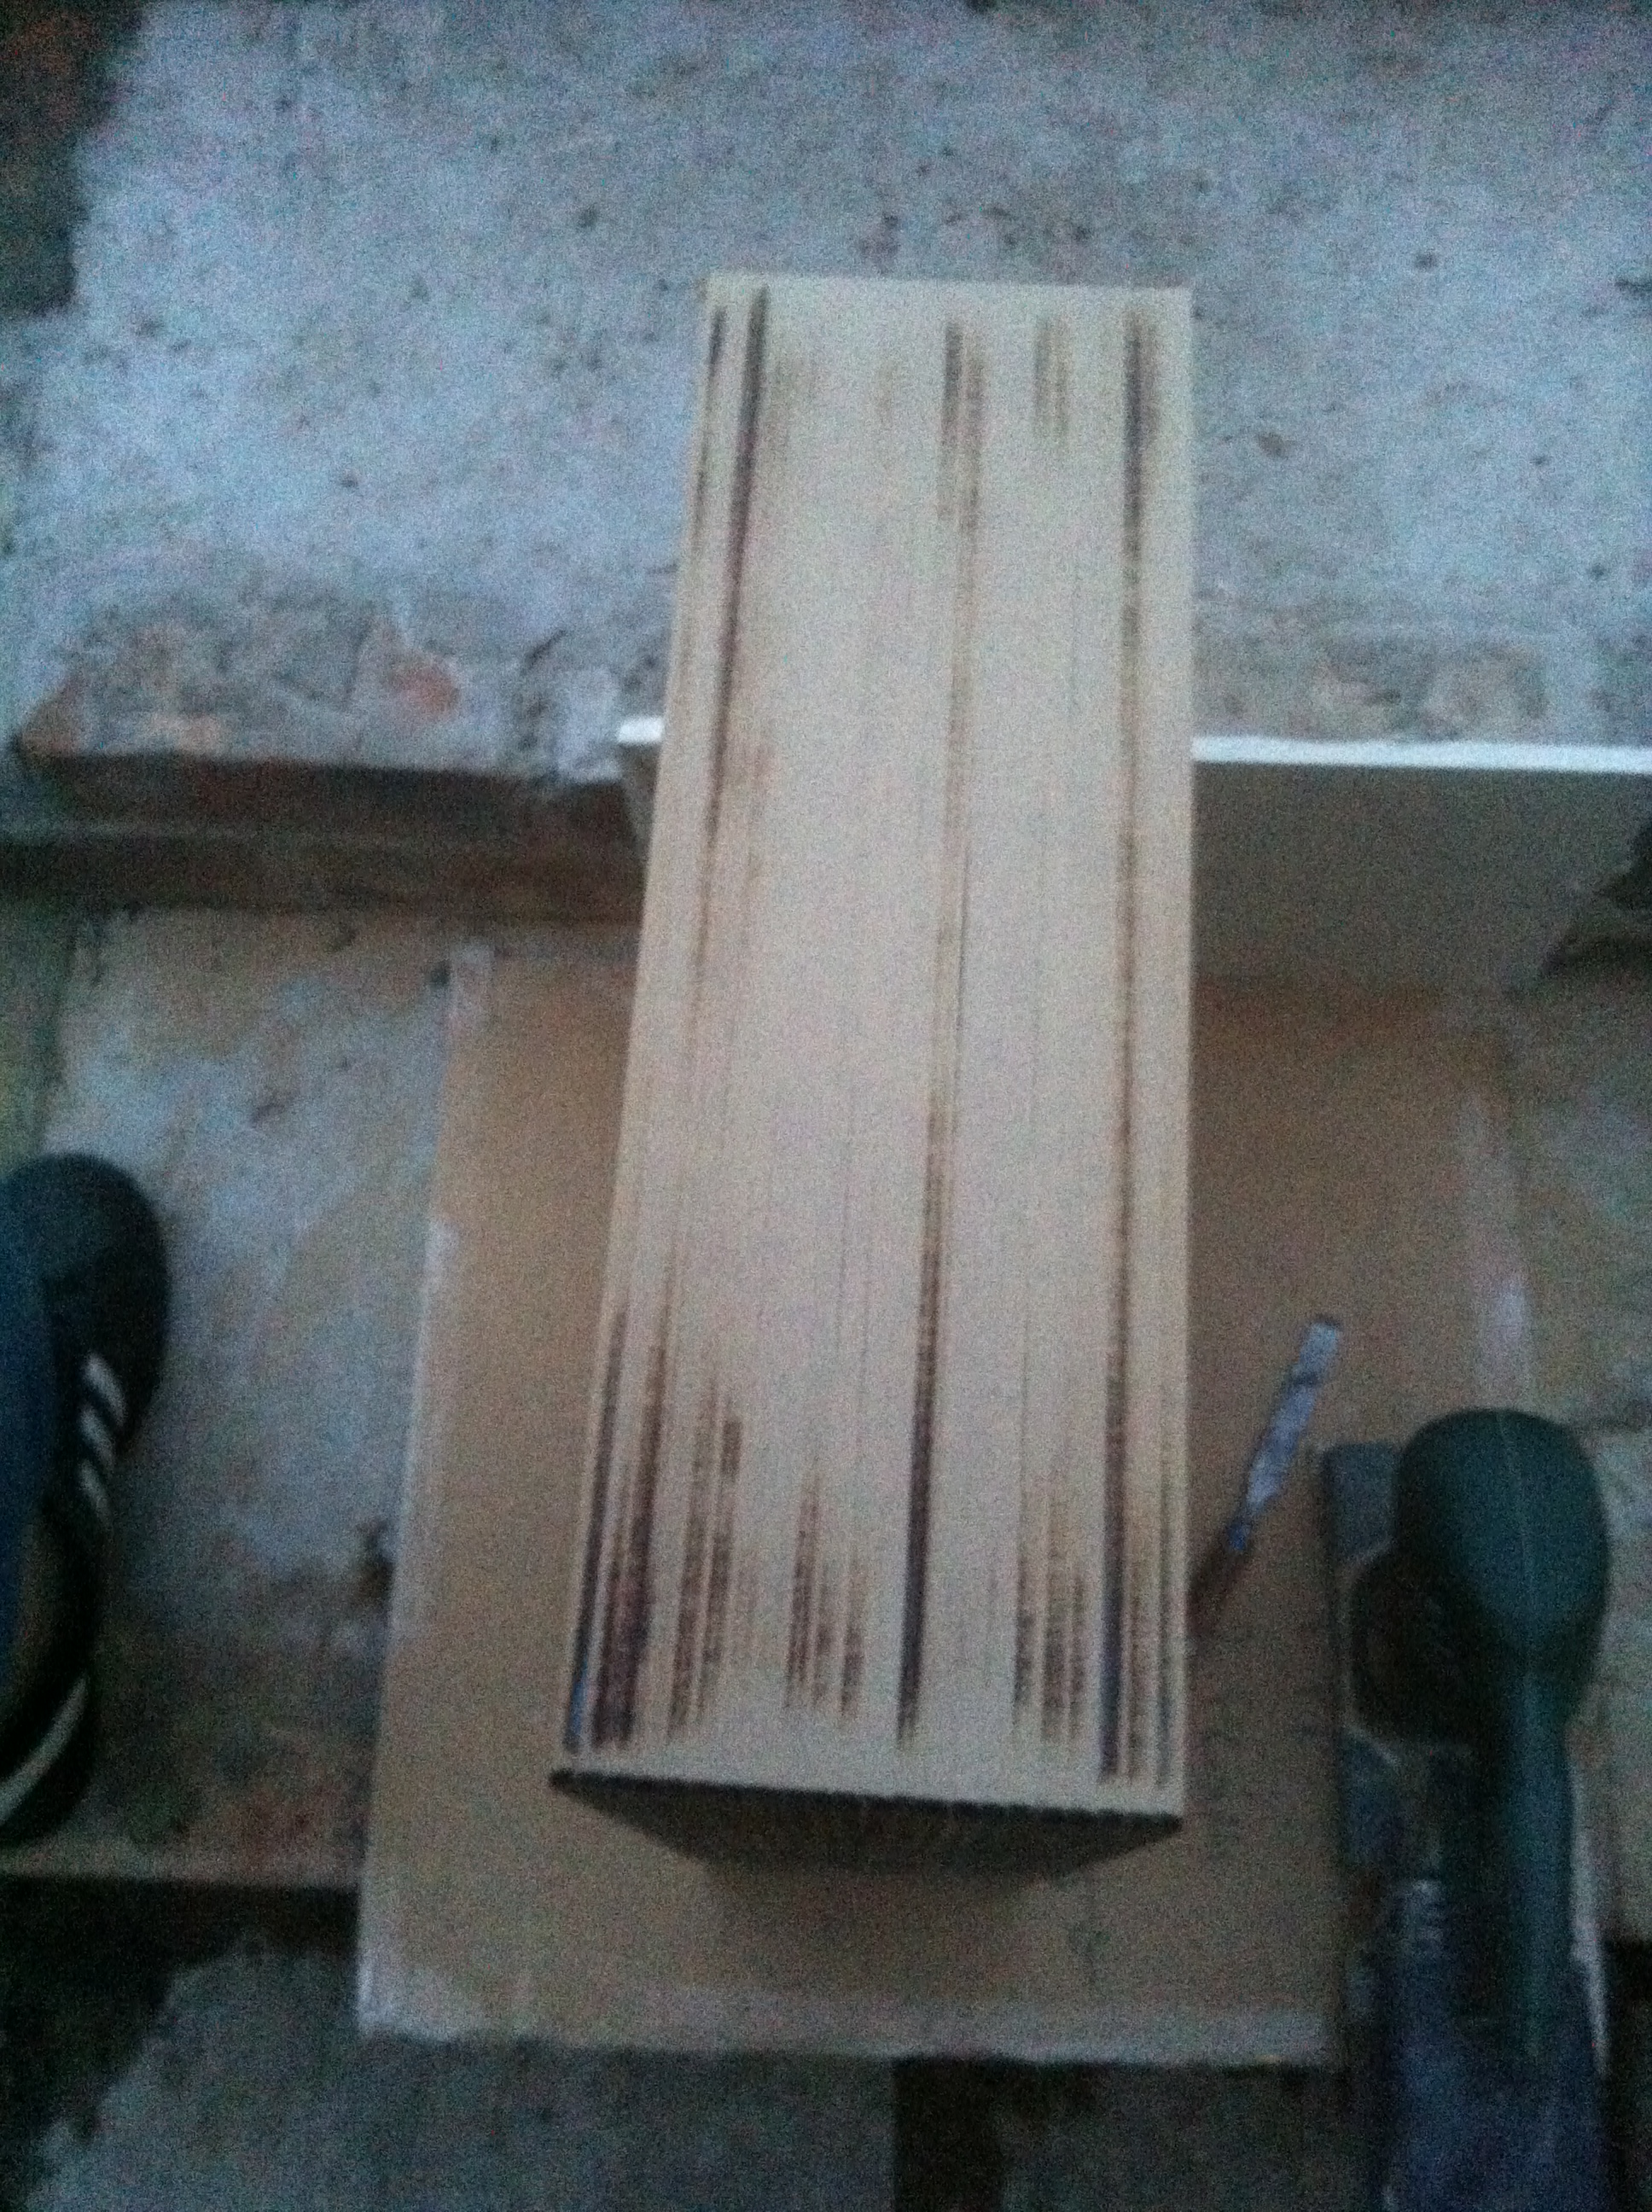
The edges were done by hand with a 120 grit sand paper. It's easy to do as long as you follow the shape of the corner and take your time:
And here are the pics of the fully sanded down plinth:
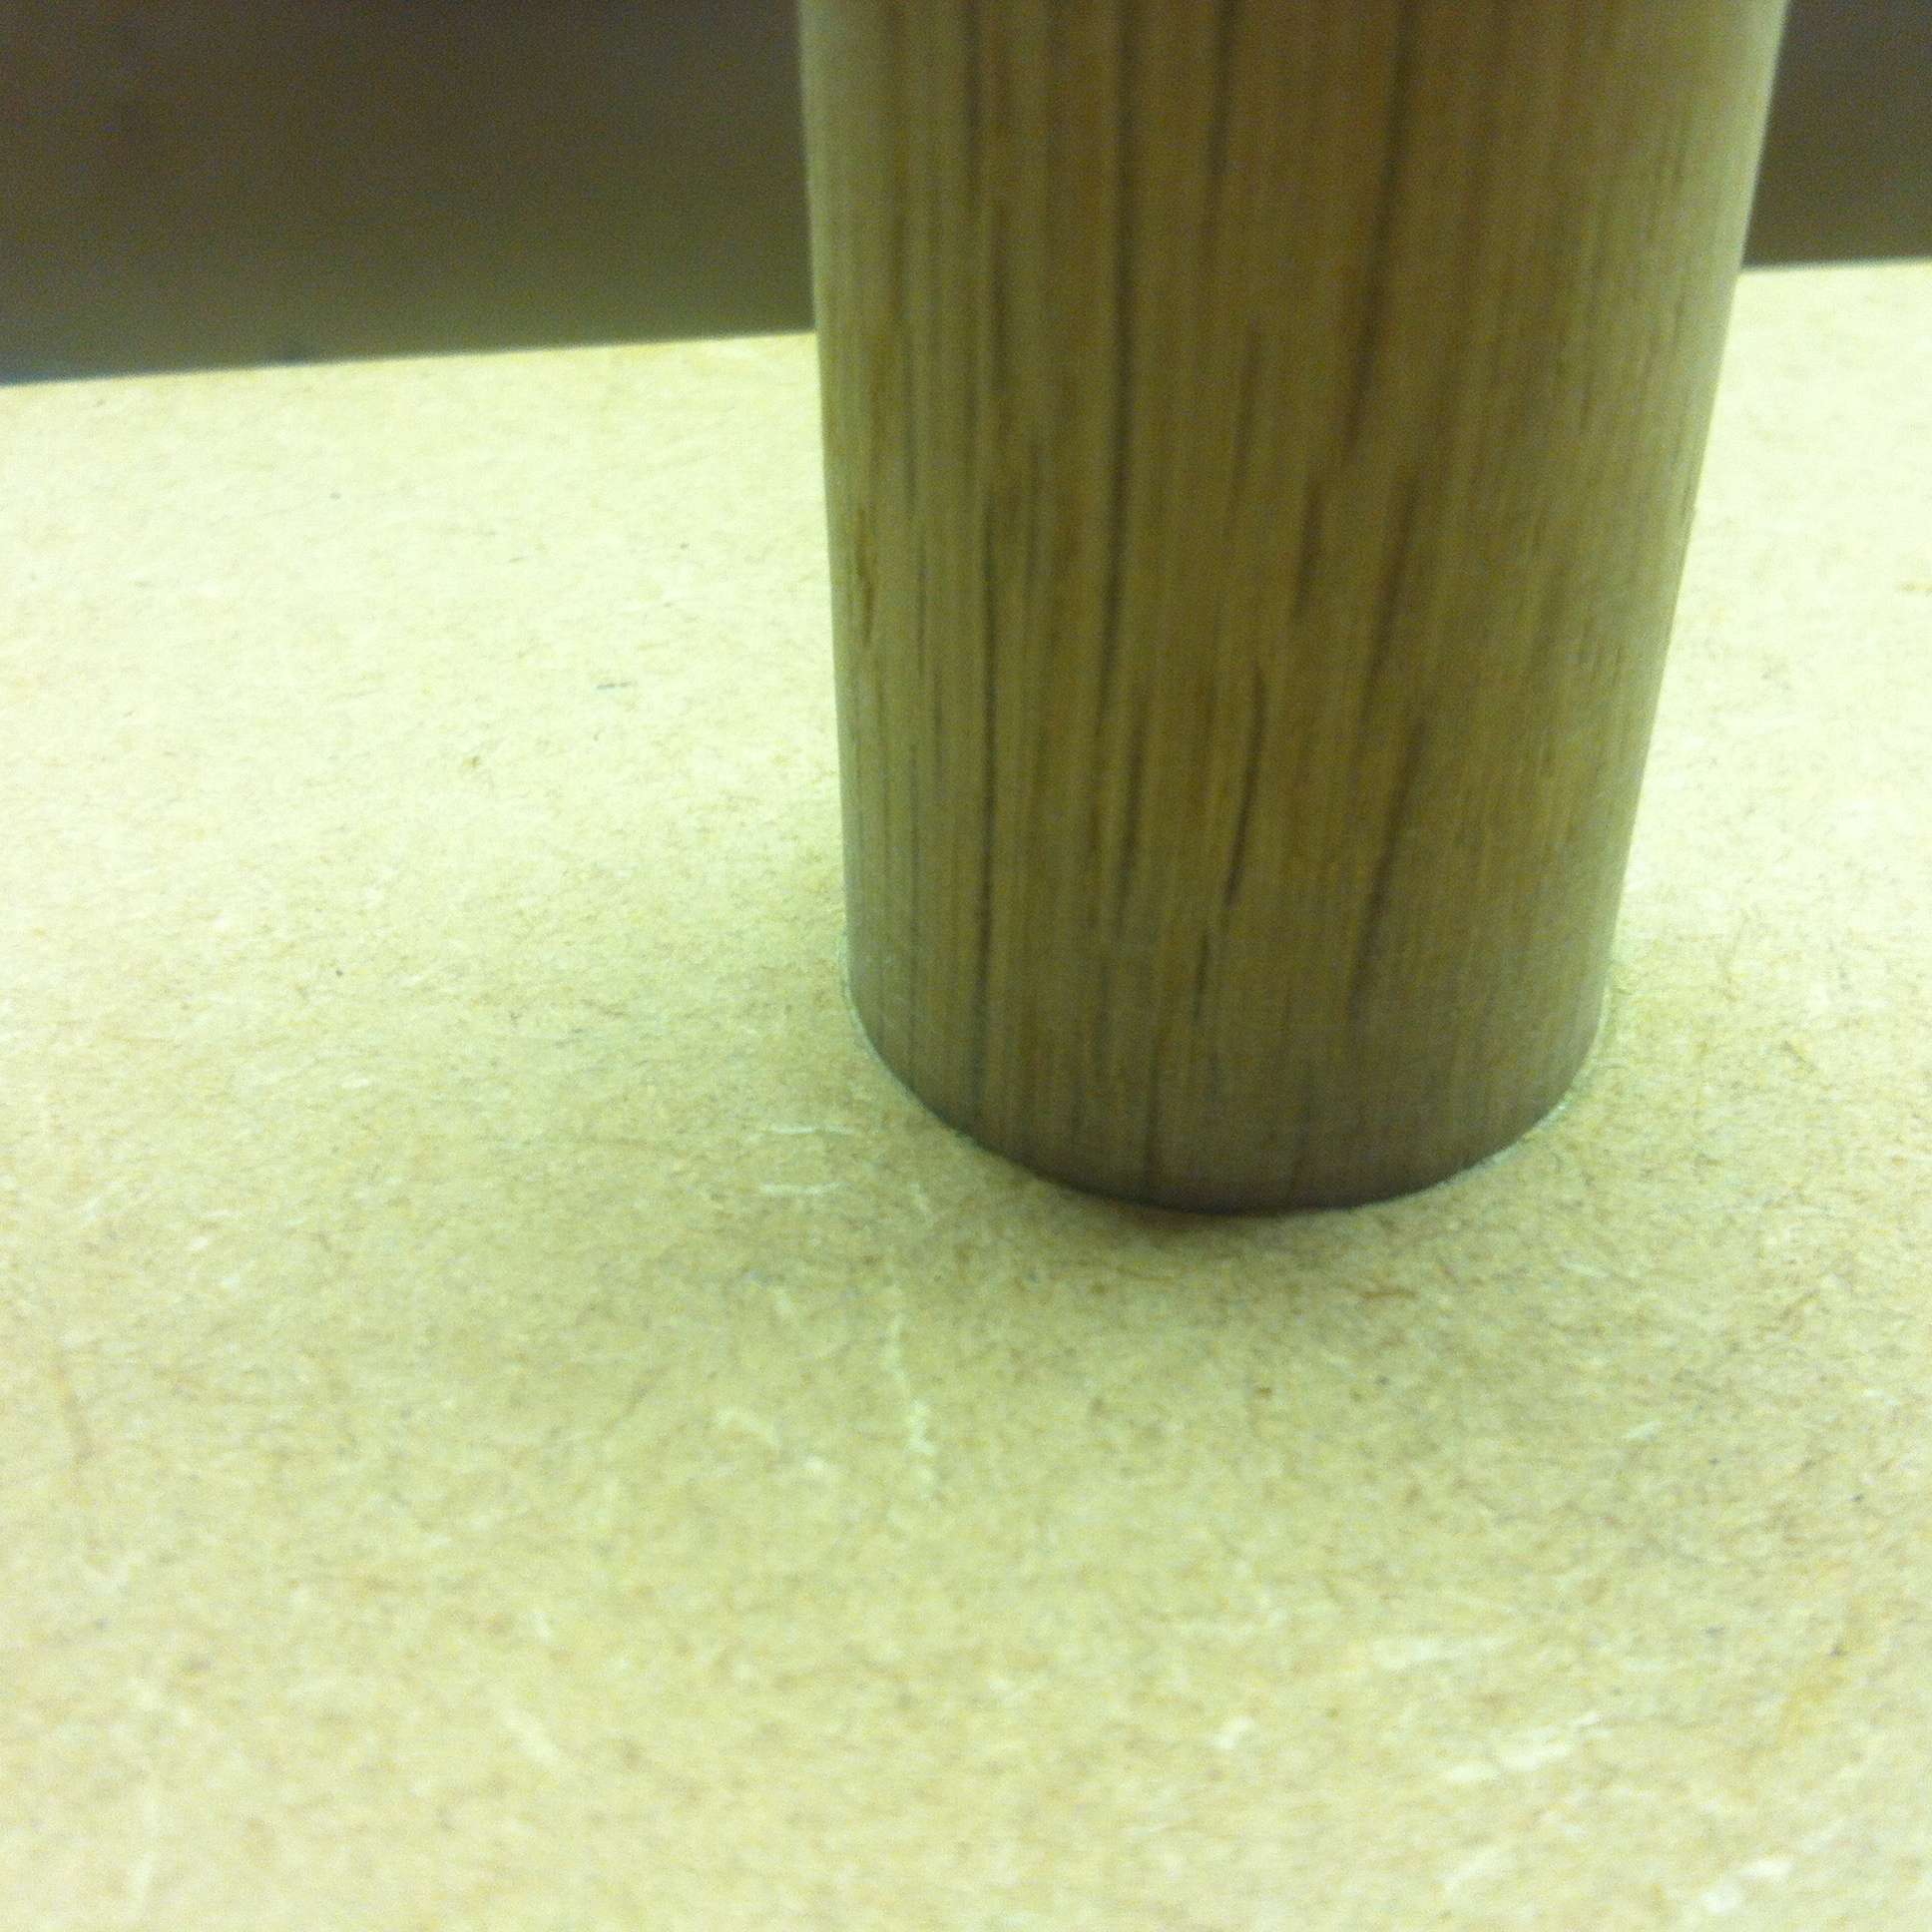
I've decided to screw in the rubber feet for now so that the bottom doesn't get damaged or contaminated. The location for the feet is directly under the dowels so they are hidden. They were sanded down so that they were concave to make sure the feet were flush.
This concludes part 2.
As promised, here's all the sketchup cad files.
Click here for the final part 3.