
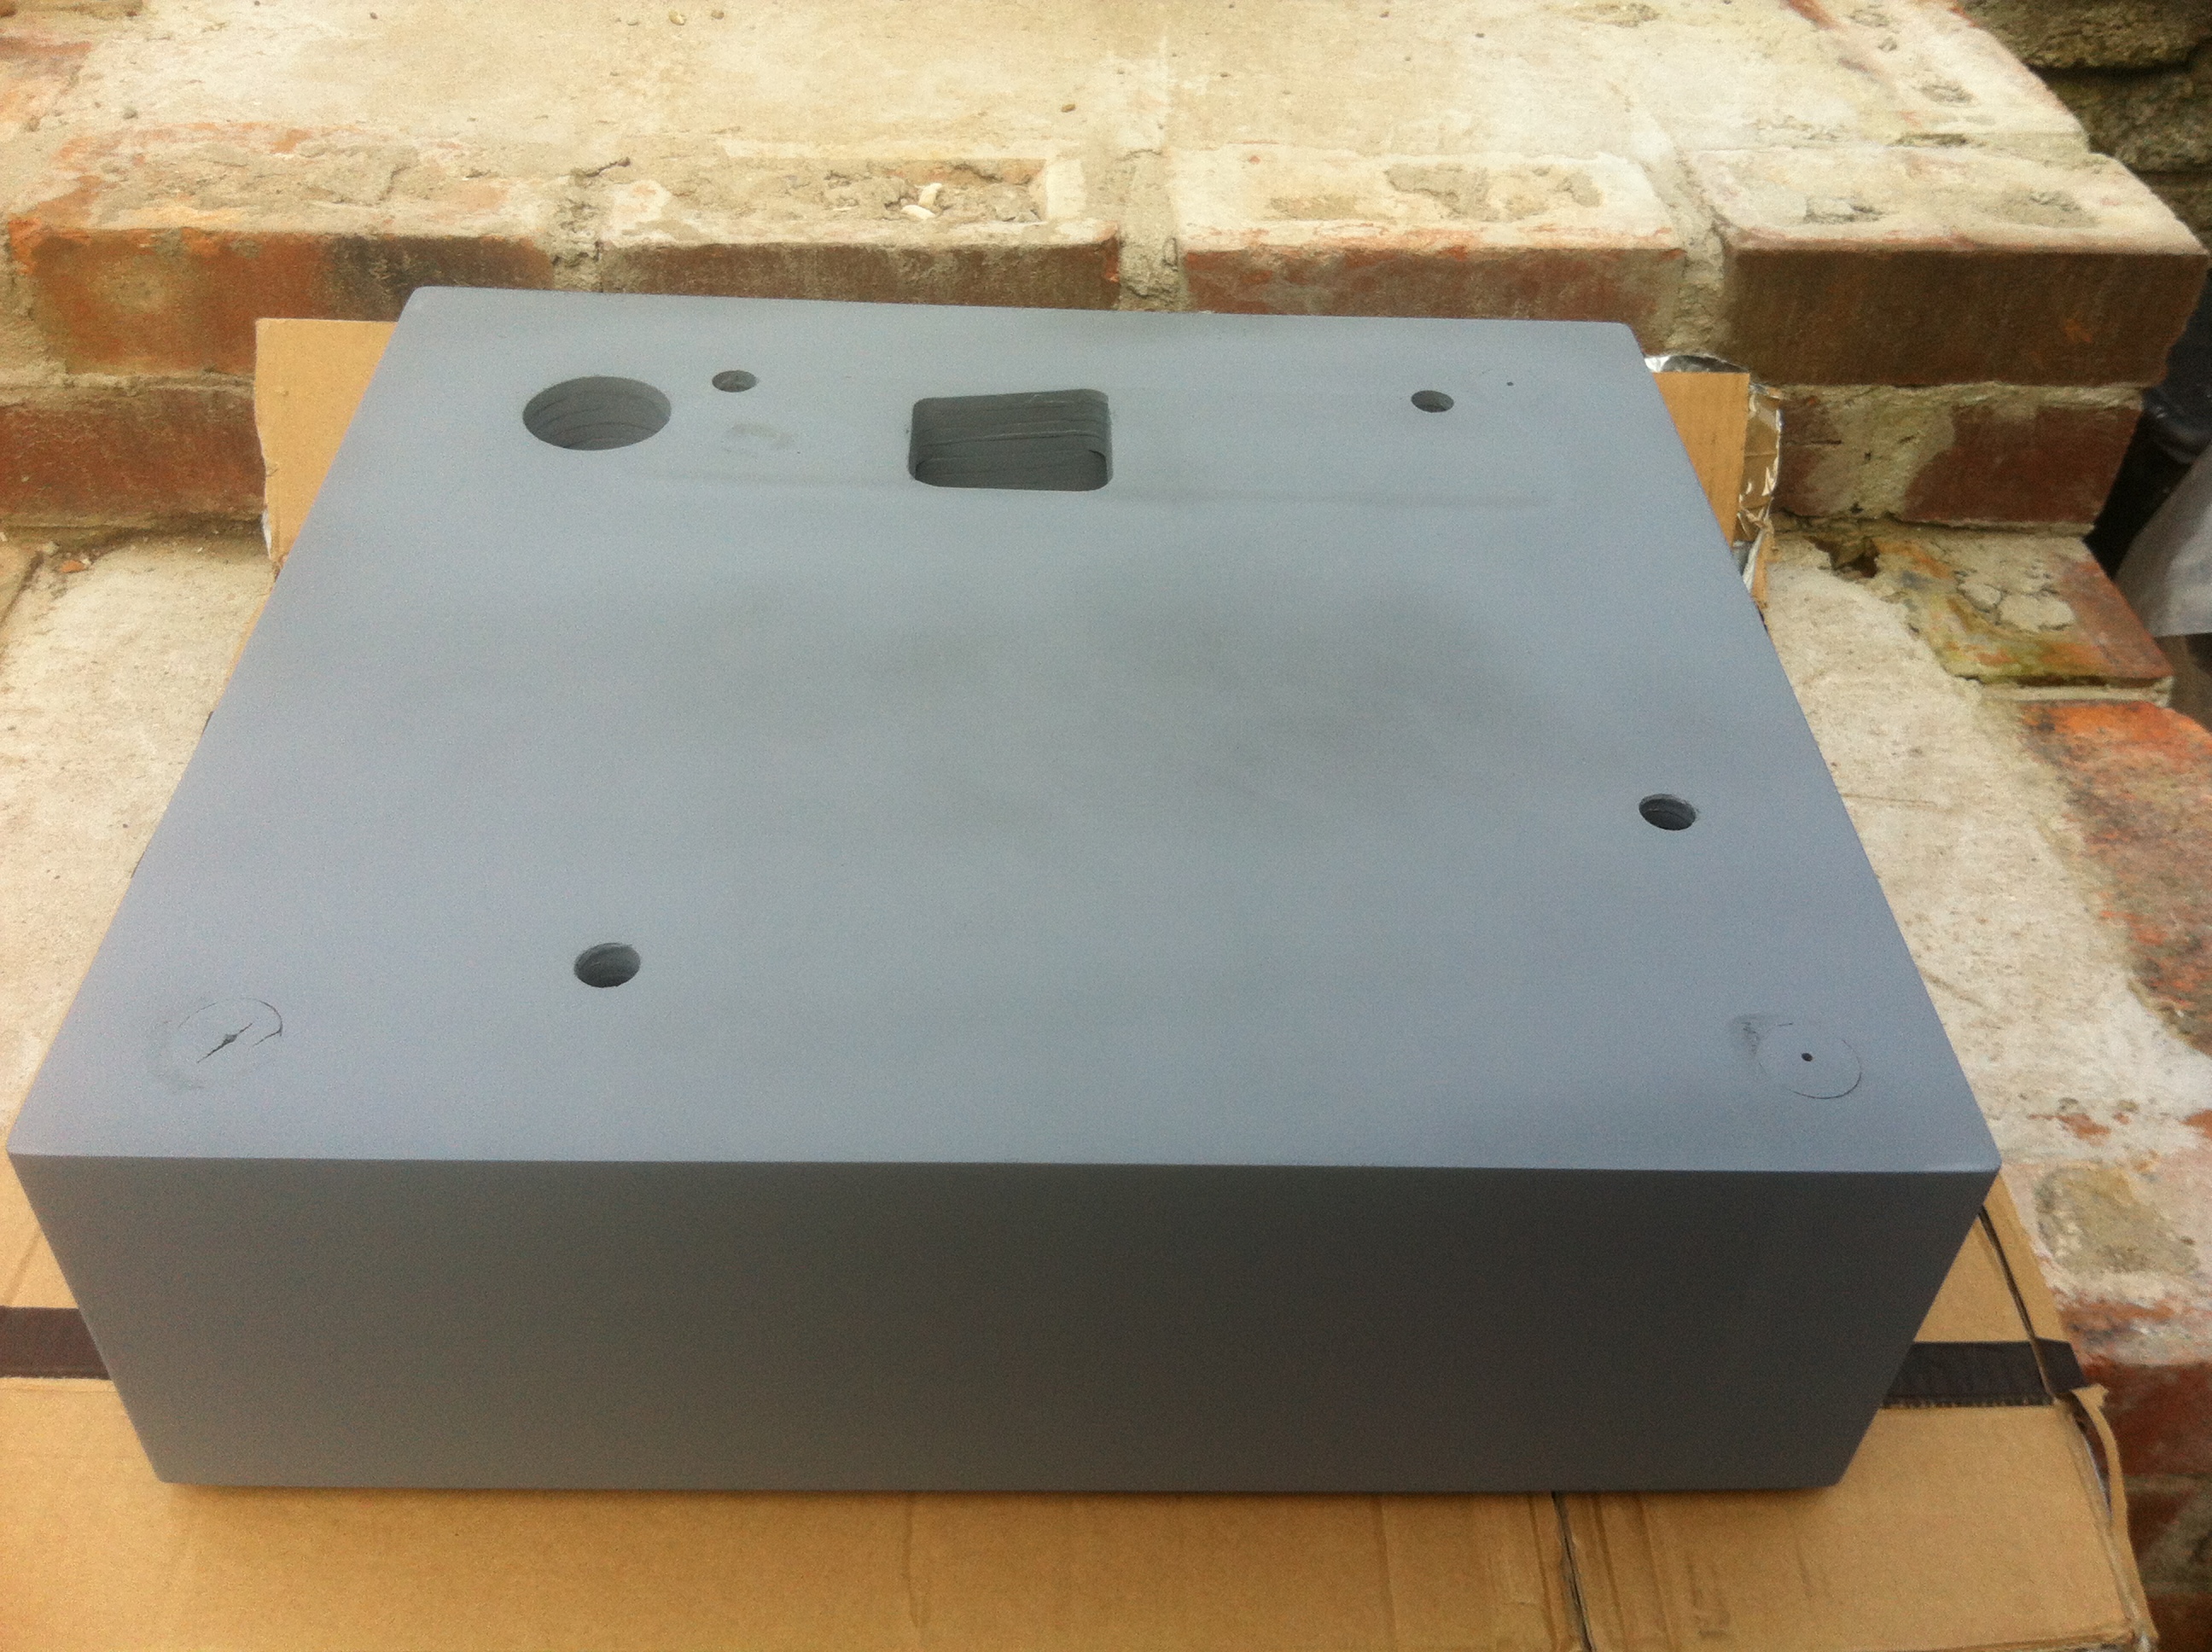
This is a continuation of part two of my plinth build log. In this final part I will show you how I applied a decent paint finish on the plinth also including all the preparation work.
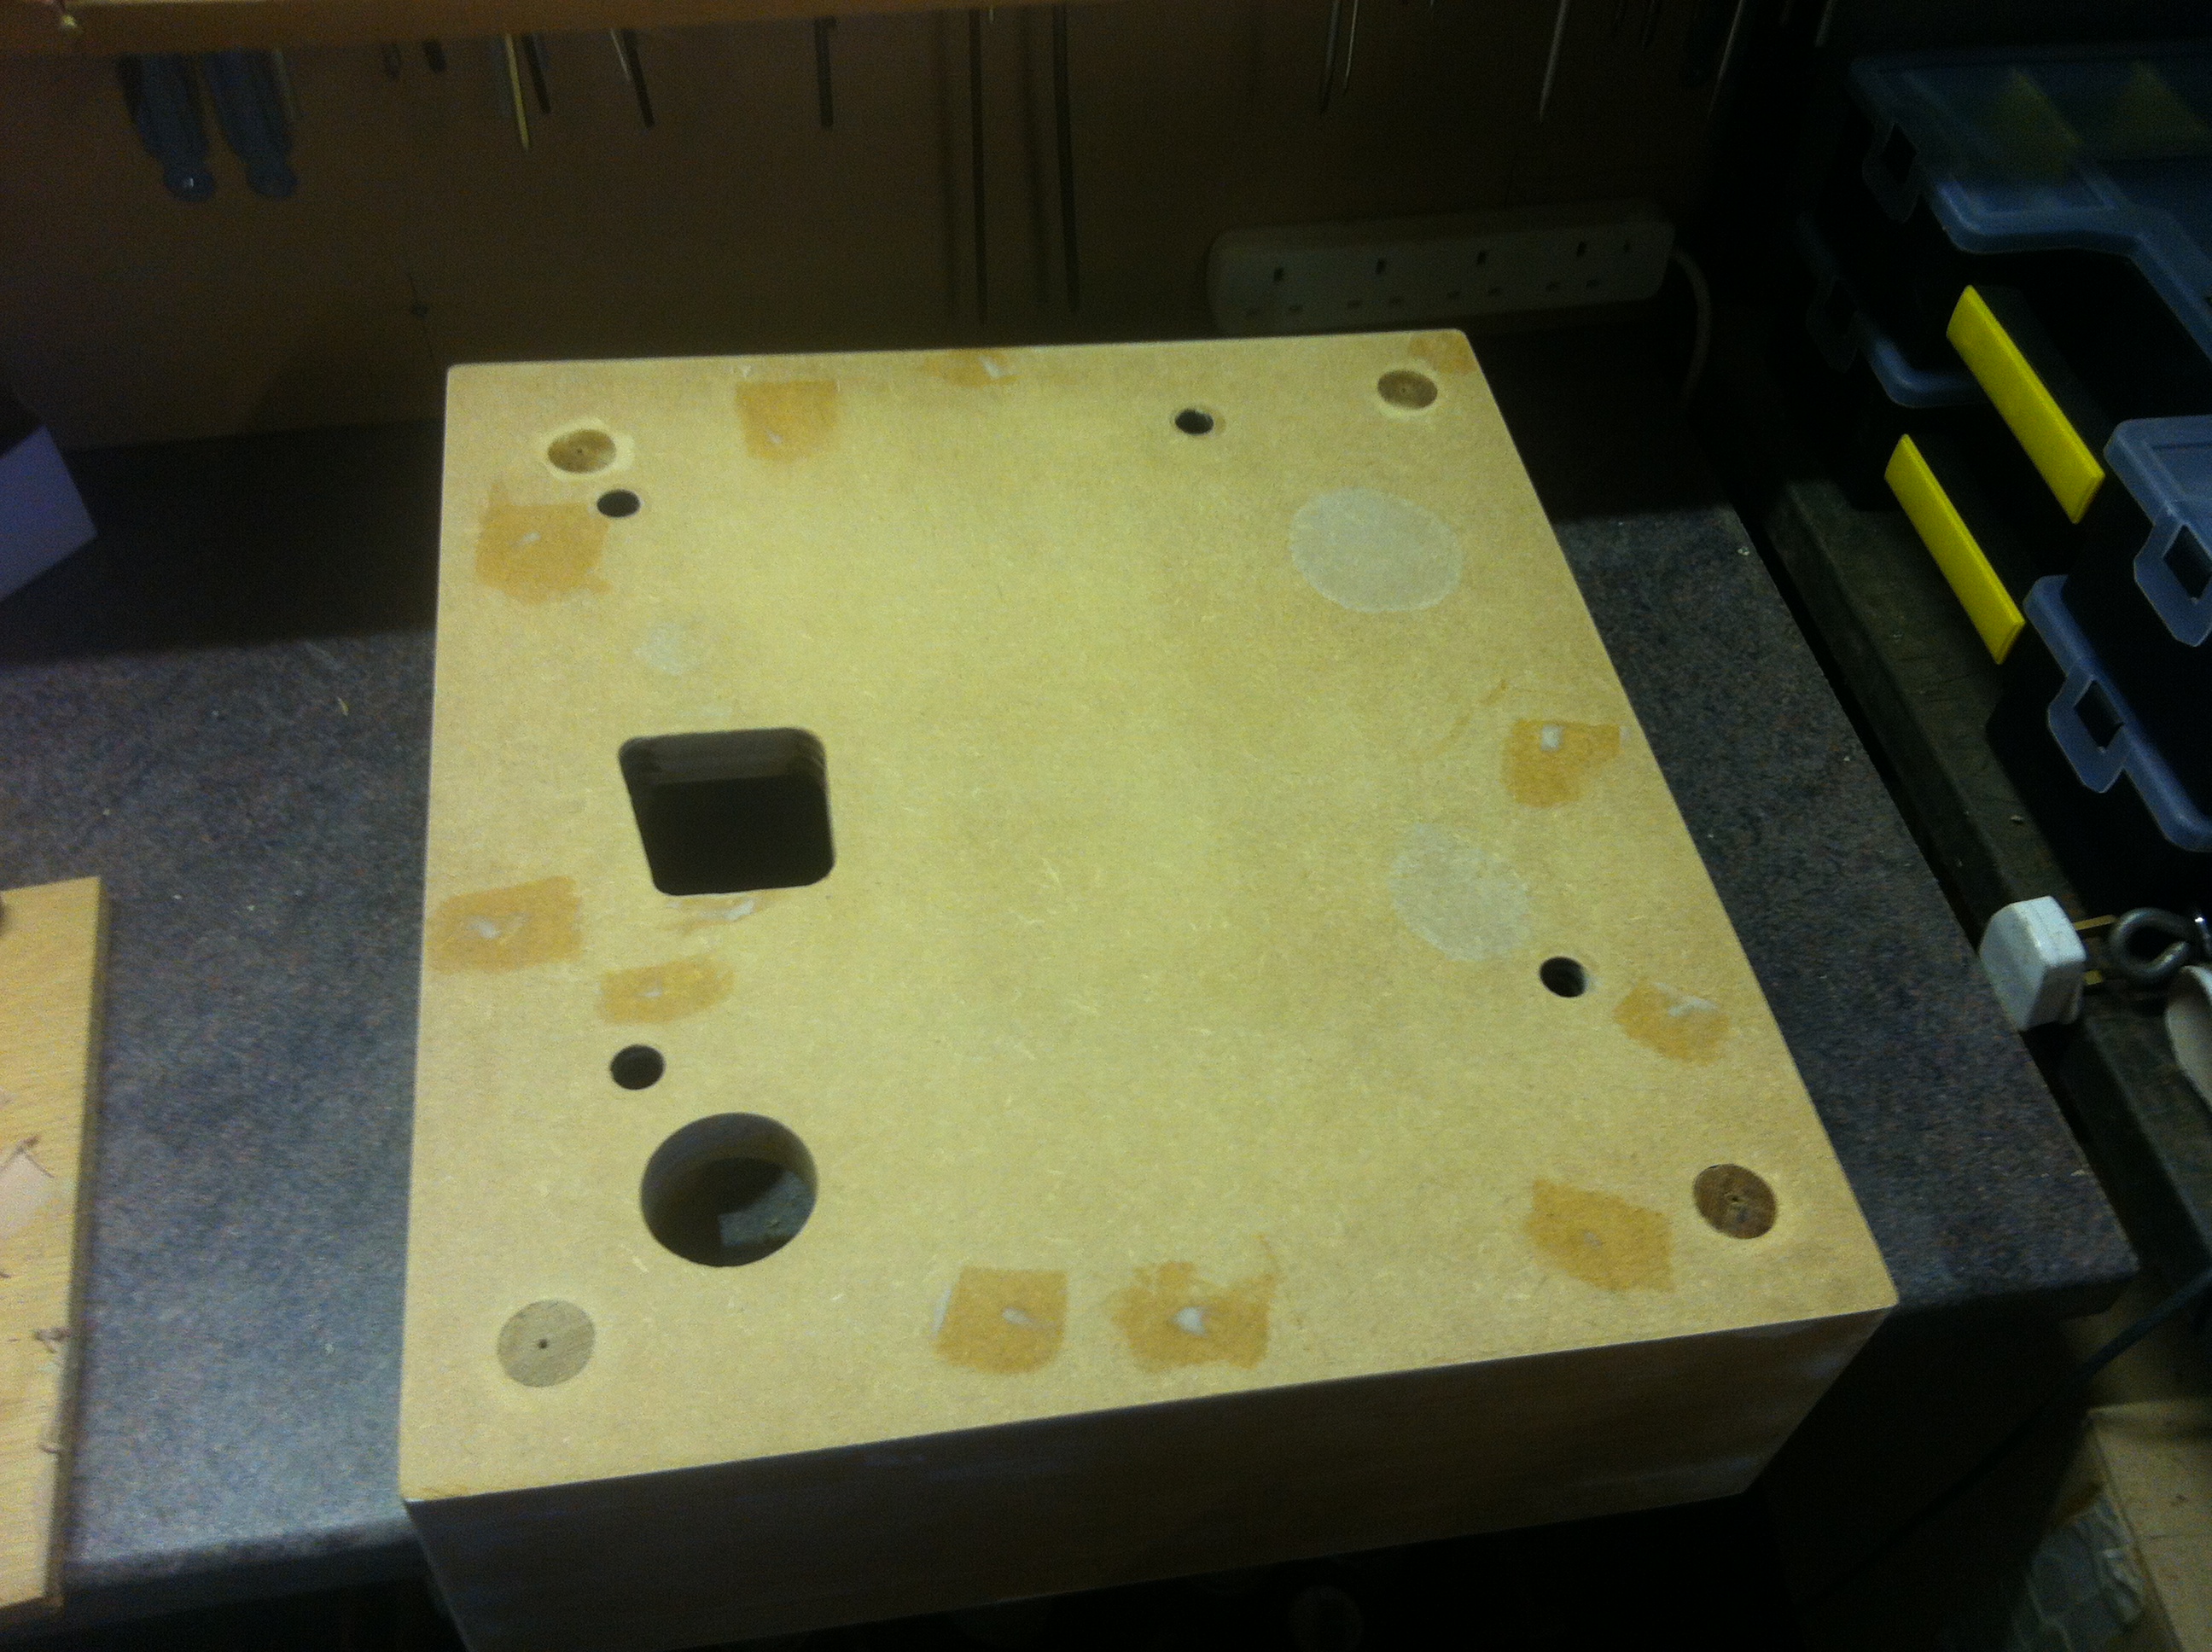
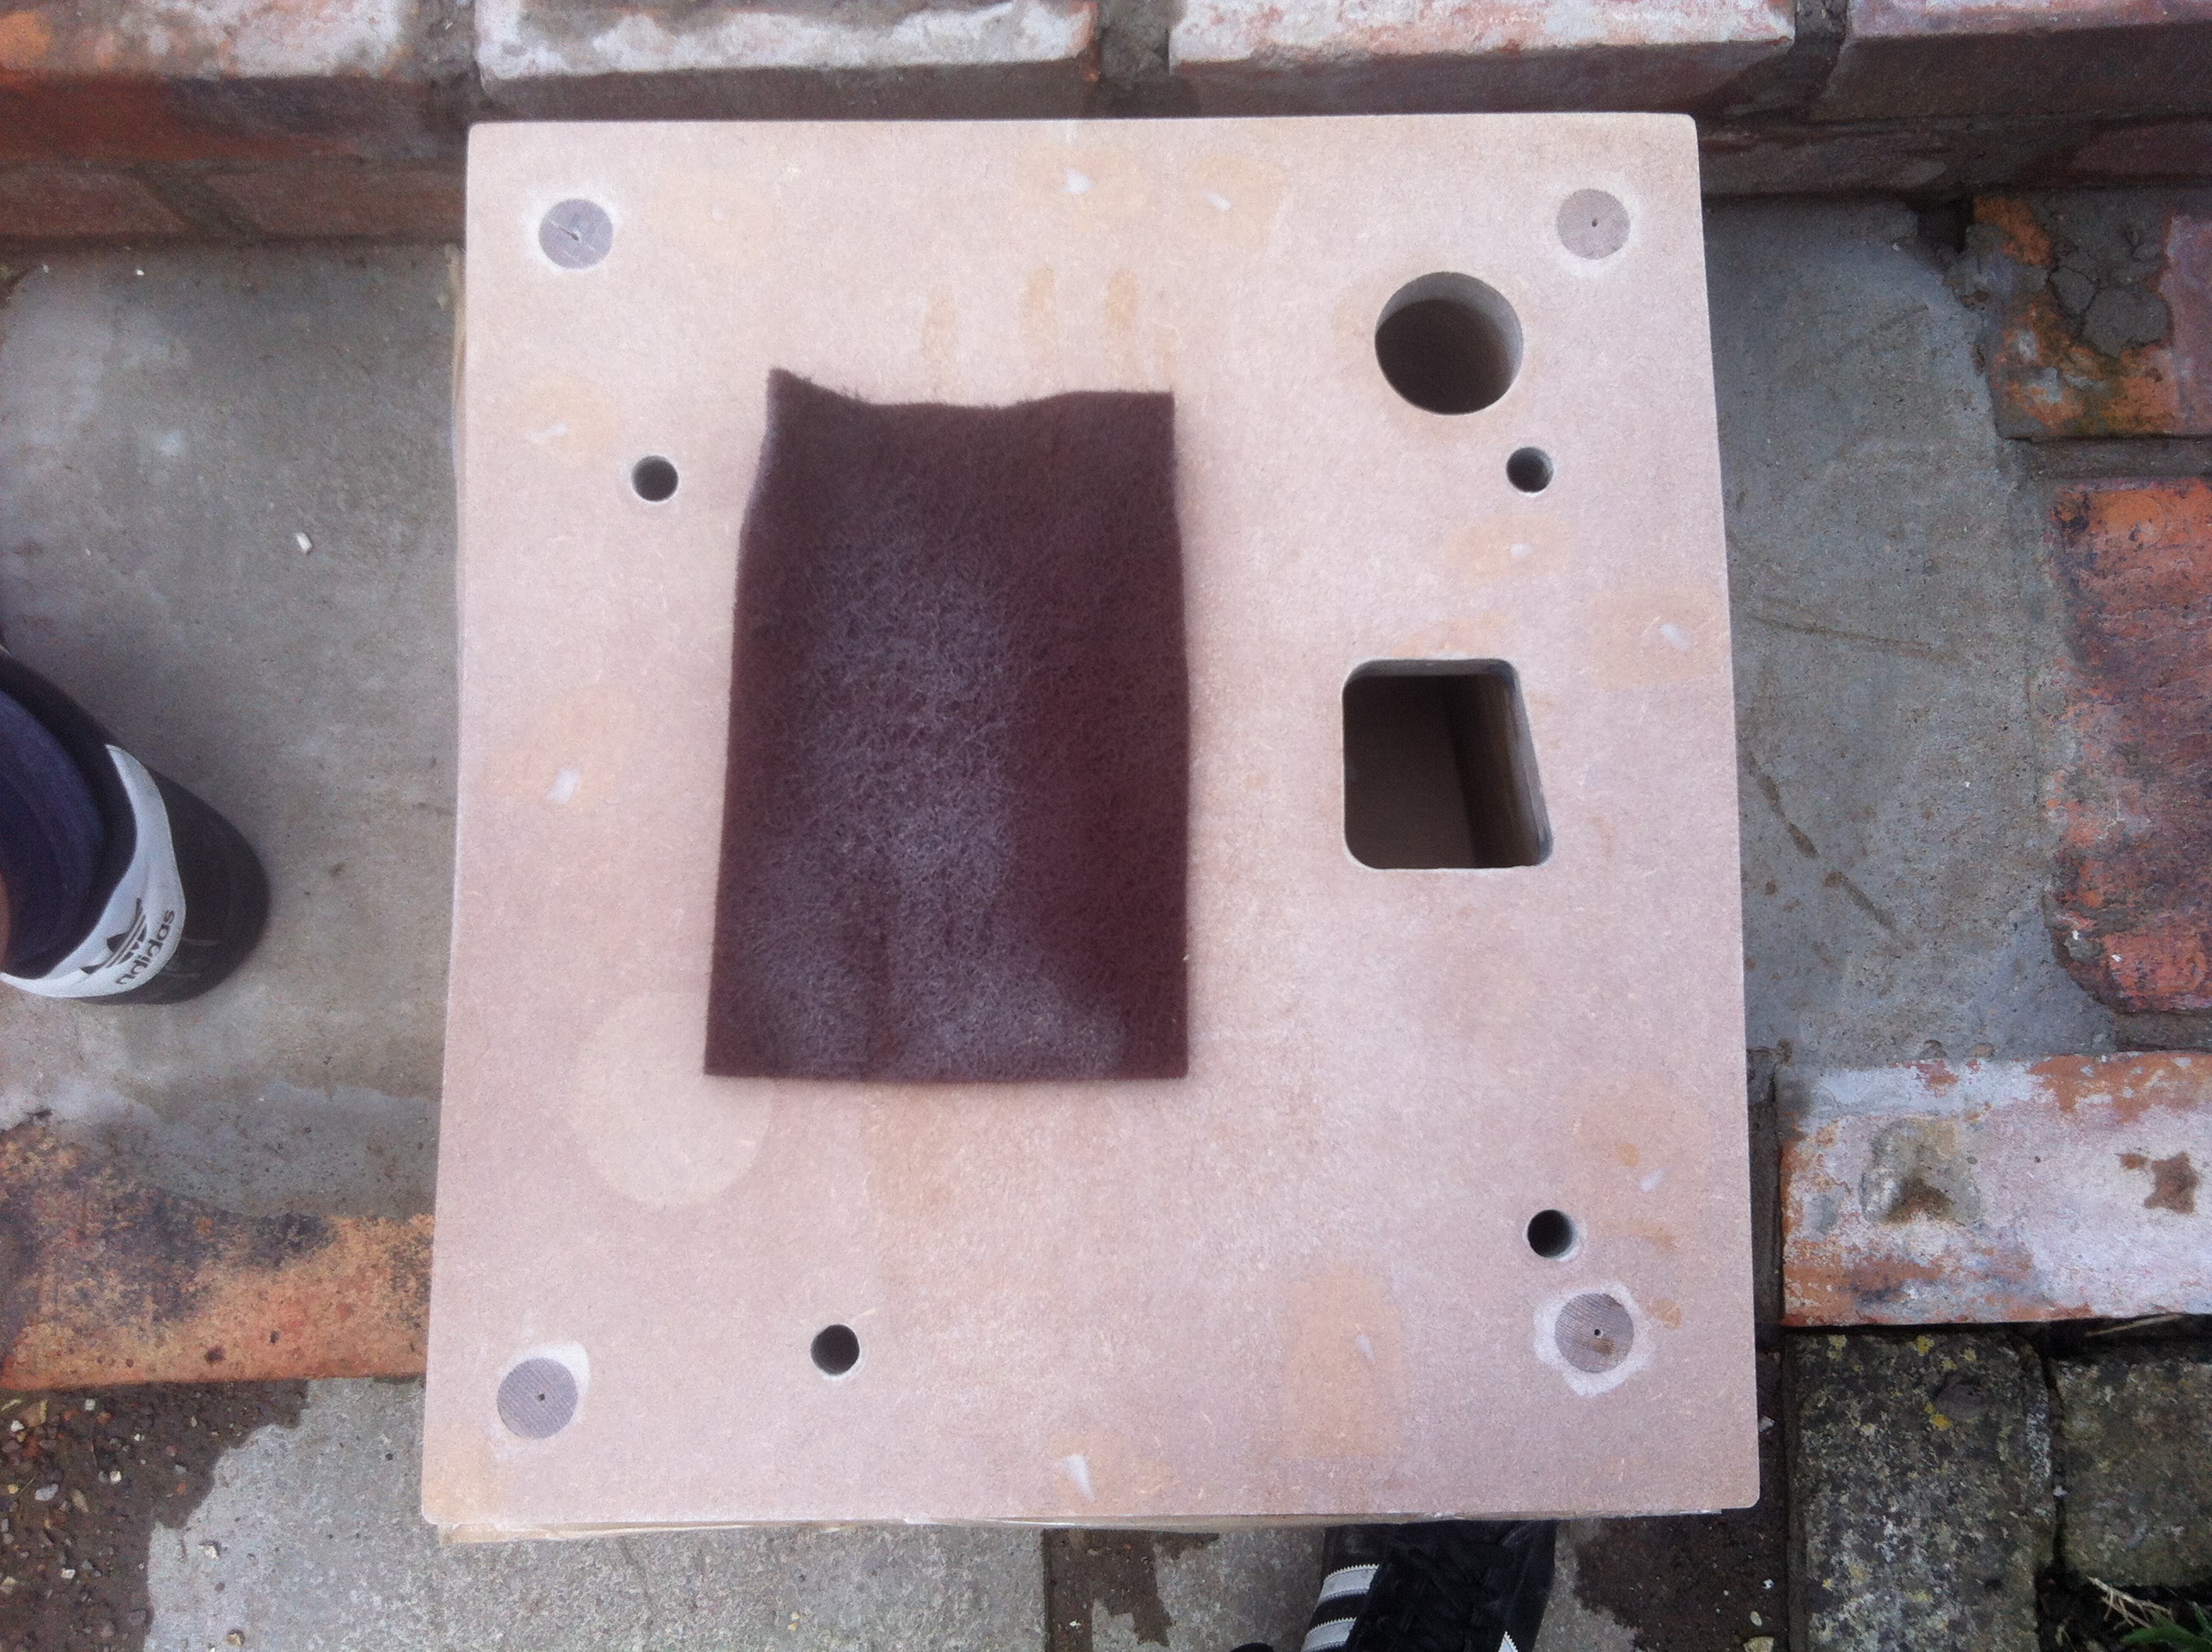
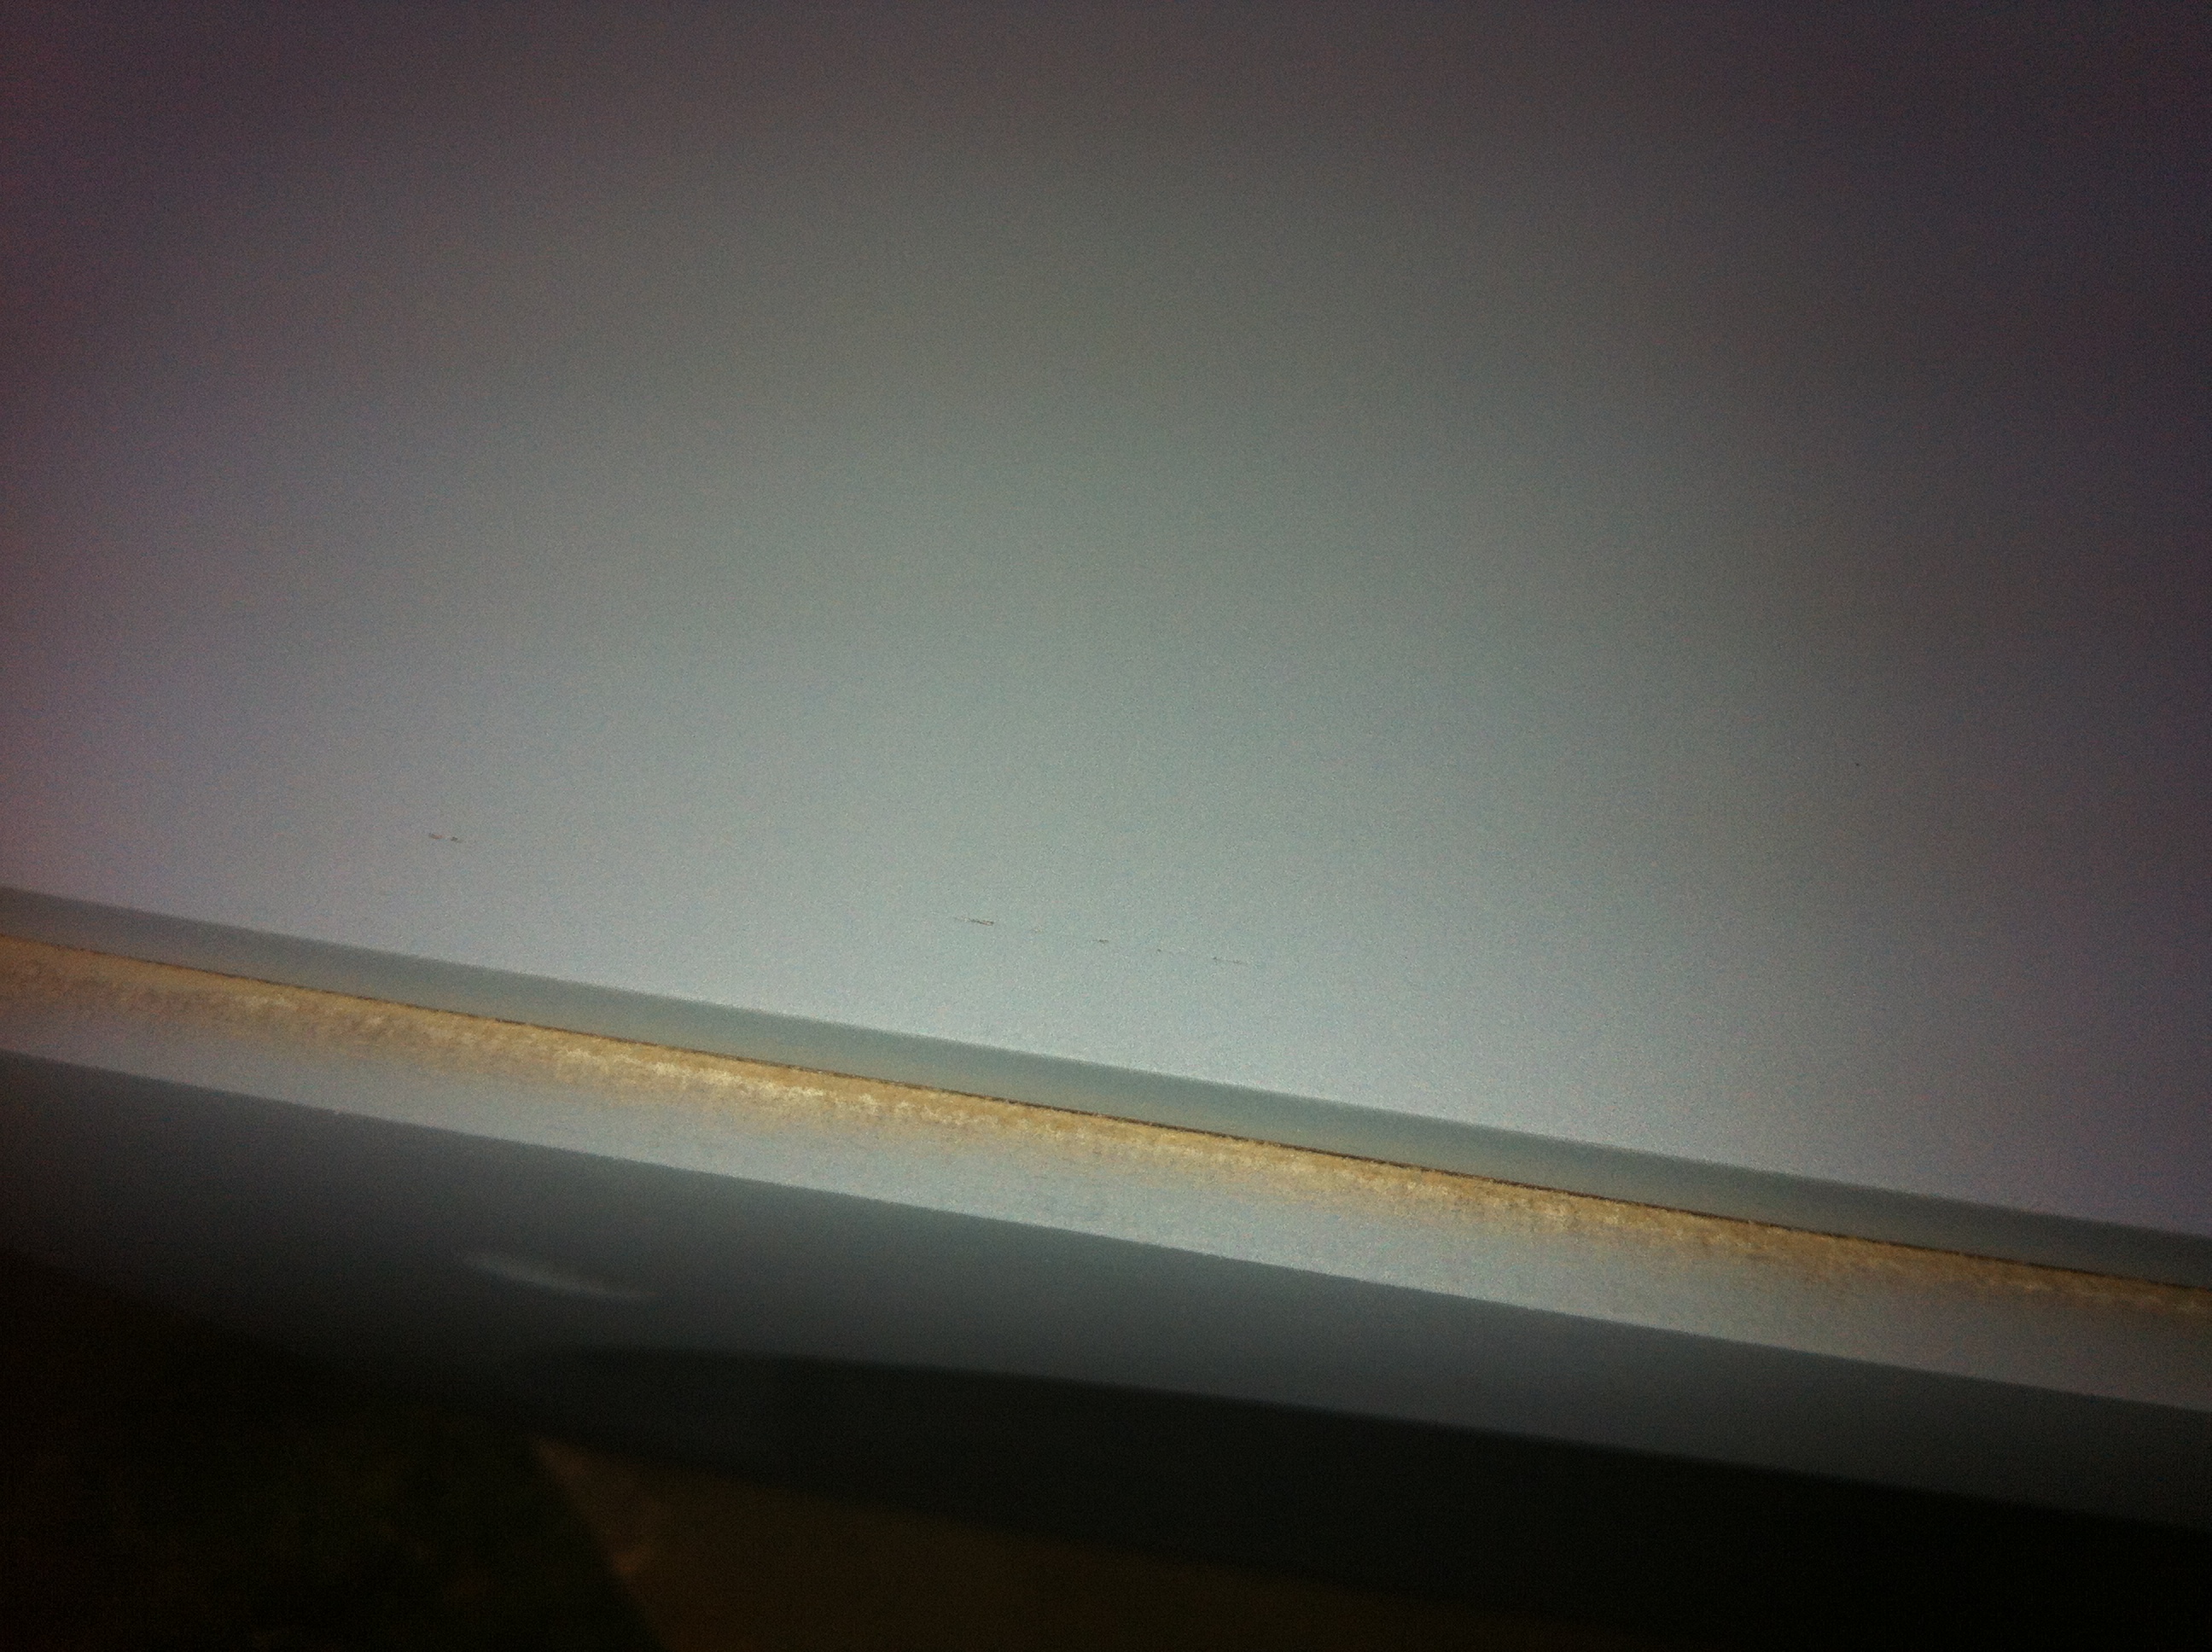
A key factor in getting a good surface finish on anything is preparation and having a good base to start from. In the case of the plinth everything was as i envisioned it except the separation between the layers of the MDF. To address this issue the only thing I could do was to hide it with a filler:
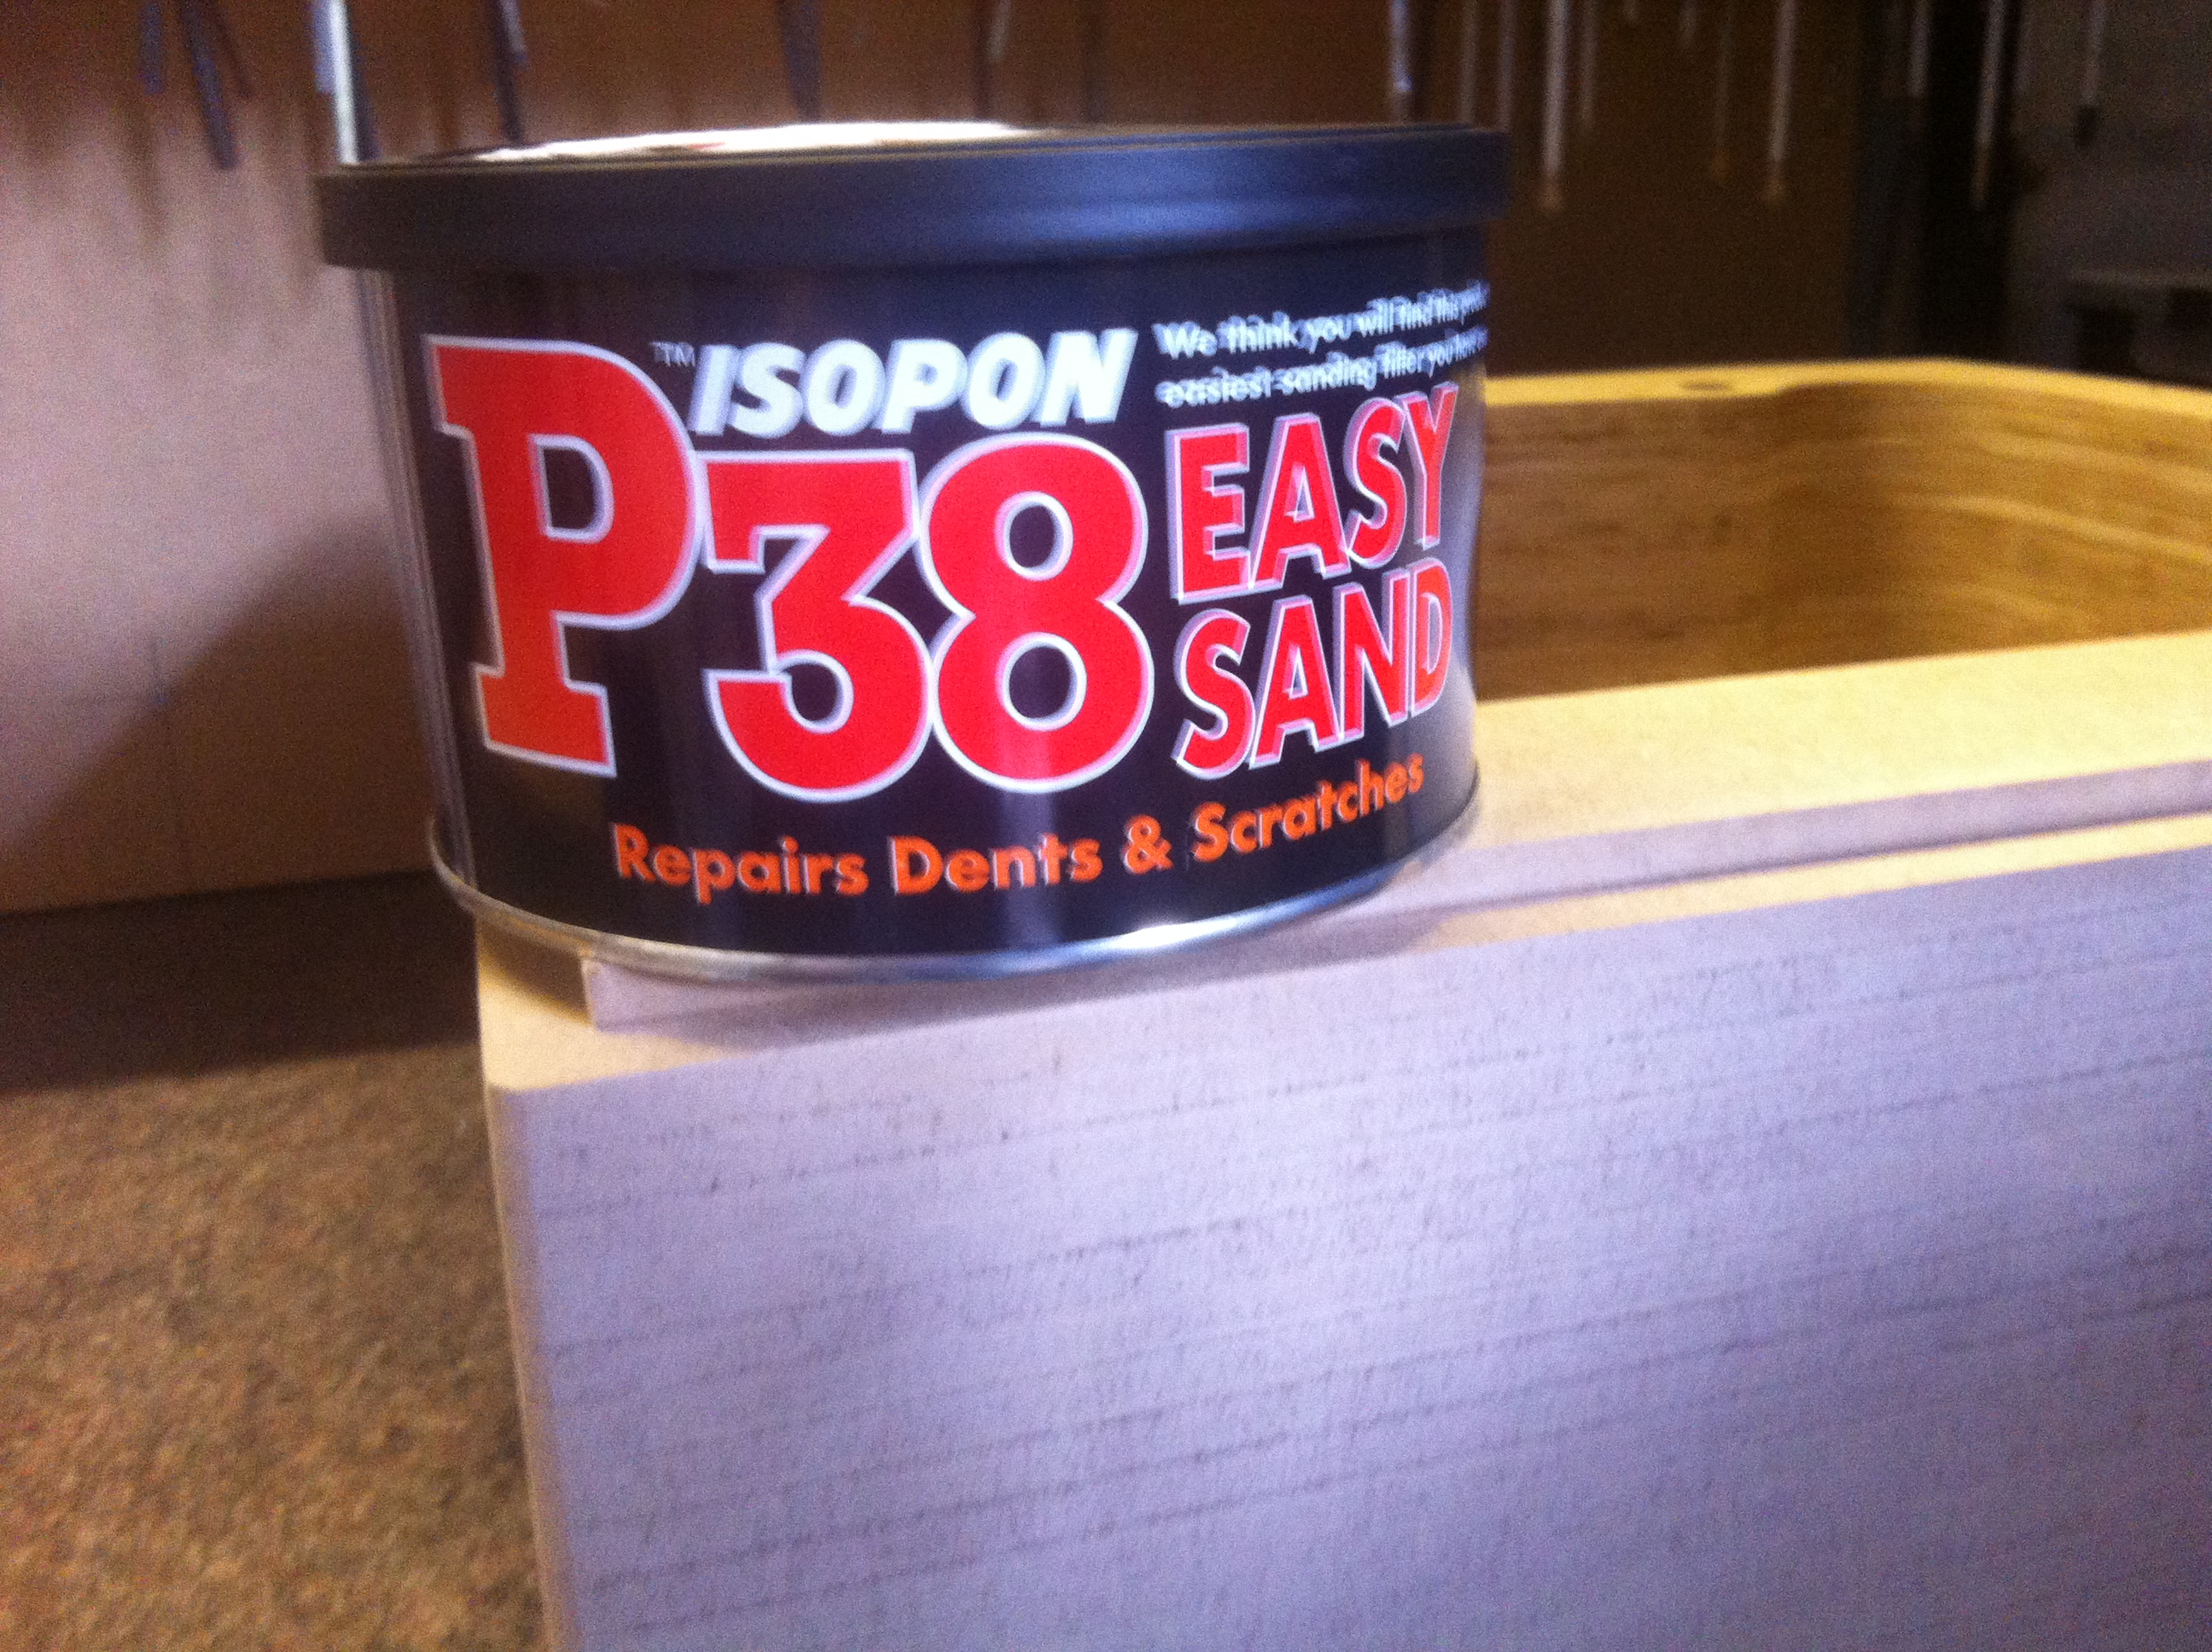
Instead of using a traditional wood filler I went for a 'car grade' filler because it has higher density then a wood filler which means It will fill all the tiny gaps between the layers better.
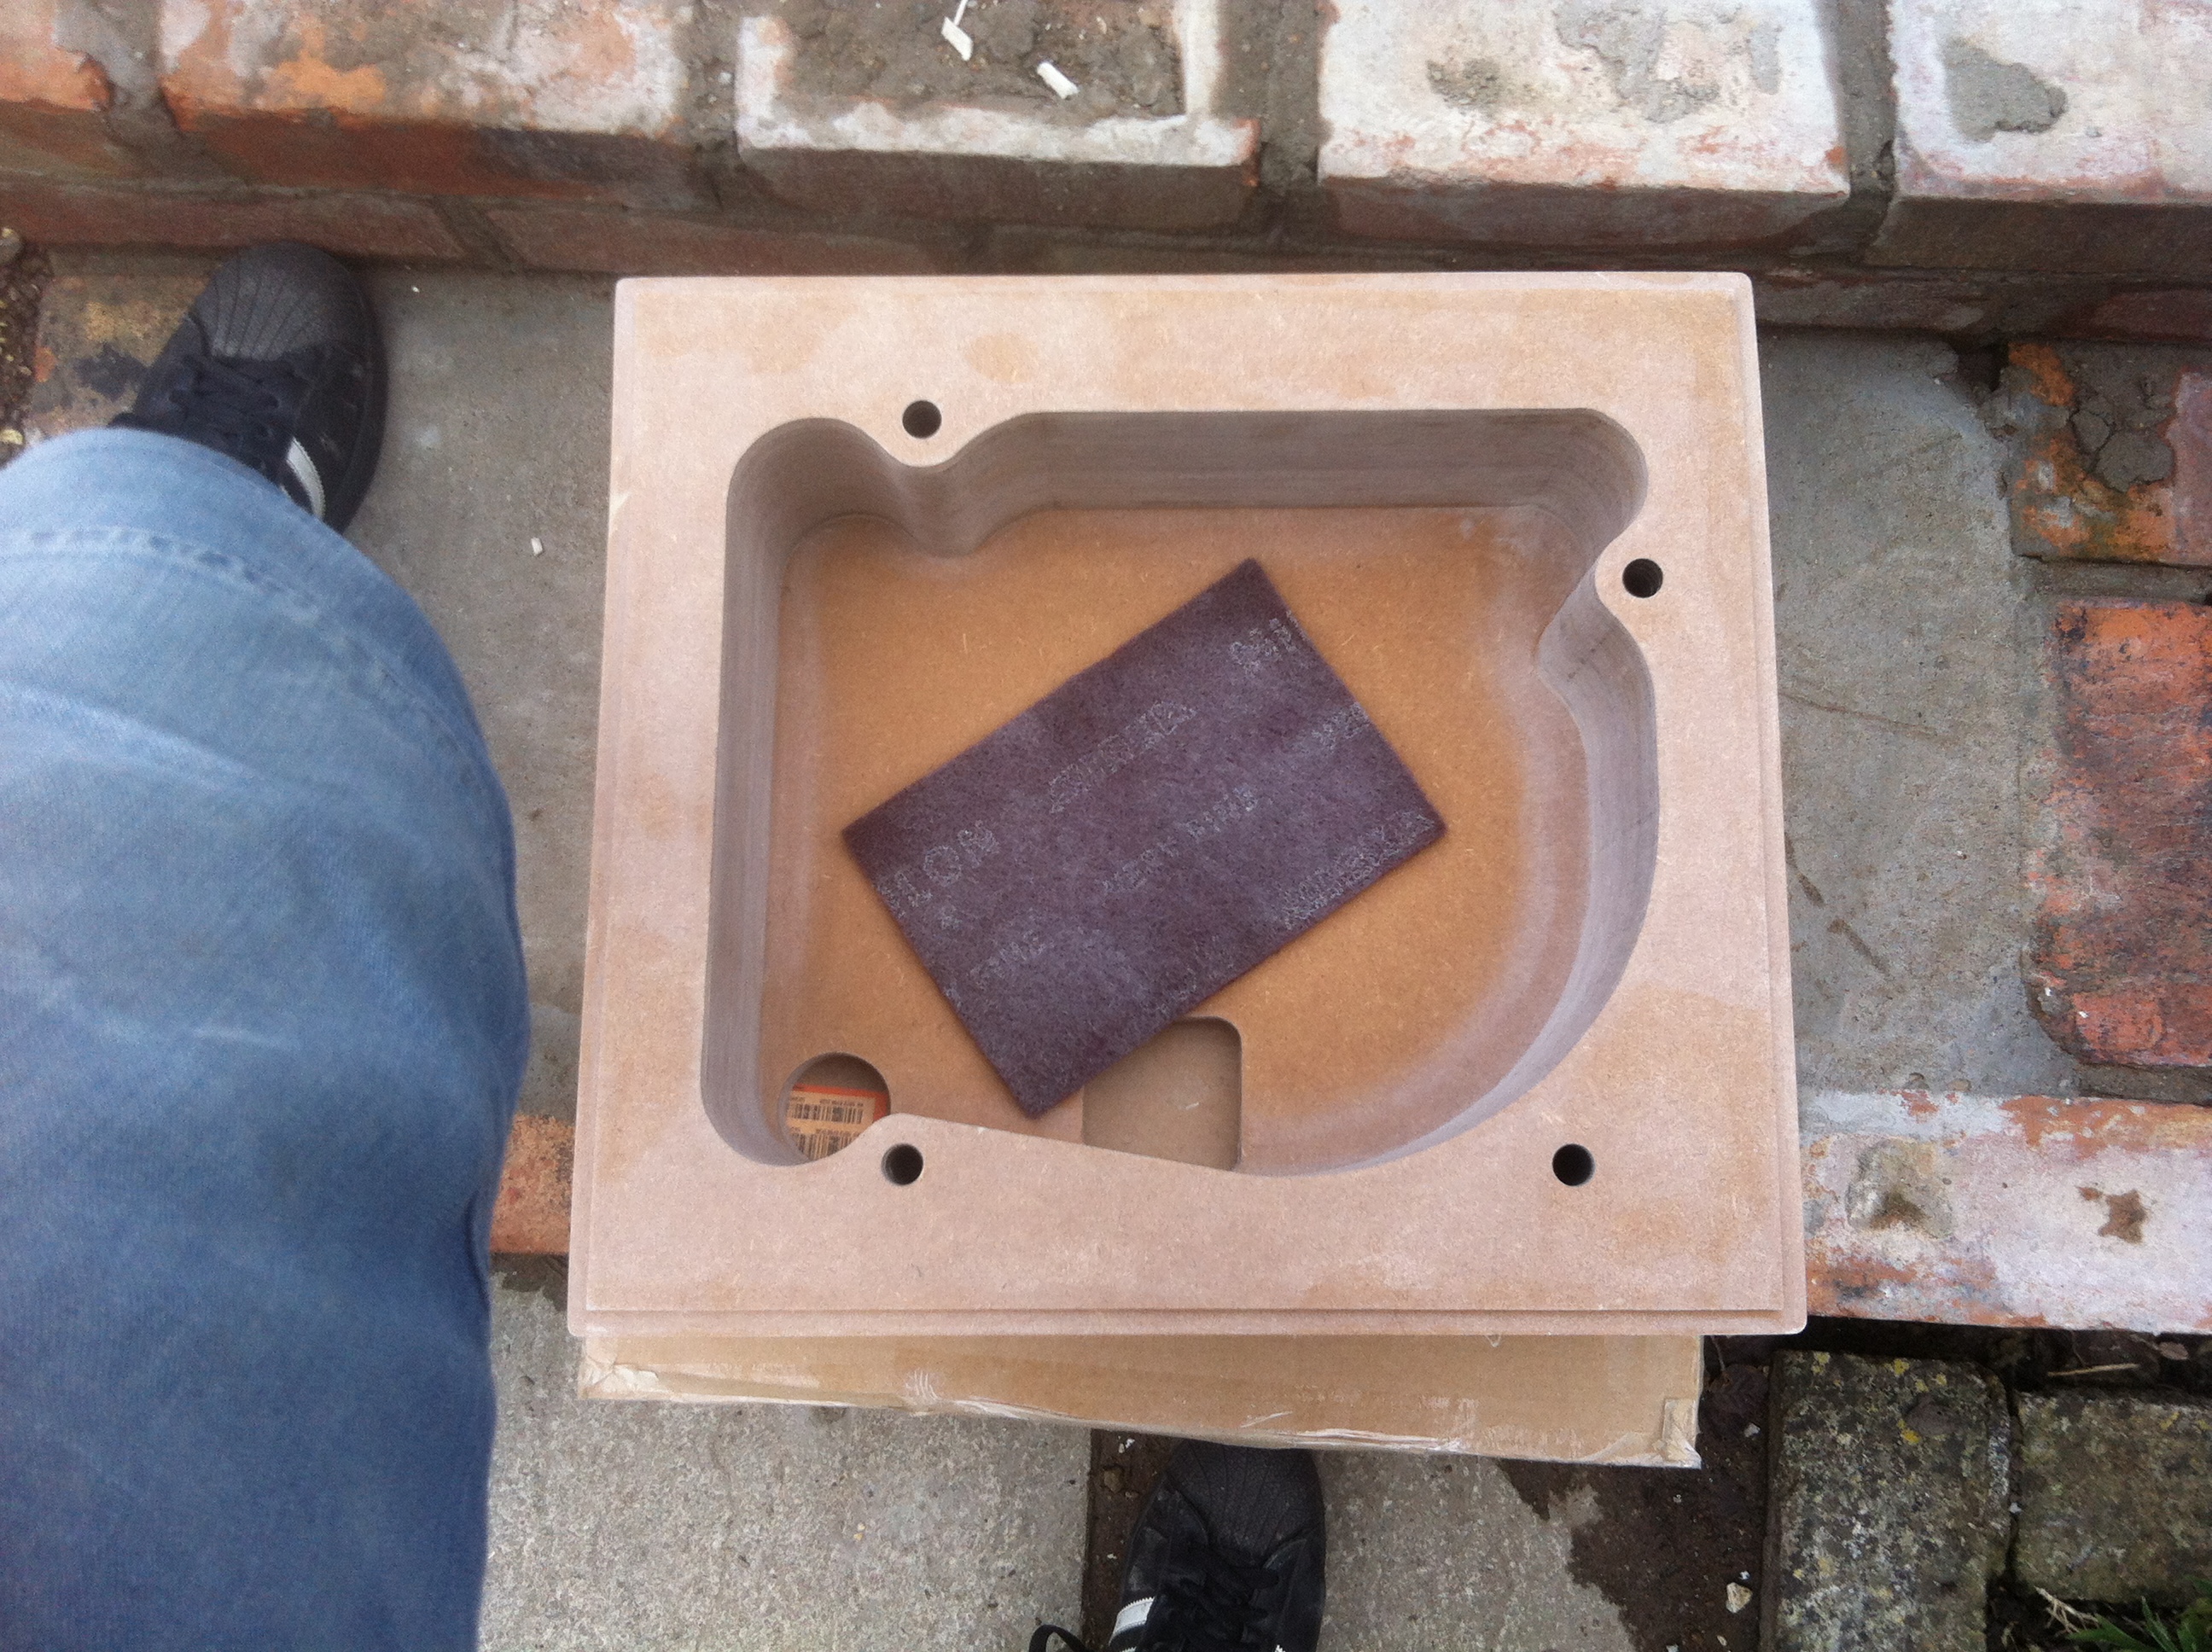
While I was at it i also took care of the dents caused by all the G clamps:
The filler dried after about 20 minutes. It was then sanded with a 220 grit sand paper. When applying filler remember then less you use the less you going to have to sand. Sanding contaminated the whole plinth with dust so then I used a vacuum cleaner and then a sticky tack cloth to get rid of anything on the surface that's not supposed to be there.
The next step is to paint the whole plinth with a sanding sealer. Sanding sealer with seal all the pores of the wood and stop the wood taking in the moisture from the air as well as it will stop the real paint from being soaked into the wood so you use less of it. Sanding sealer can be also sanded down as the name suggests to get a flat, smooth surface to paint.
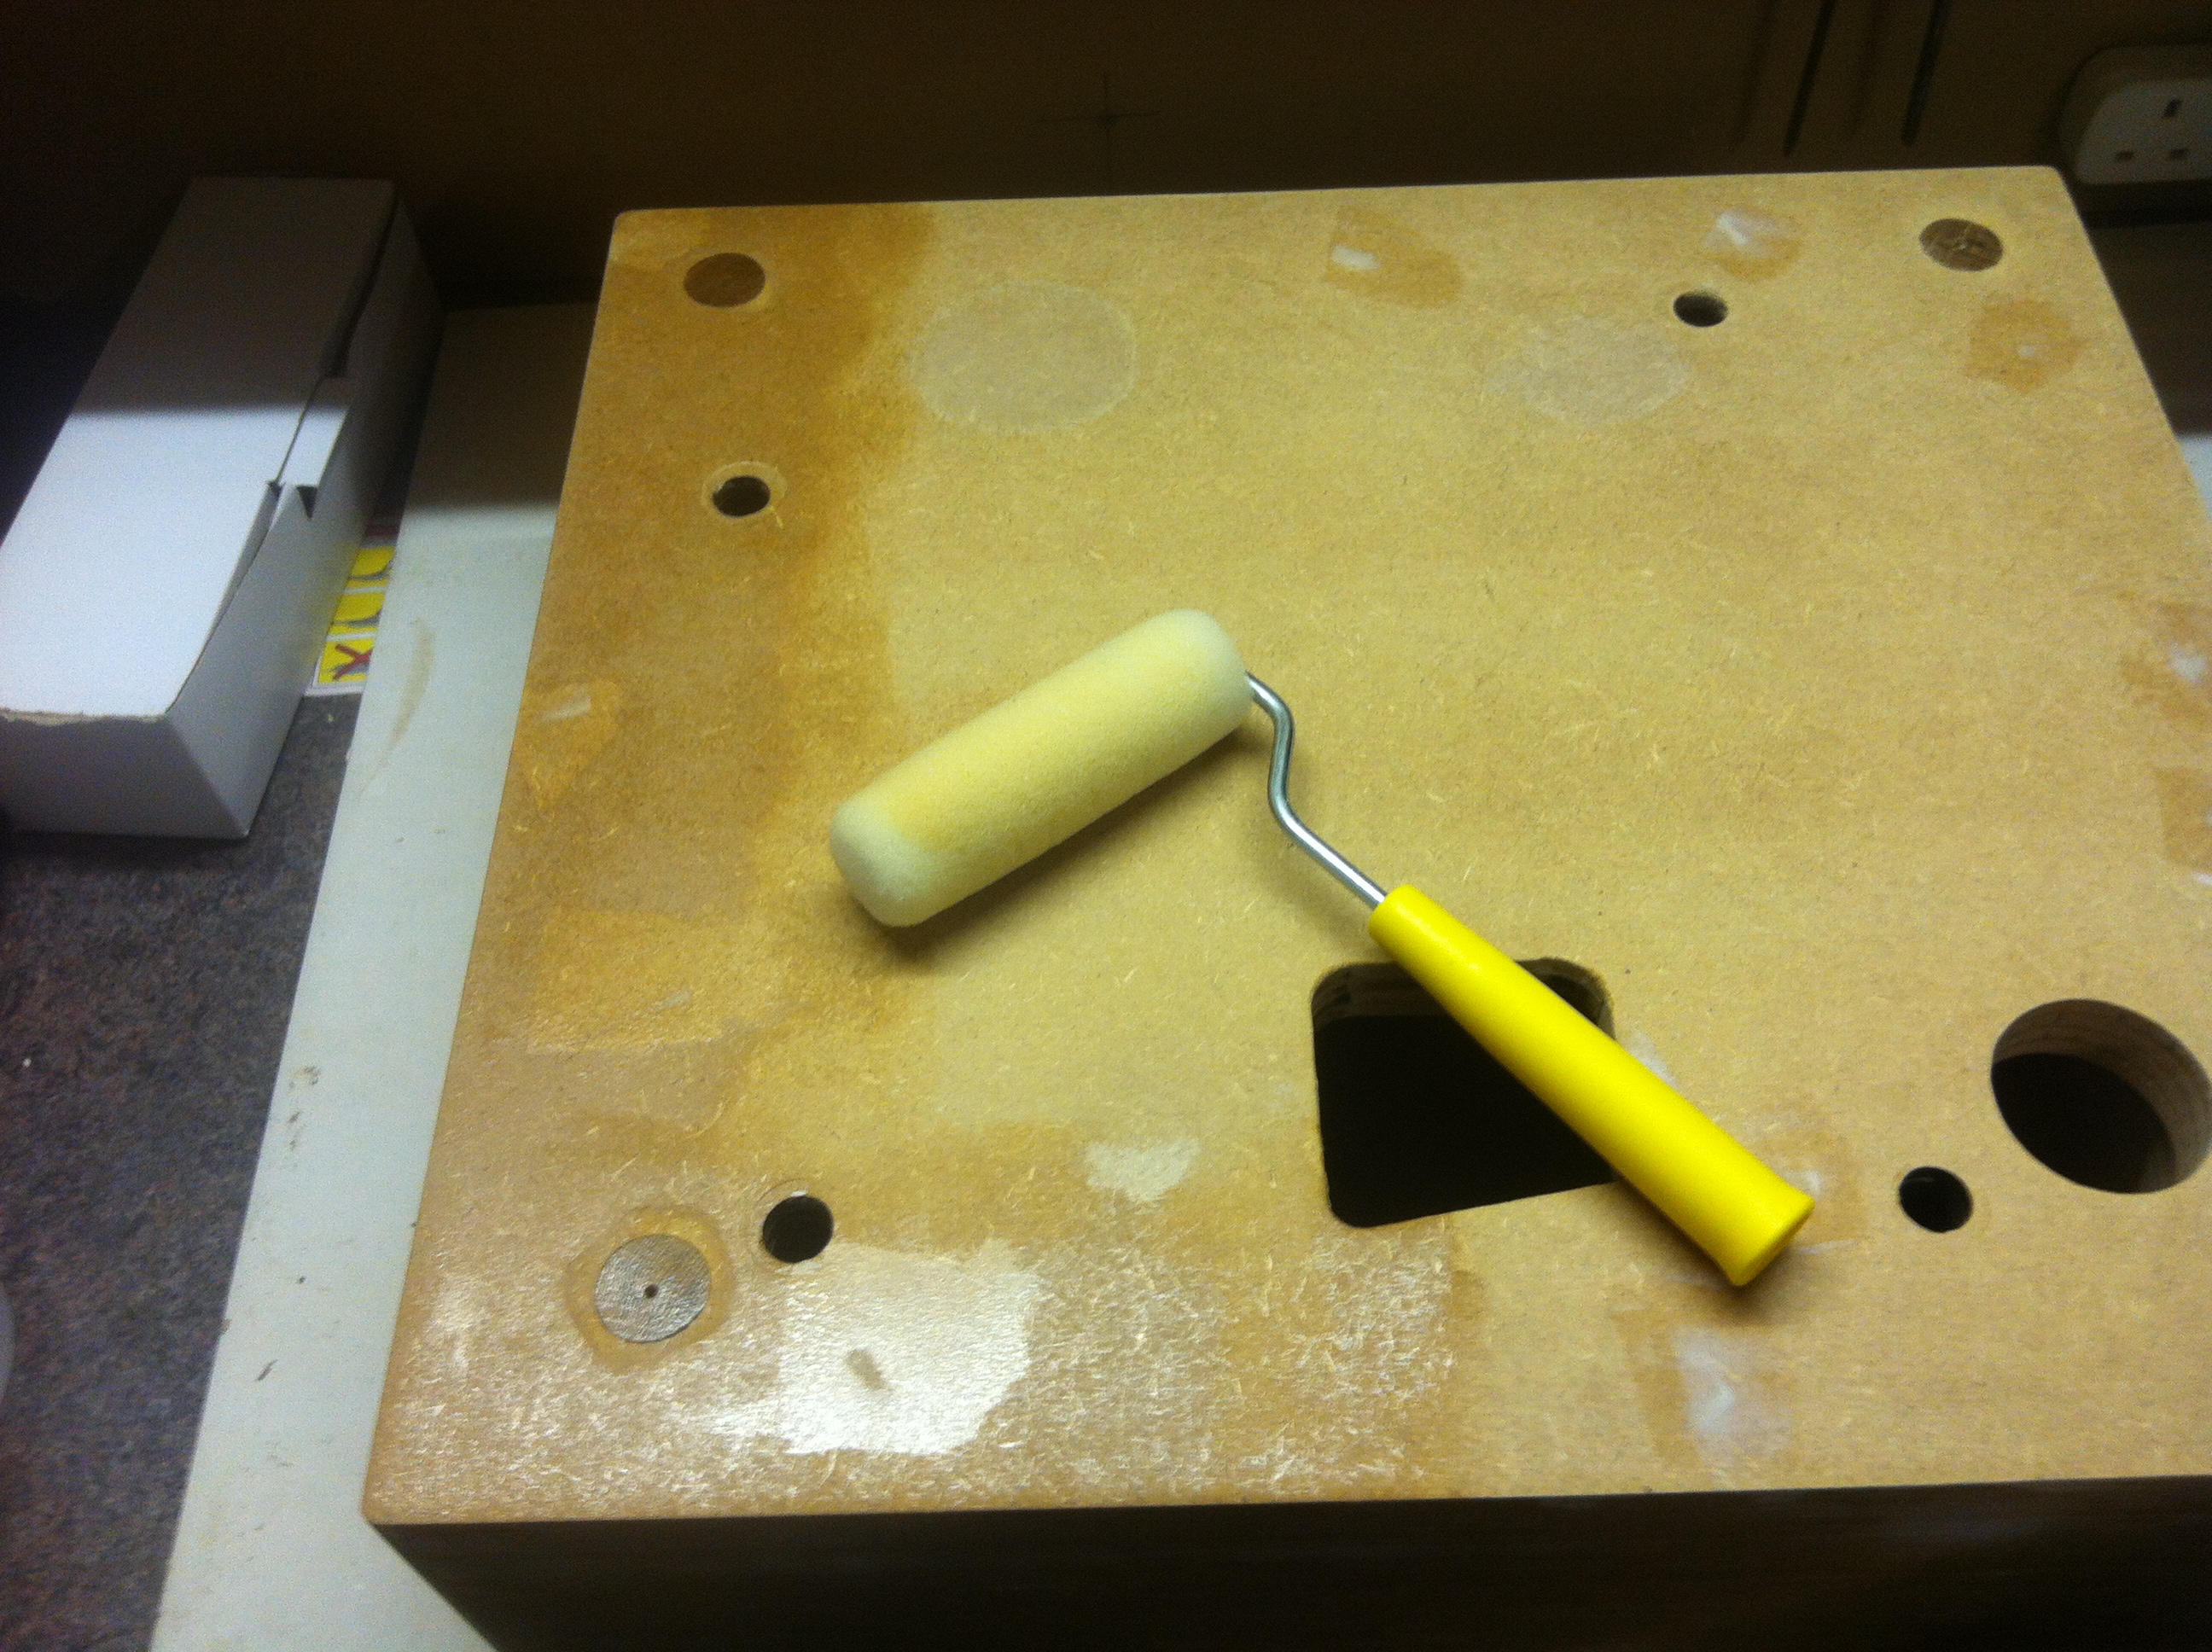
To apply the sealer to the wood I used a paint roller because I wanted to get a thick and even coat of it on the plitnth quick:
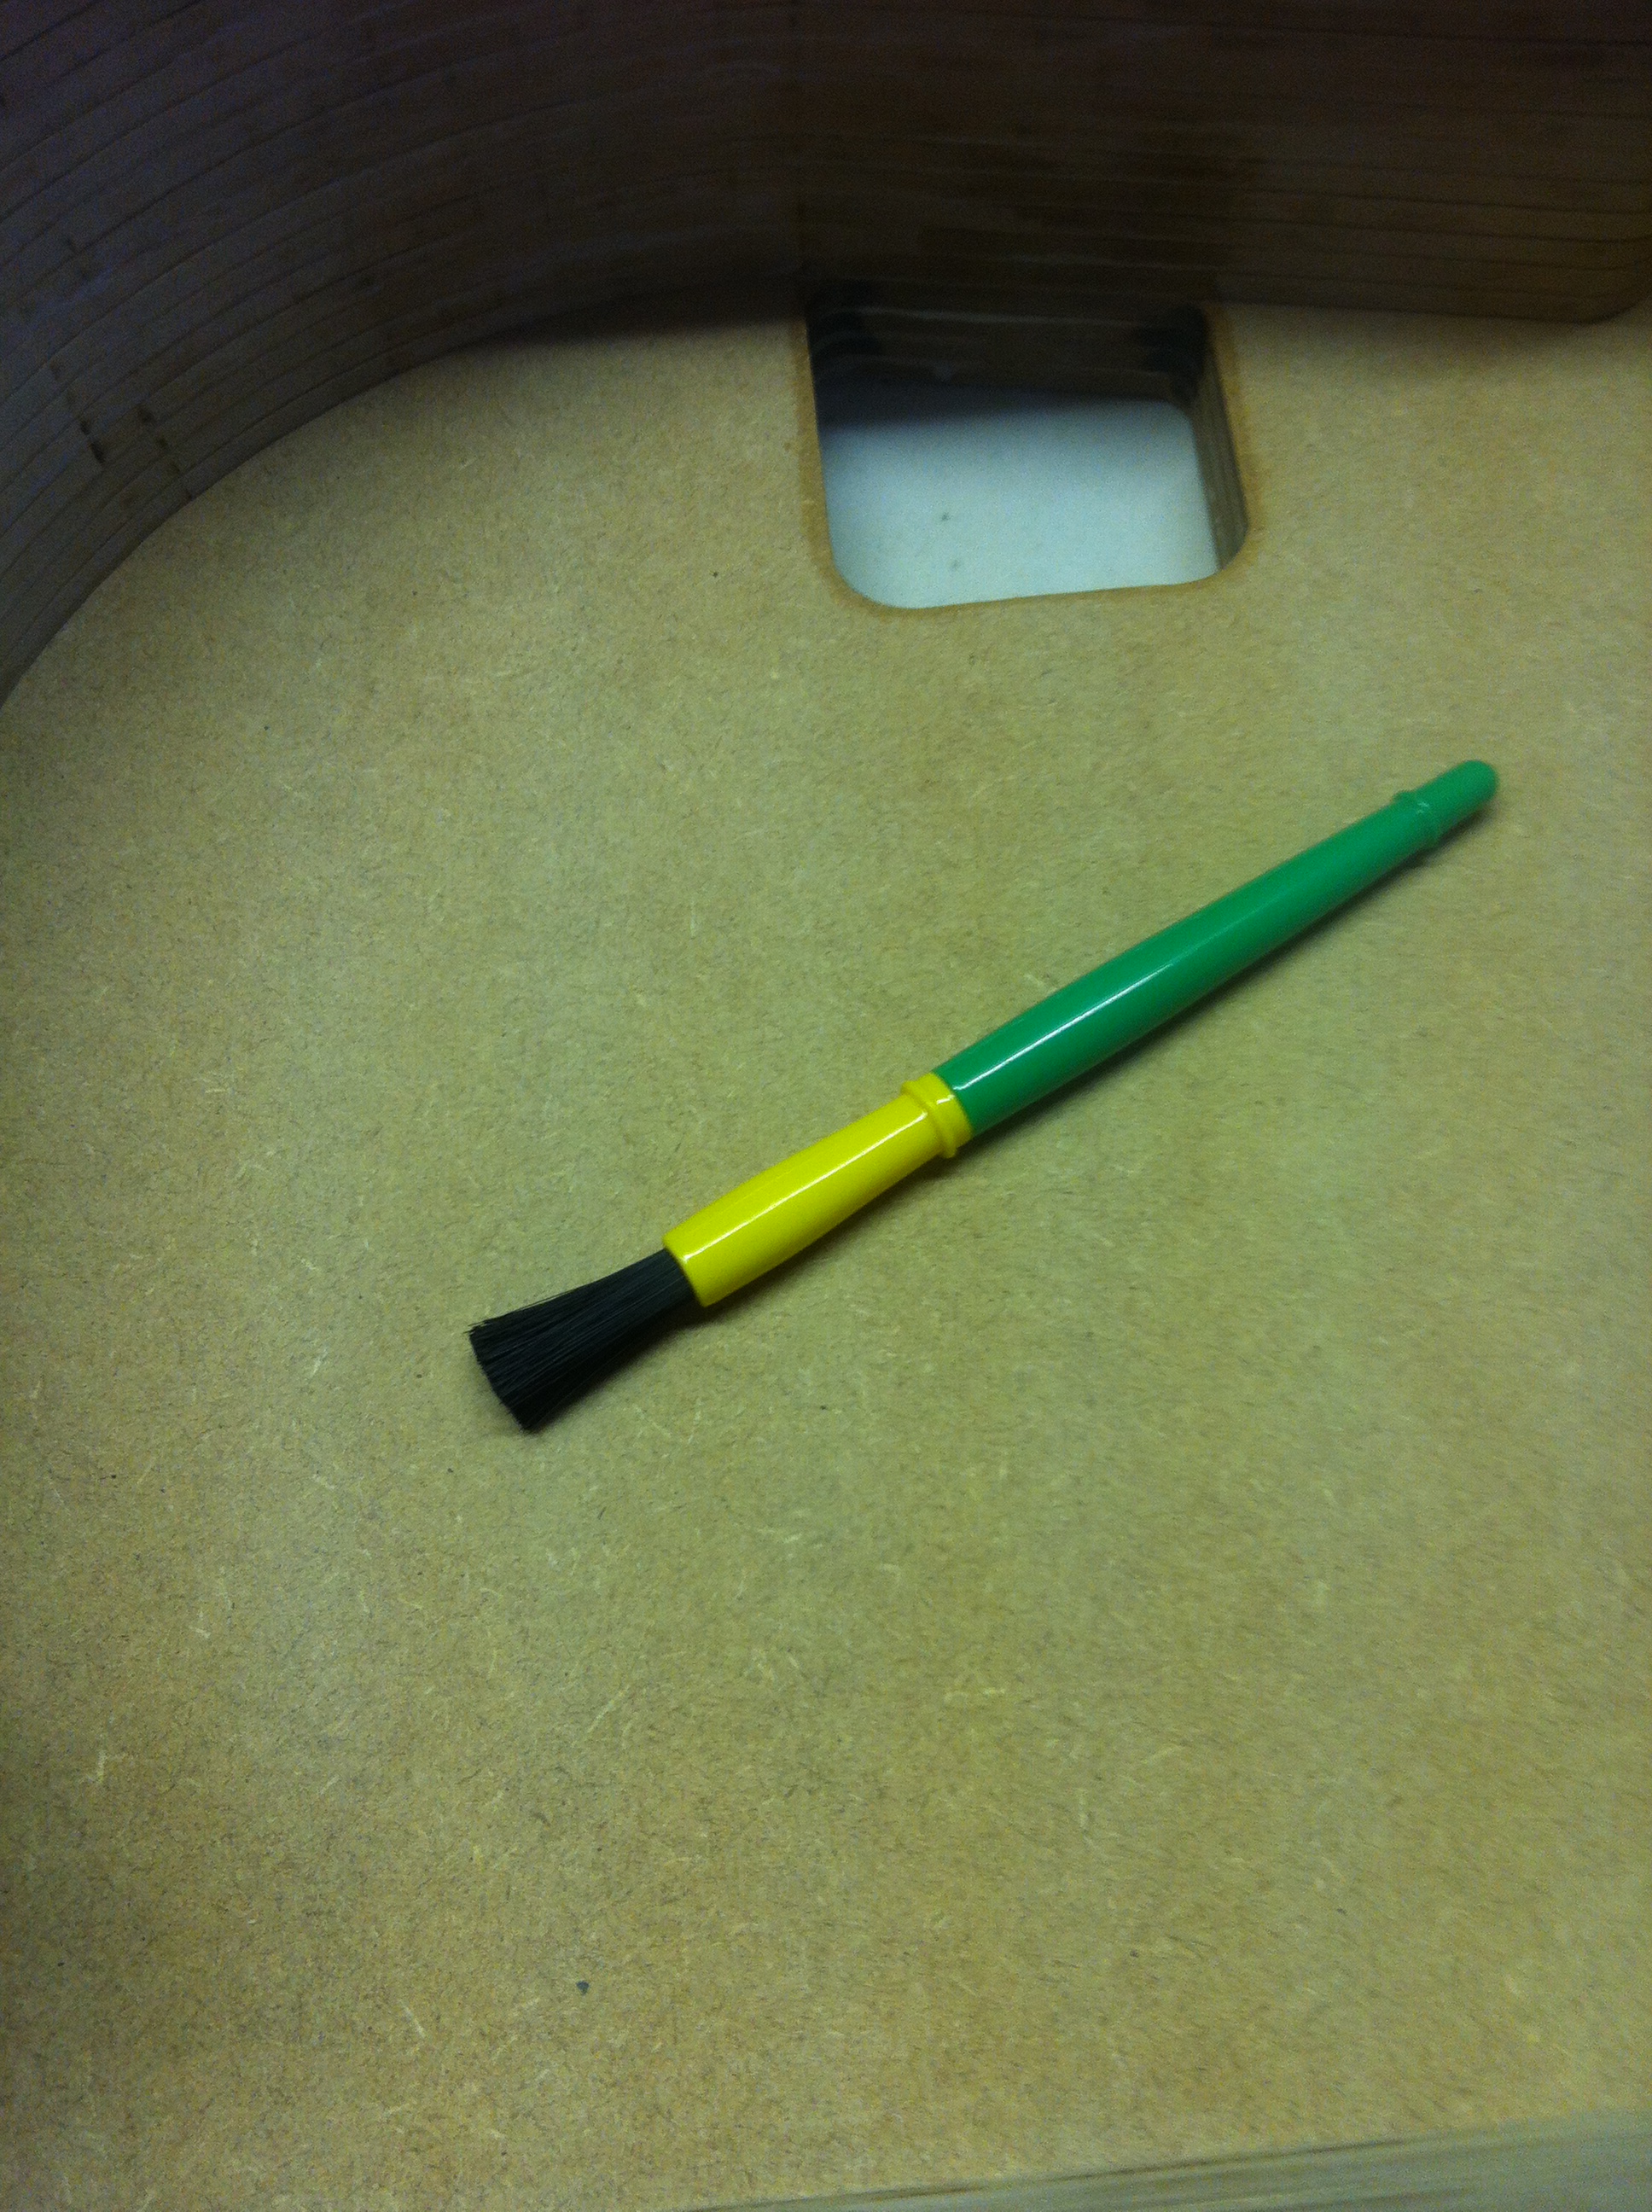
For places hard to access I used a small brush:

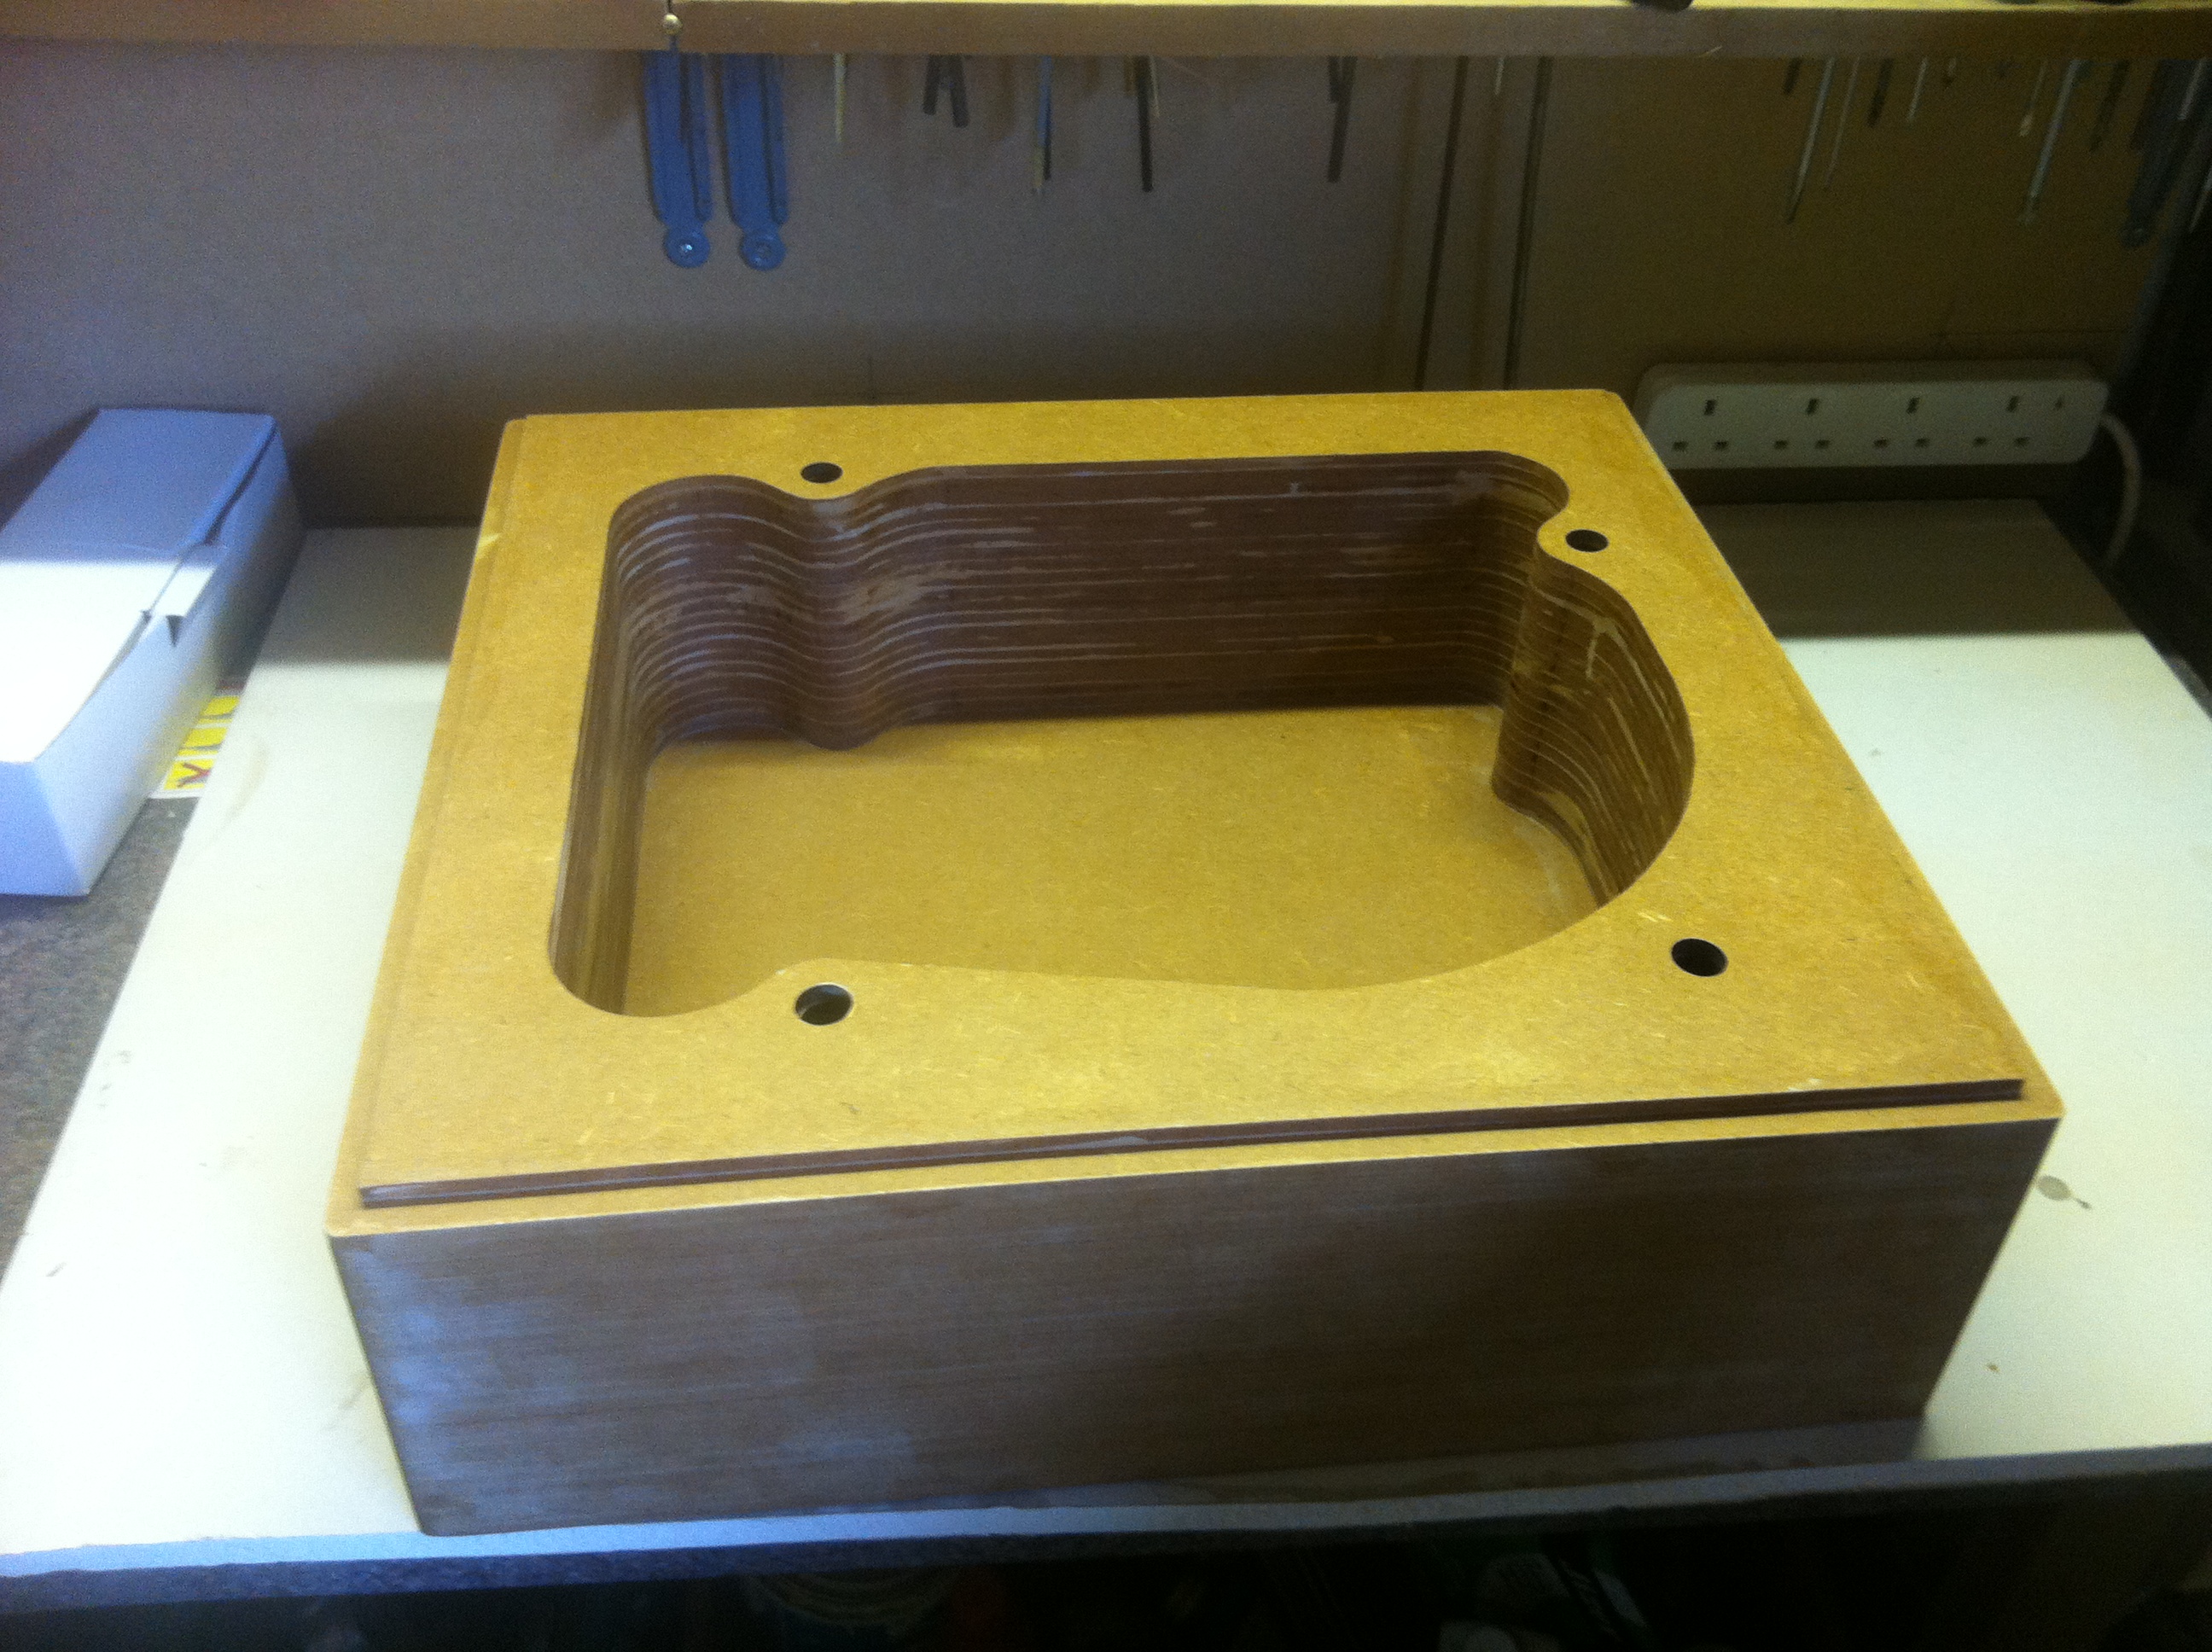
And here's the whole thing painted:
The sealer took about 2 hours to properly dry at a room temperature.
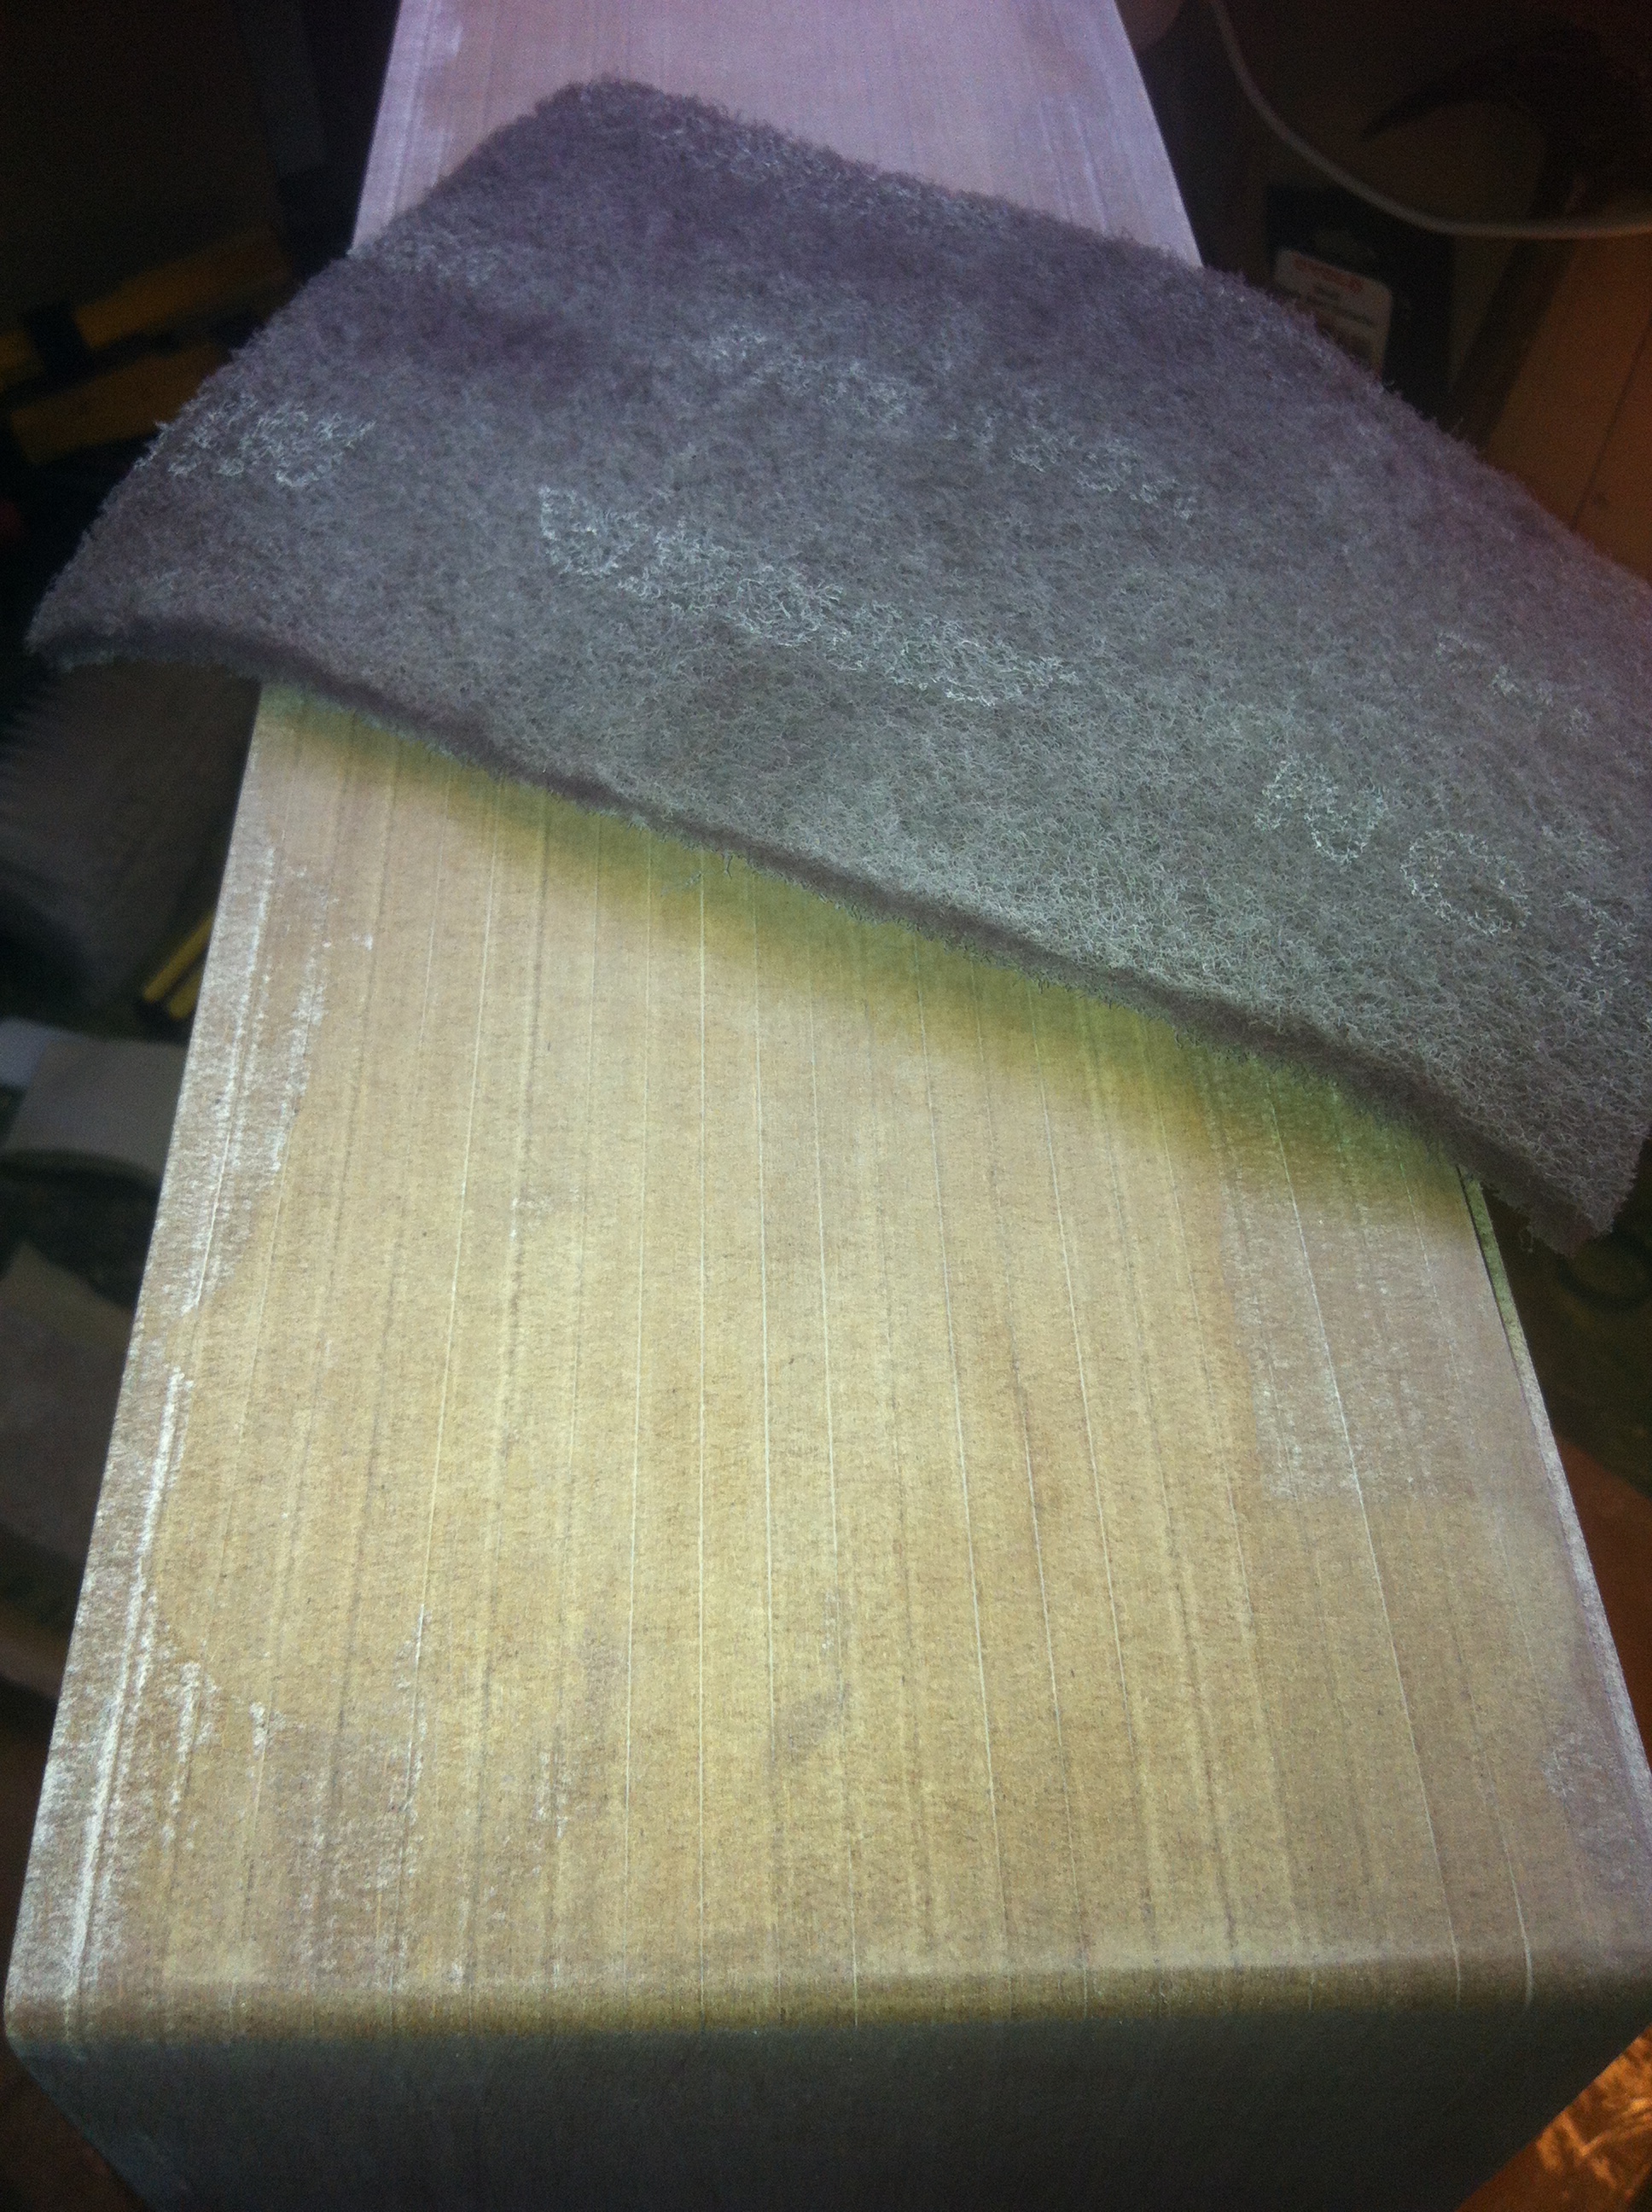
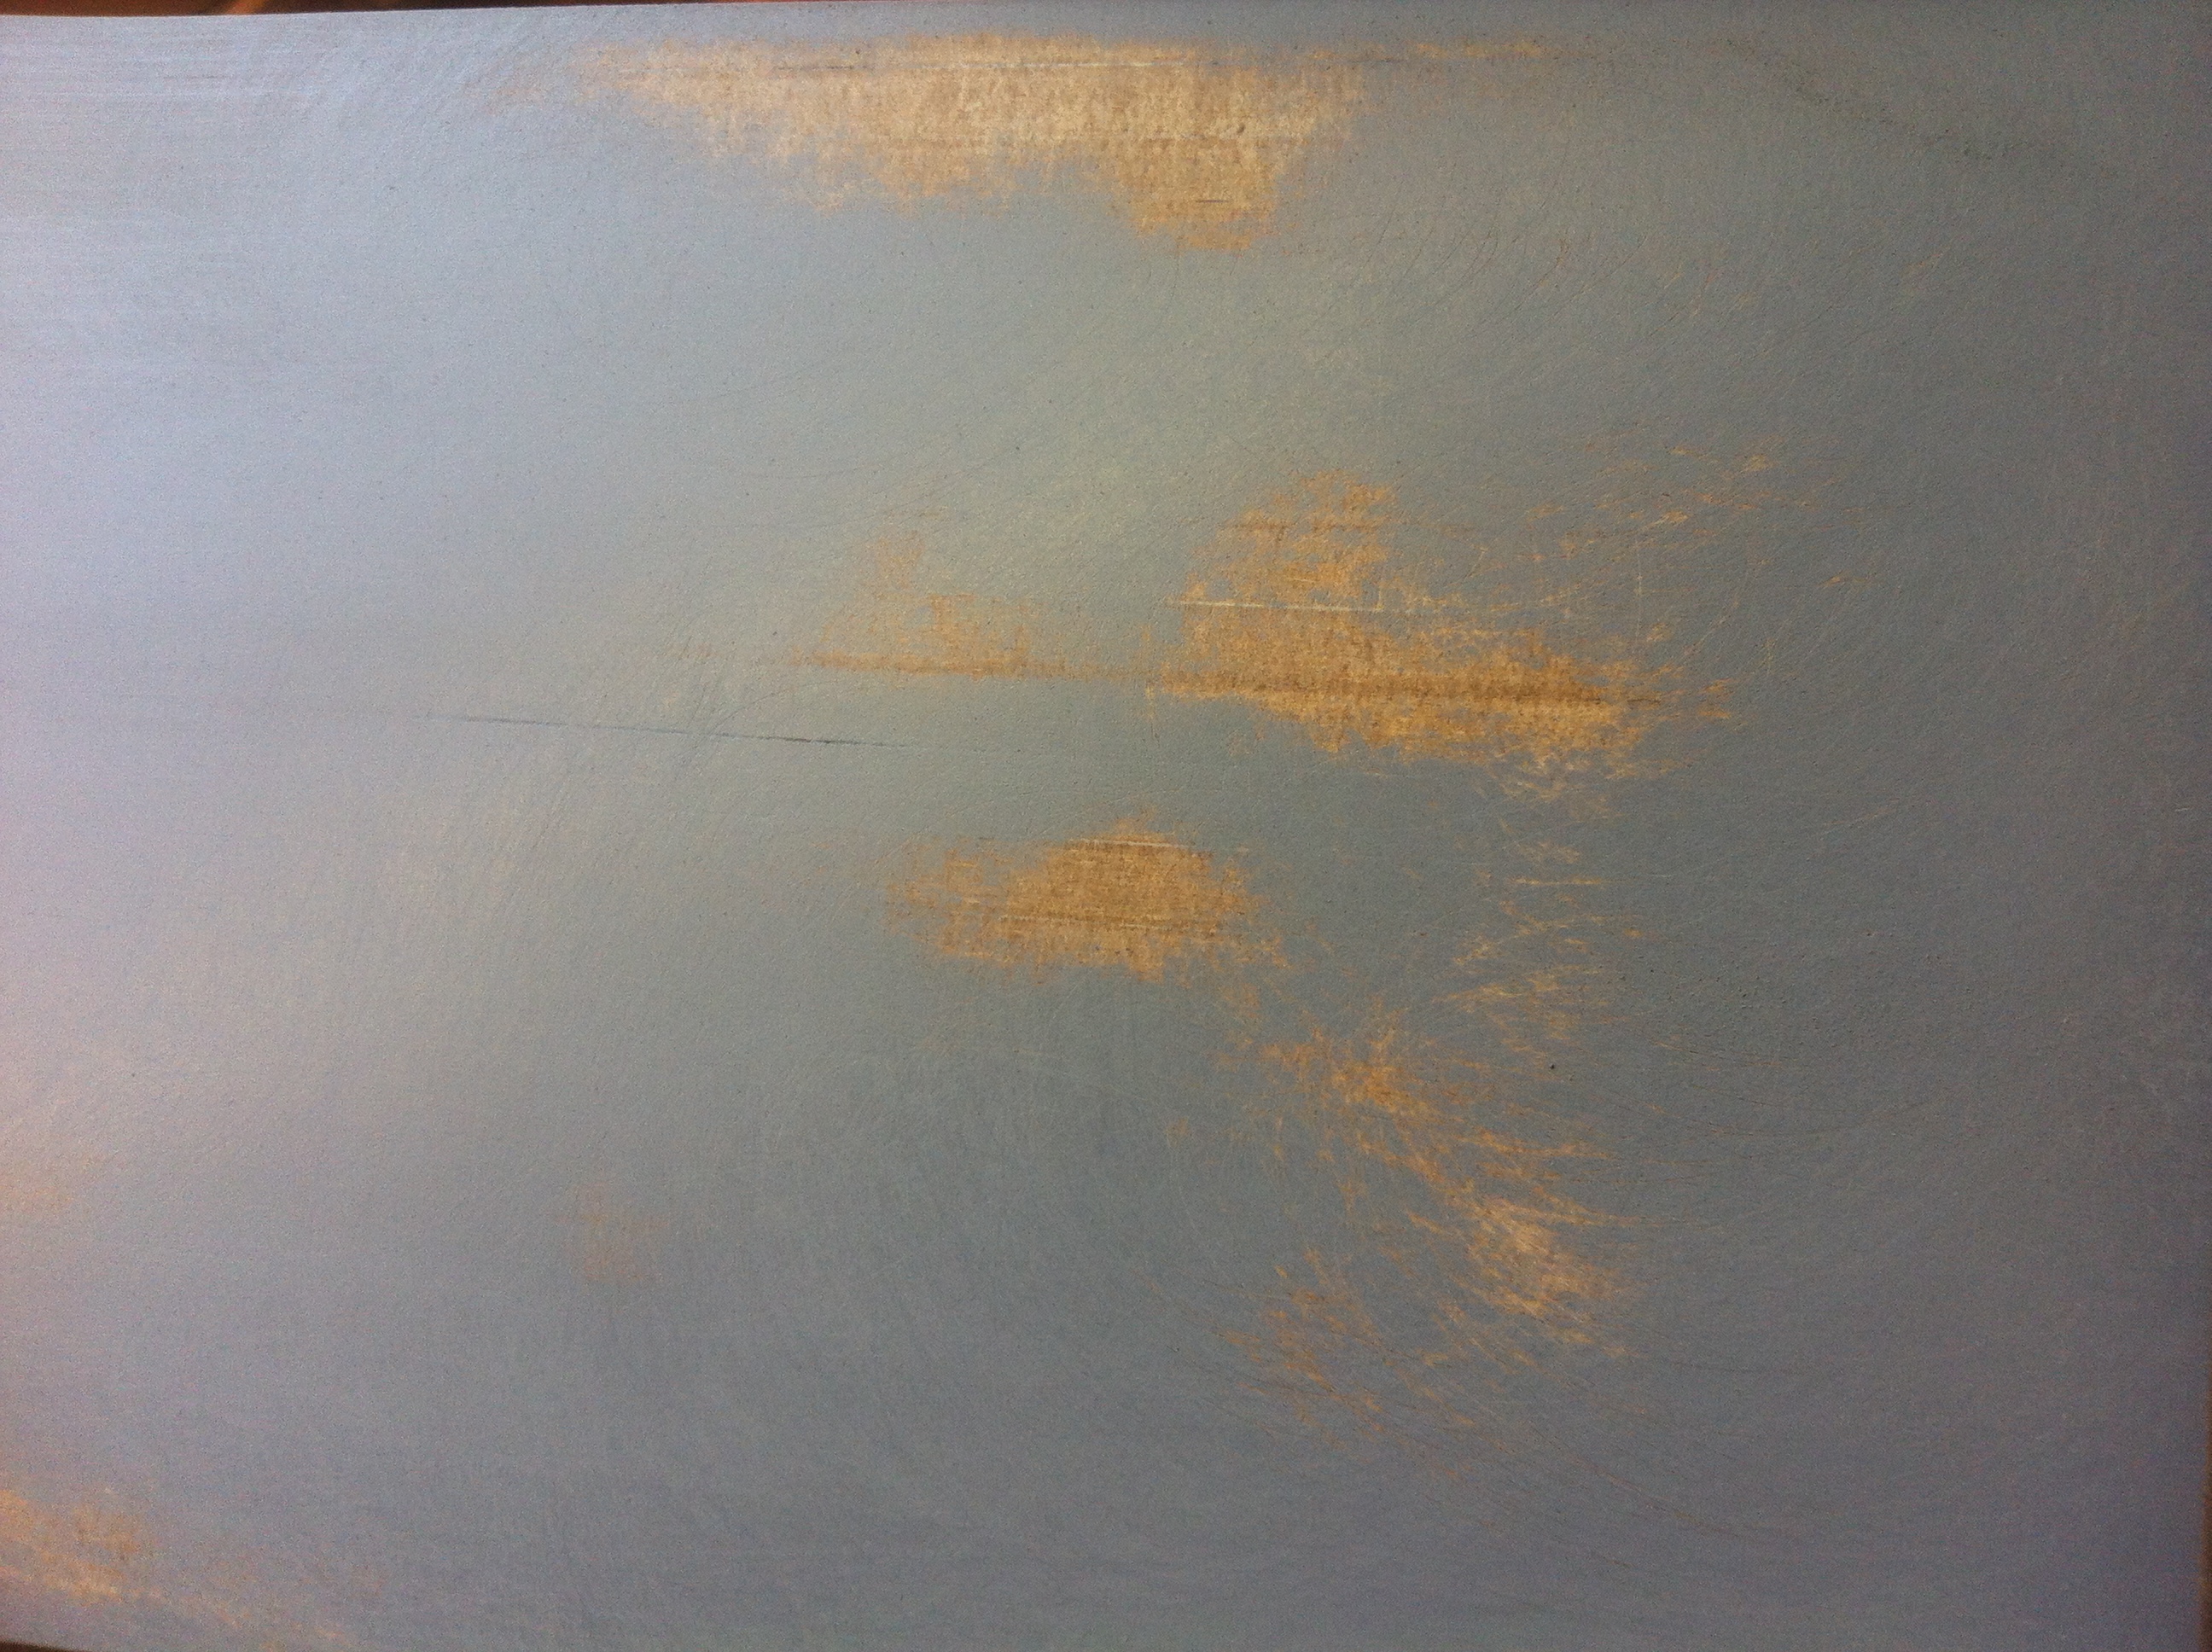
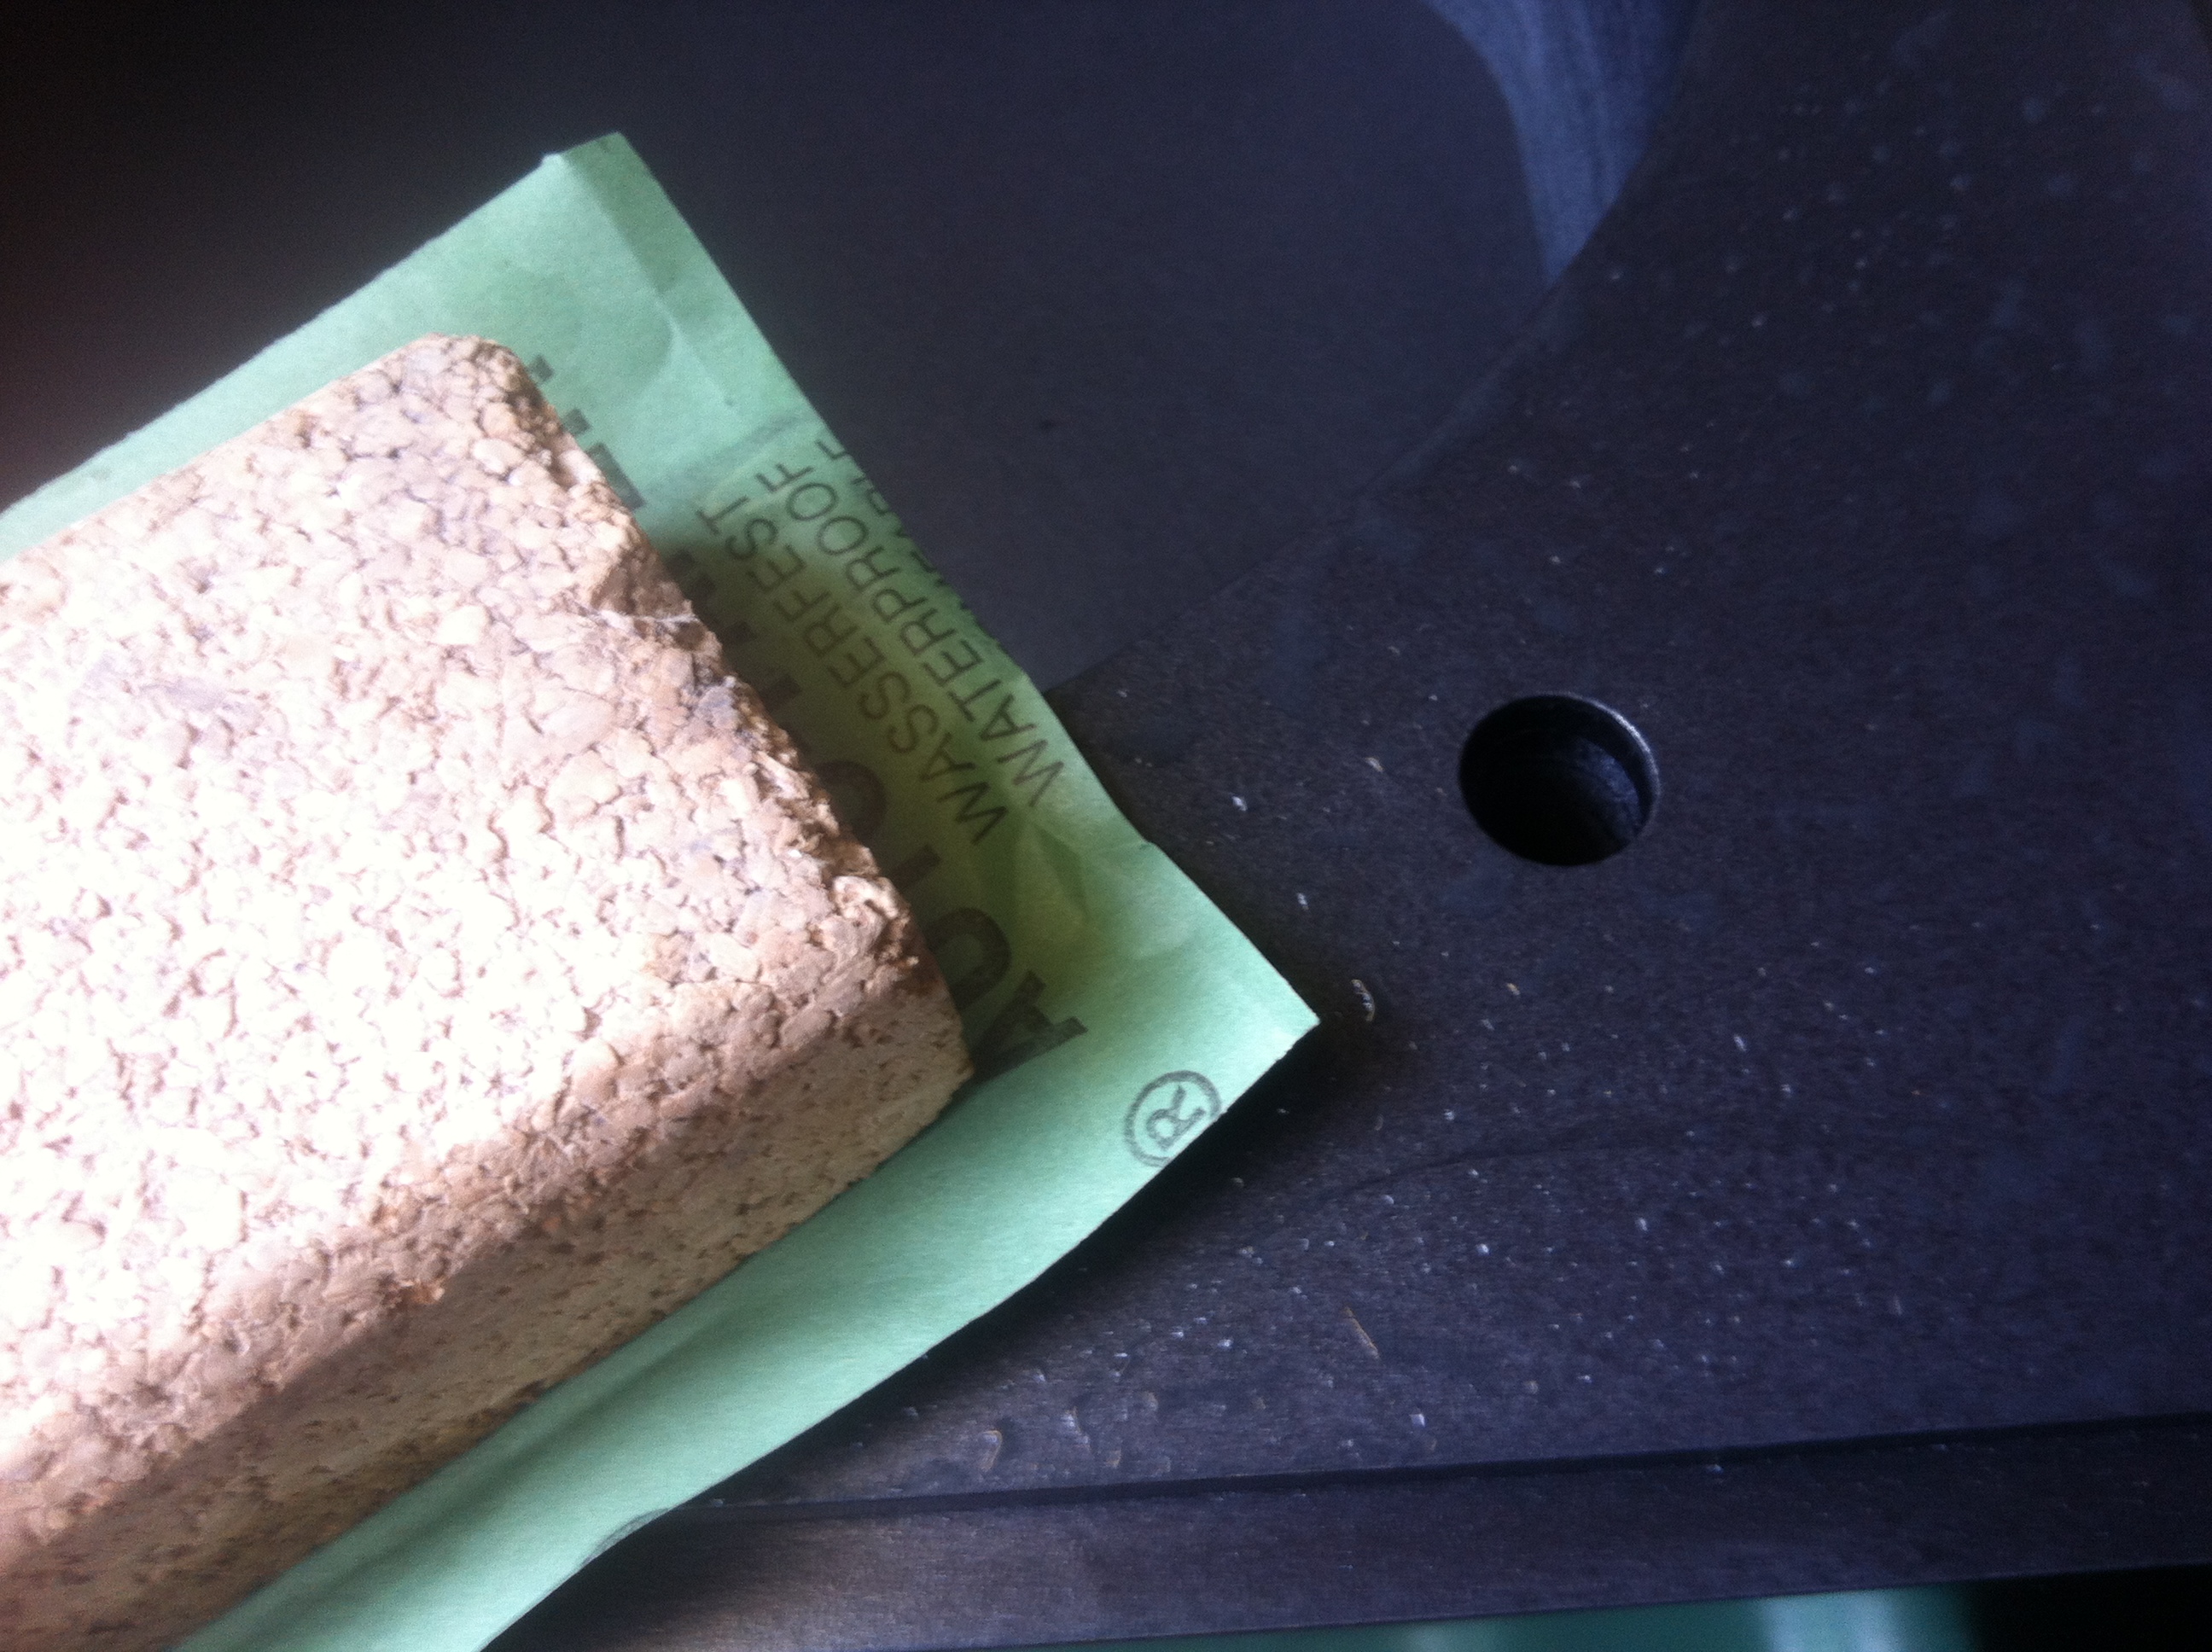
To sand the sealer it's always good to use something that’s not very abrasive and soft. For this I used a scratch pad like this one:
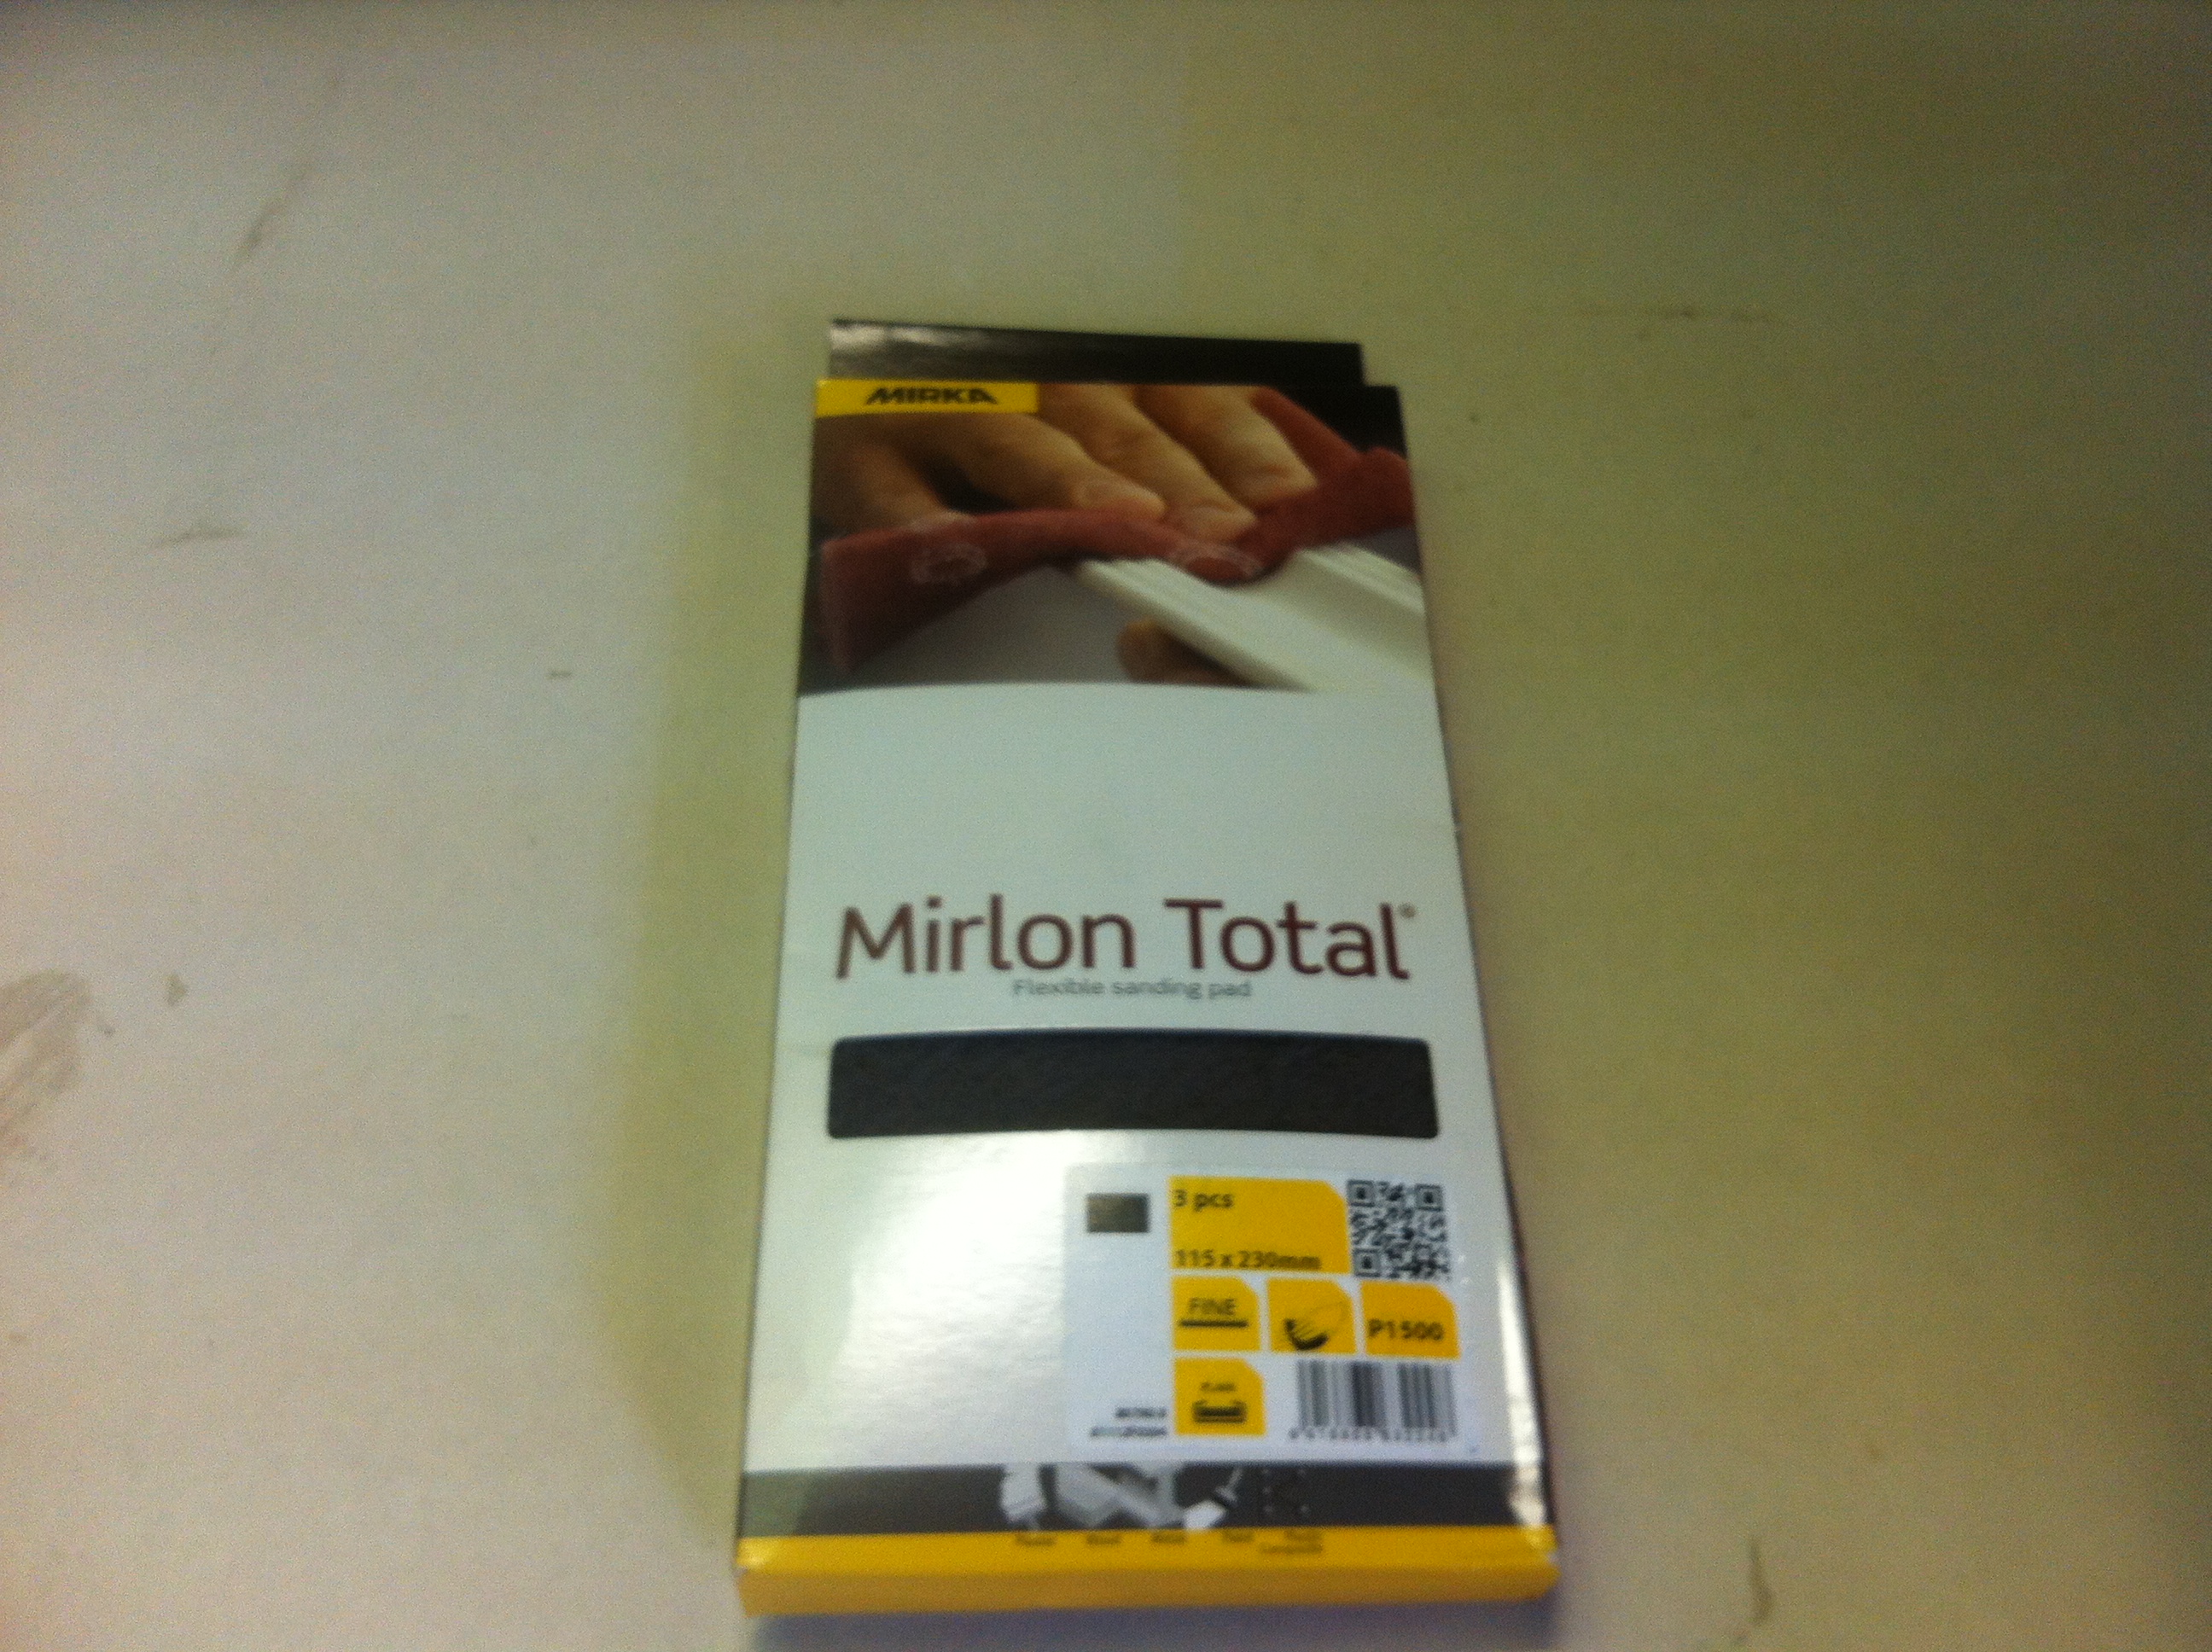
I rubbed the whole plinth with it in about 20 minutes. You need to be really careful not to press to hard, spend too much in one place and you need to be extra careful around the corners. Once the surface has a white-matte look to it its perfect.
Something like this:
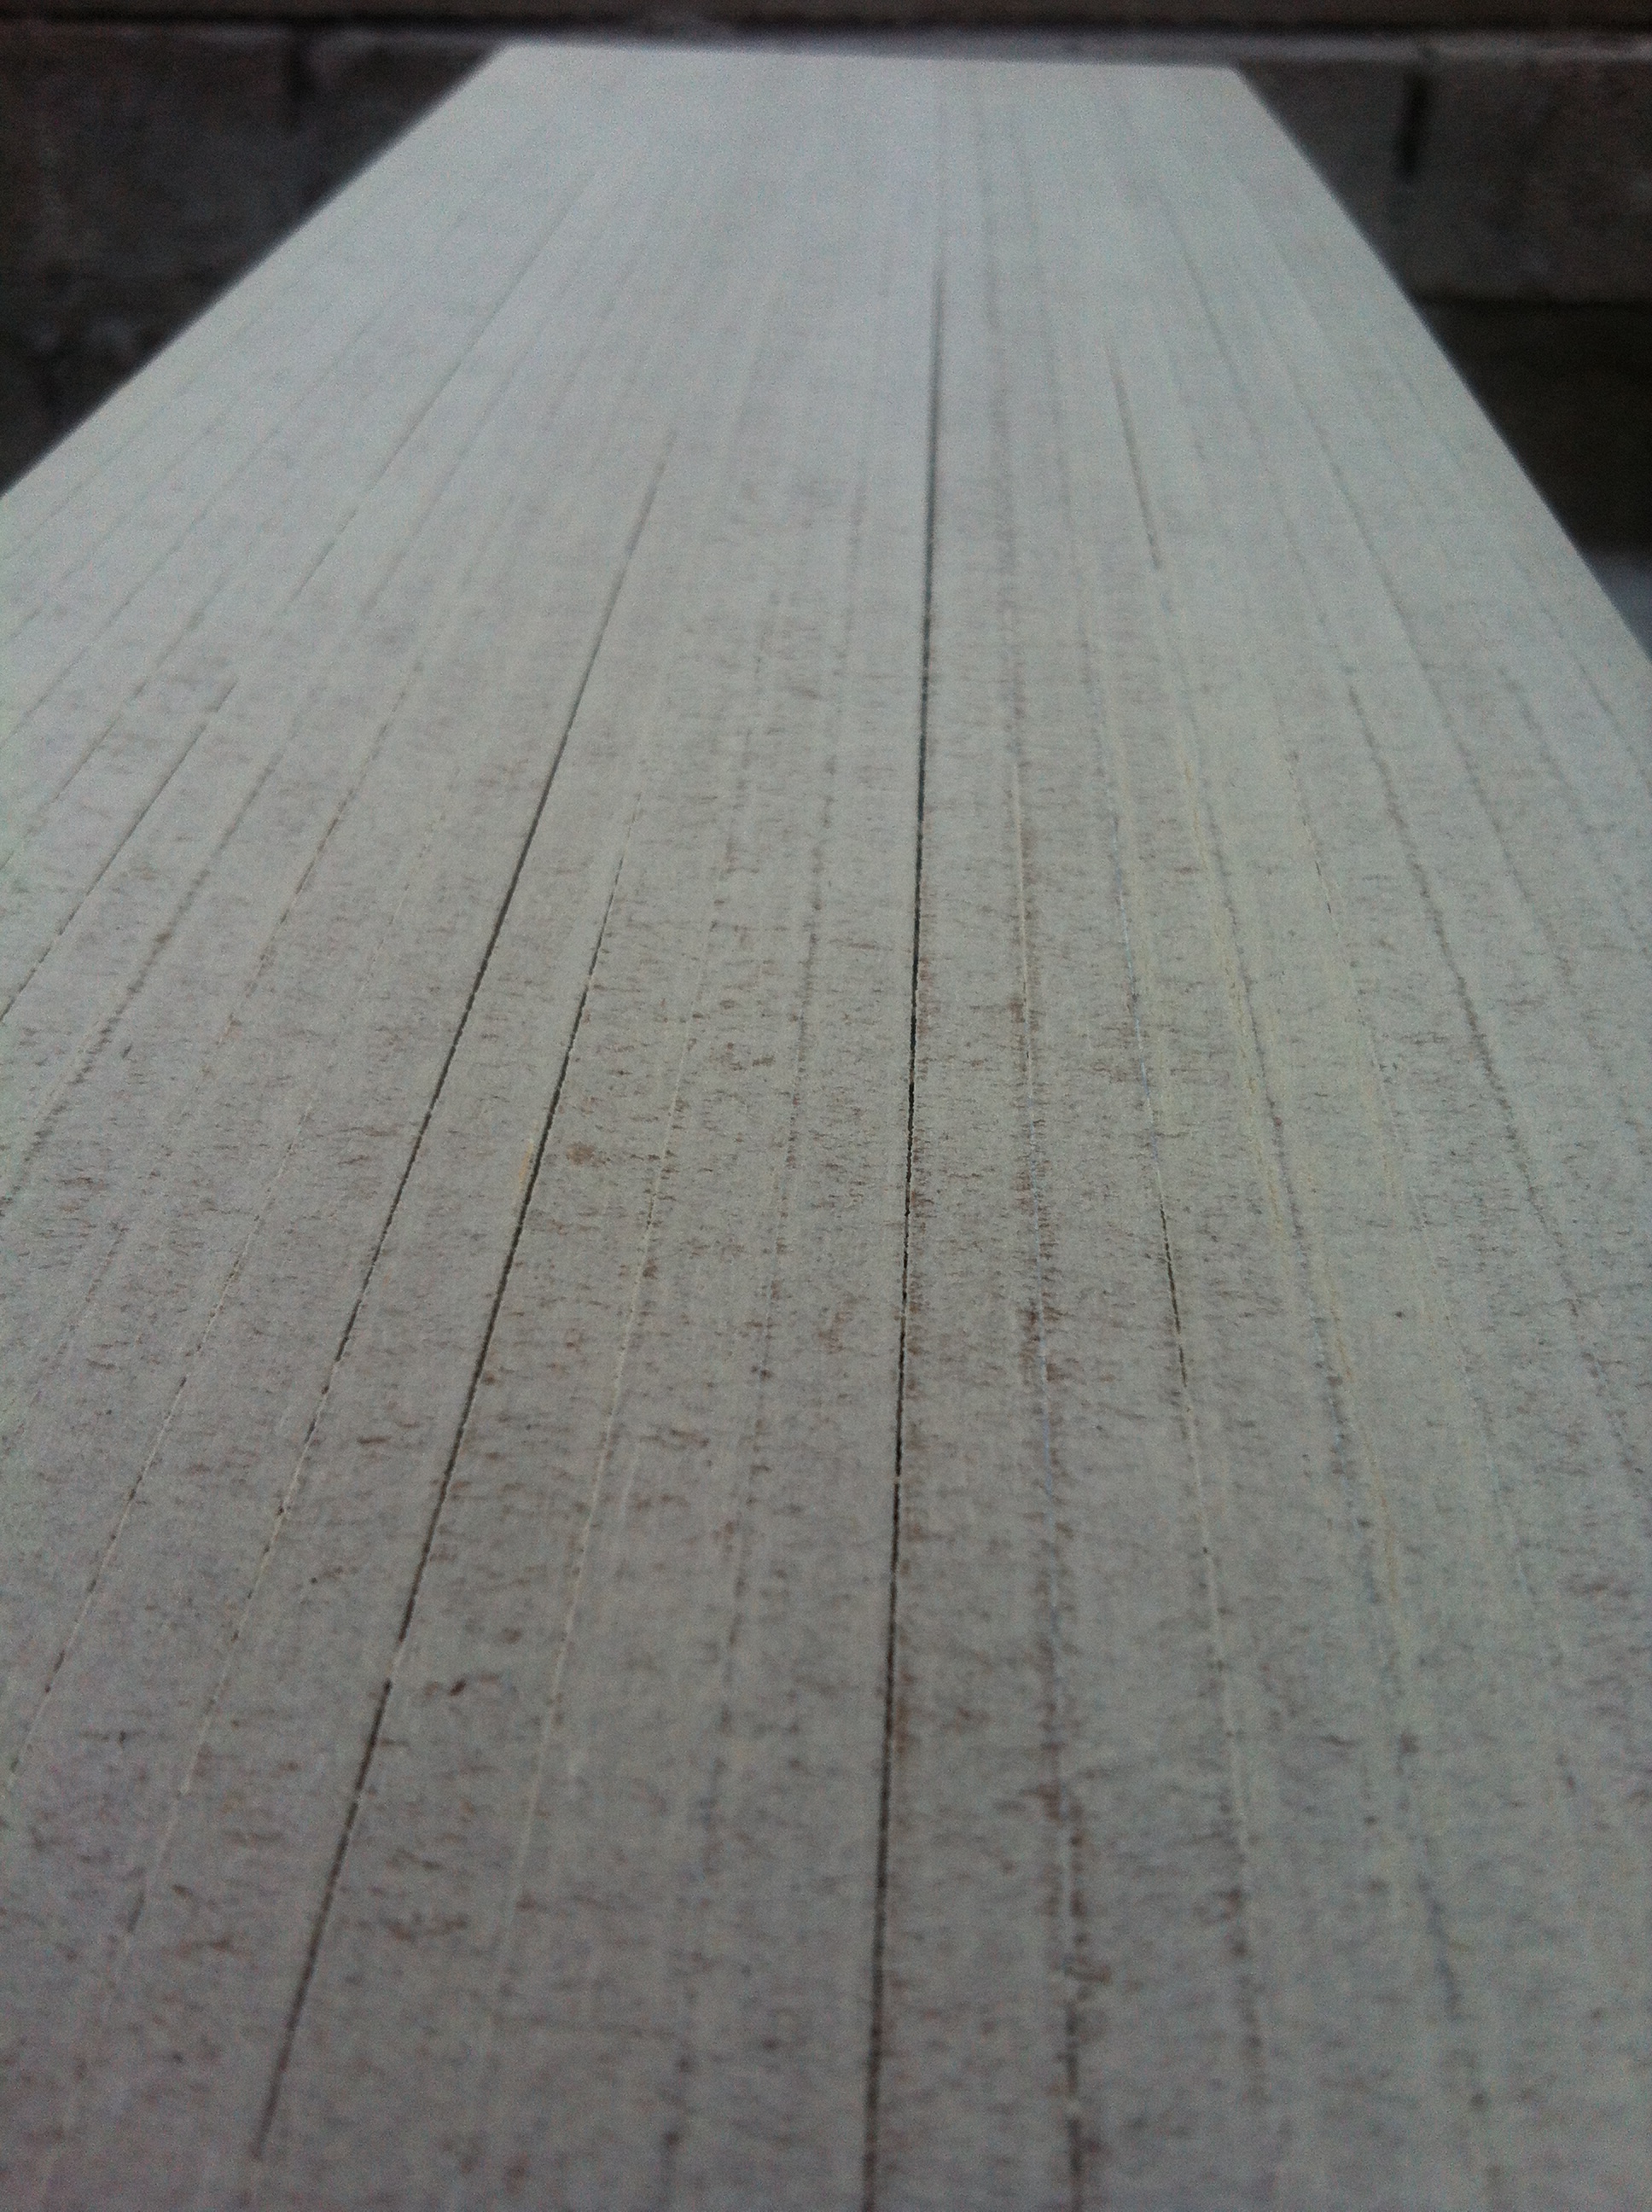
Here you can see the difference between a sanded and un sanded surface:
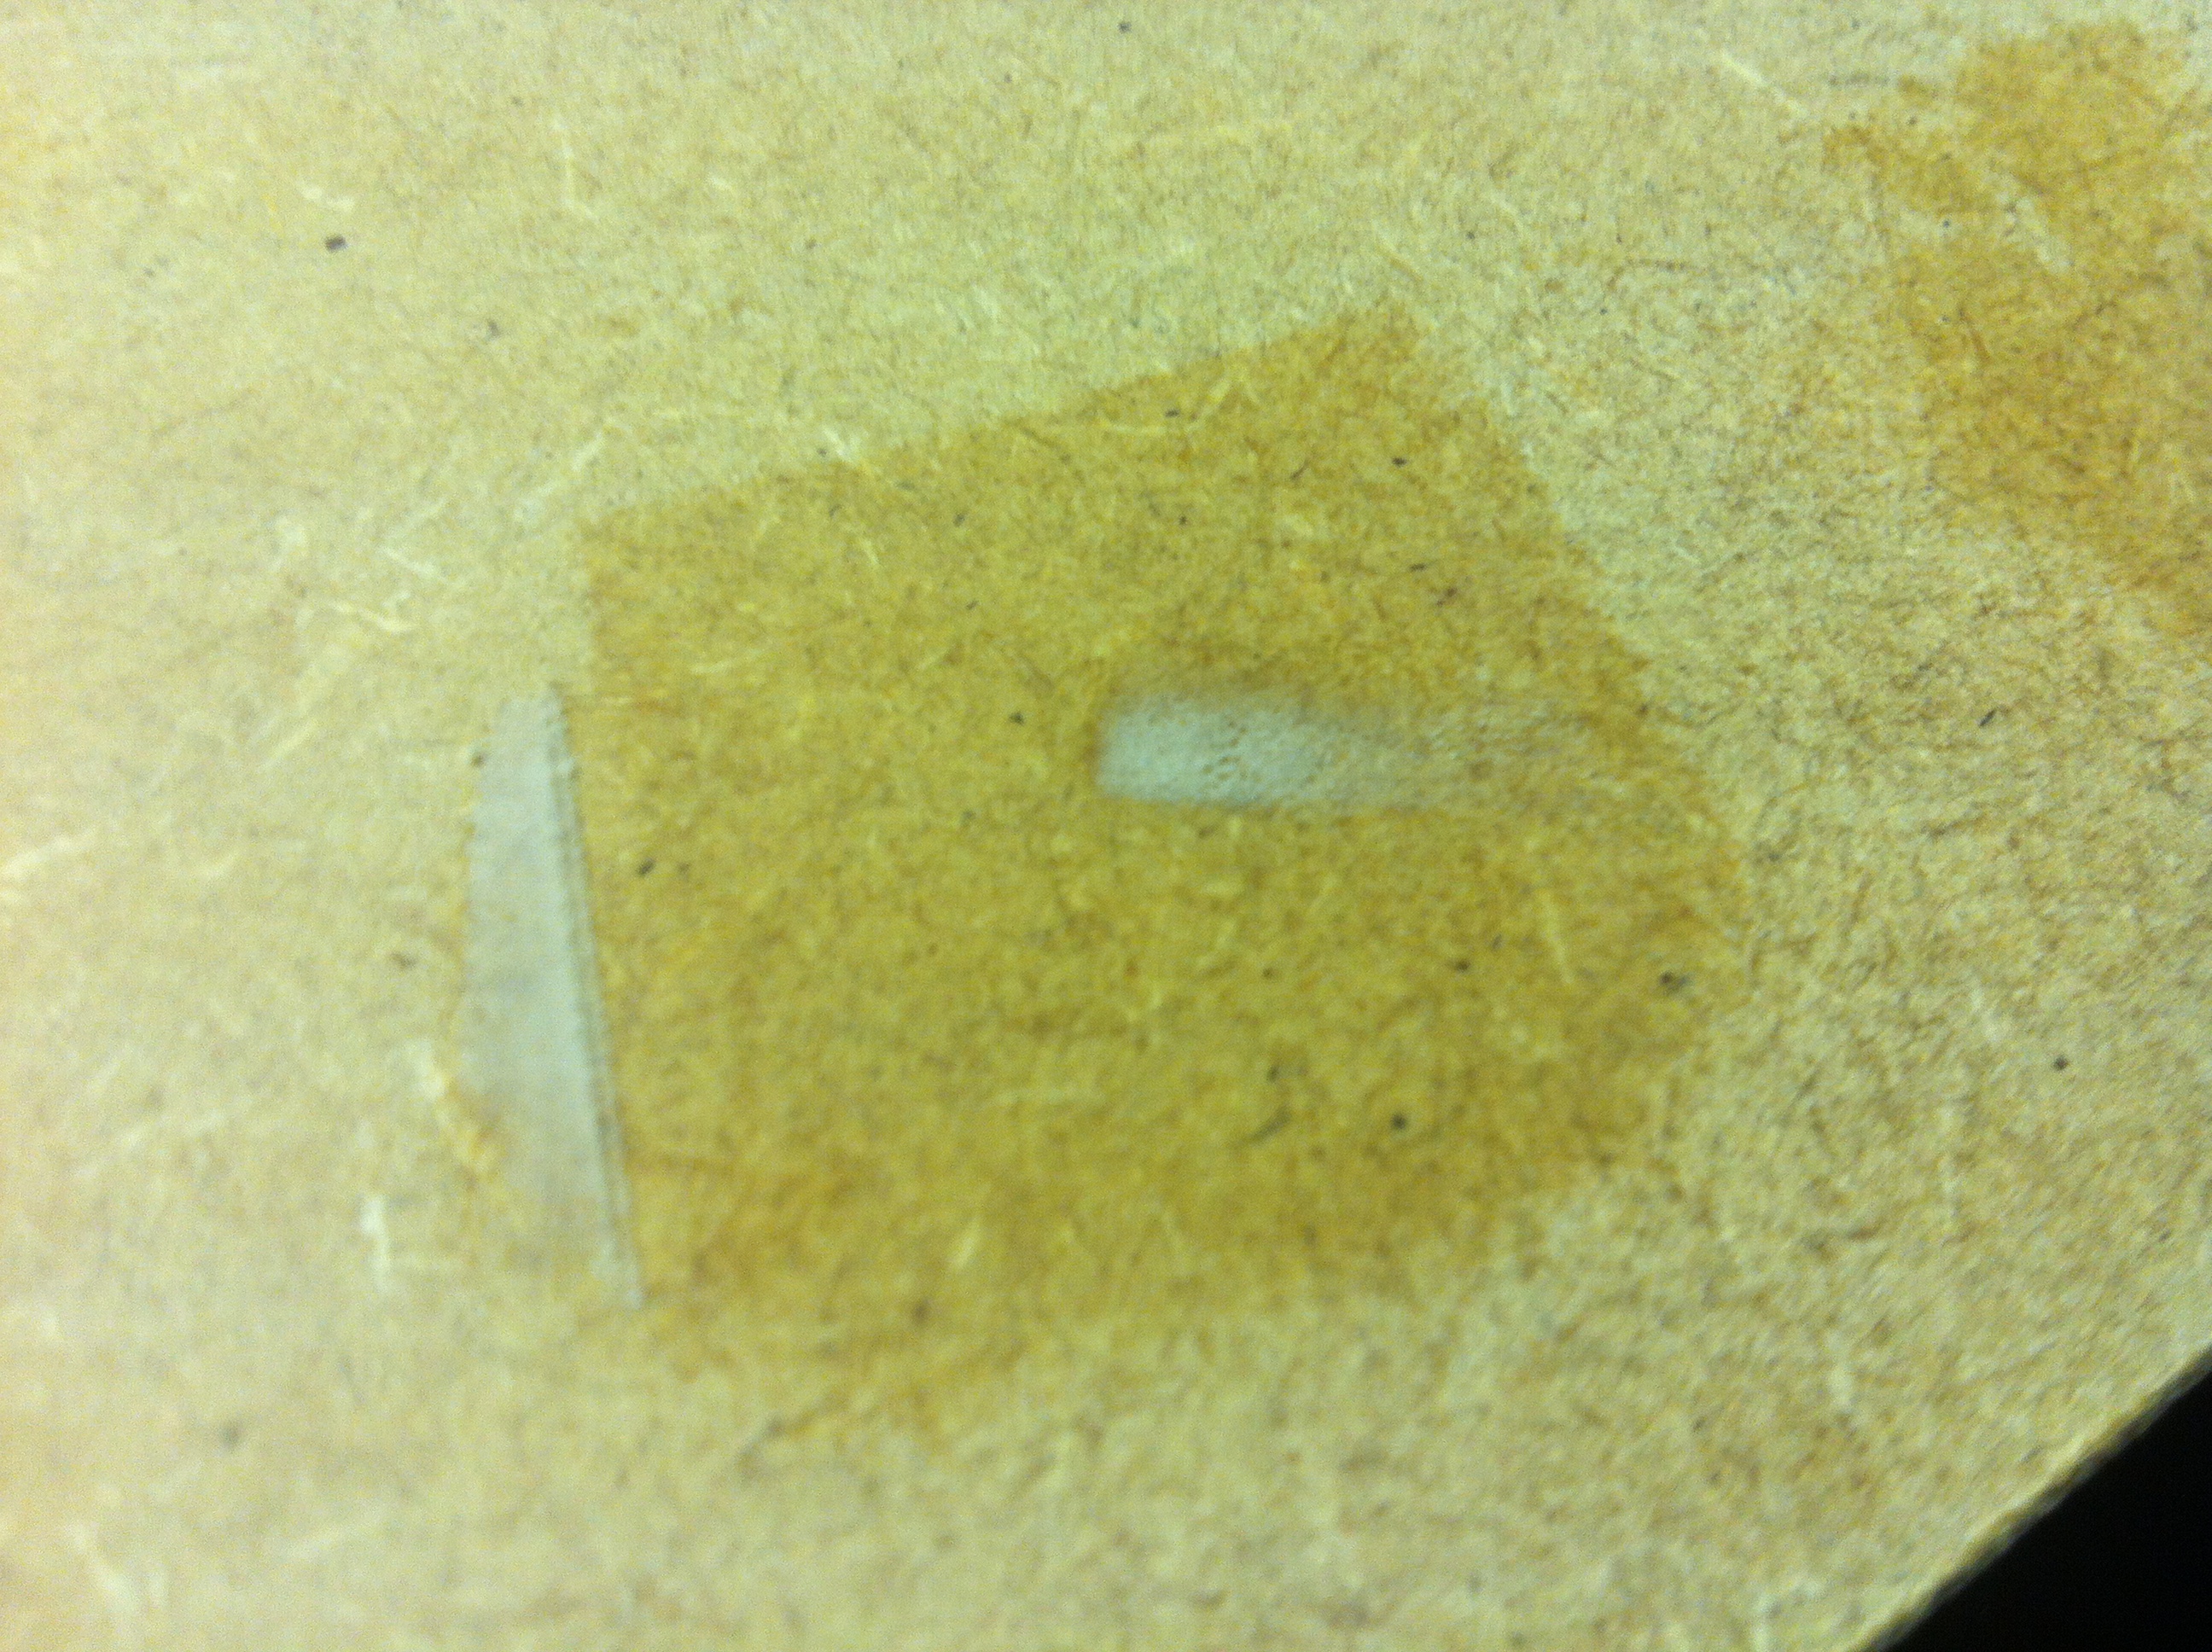
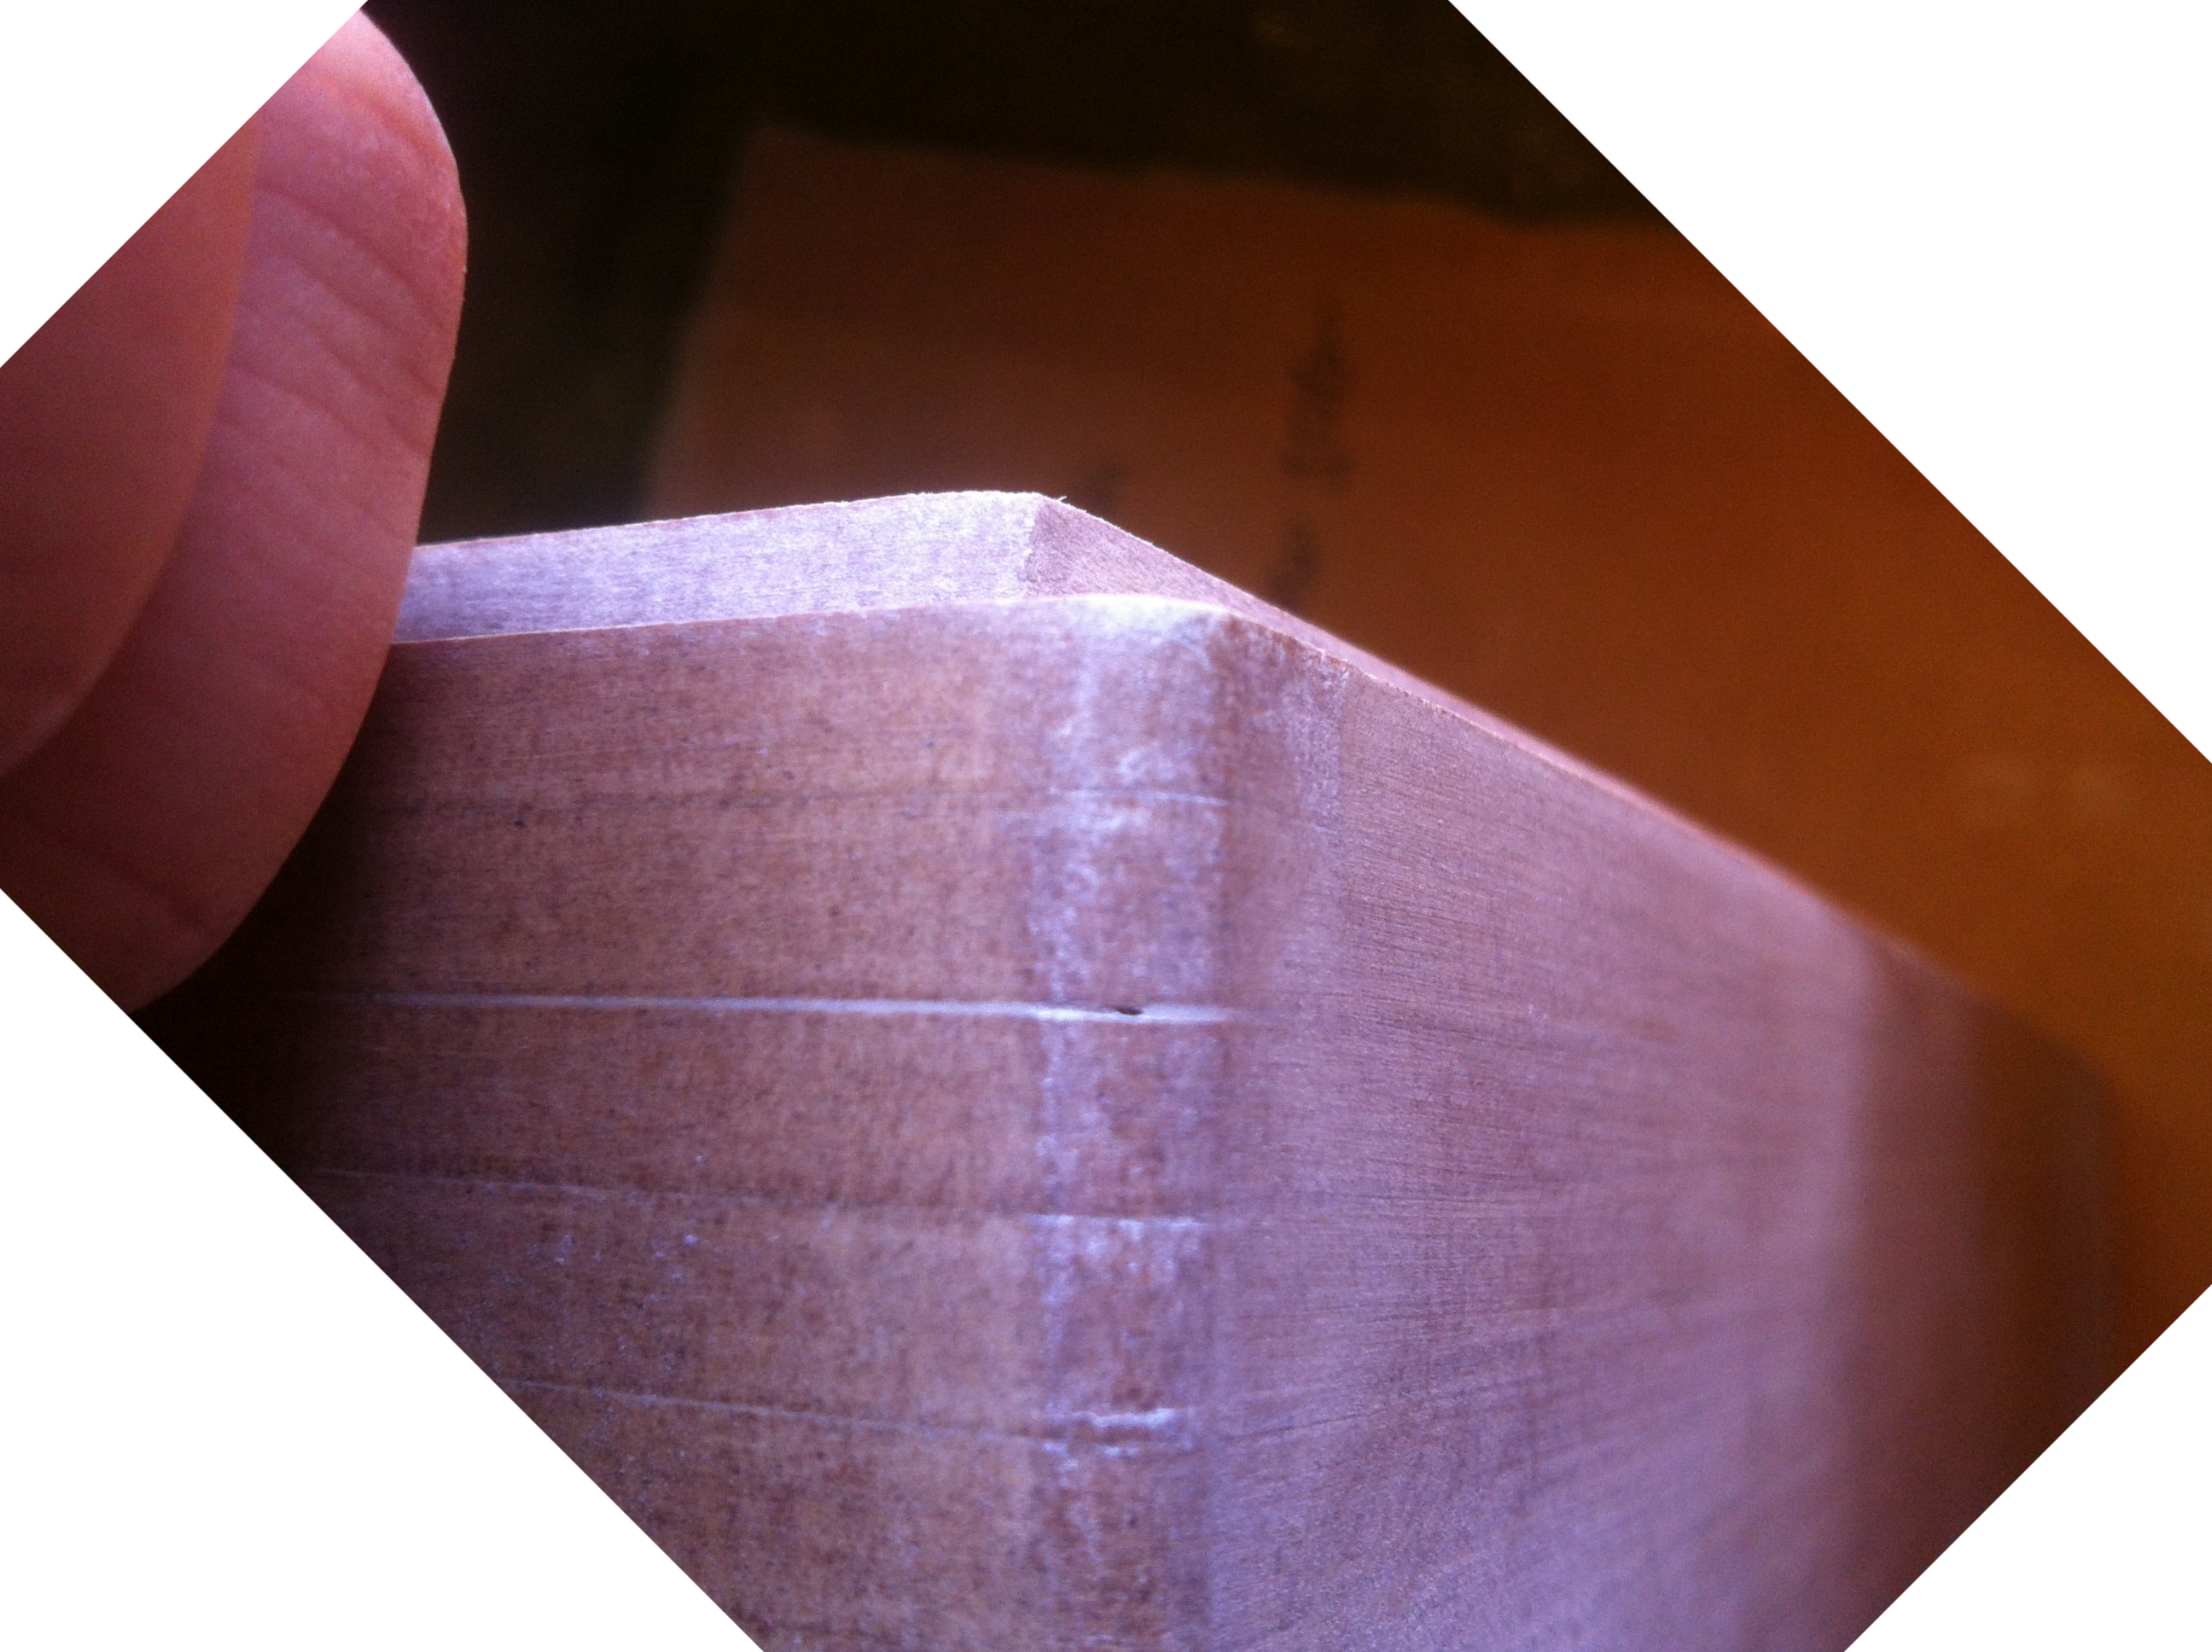
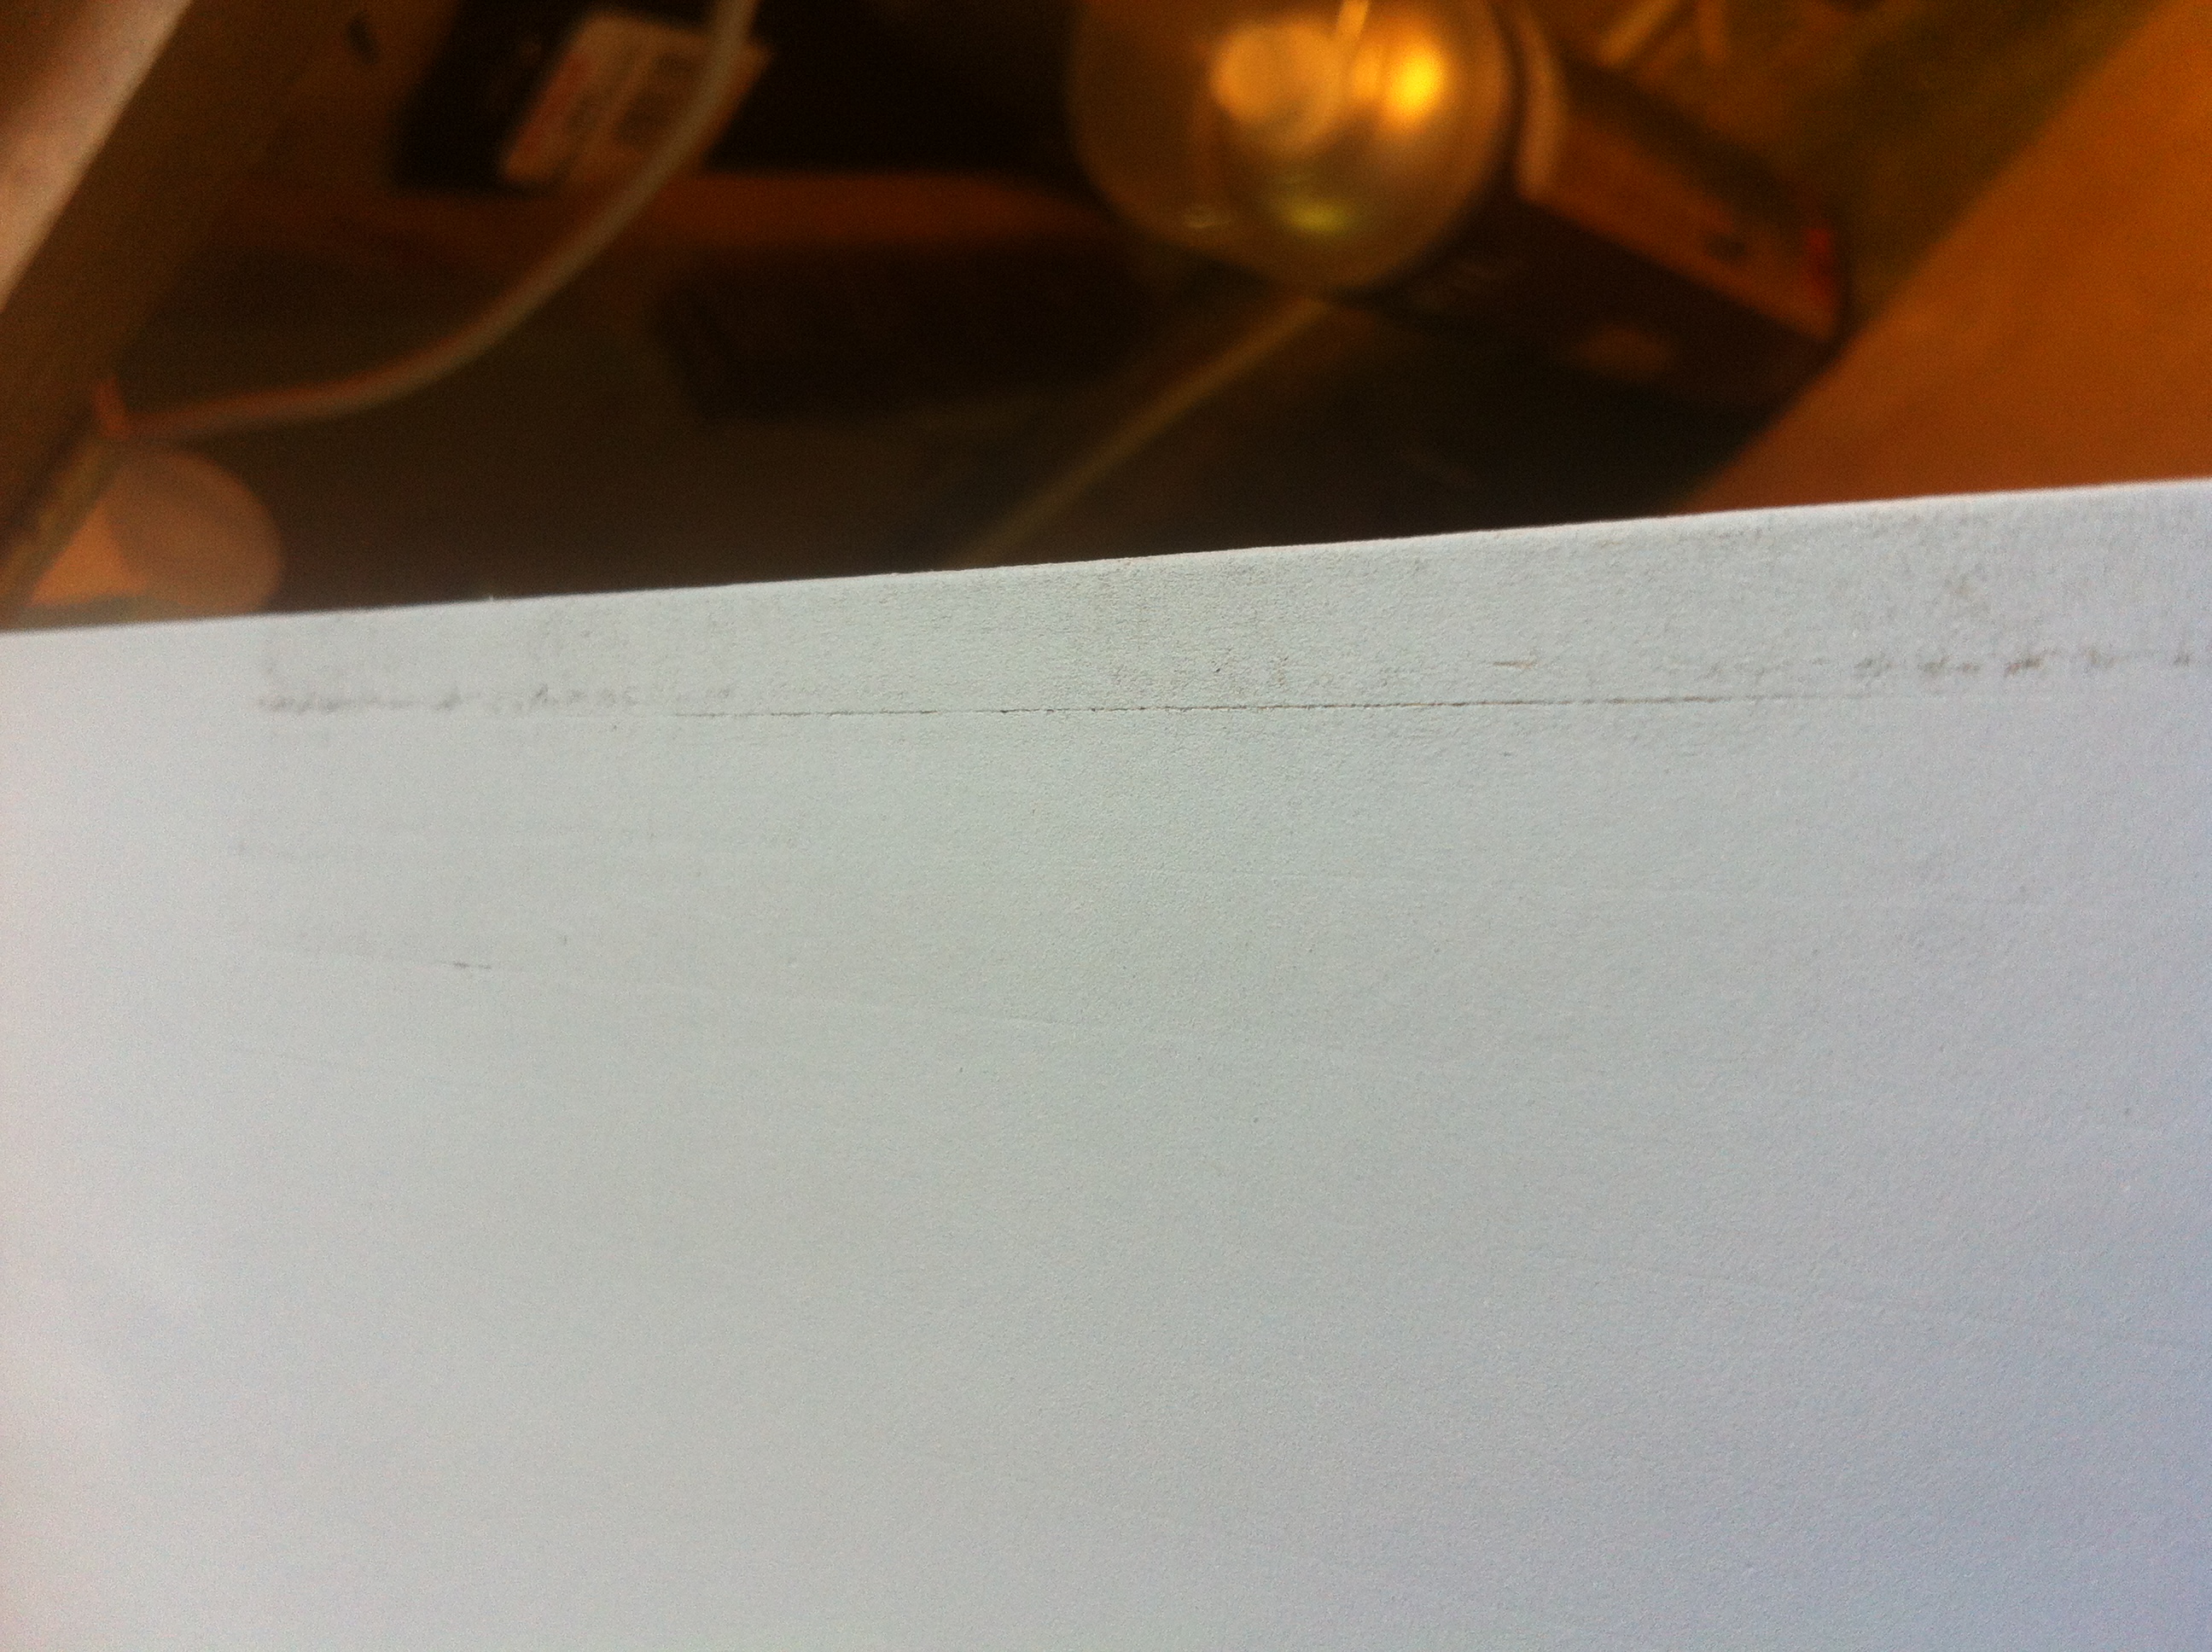
When I was sanding I noticed more little gaps and some other damage in the plinth layer and sealer coat:

I decided to leave them be for now and once again use the vacuum cleaner to clean up the plinth, and then wipe it down with a damp cloth and then a tack cloth and get it ready for primer. The reason i did this is because it would be easier to spot any other cracks and gaps after the plinth is painted with grey filler, this way I can fill in all the gaps one and for all.
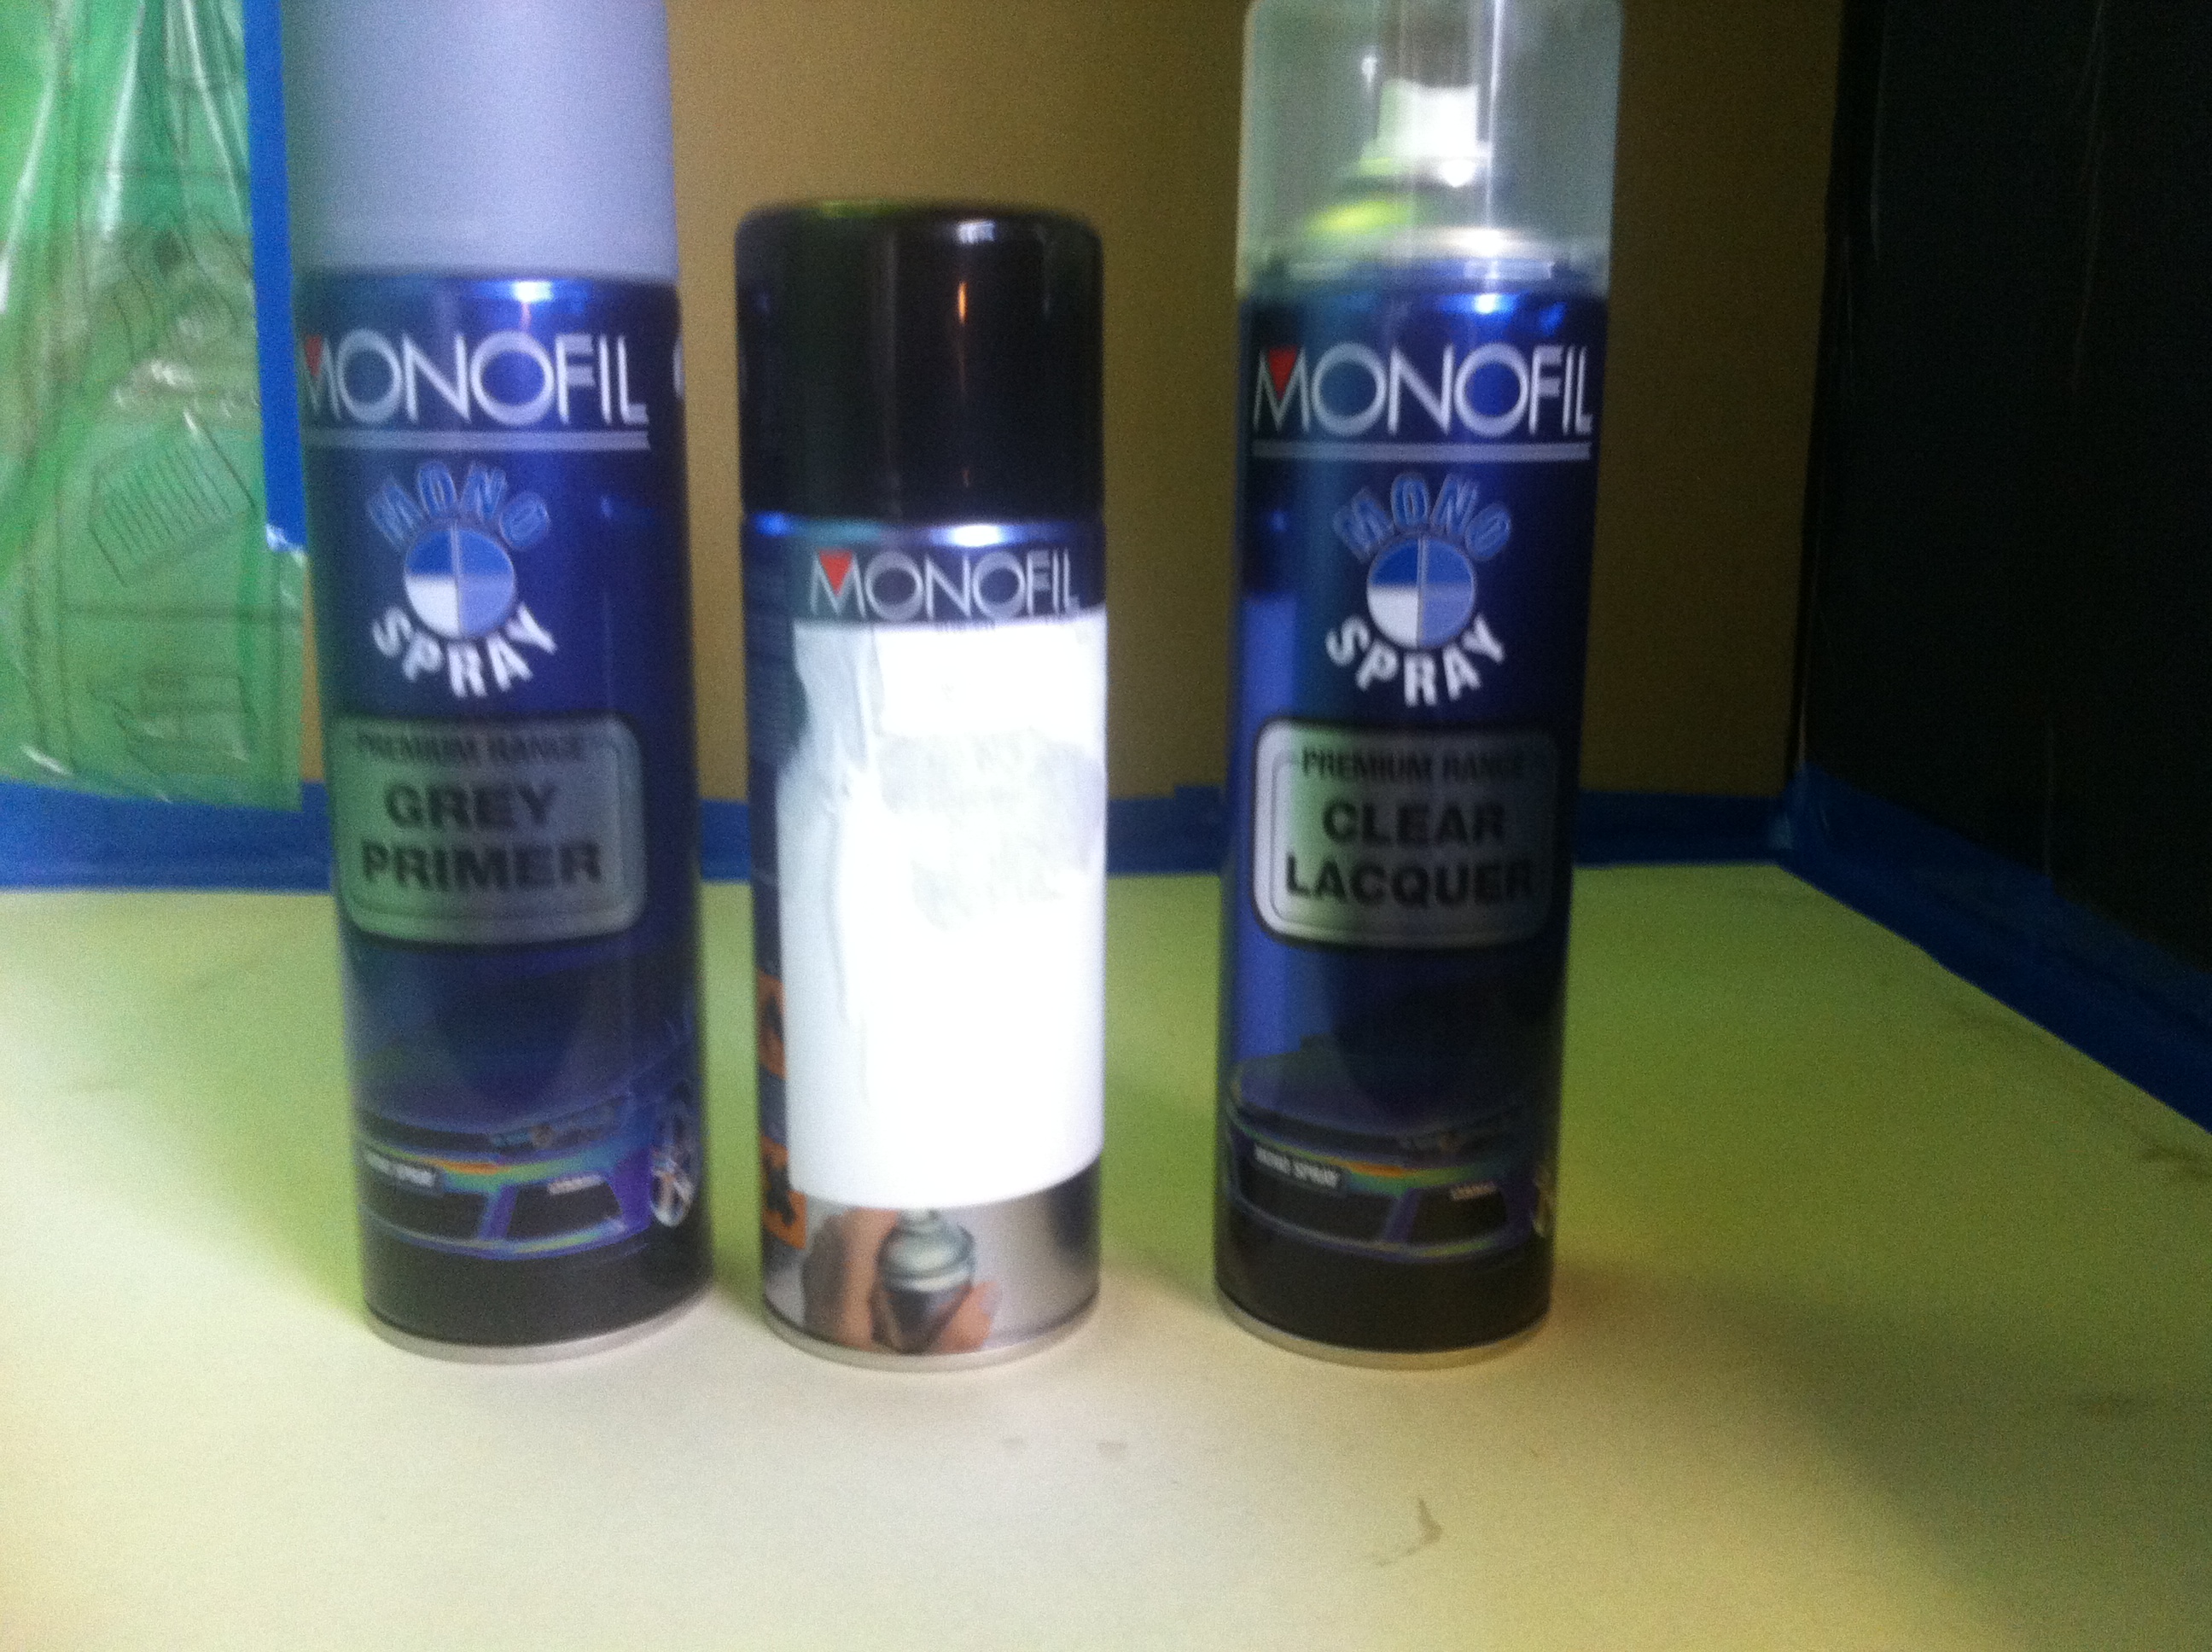
So for all the paint fetishist out there, I used Monifil spray cans because all the primers and clear coats are of really high quality (it’s the same paint that a car body respray place would use) and because you can get any colour you want as long as you have the correct paint code (these spray cans are mostly used for touch ups on cars so the paint is the same as they use at the factory). The colour I will be using is a BMW Night Fever Black.
Here they are:
If you want to know how to paint with paint cans you can find a lot of tutorials on the internet like i did but it all boils down to having a clean surface, shaking the cans well you don't have any drips and applying an even coat. I painted the plinth with 2 thick coats of primer because I knew I would have to sand some of it down along with filler and a thick coat of paint might fill in some of the smaller scratches and gaps.
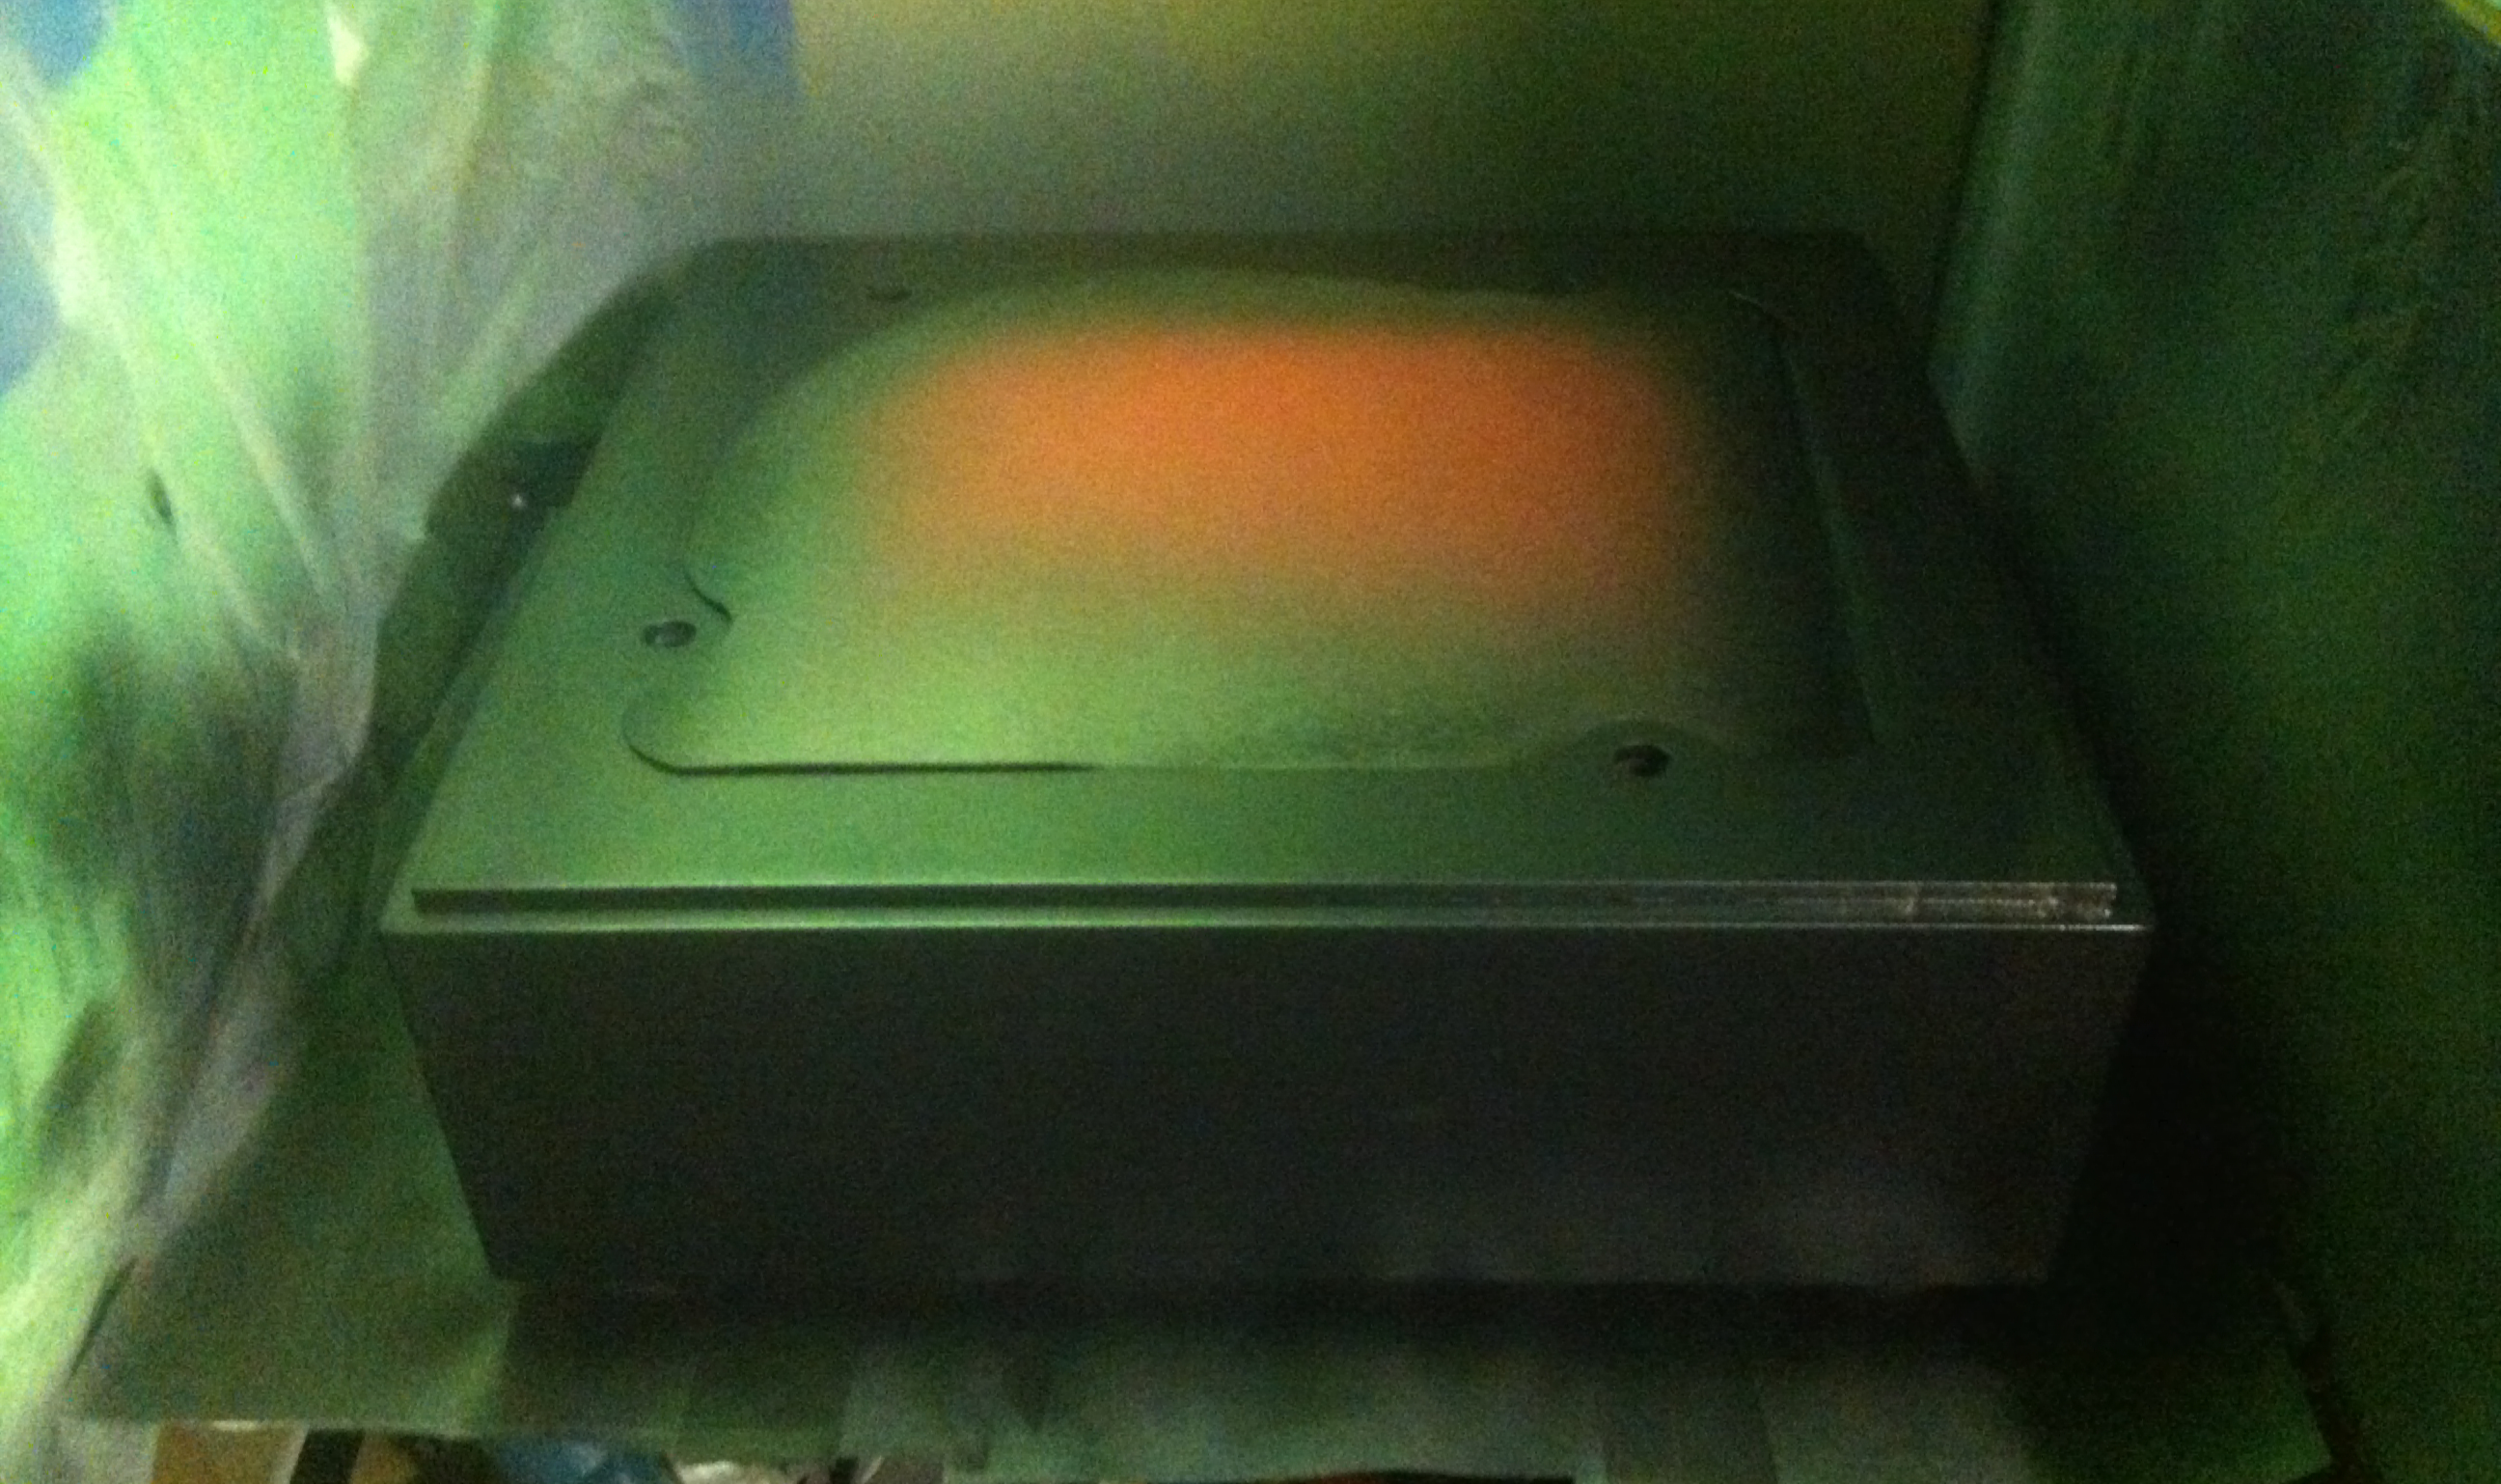
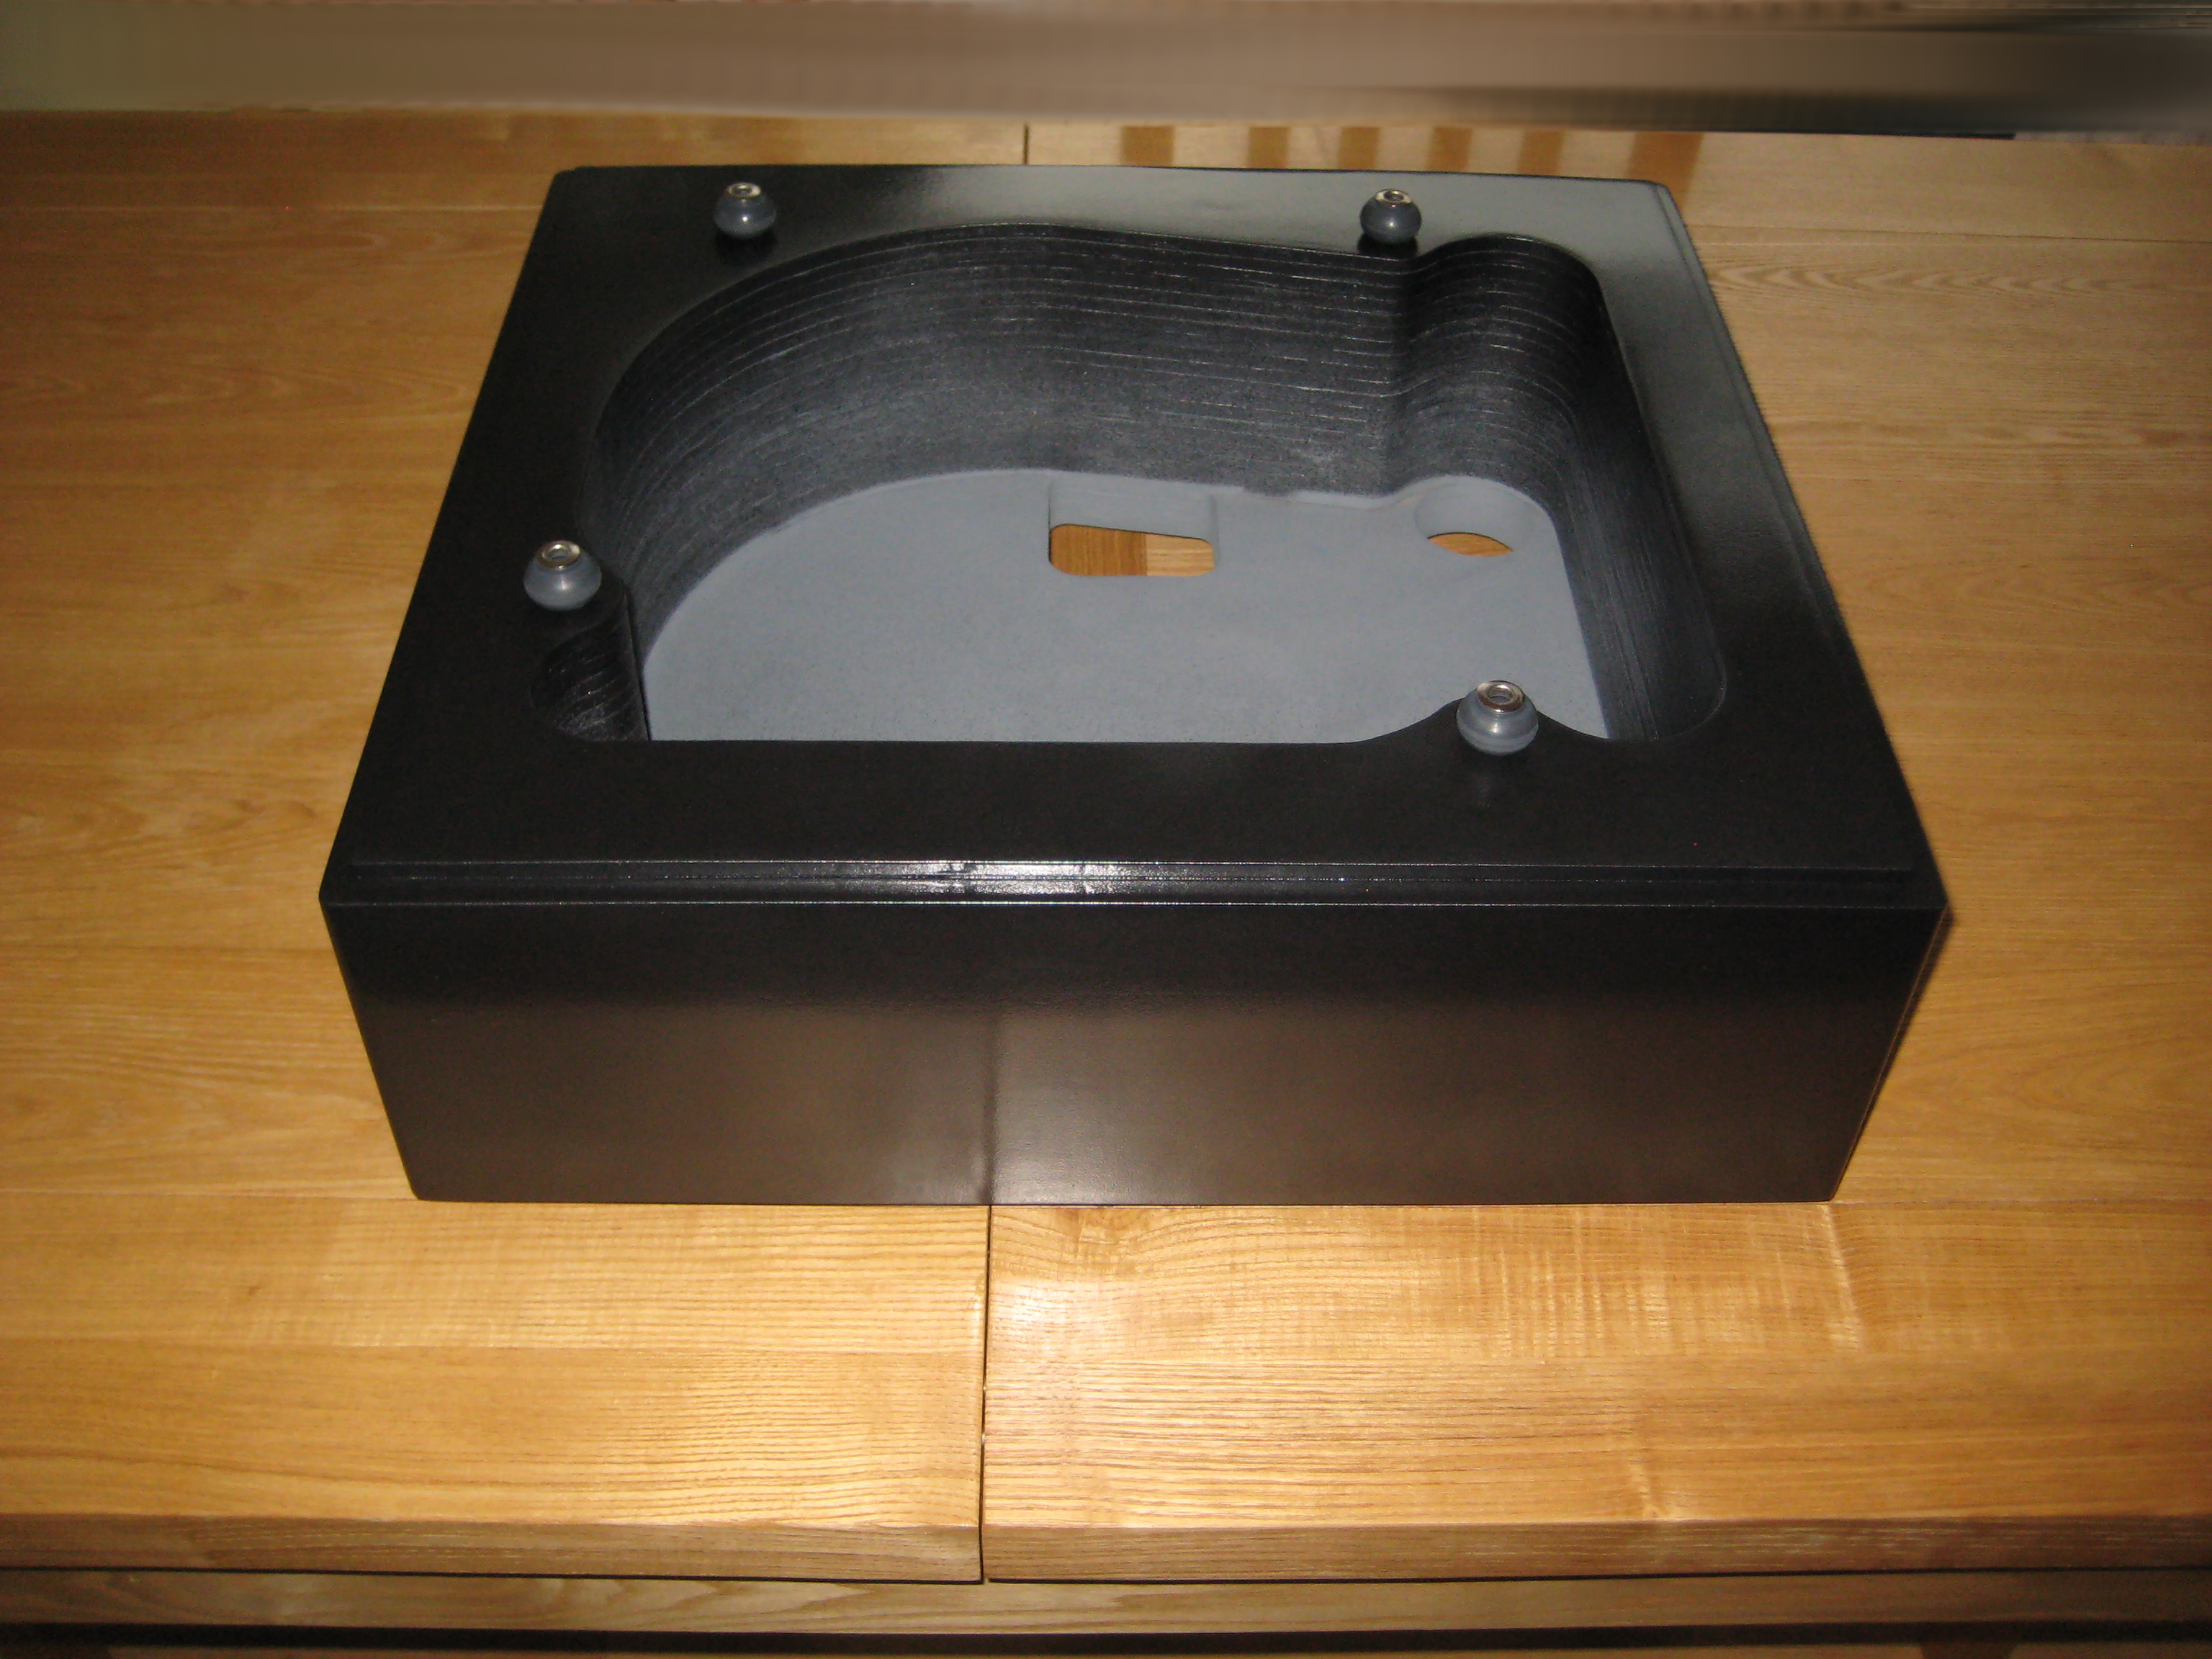
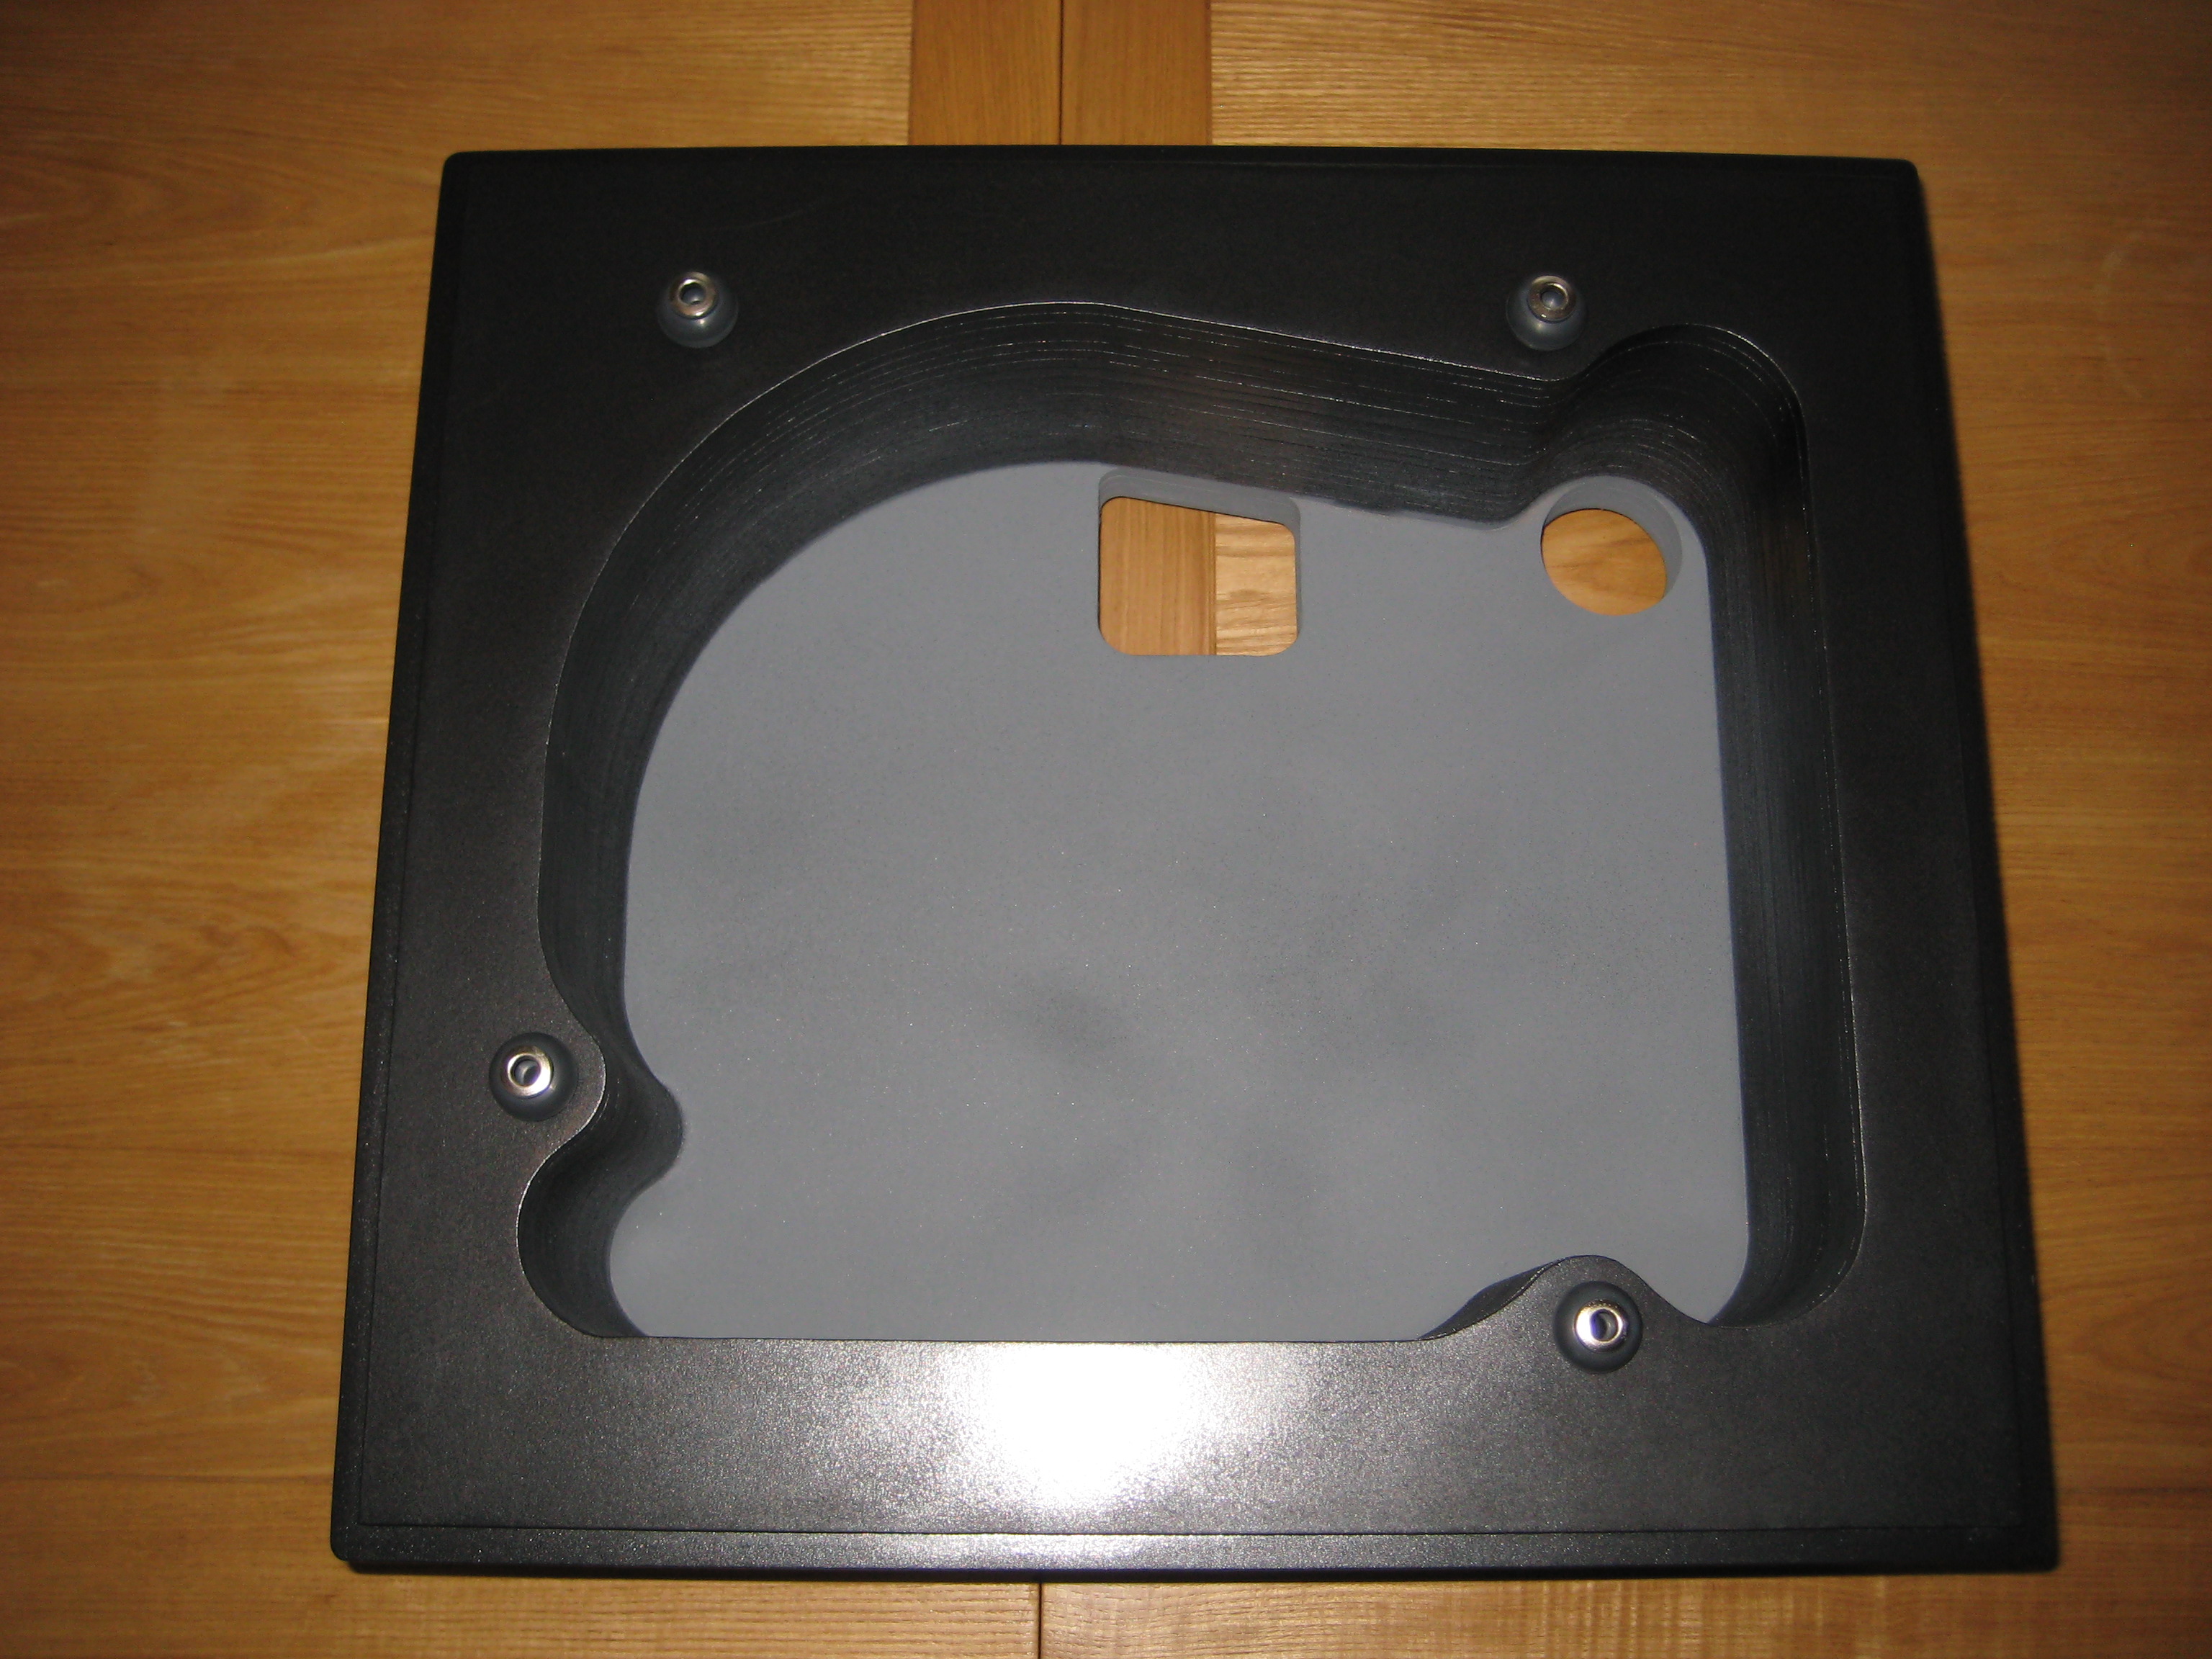
Here's the painted plinth:
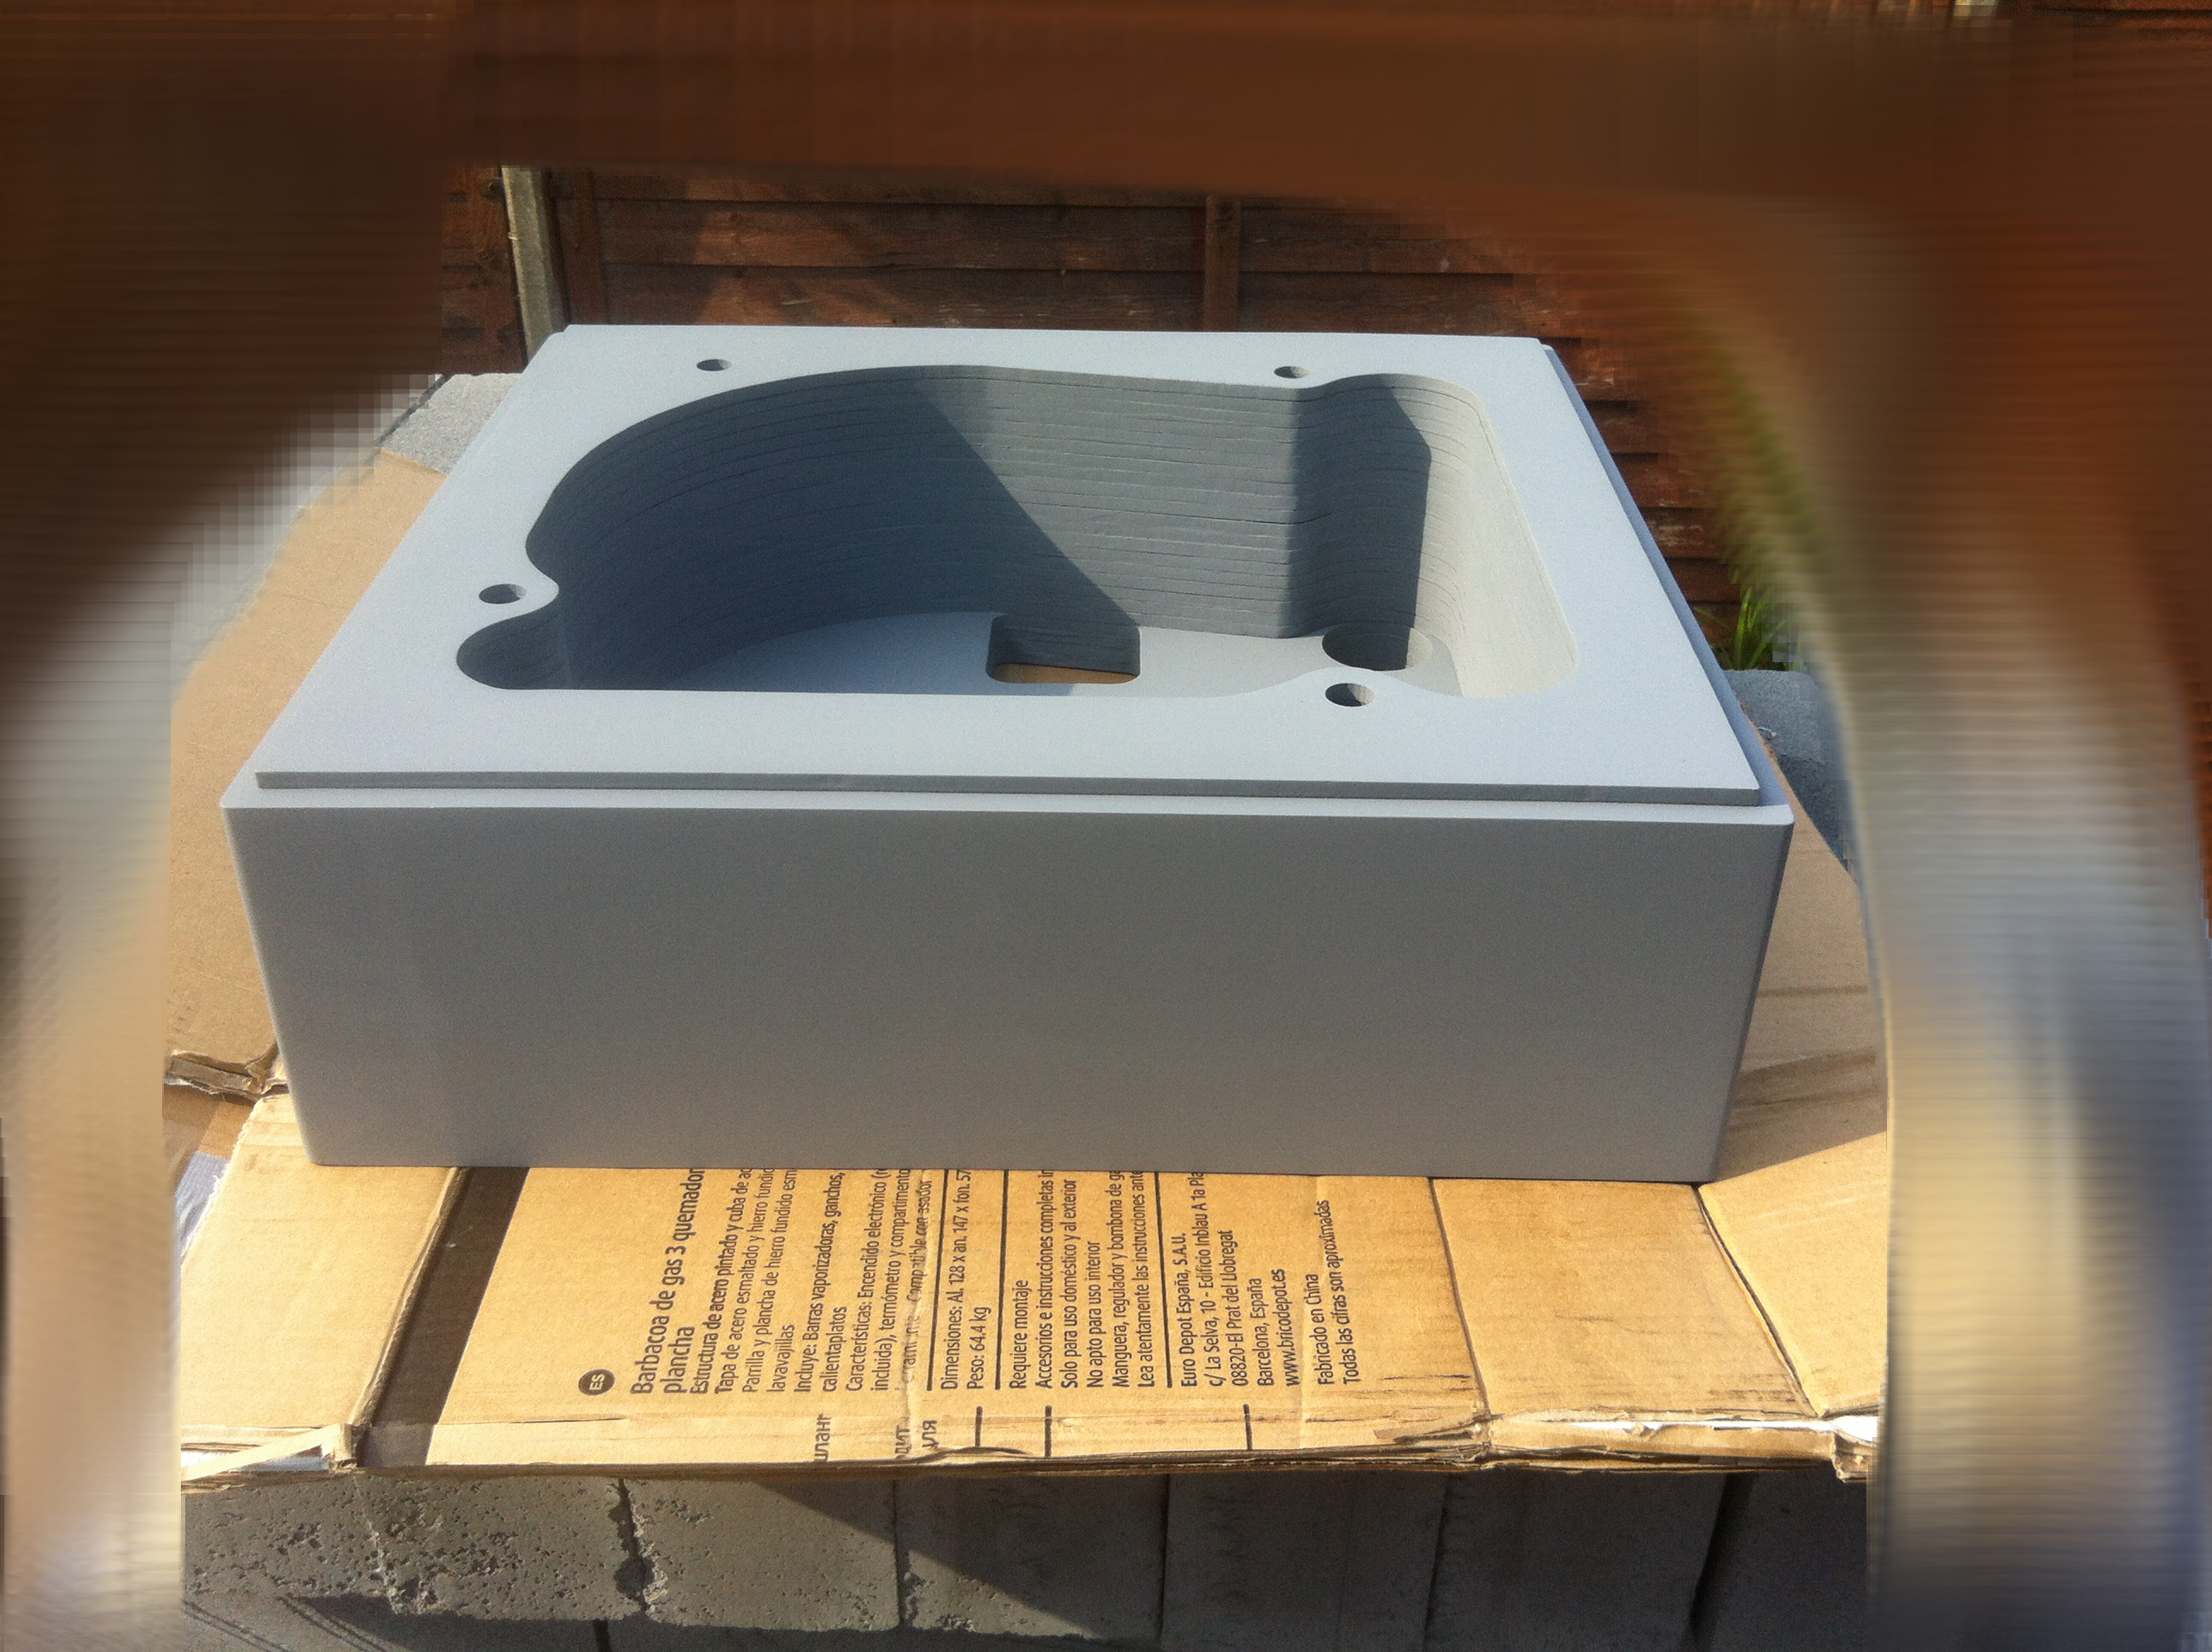
I tried the lid on too and it fit perfectly.
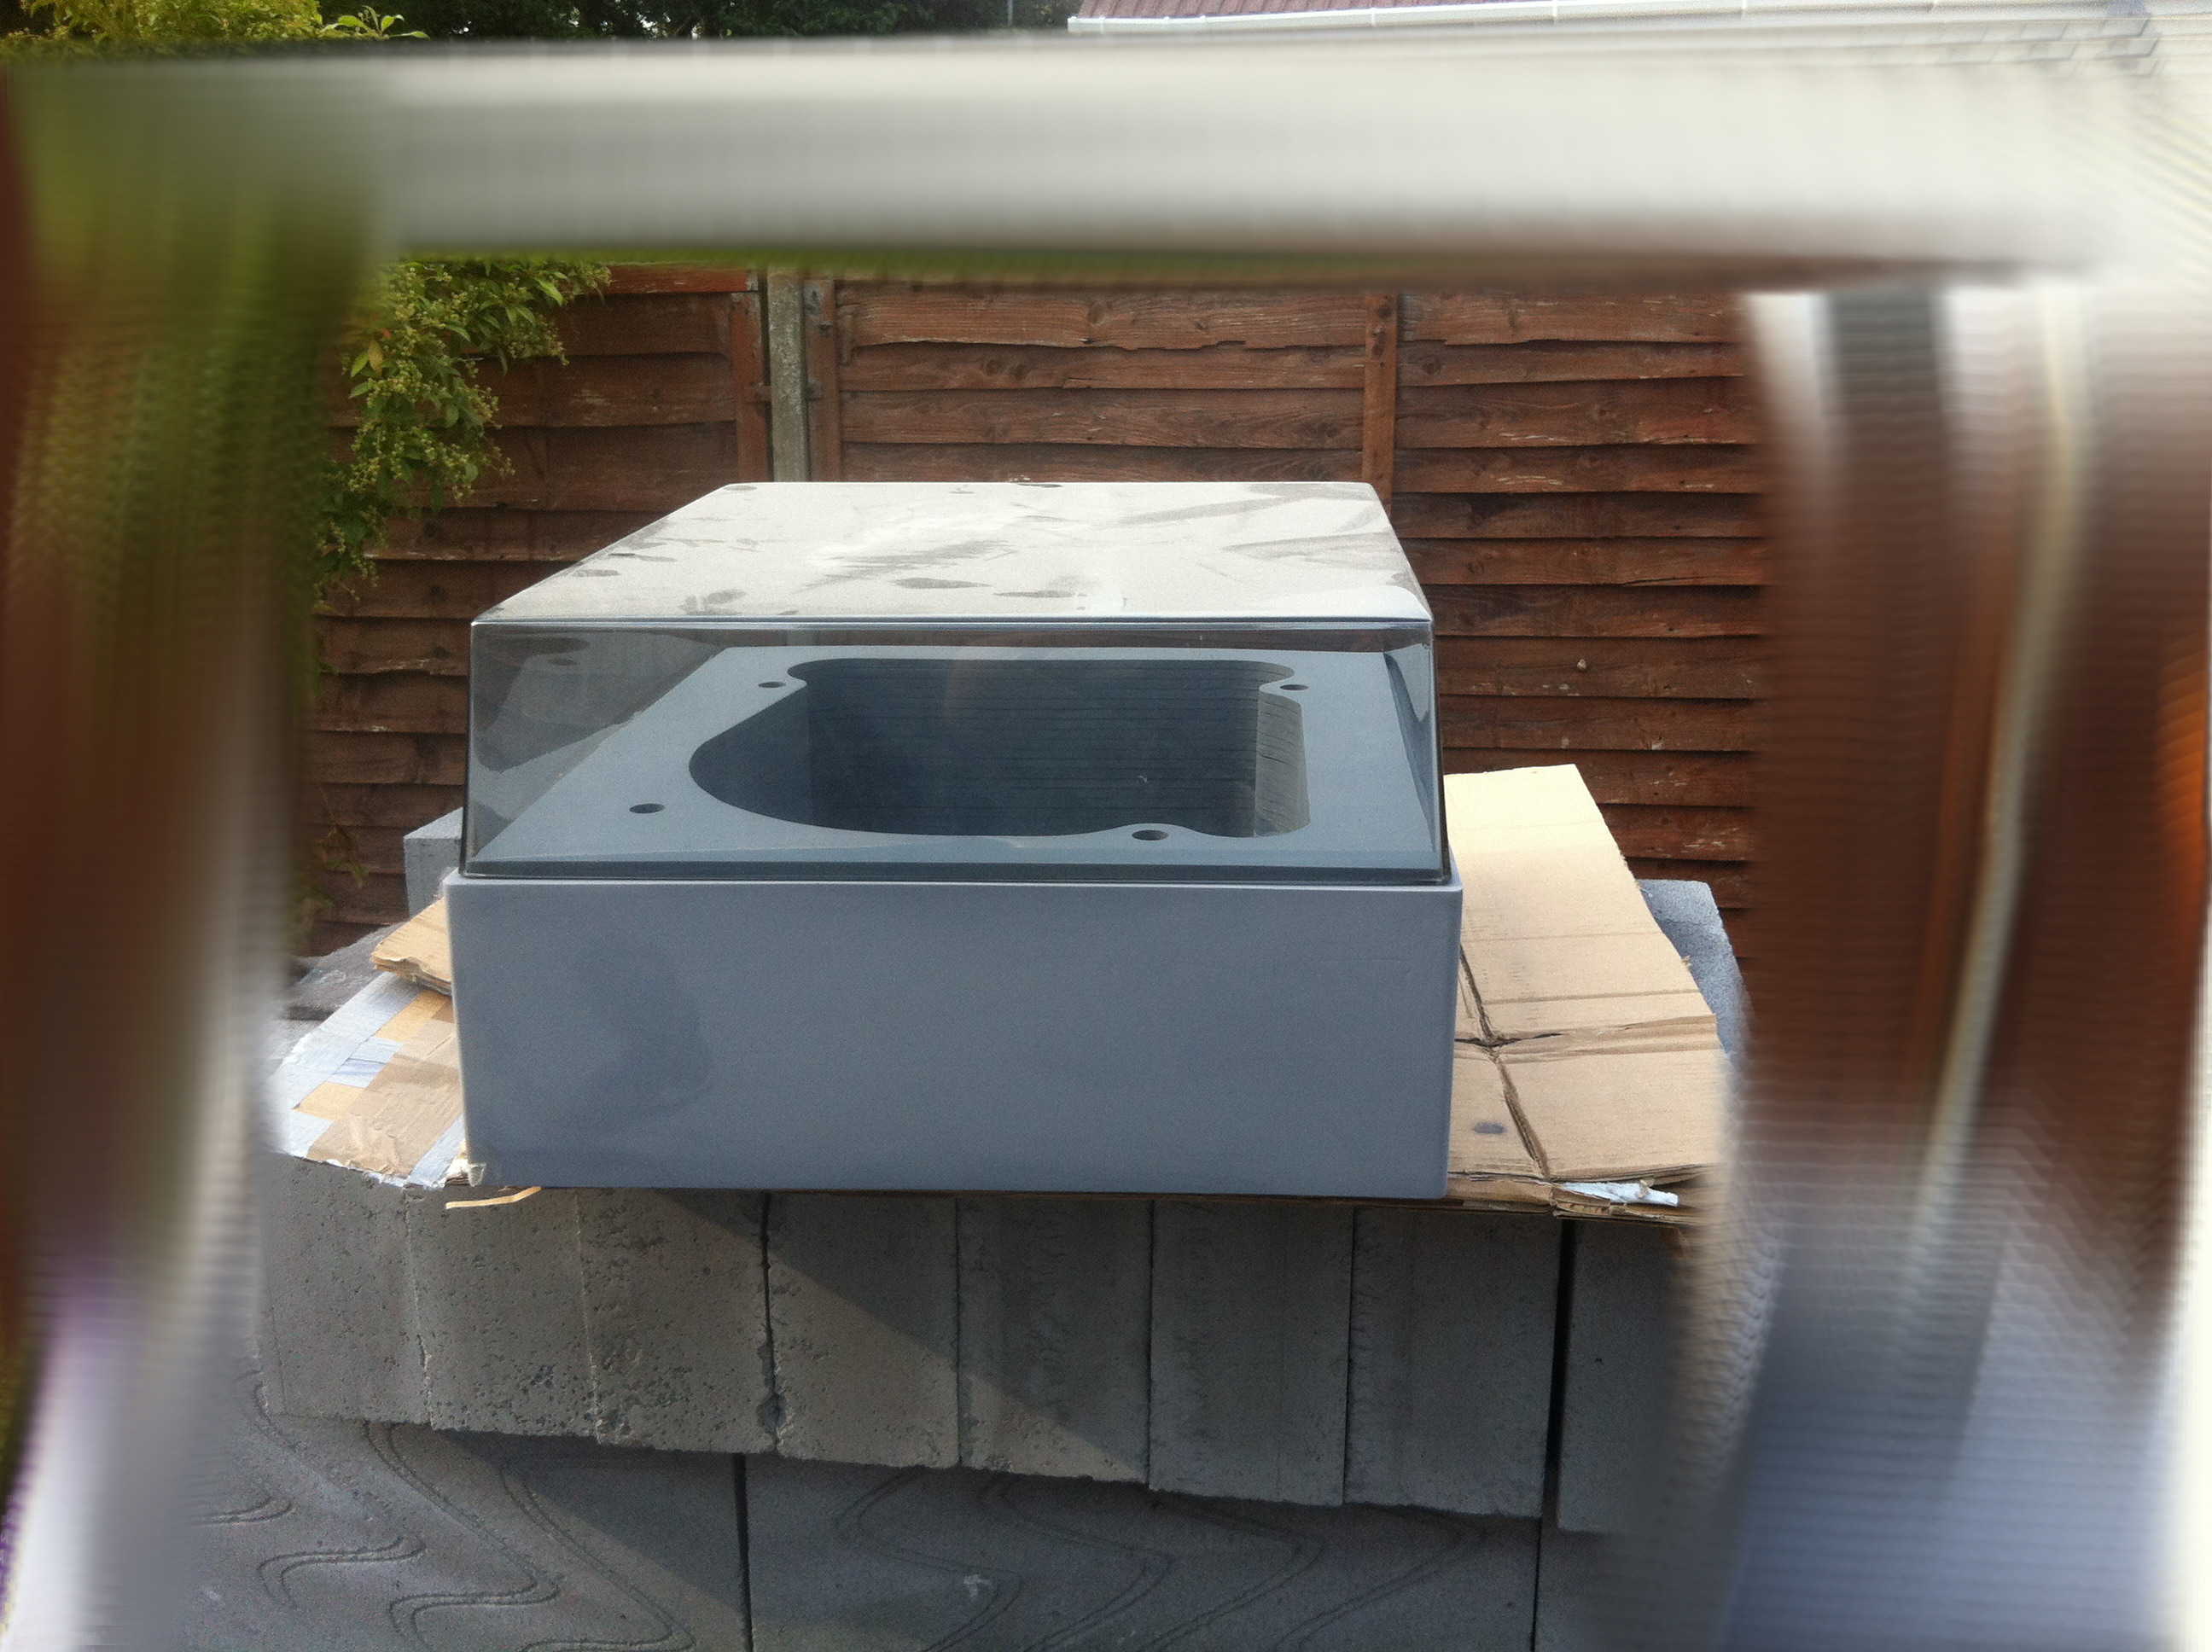
The dark spot in this pic was caused by me holding the can too close to the surface but it can be sanded down lightly to get rid of it:
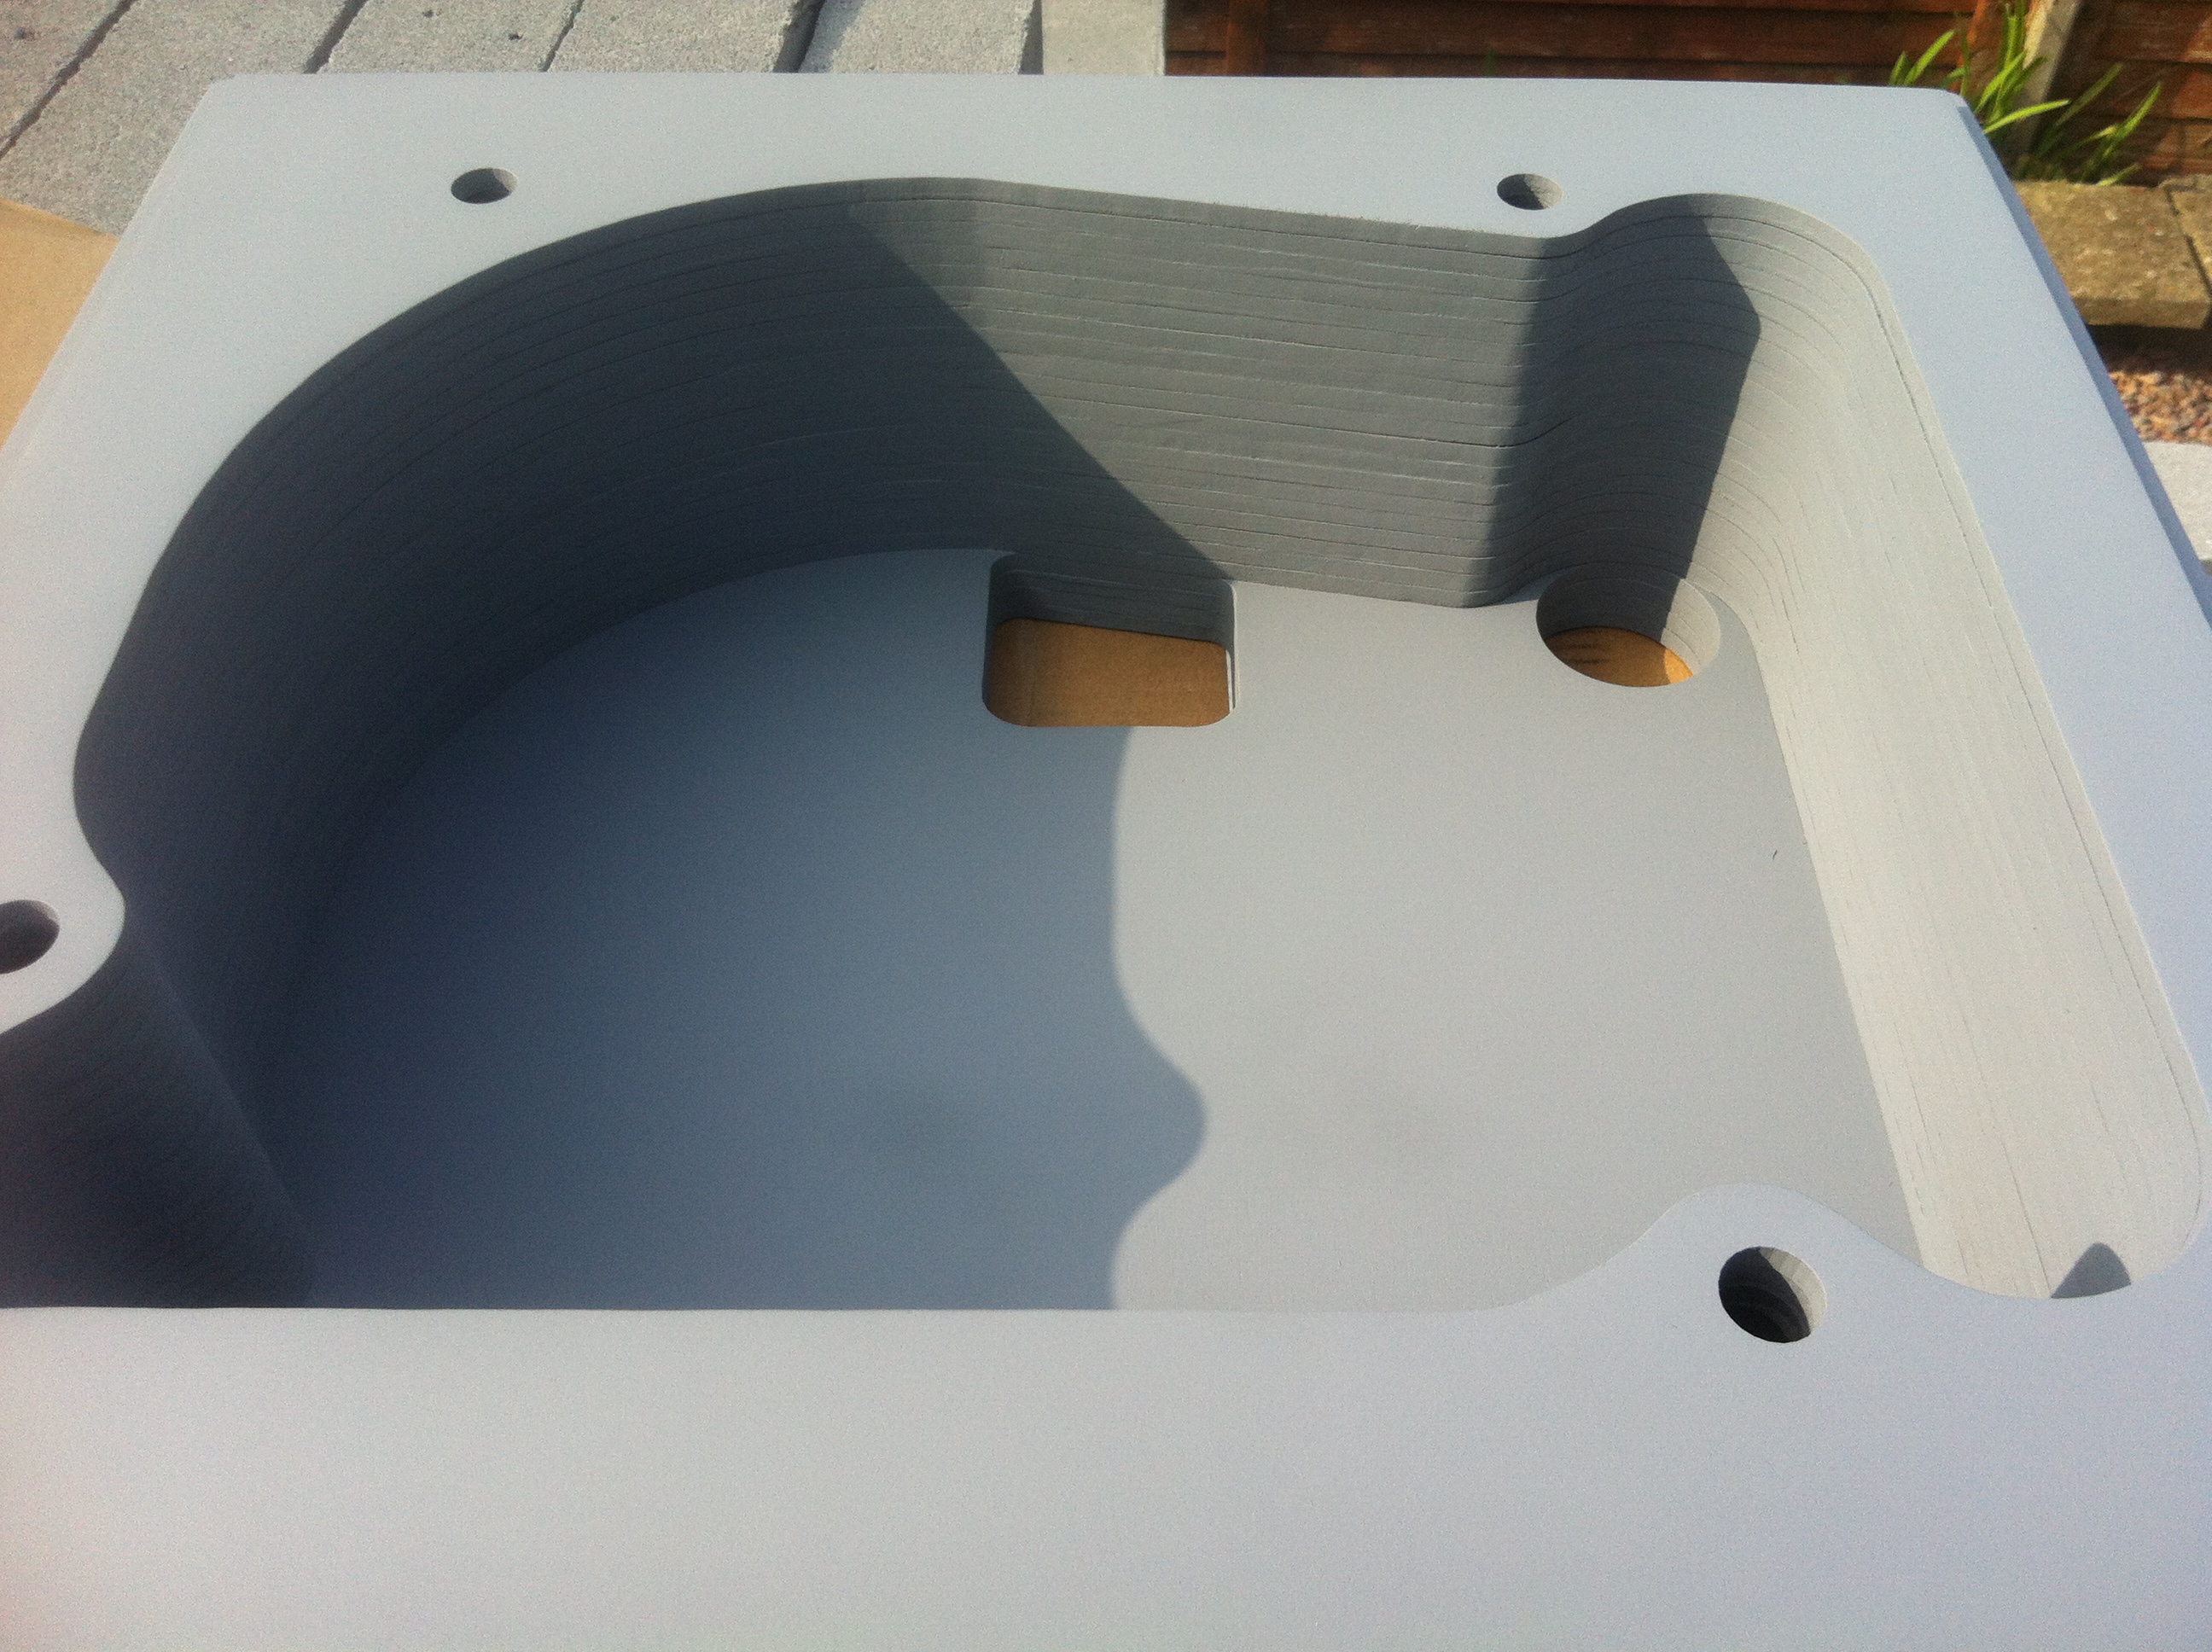
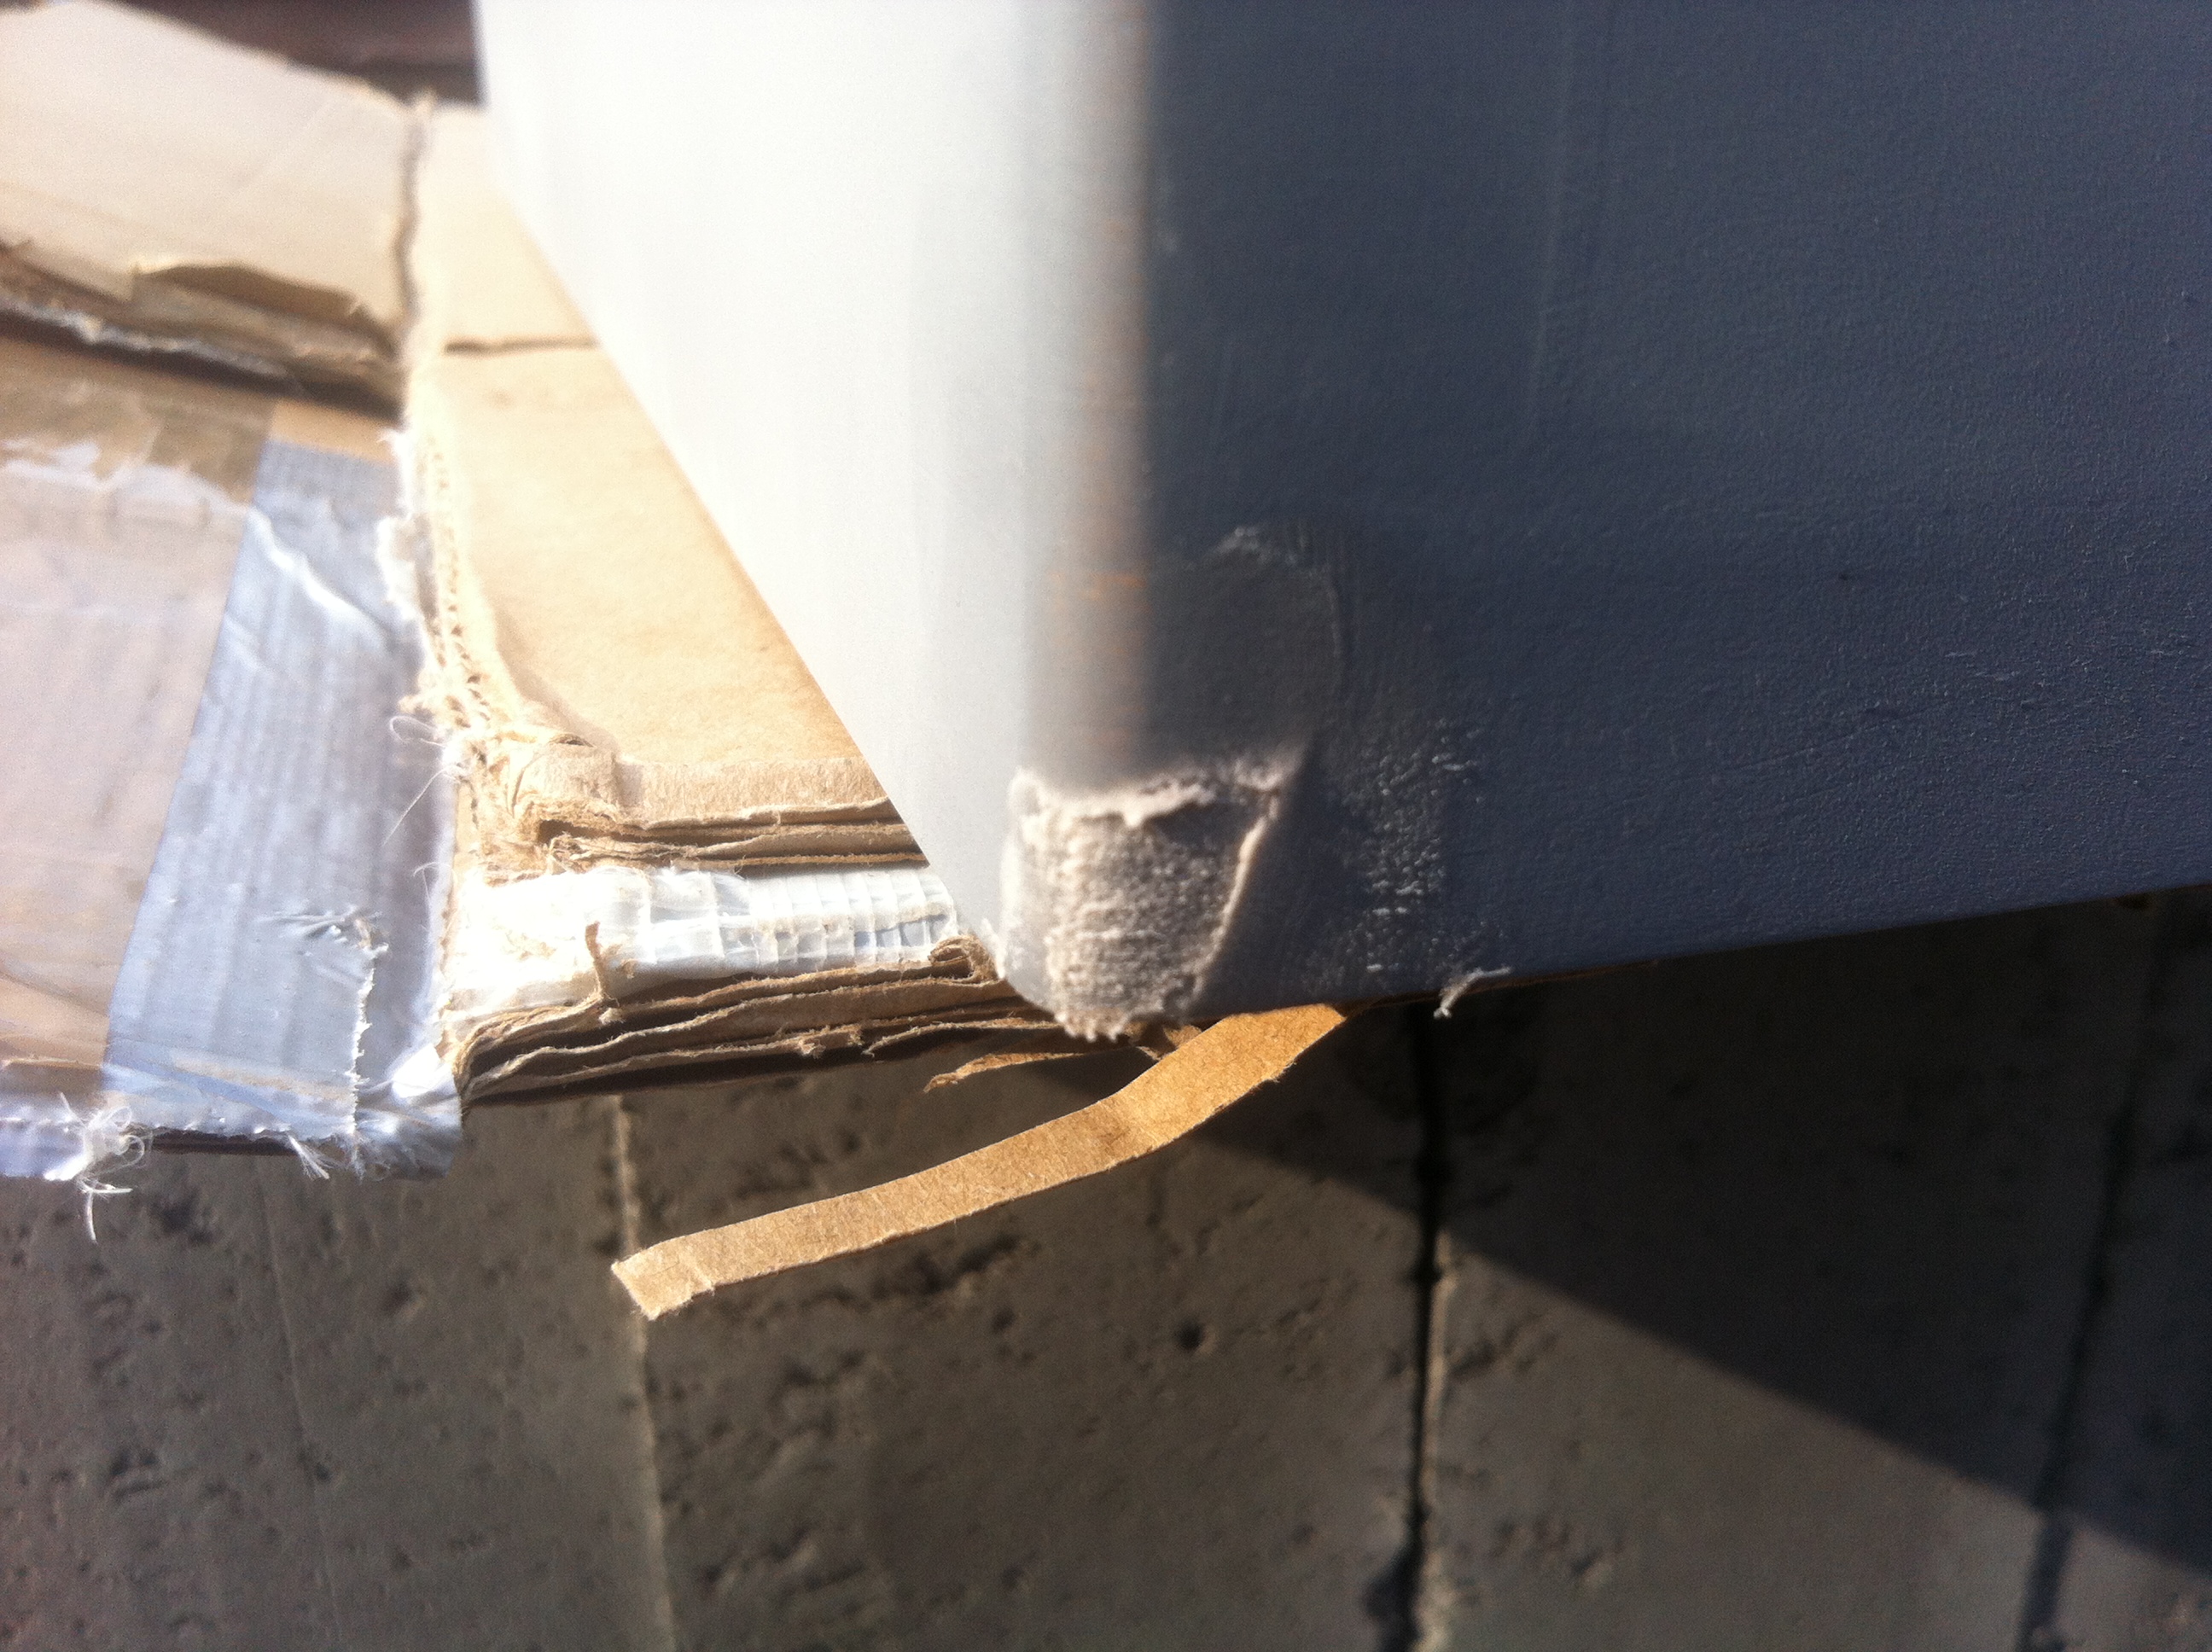
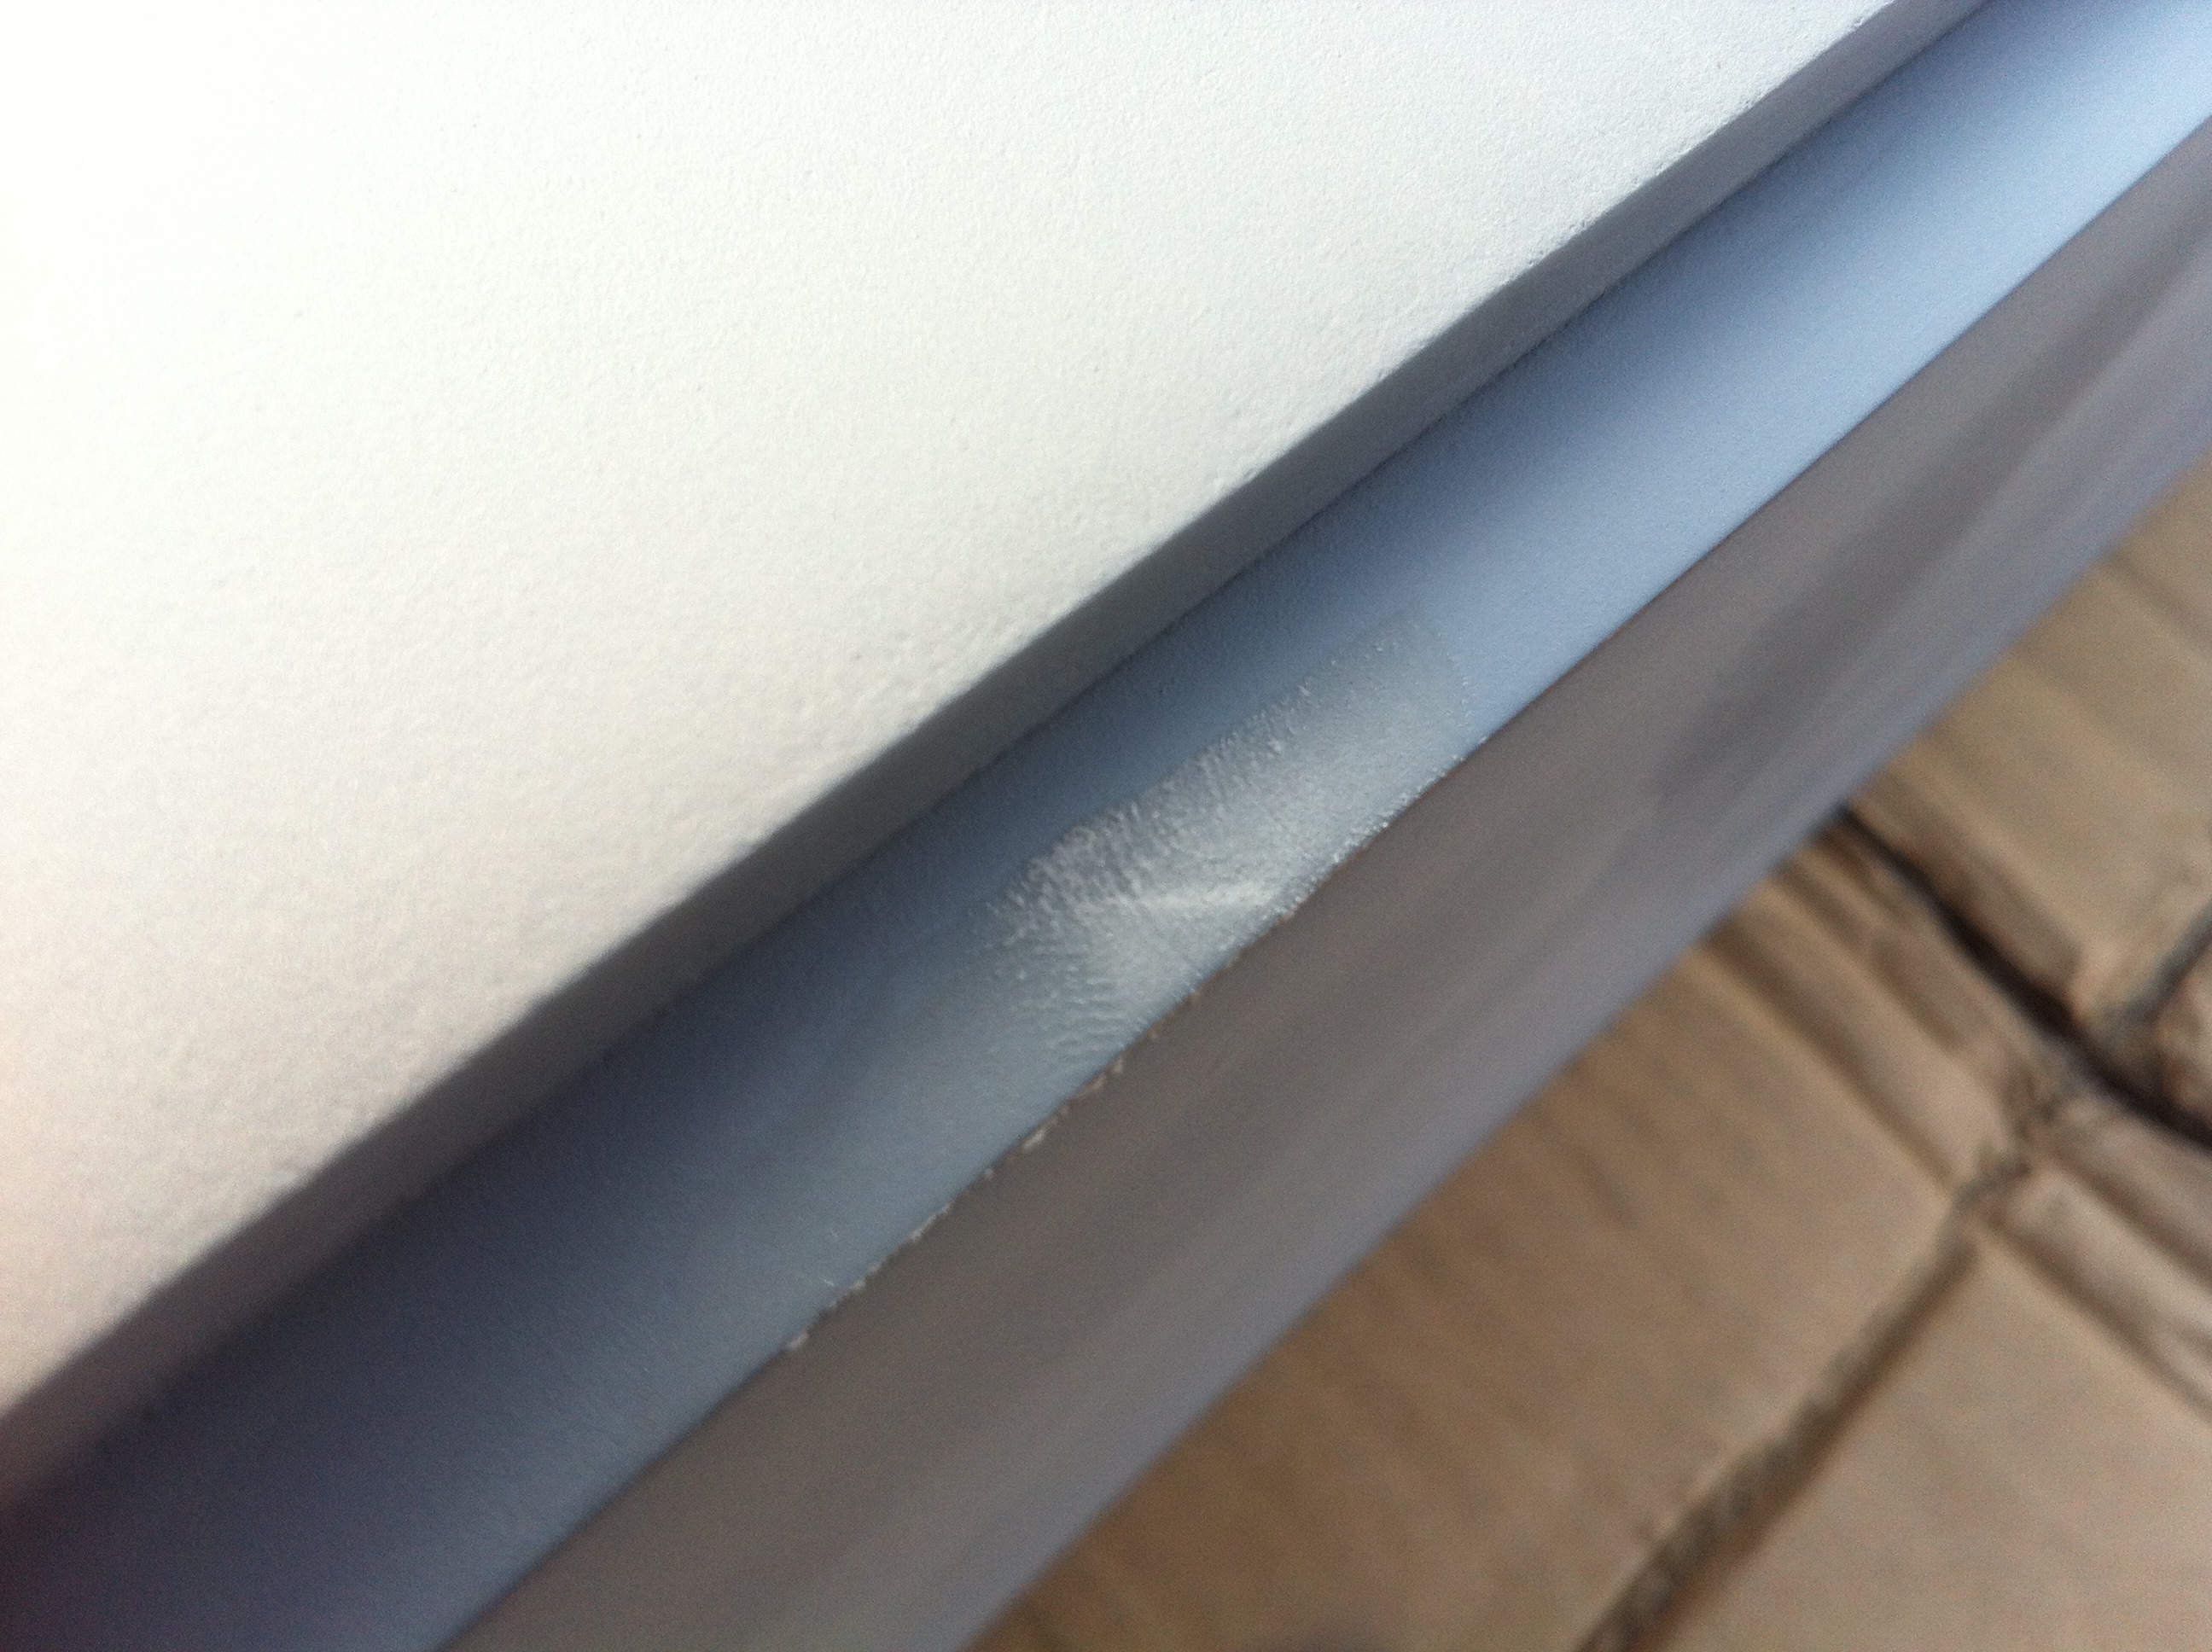
I've somehow missed this area between the last top layer of the plinth and the rest:
Painting the plinth with primer allowed me to spot a couple more imperfections:
So after spotting all the imperfections I had to sand down all those areas and fill them in with the body filler:
After that I've once again sanded down the body filler with a 120 grit sand paper and then sanded down the whole plinth with a 1500 grit scratch pad I've mentioned earlier and applied 3 more coats of primer using 2.5 cans in total.
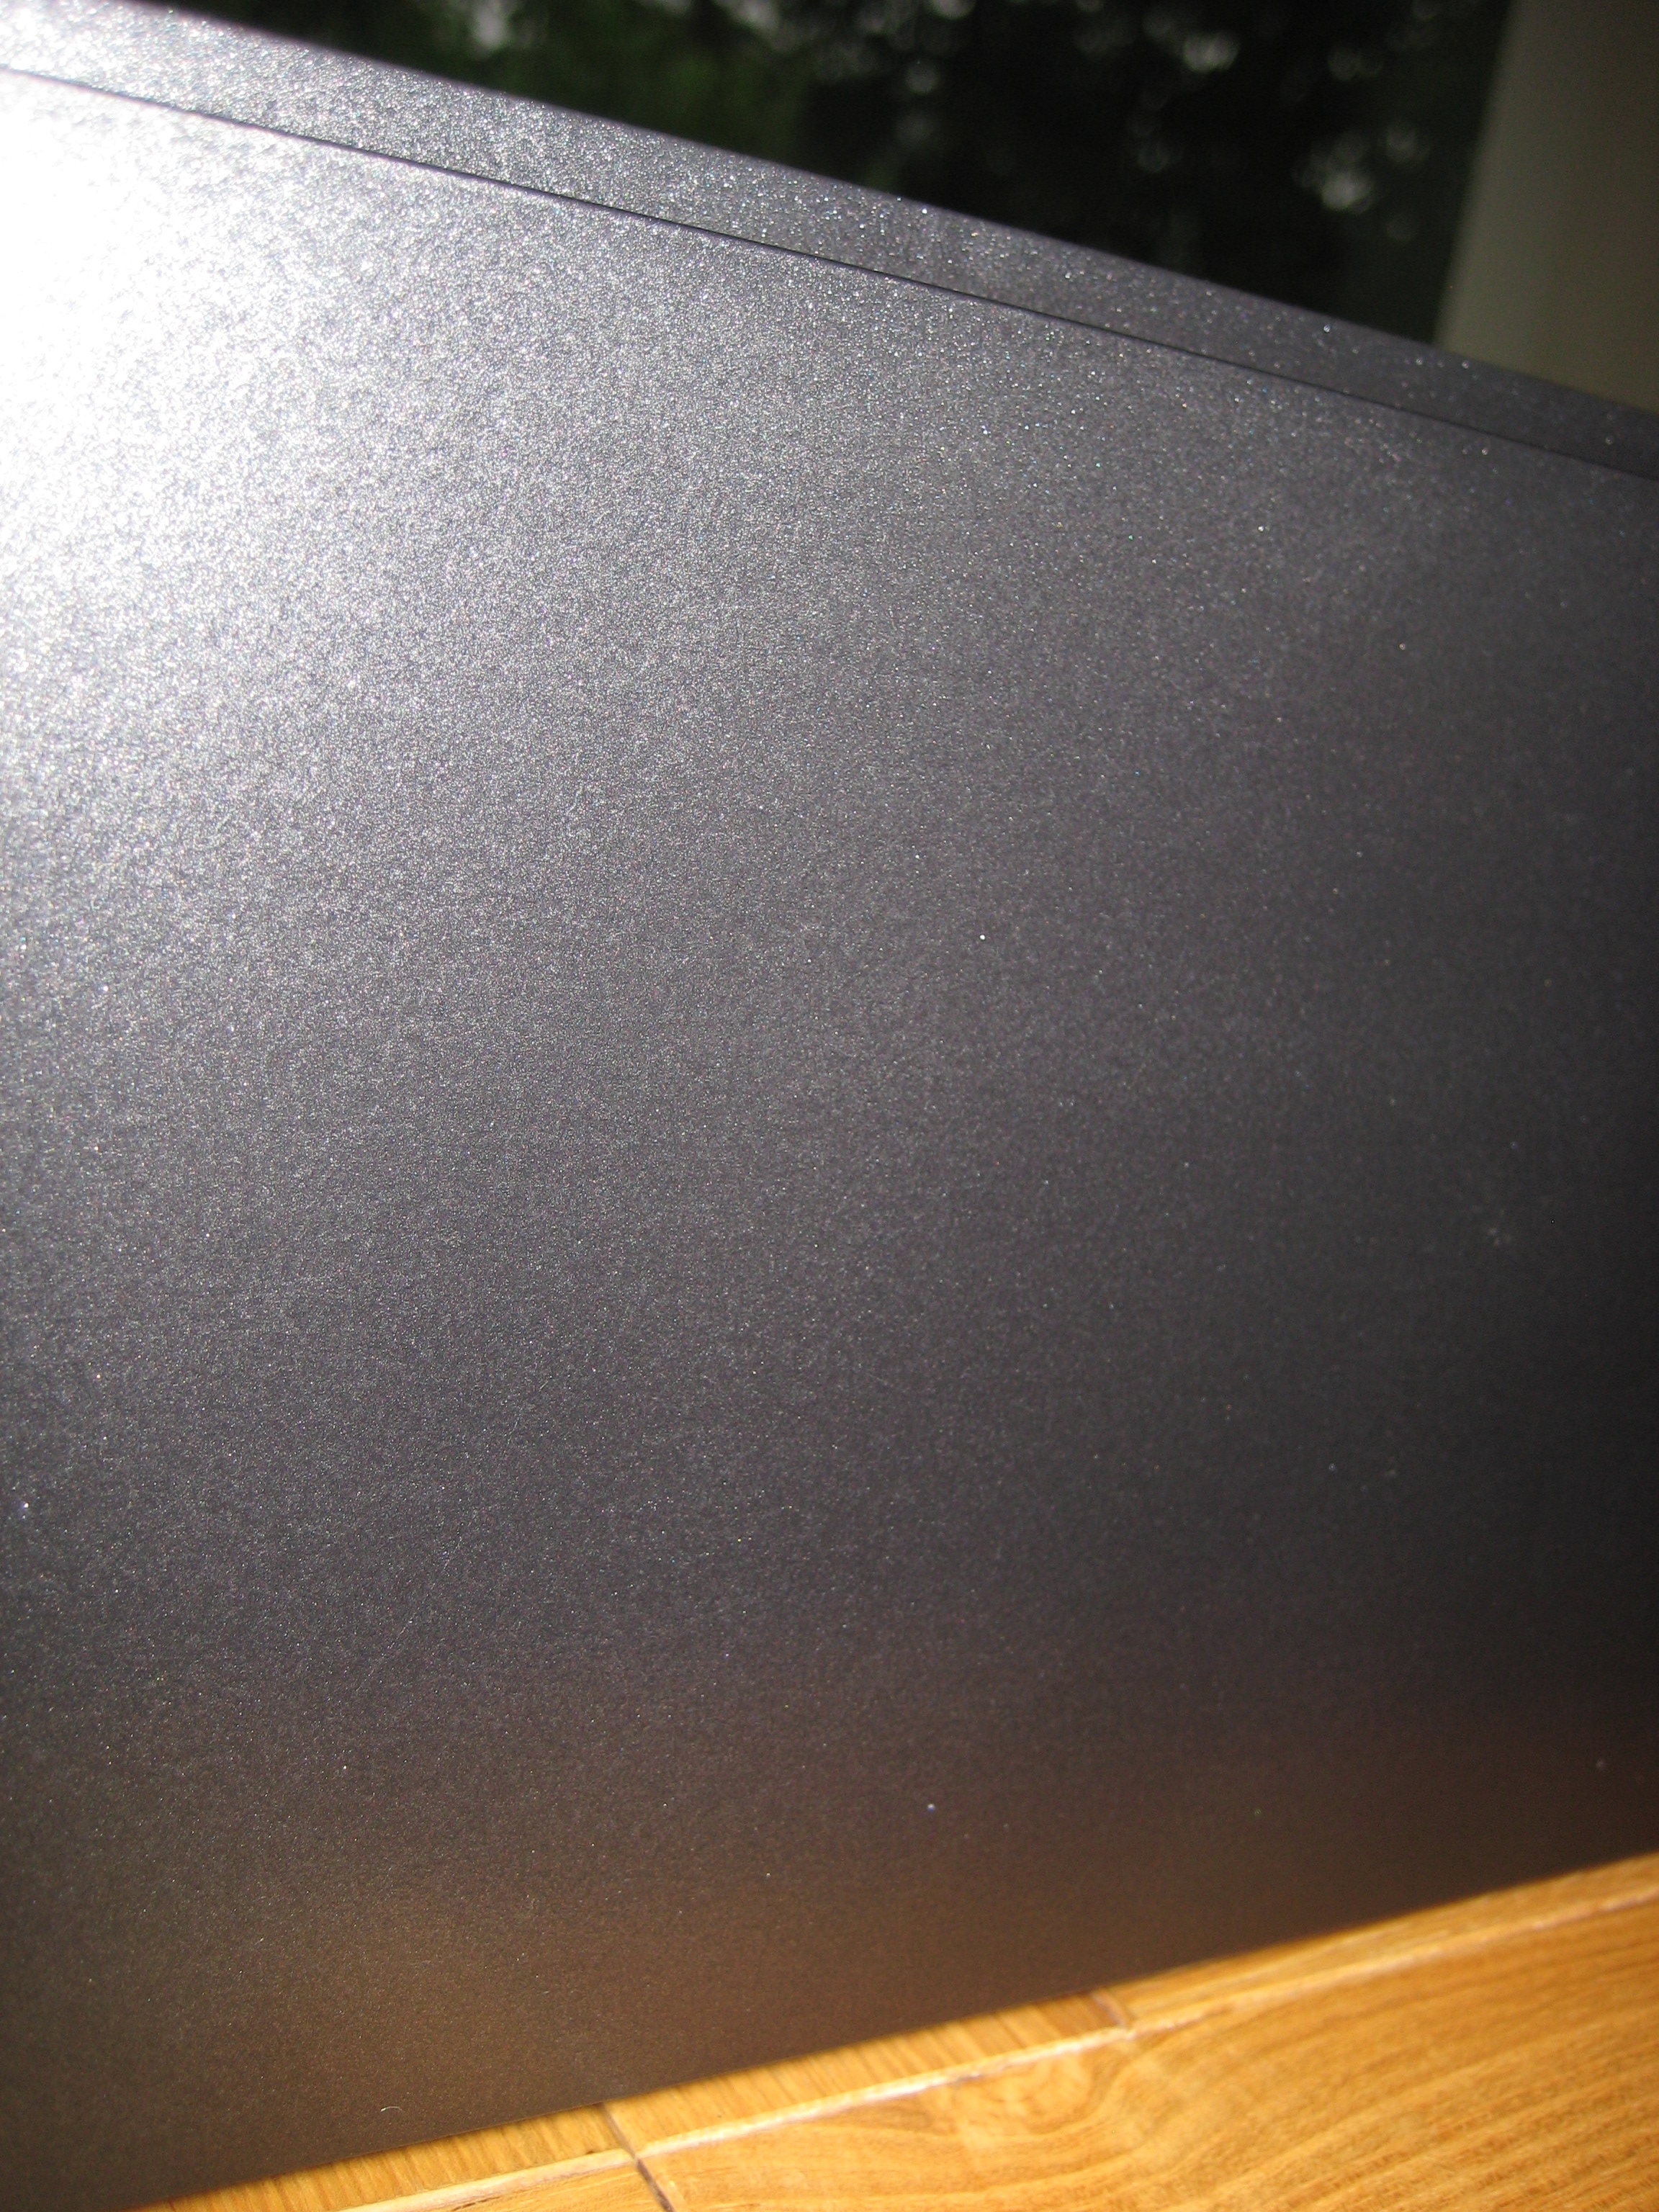
Then I went straight on to applying the colour. This was a very tedious process because to get the right depth of colour and sparkle I've had to be very careful with the evenness of the coats. I’ve applied 4 coats in total using 4 cans of paint (a single can was 300ml)
Then I sanded down the sides and the top of the plinth with a 1500 grit wet and dry and then 200 grit wet and dry until the surface was flat and matte.
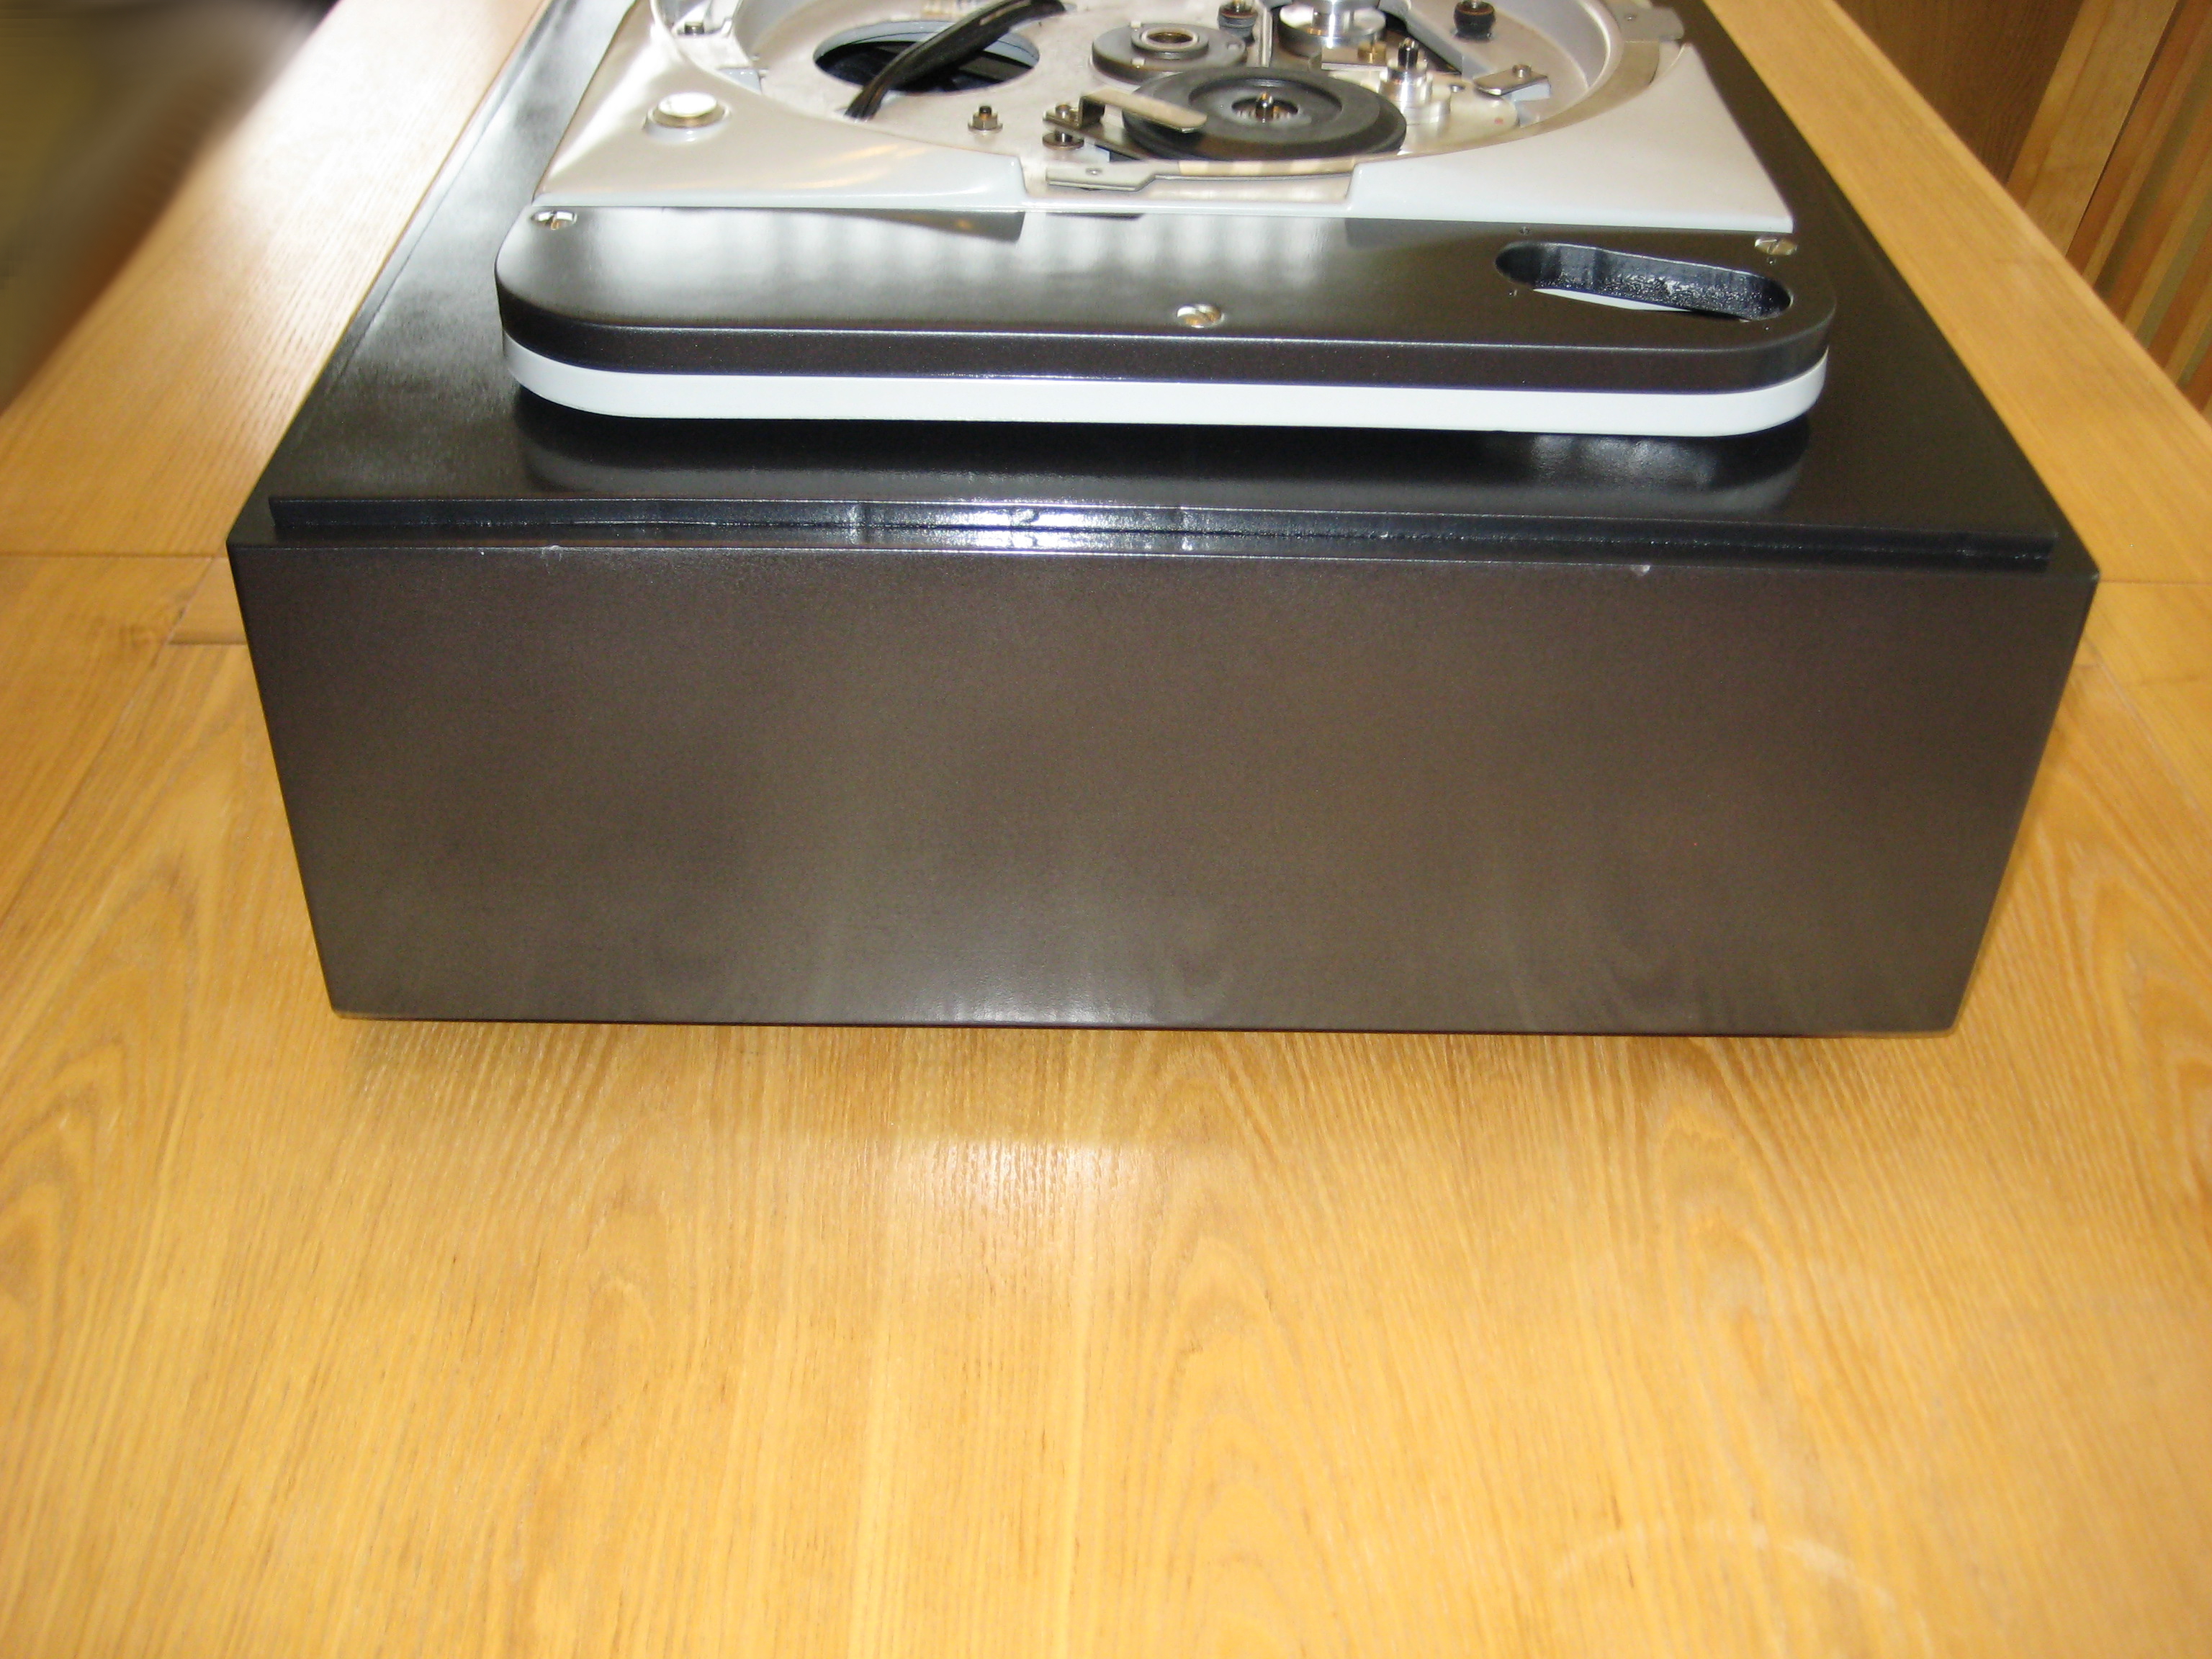
After the wet and dry sanding the plinth was once again cleaned and then I applied 4 coats of clear coat, I made sure each coat was thoroughly dry before applying another one. This gave the plinth a really deep and rich colour. After the last coat of clear lacquer was applied and dried off, I left the plinth in a warm place (25 degrees Celsius) in my house for 2 days so that the paint could harden and that’s it!
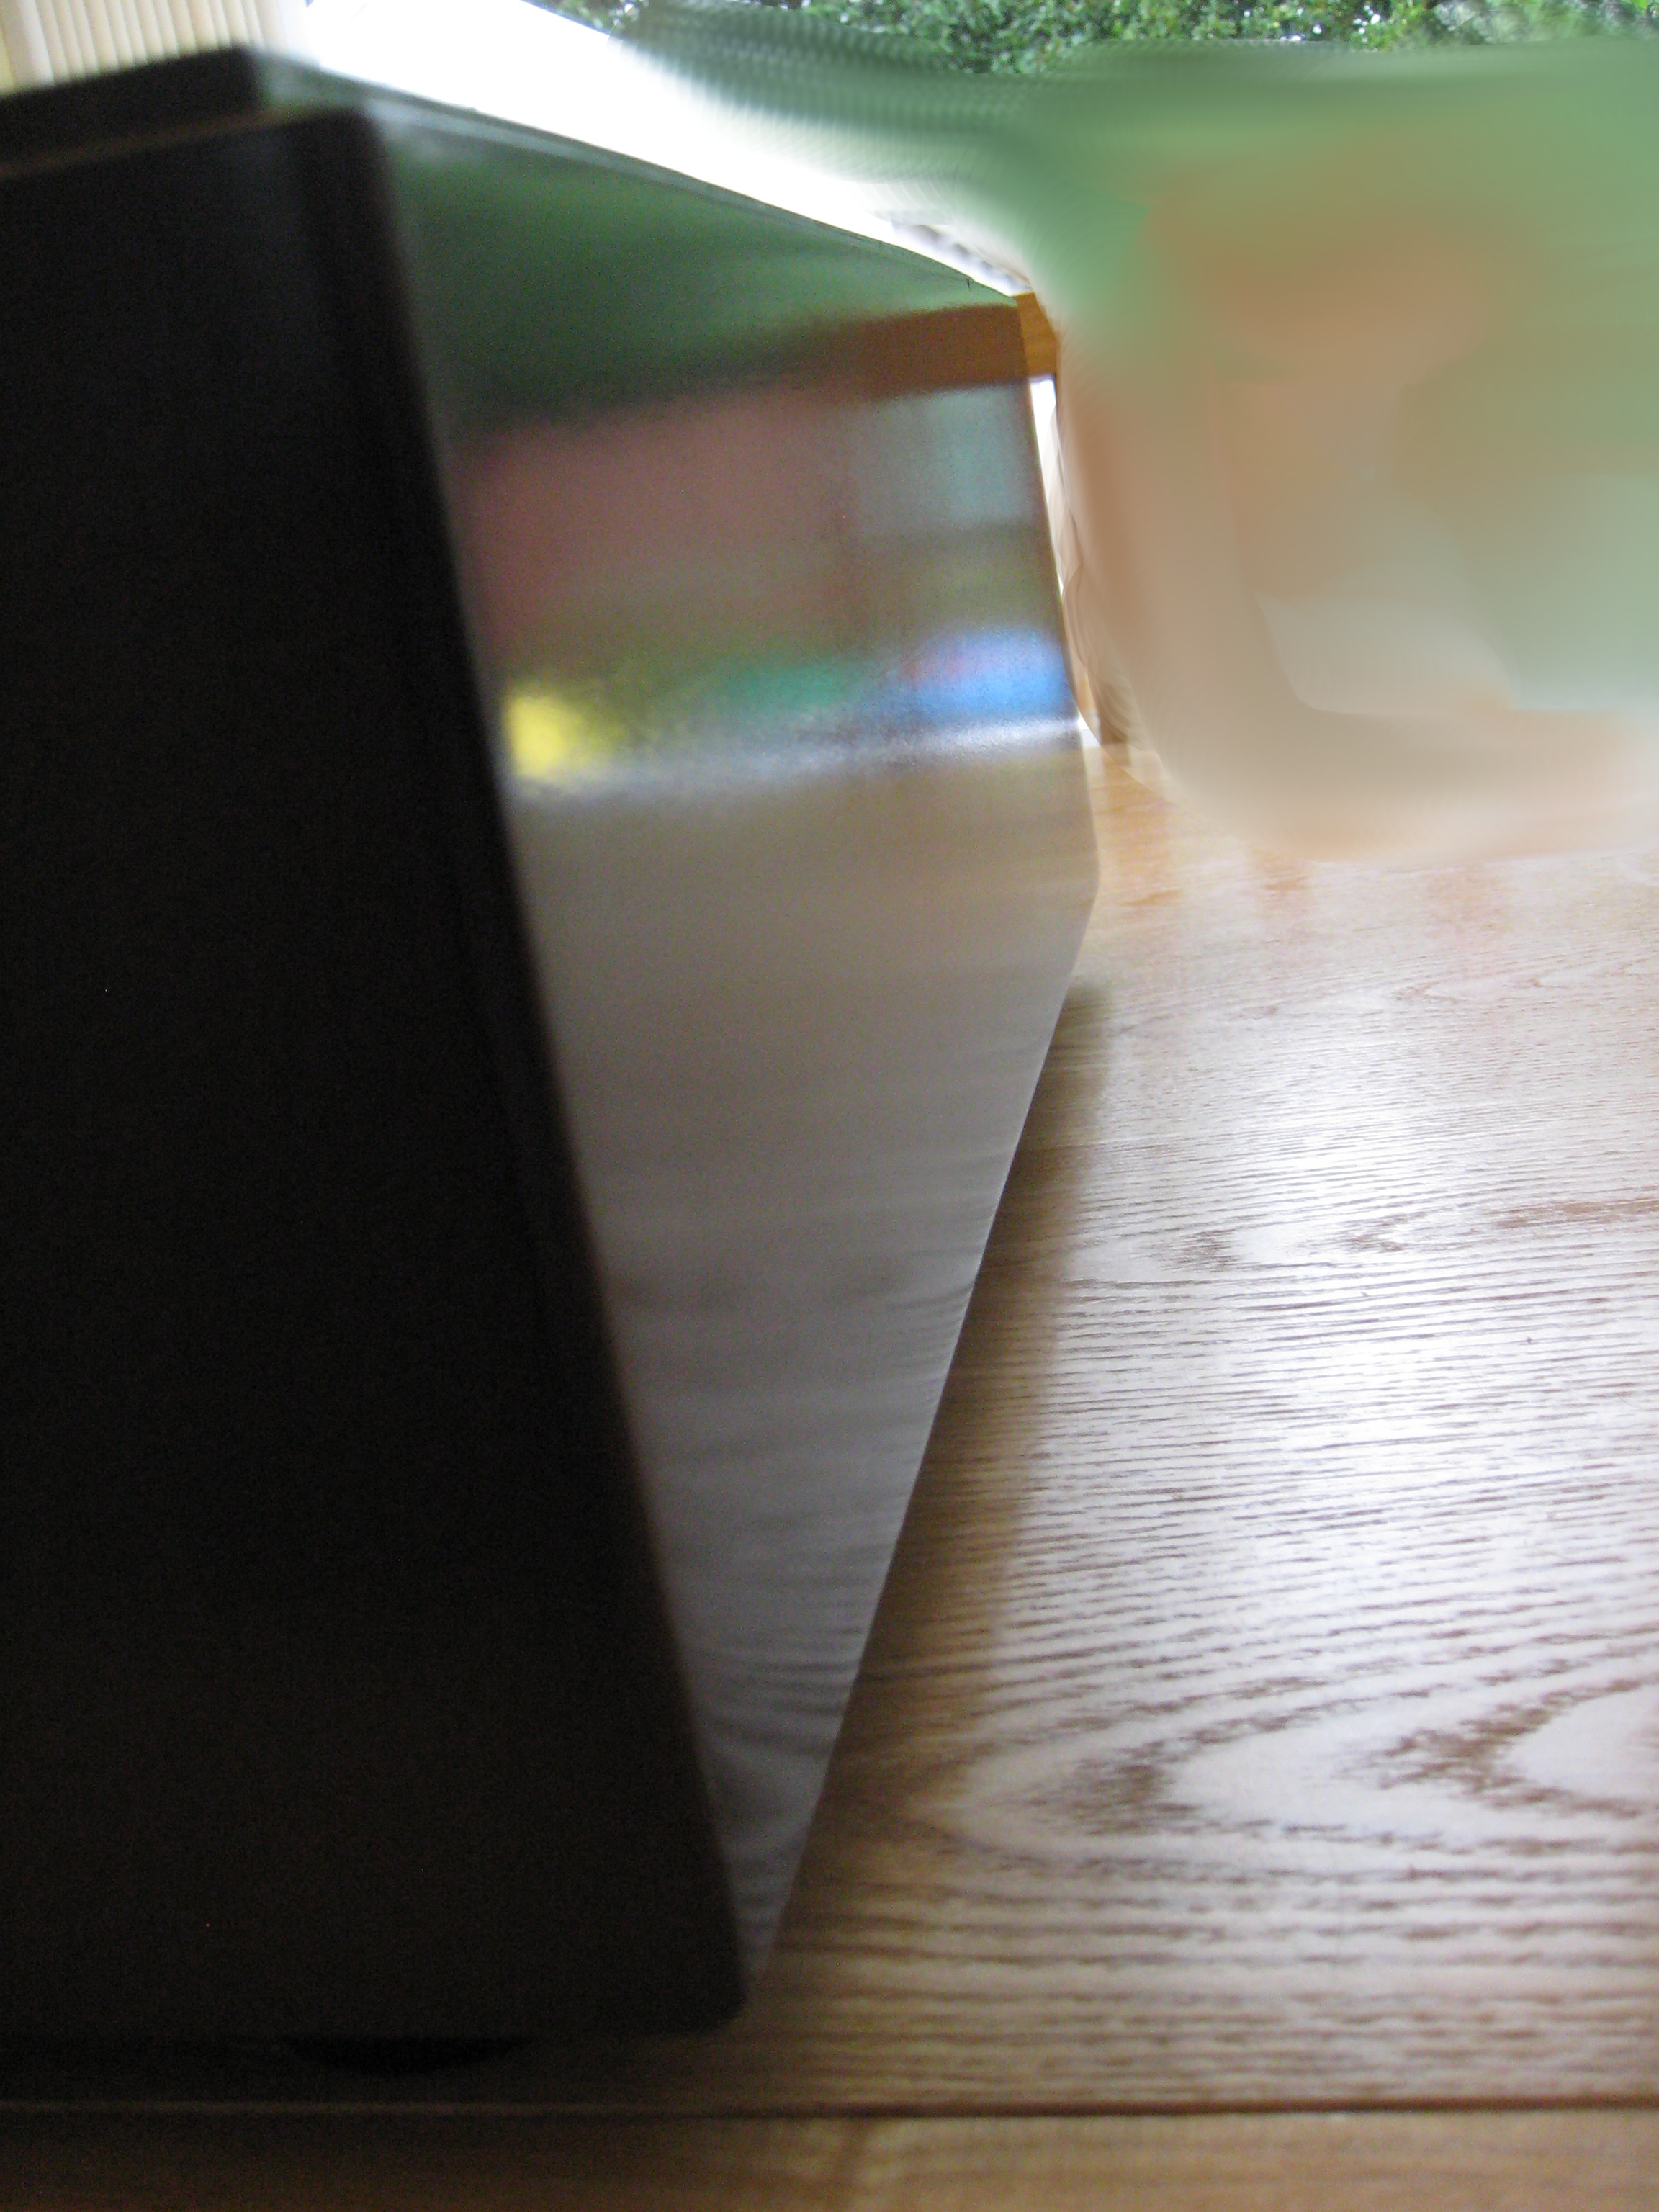
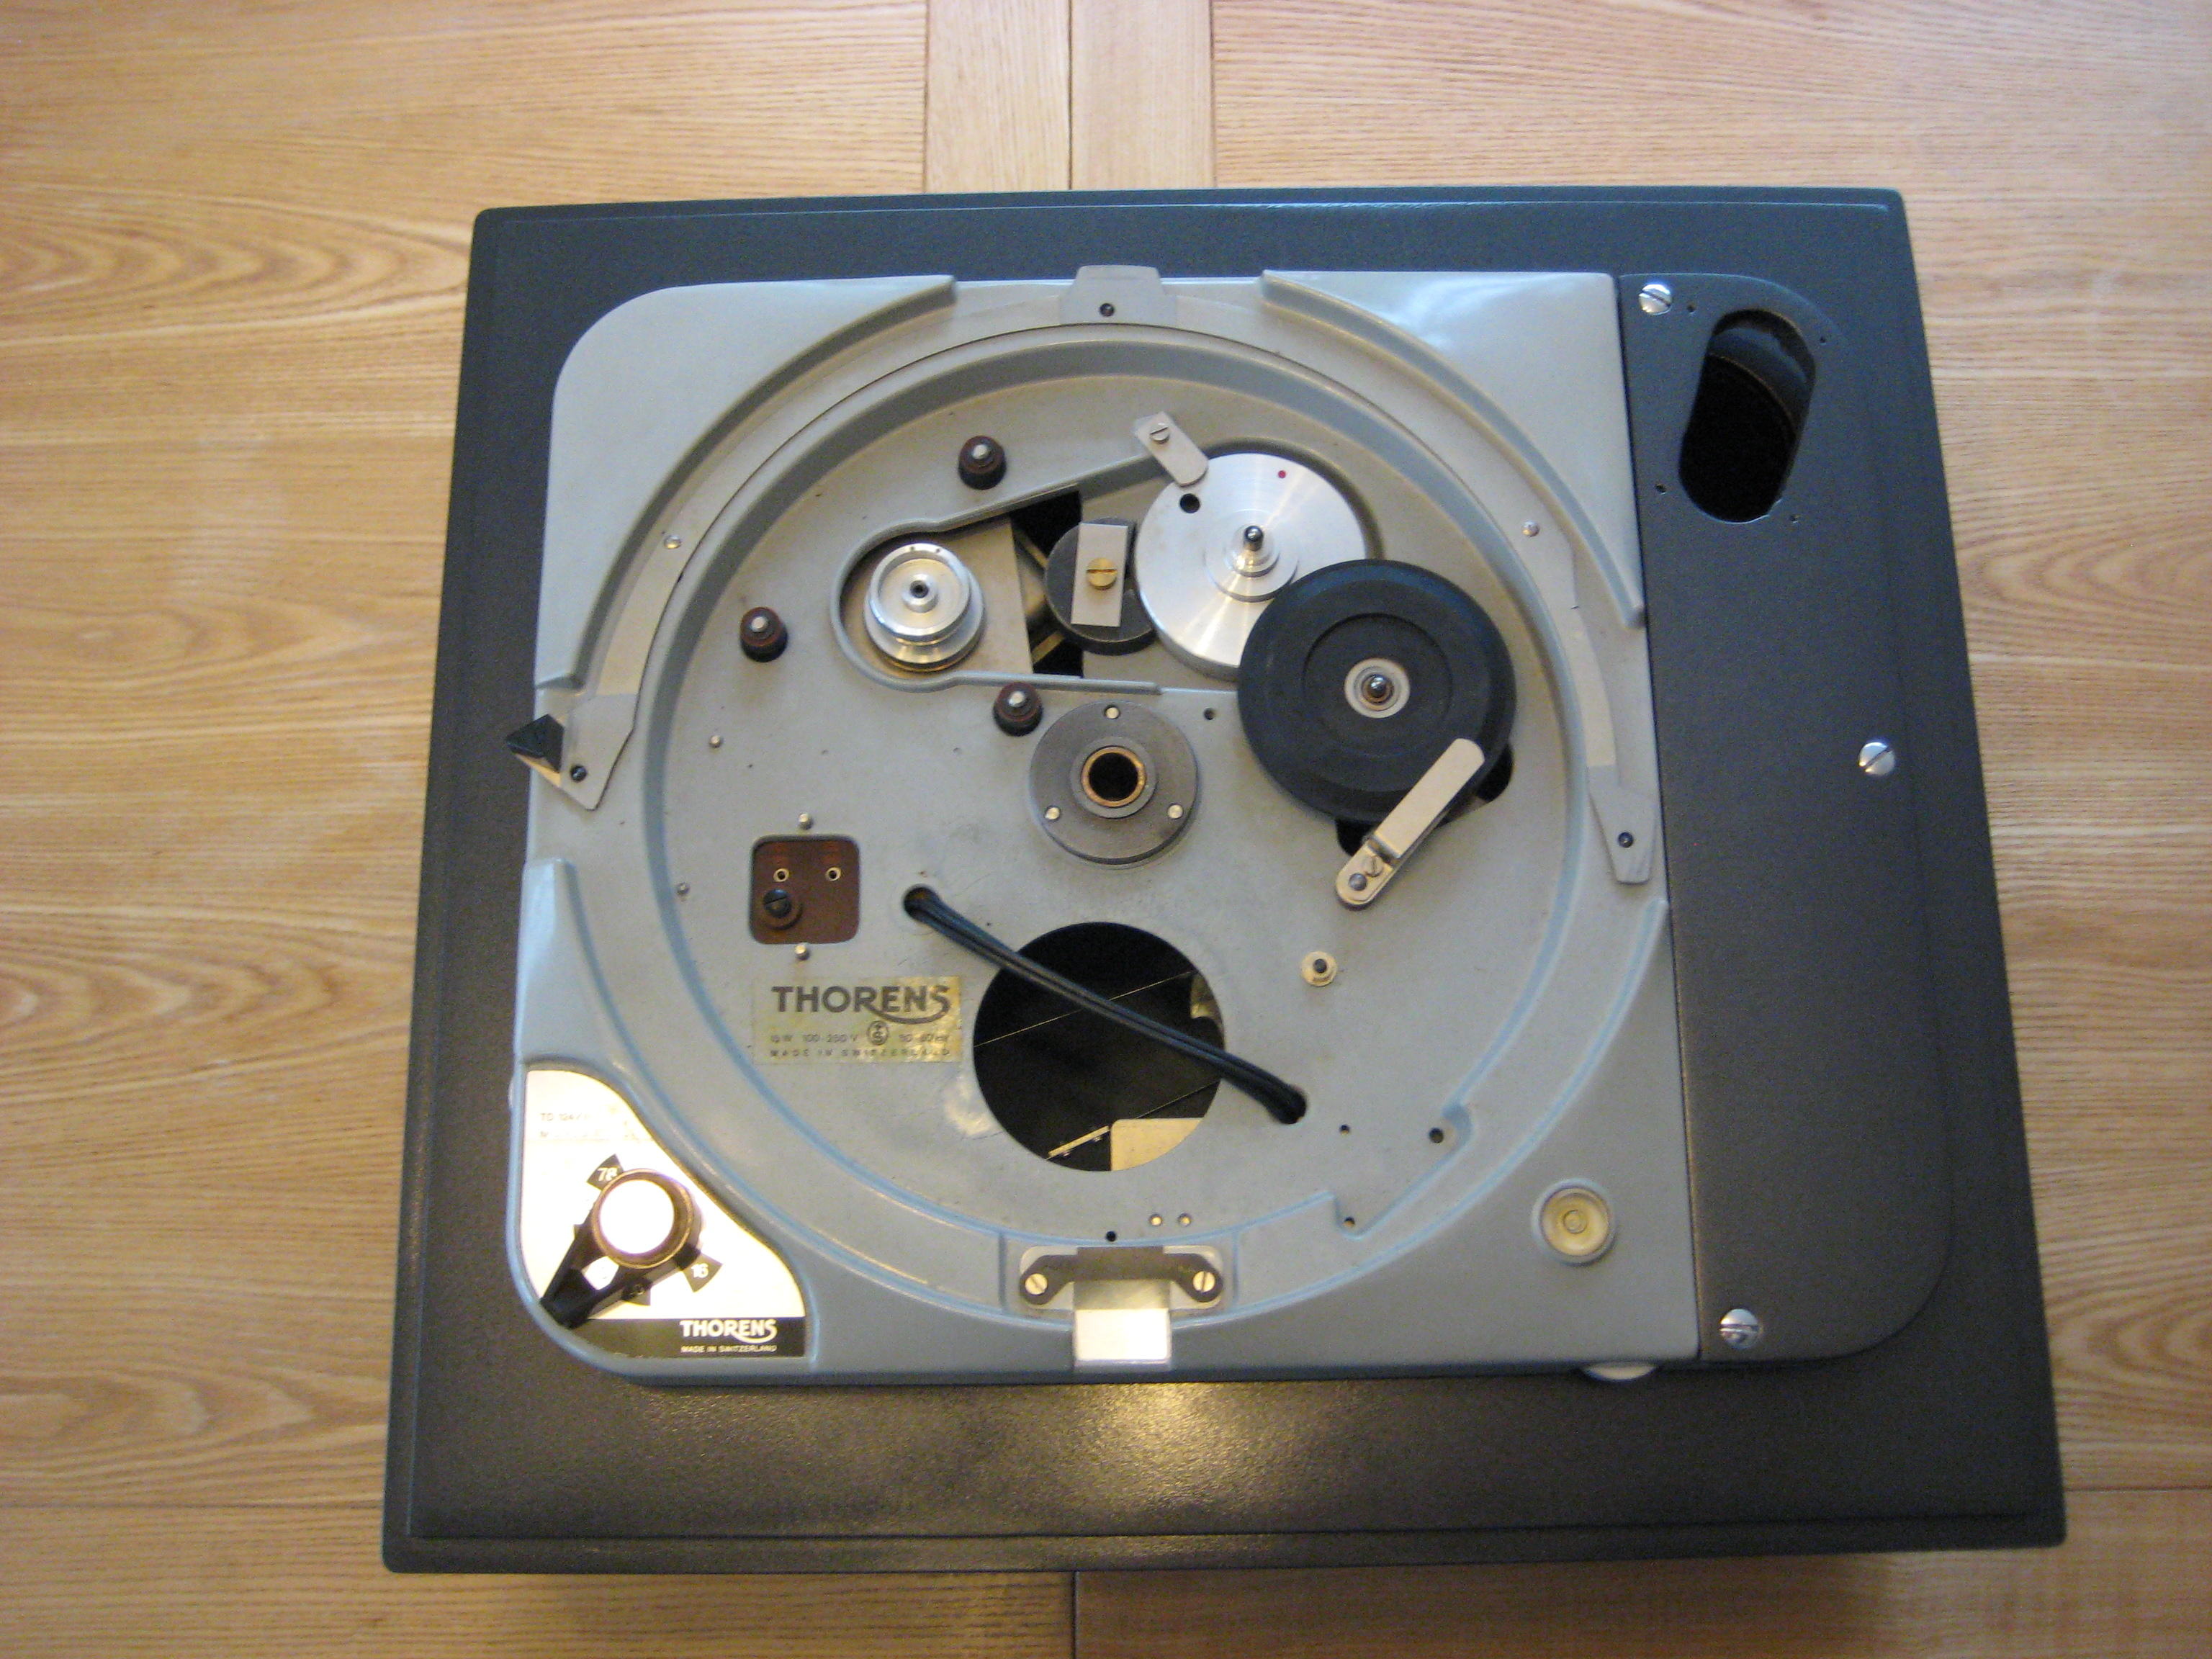
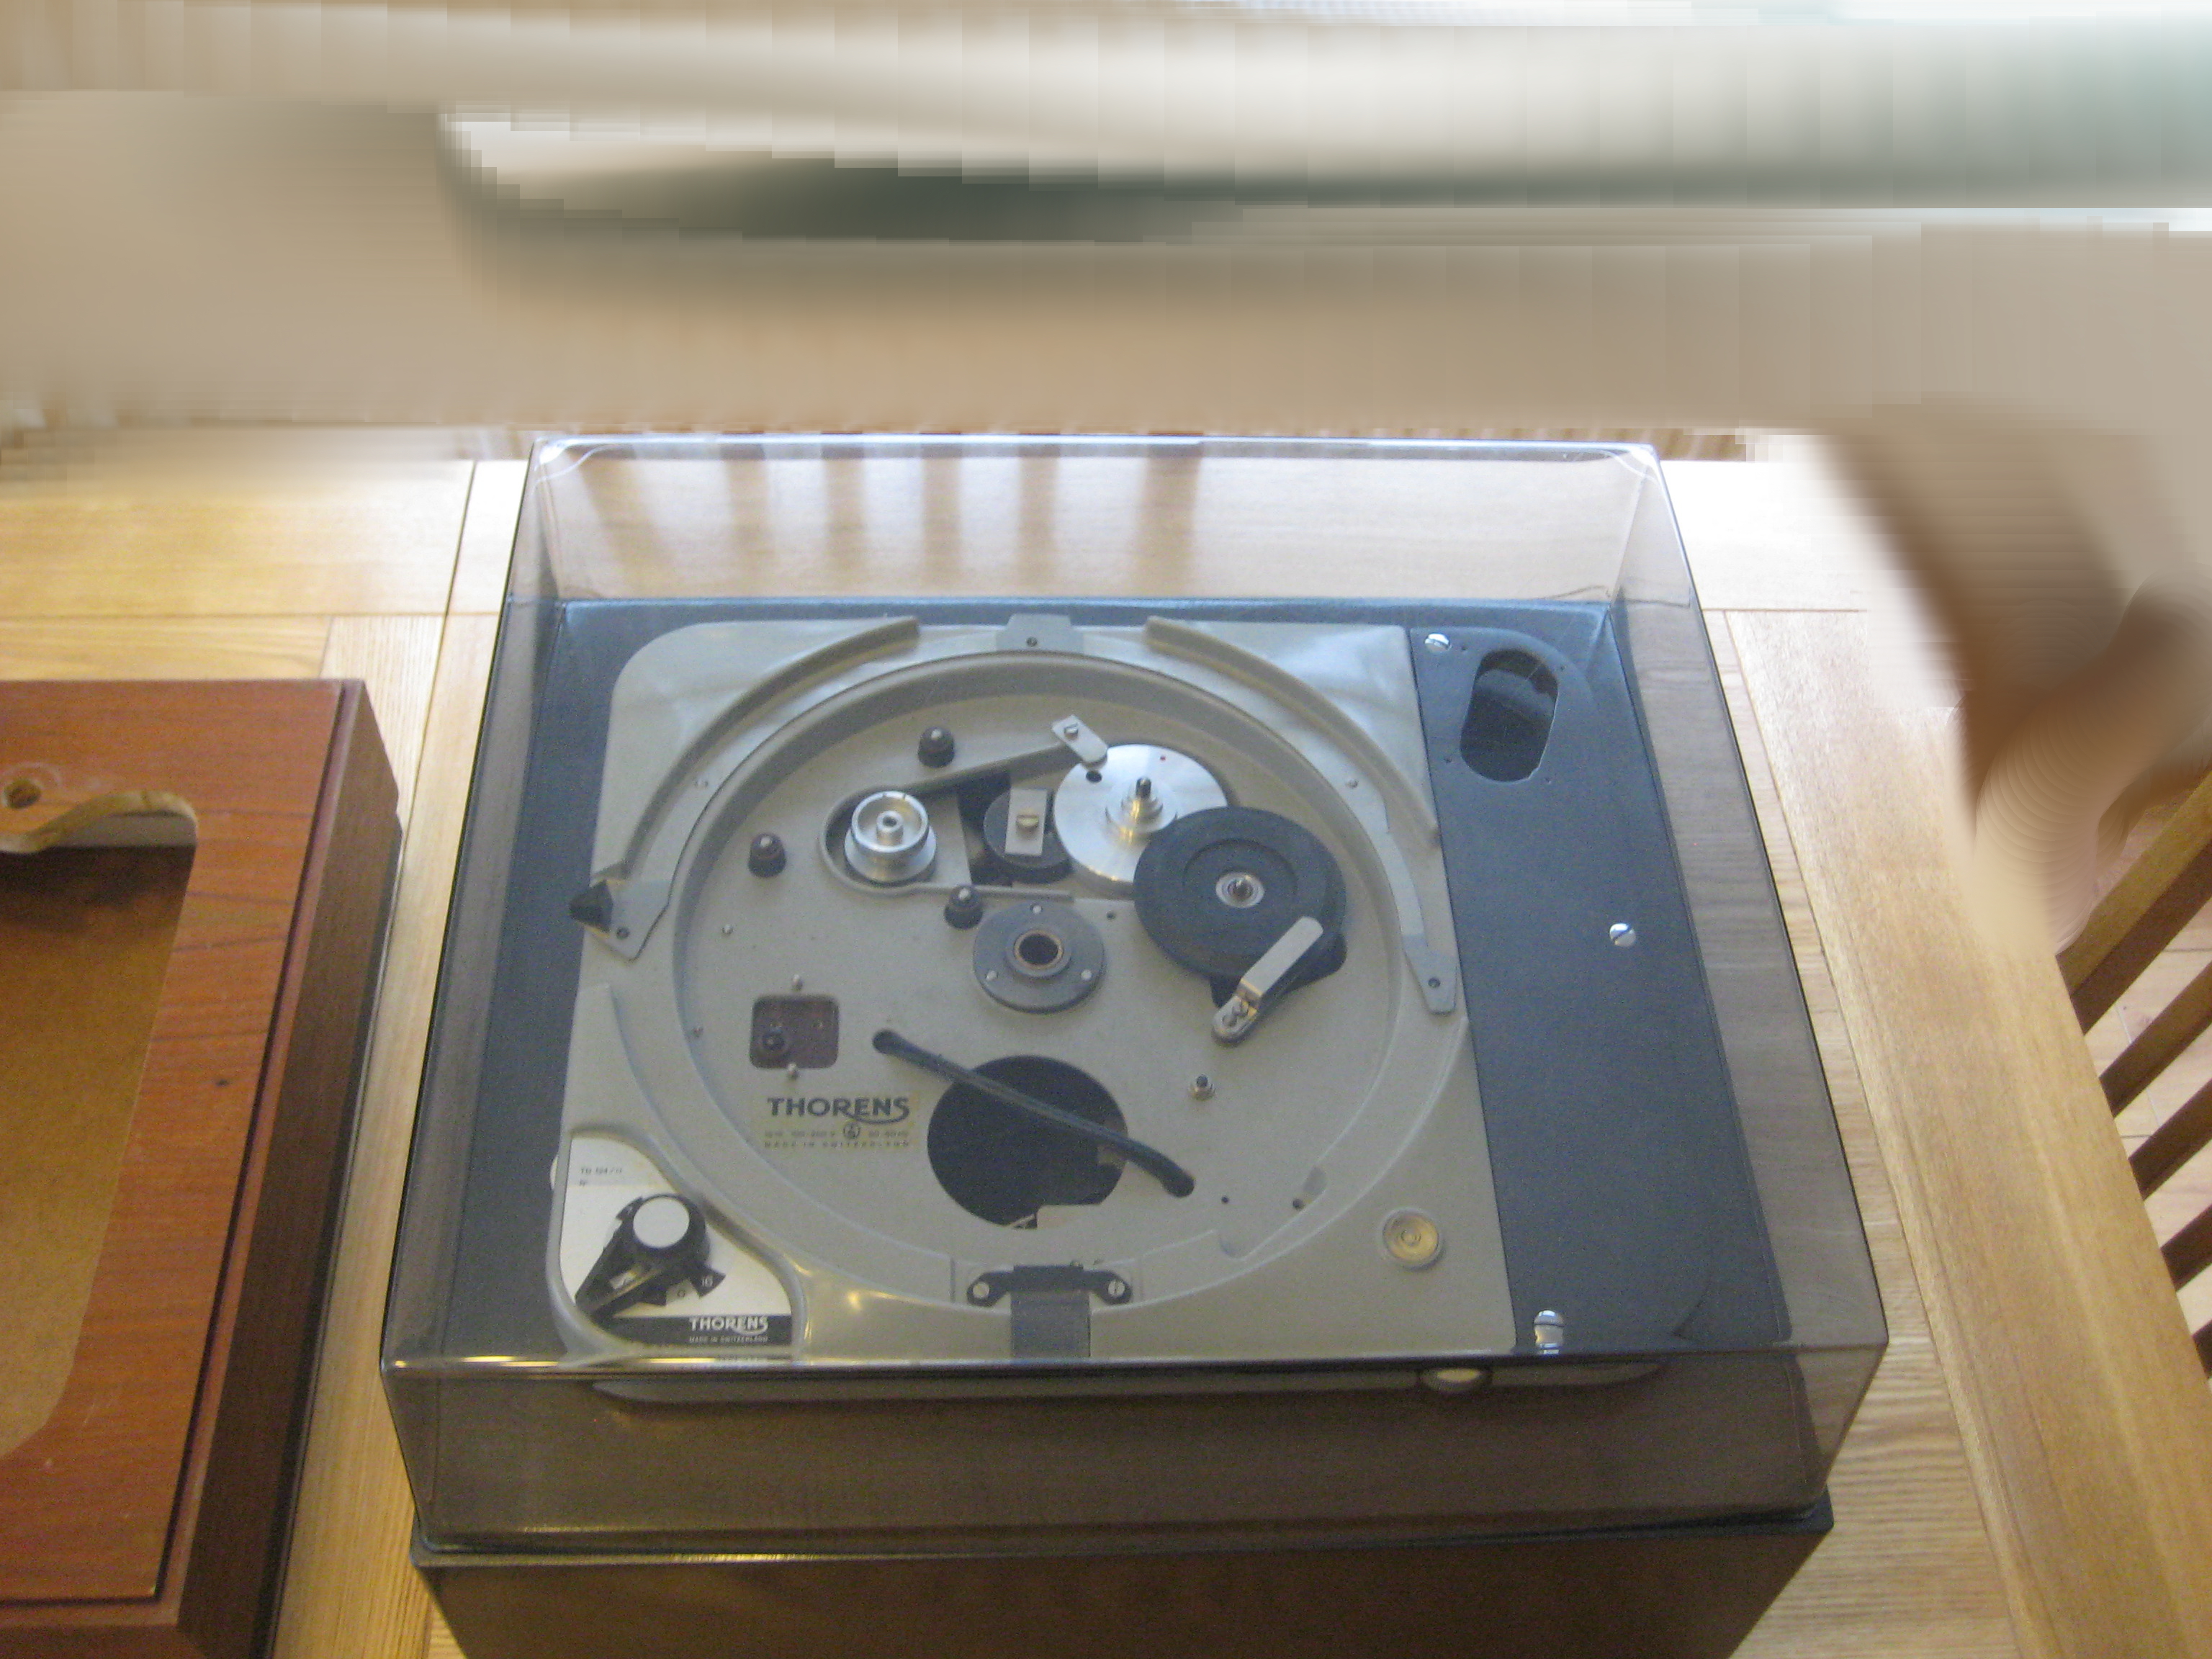
And now here is the finished result:
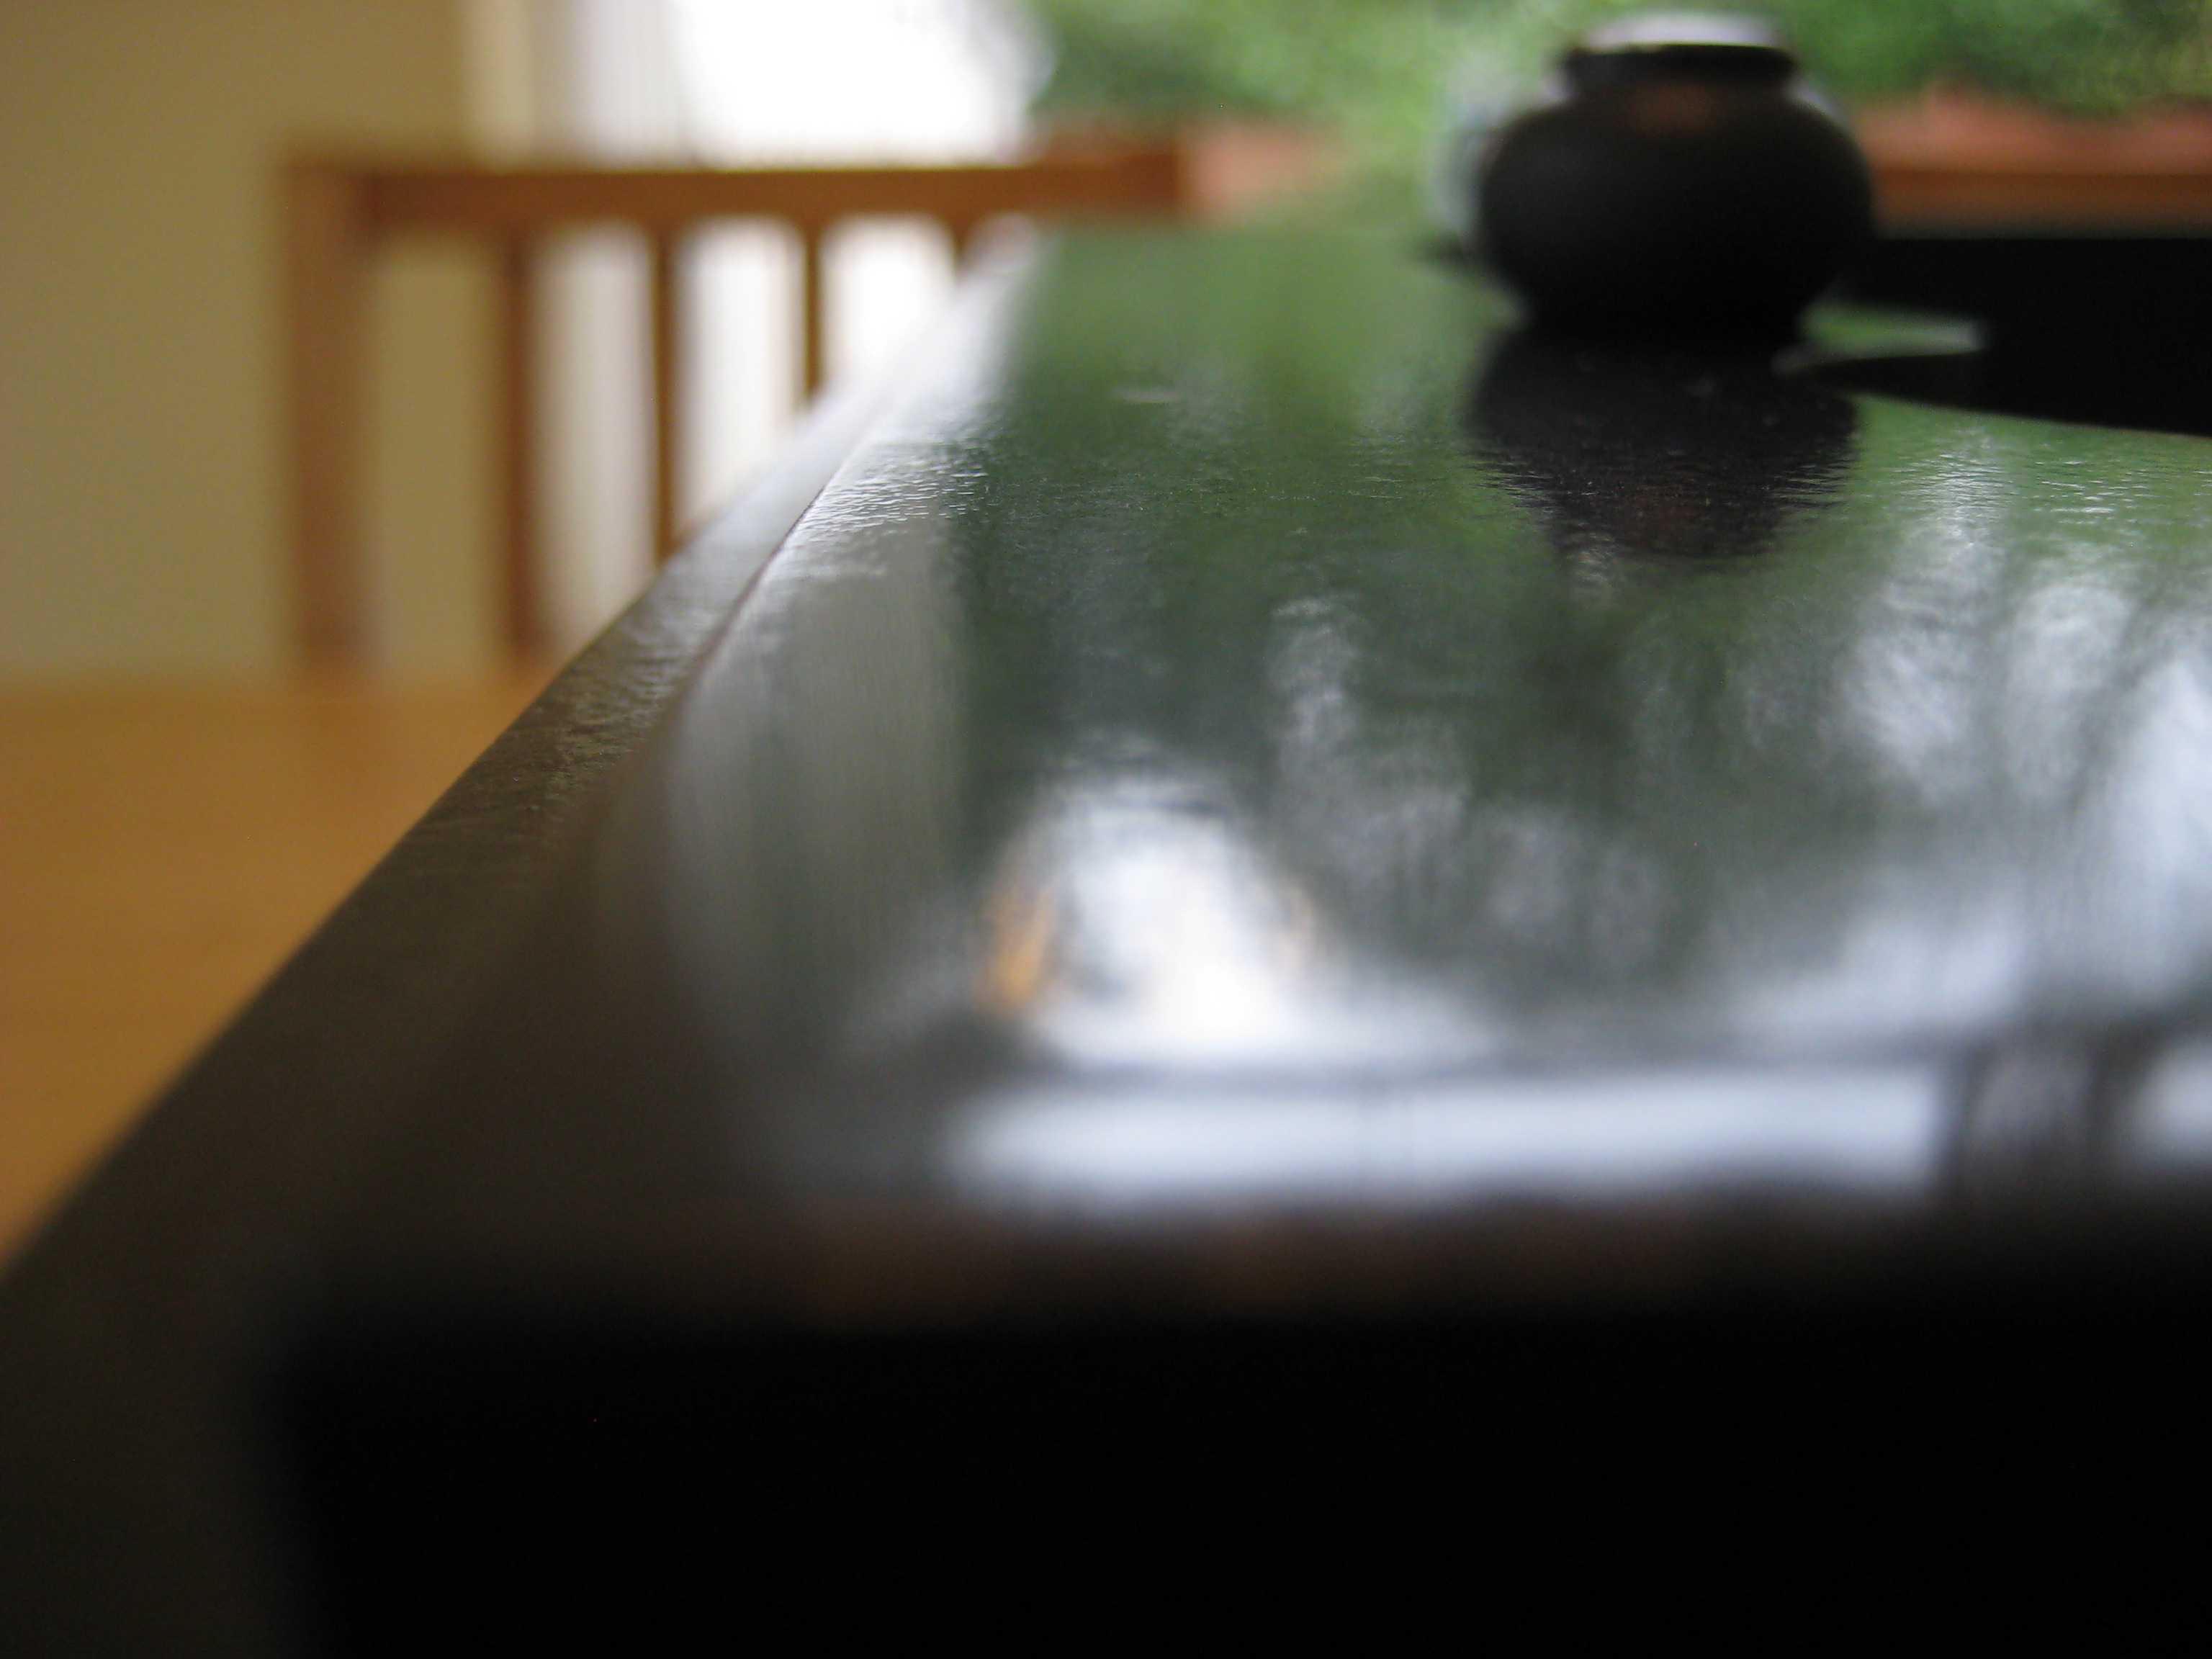
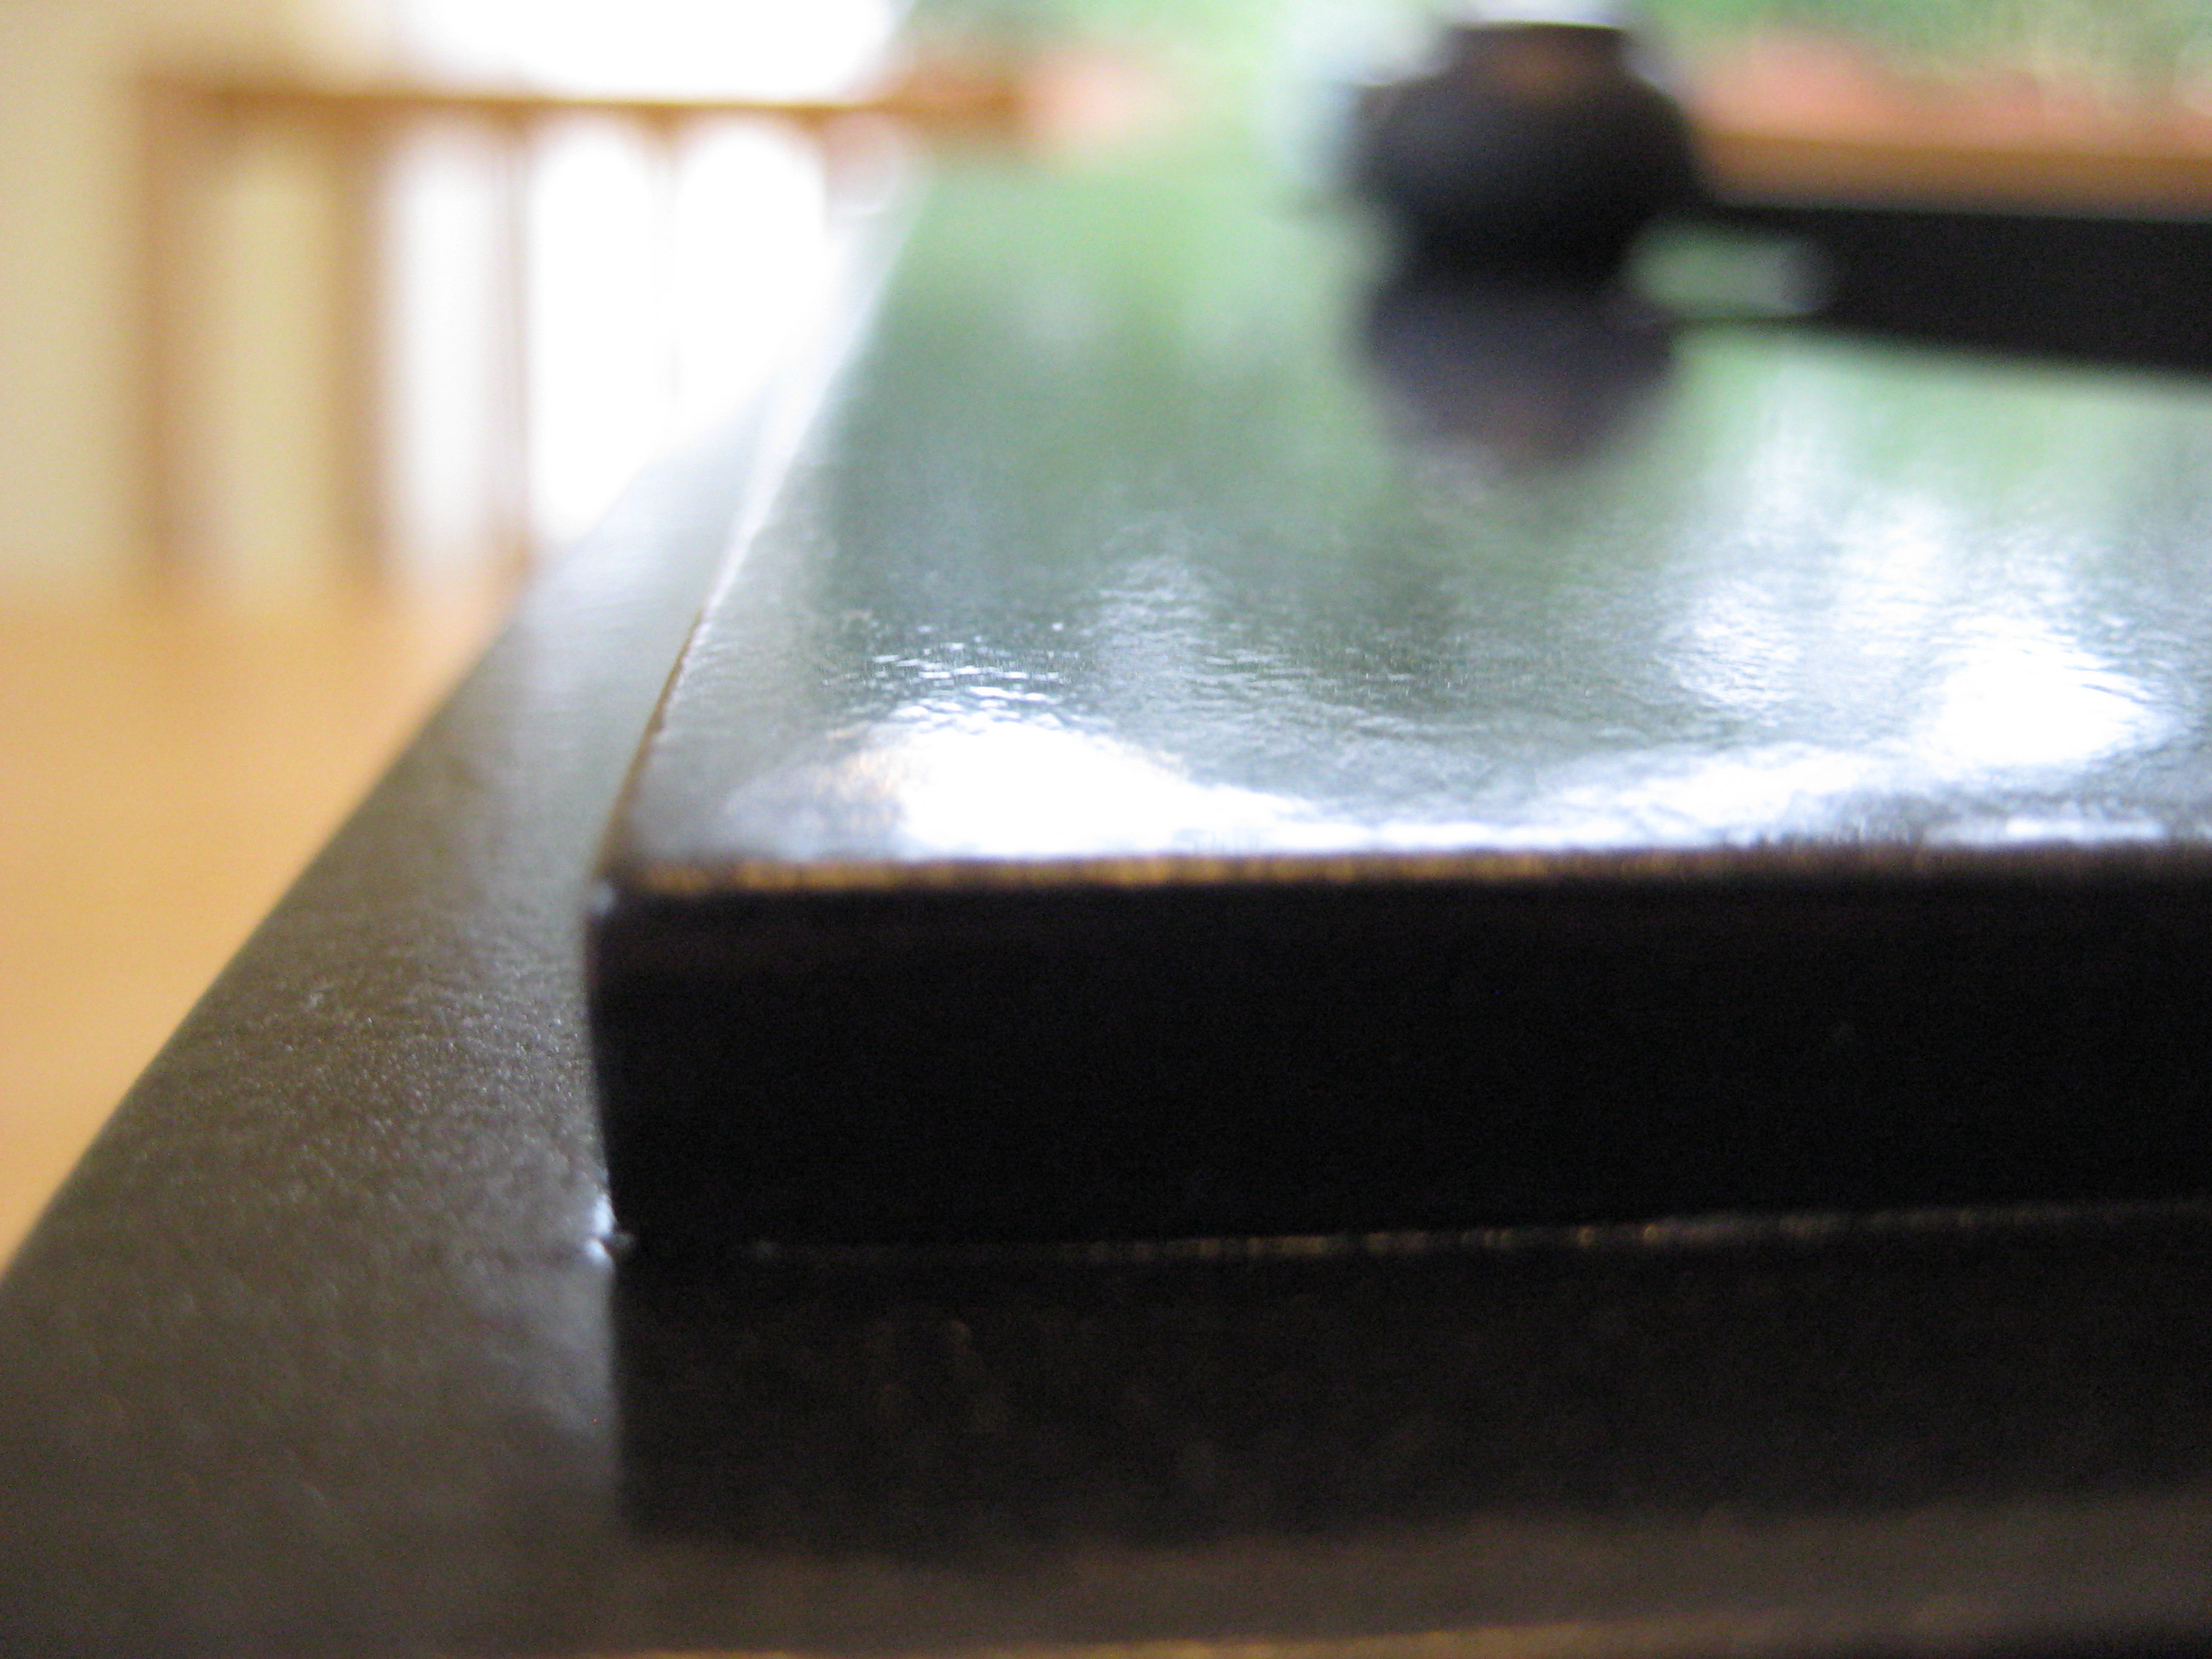
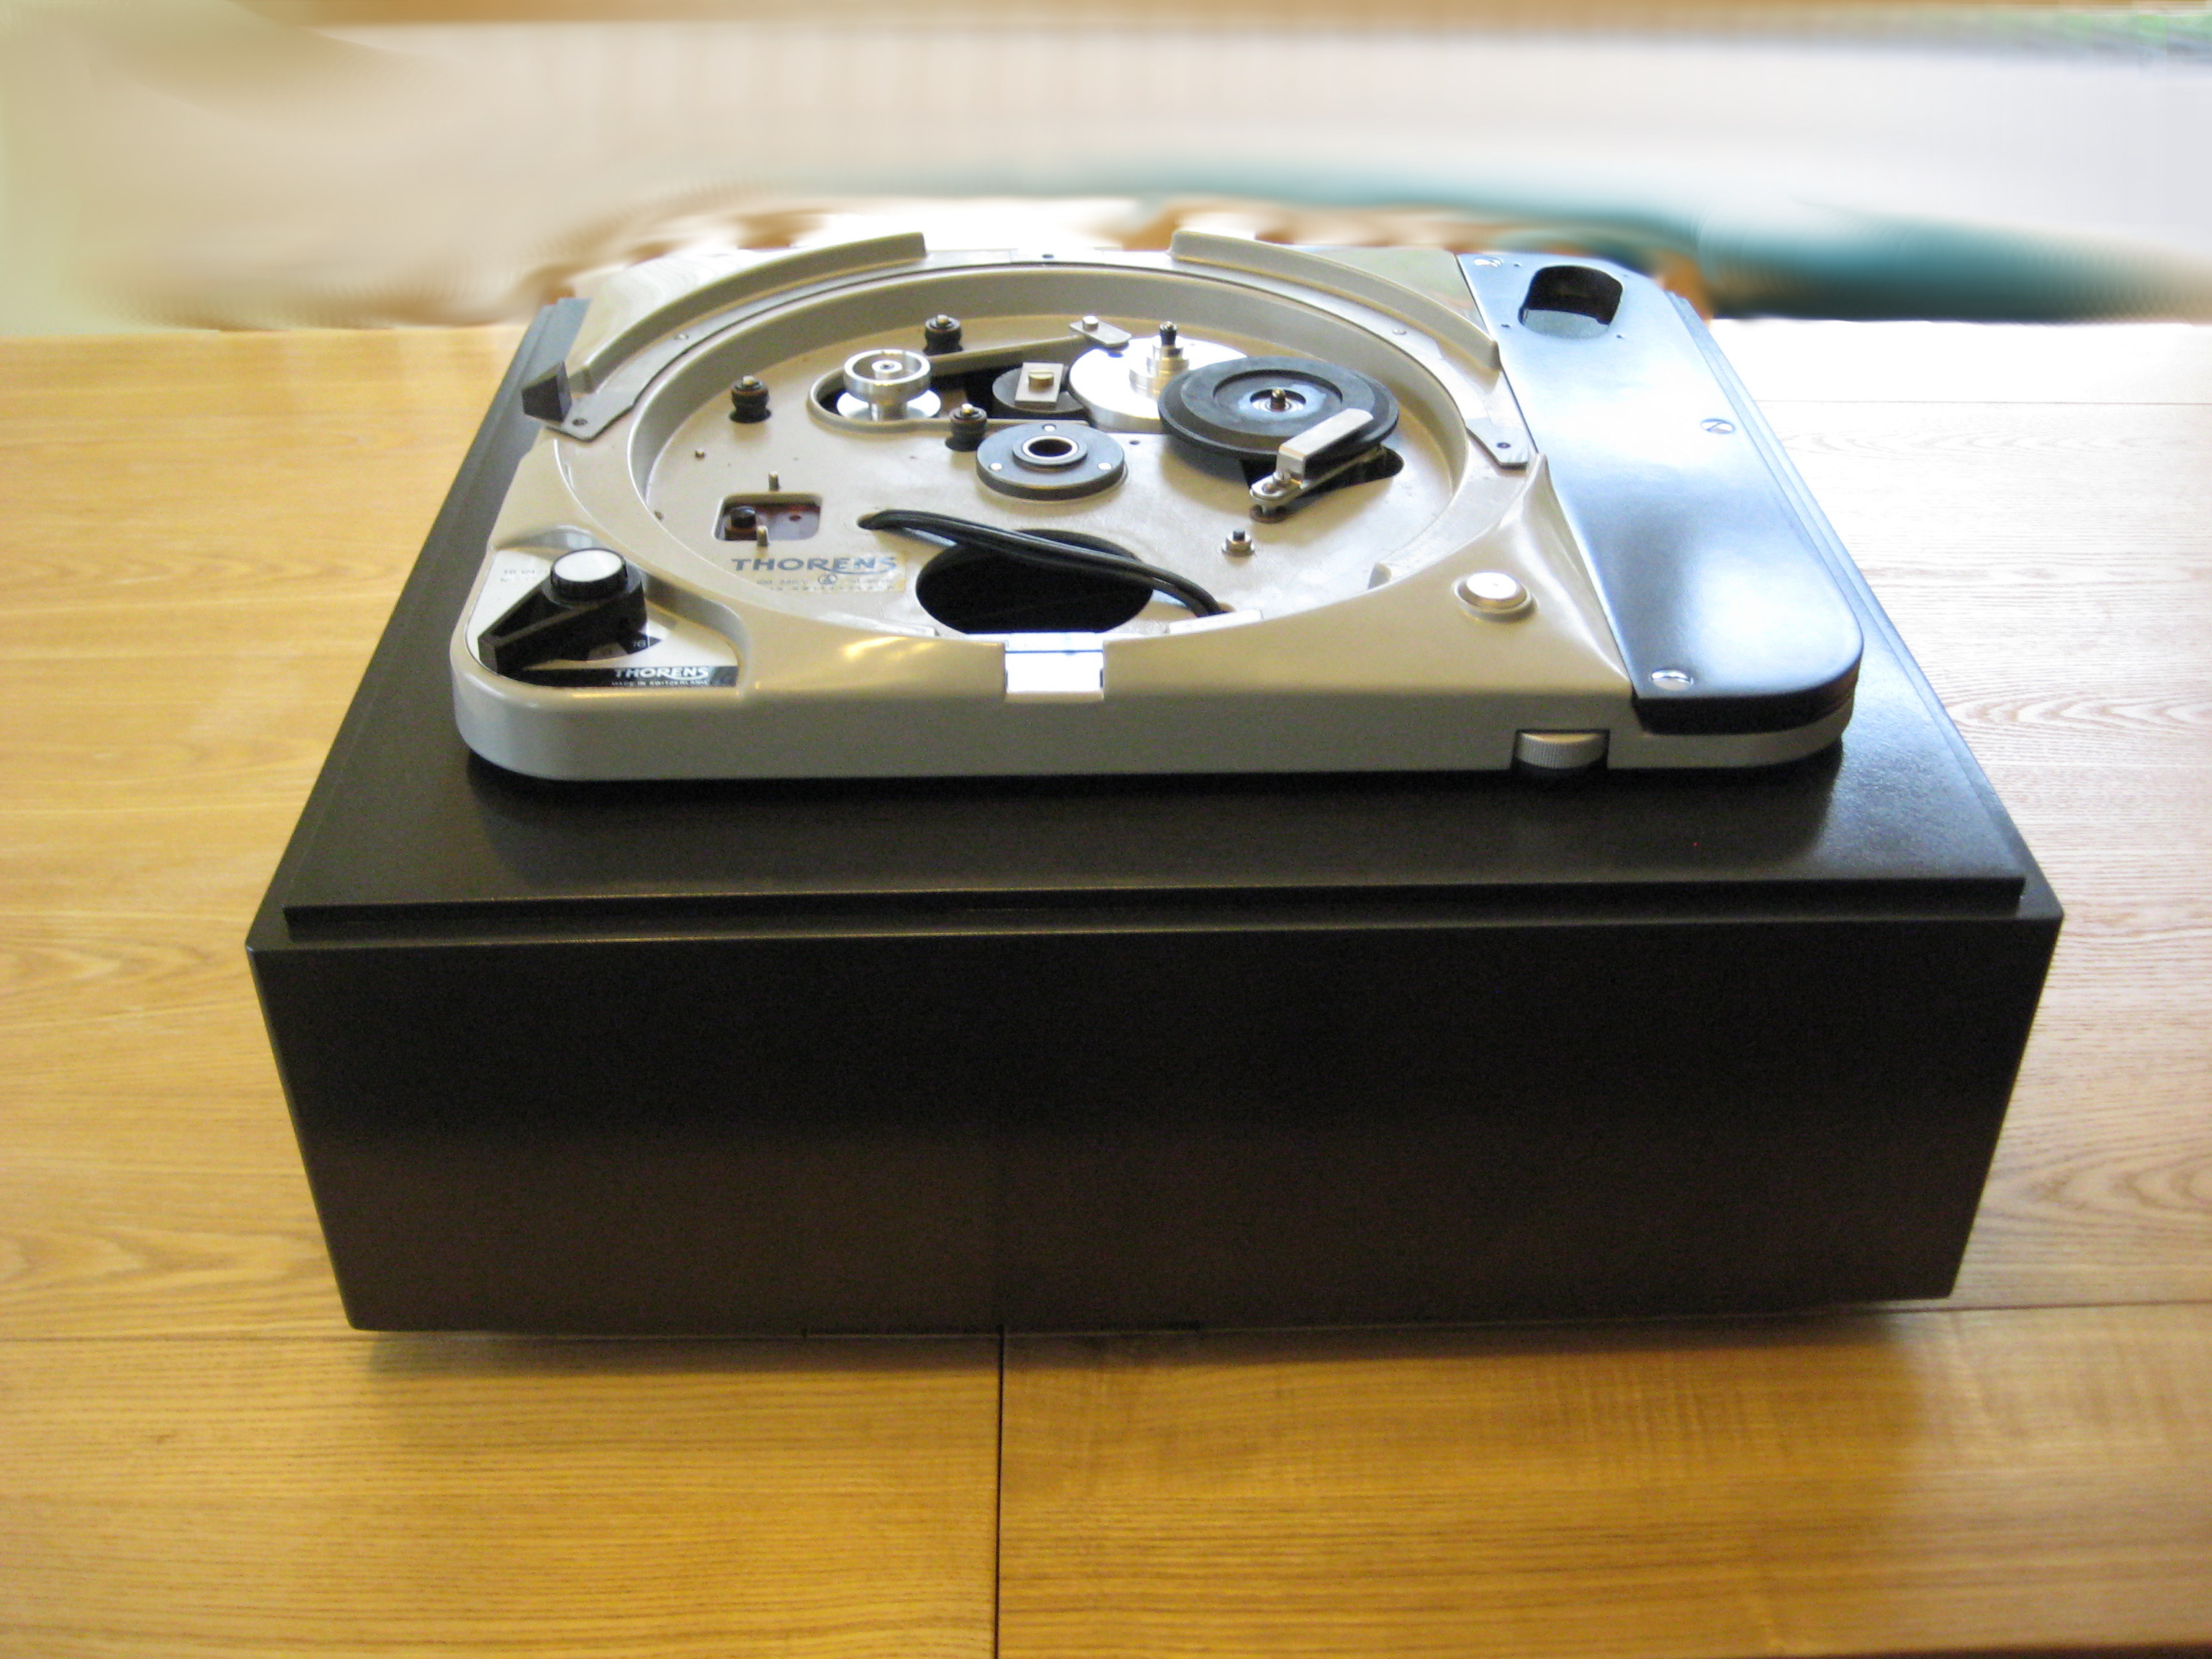
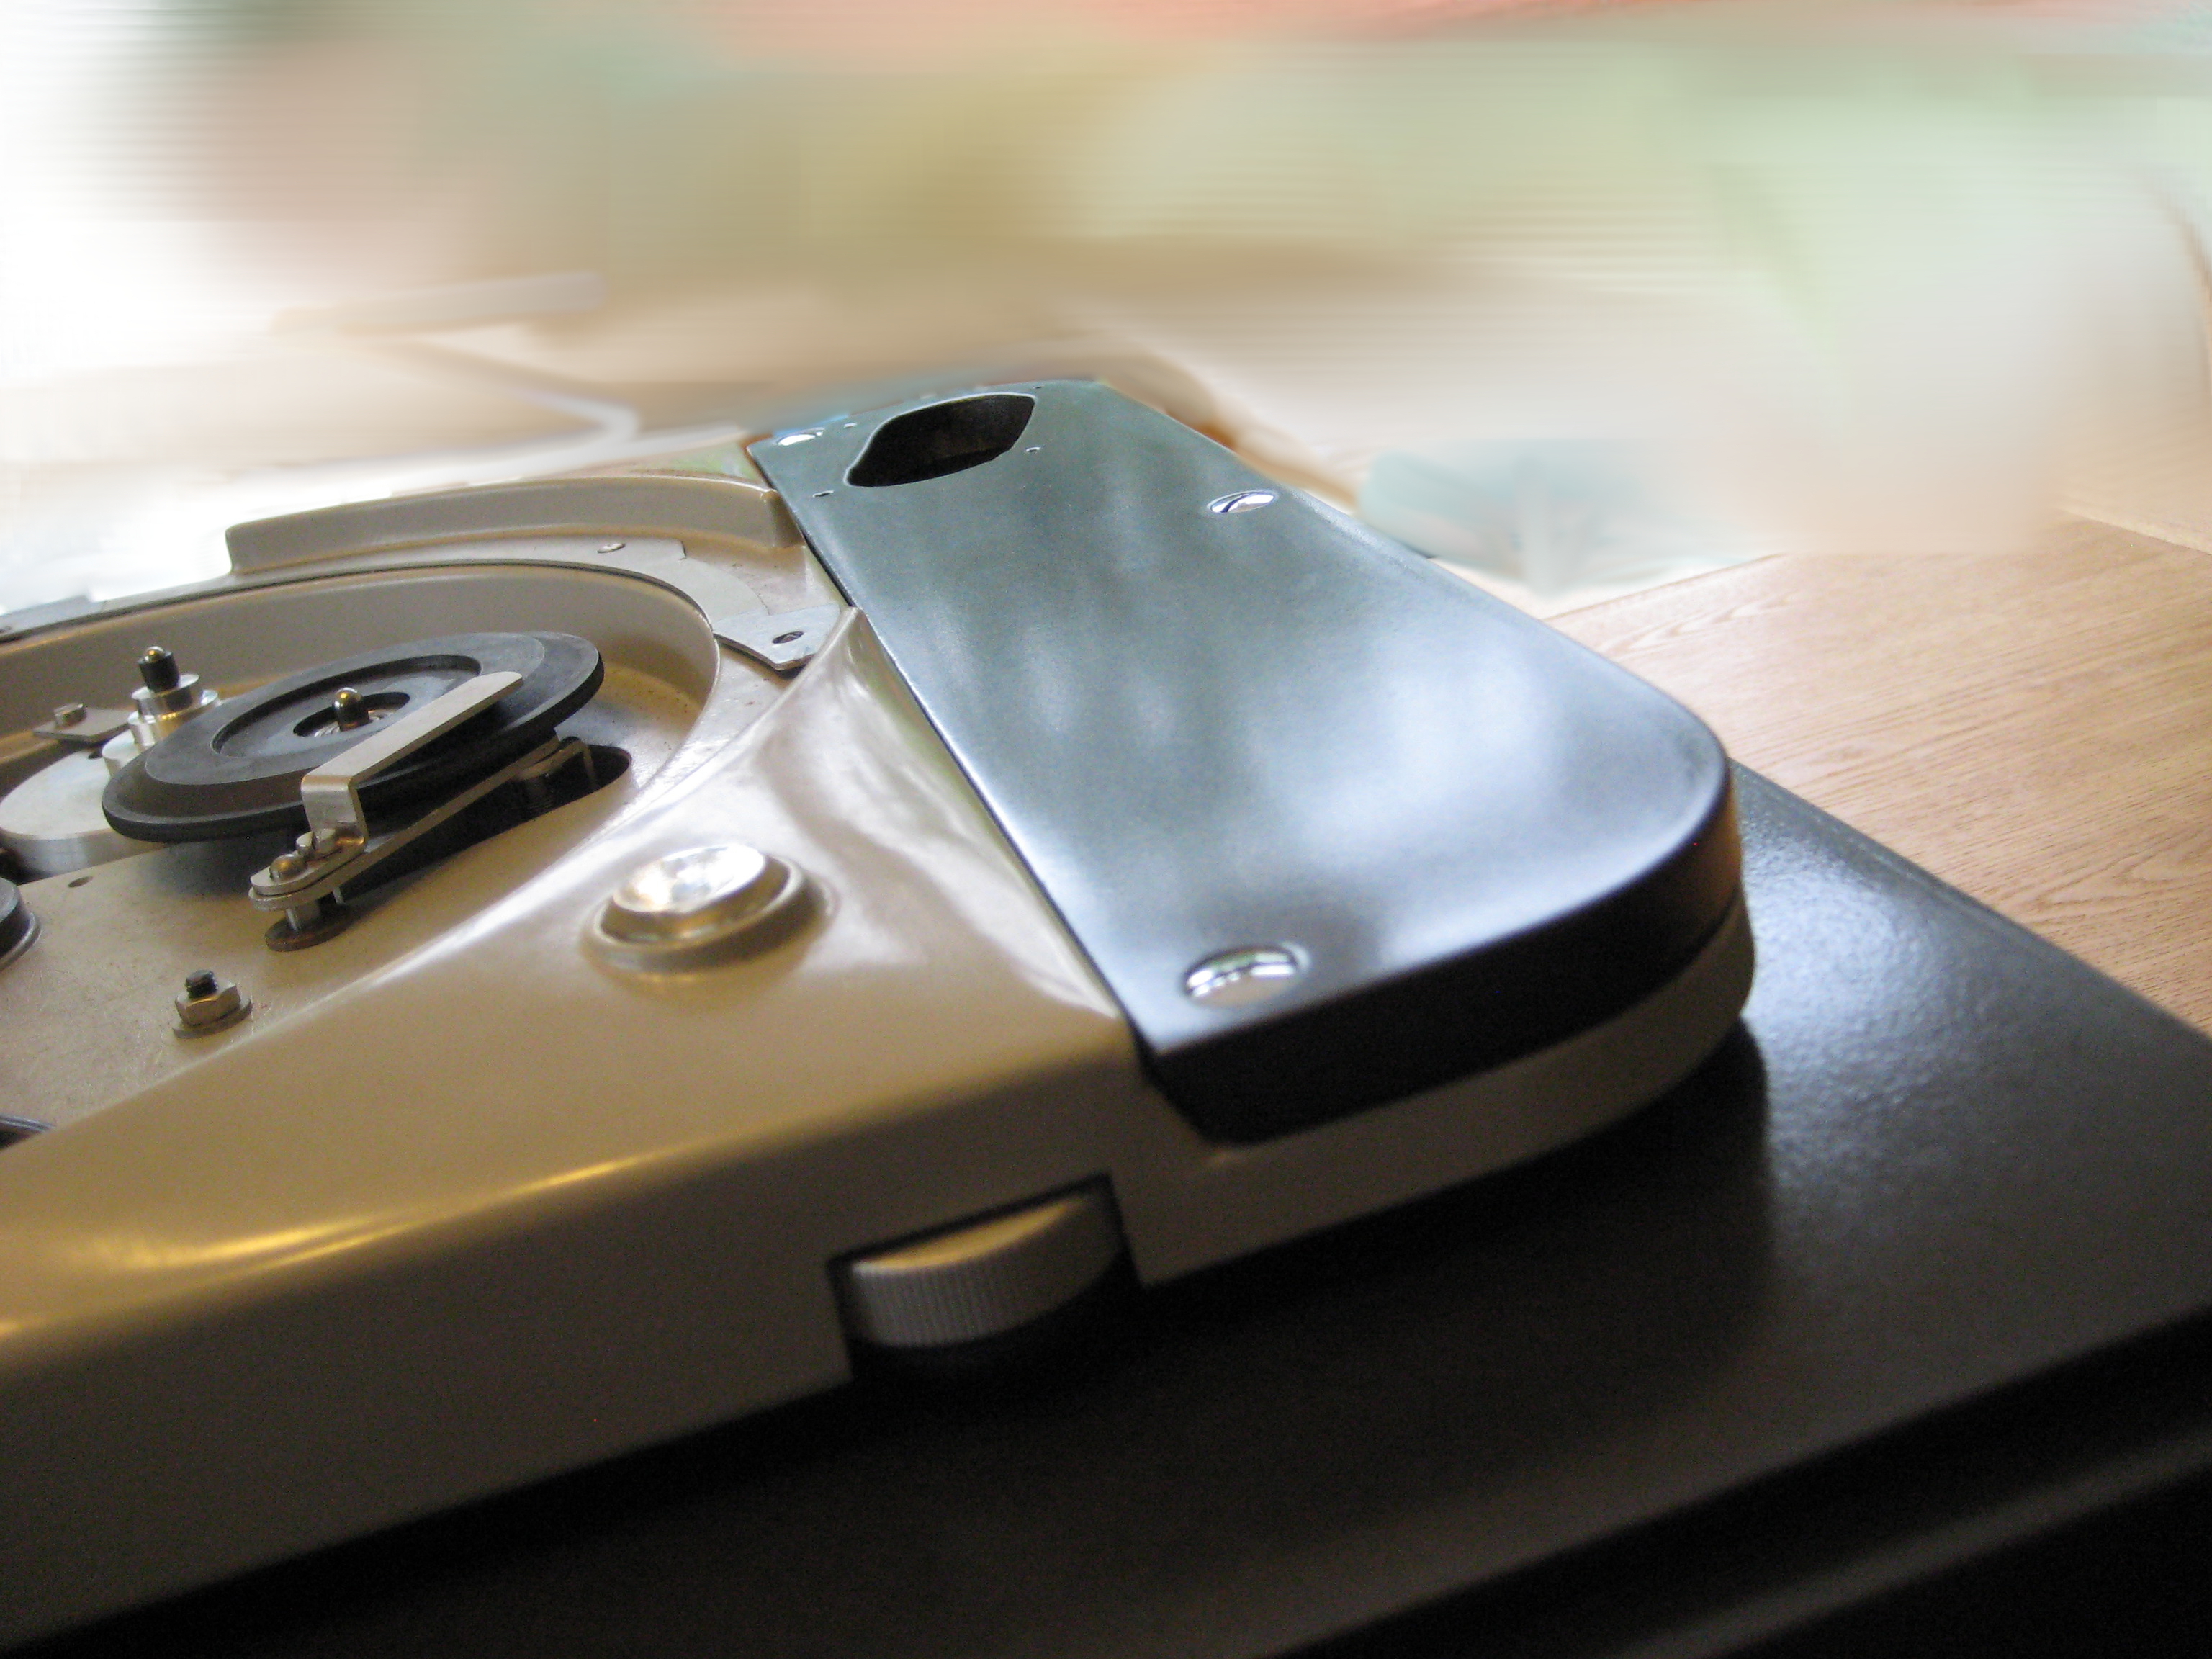
The arm board was painted to match the plinth.
Even after many coats of paint the lid fitted perfectly.
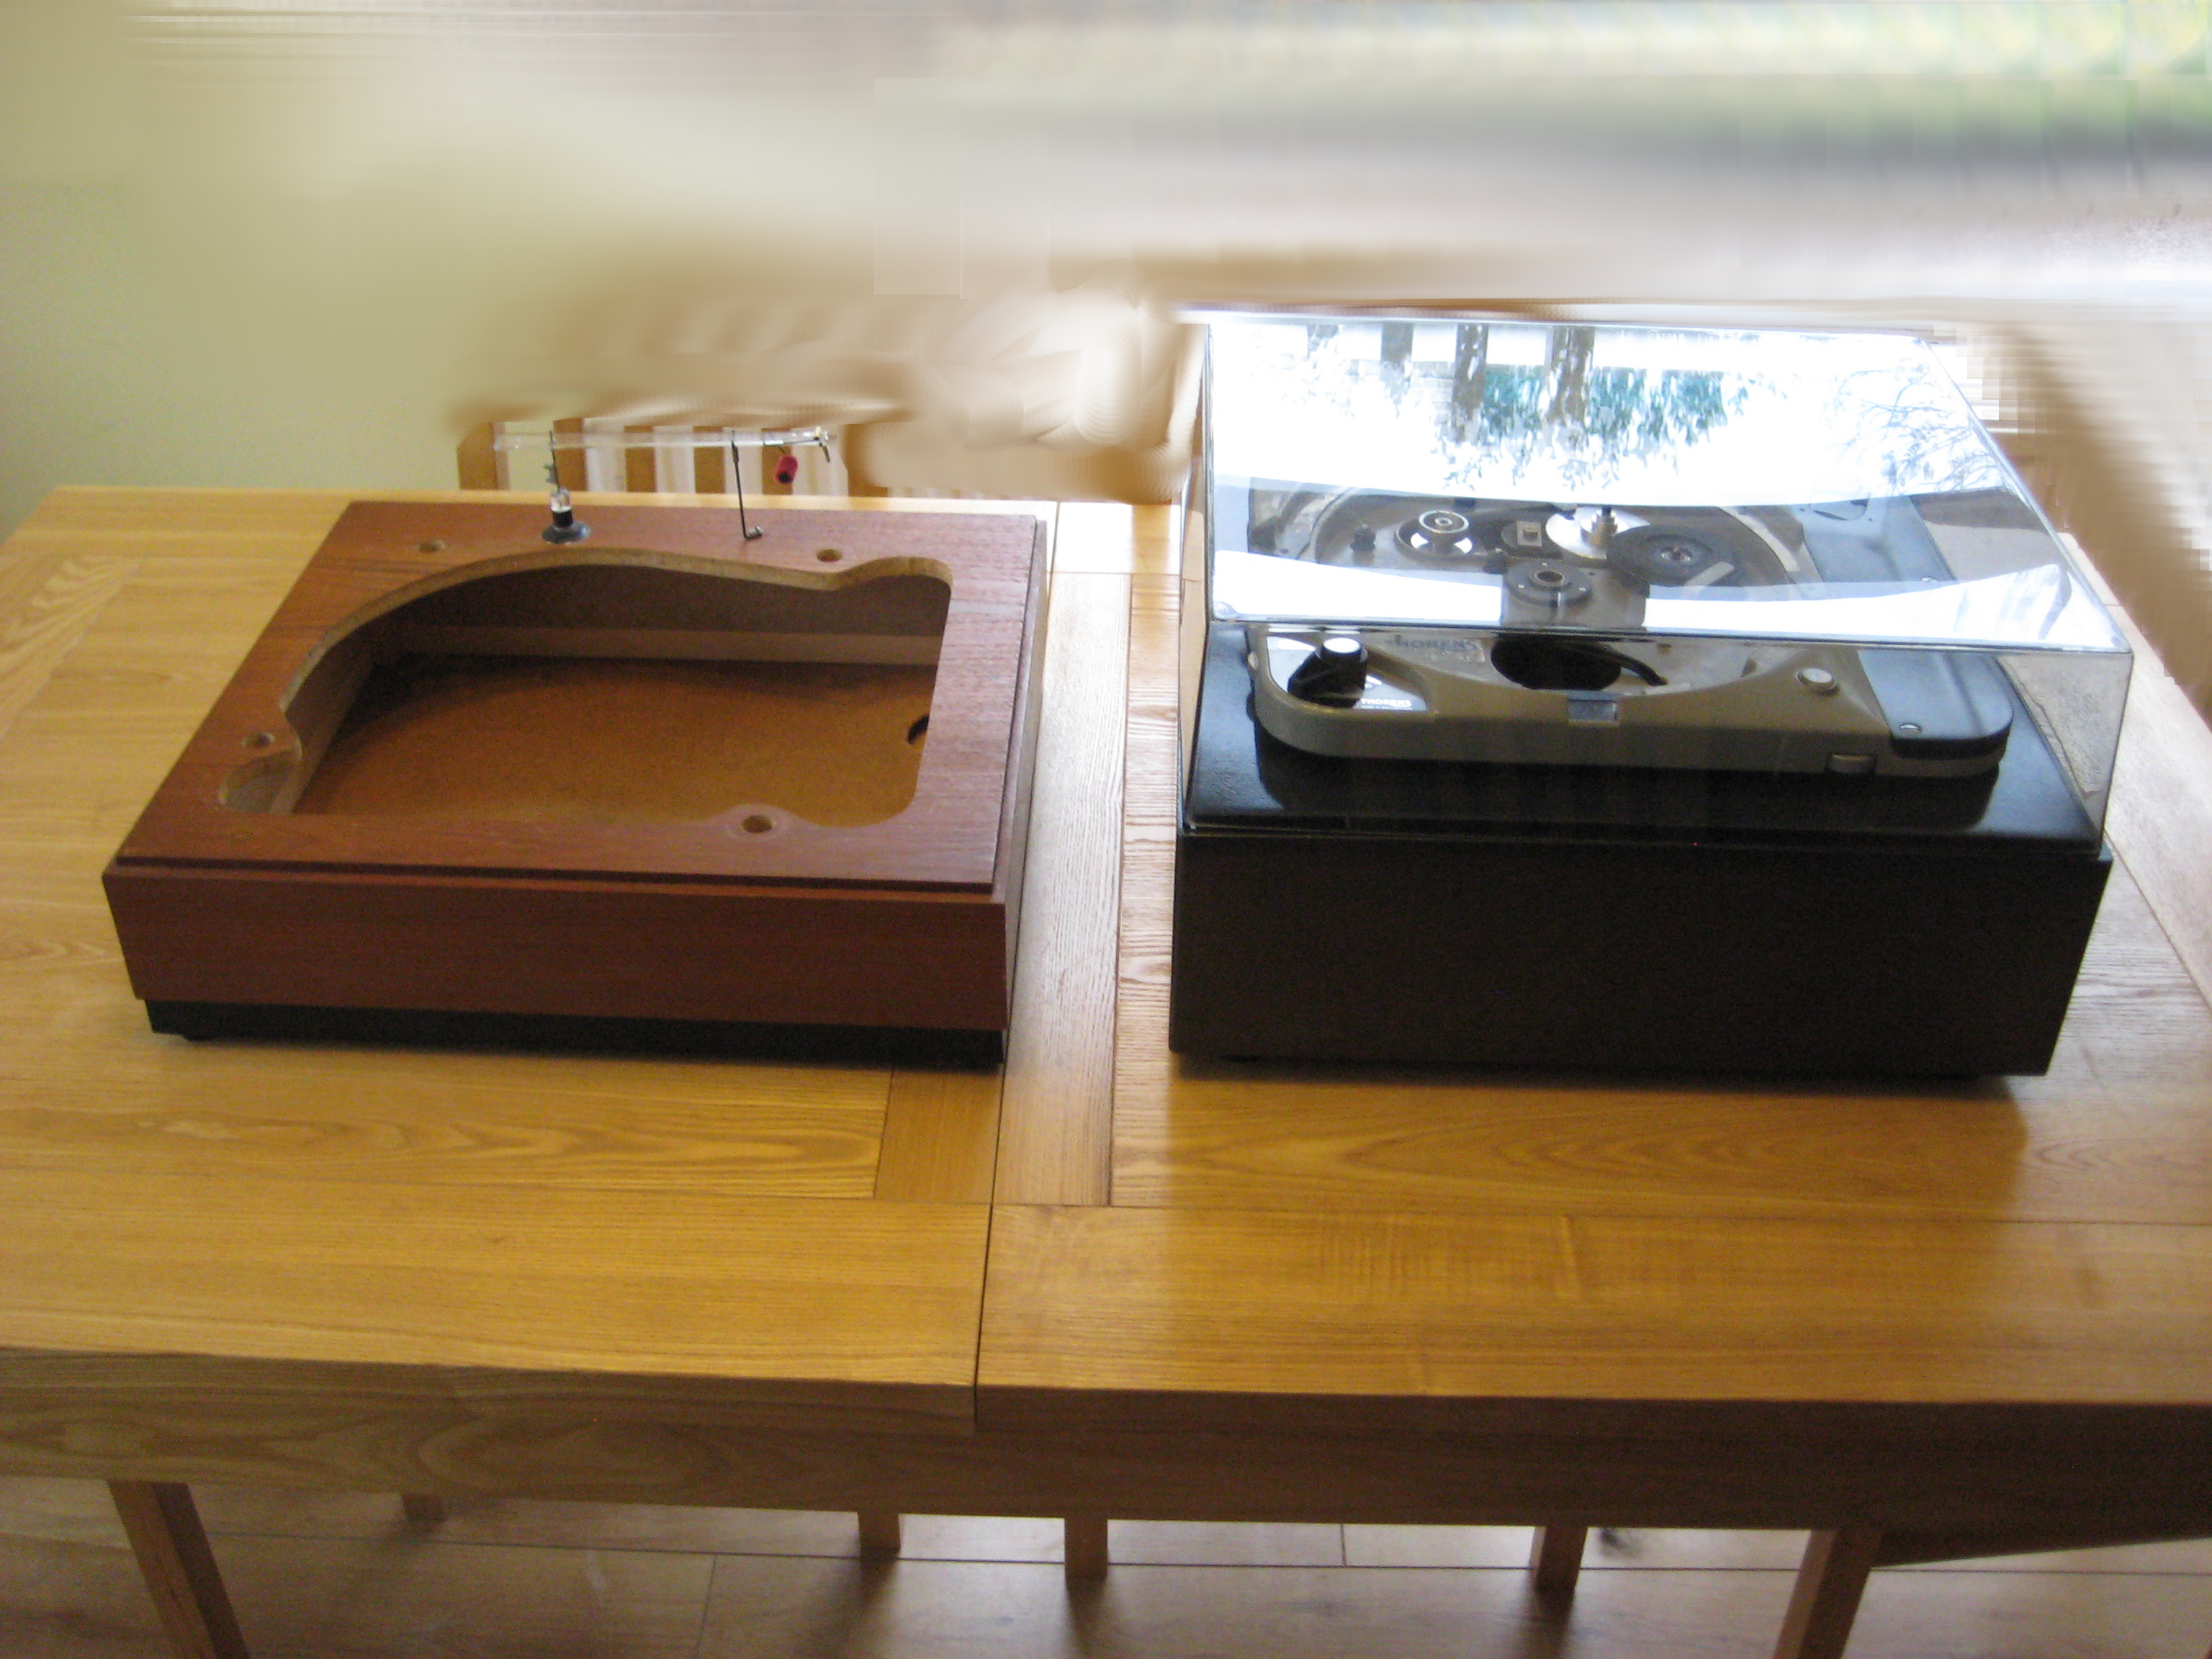
New plinth vs. the old plinth

The total cost of building this plinth excluding tools and man hours is as follows:
- Laser cutting of the plinth Inc. materials - £94.05
- 4 Cans of BMW night fever black paint - £55.80
- 1 can of clear coat lacquer - £17.90
- Wet and dry sand paper - £5.99
- Body filler - £5.90
- Scratch pads - £4.90
- Sanding filler - £10.90
- 4x Dowel rods - £3.60
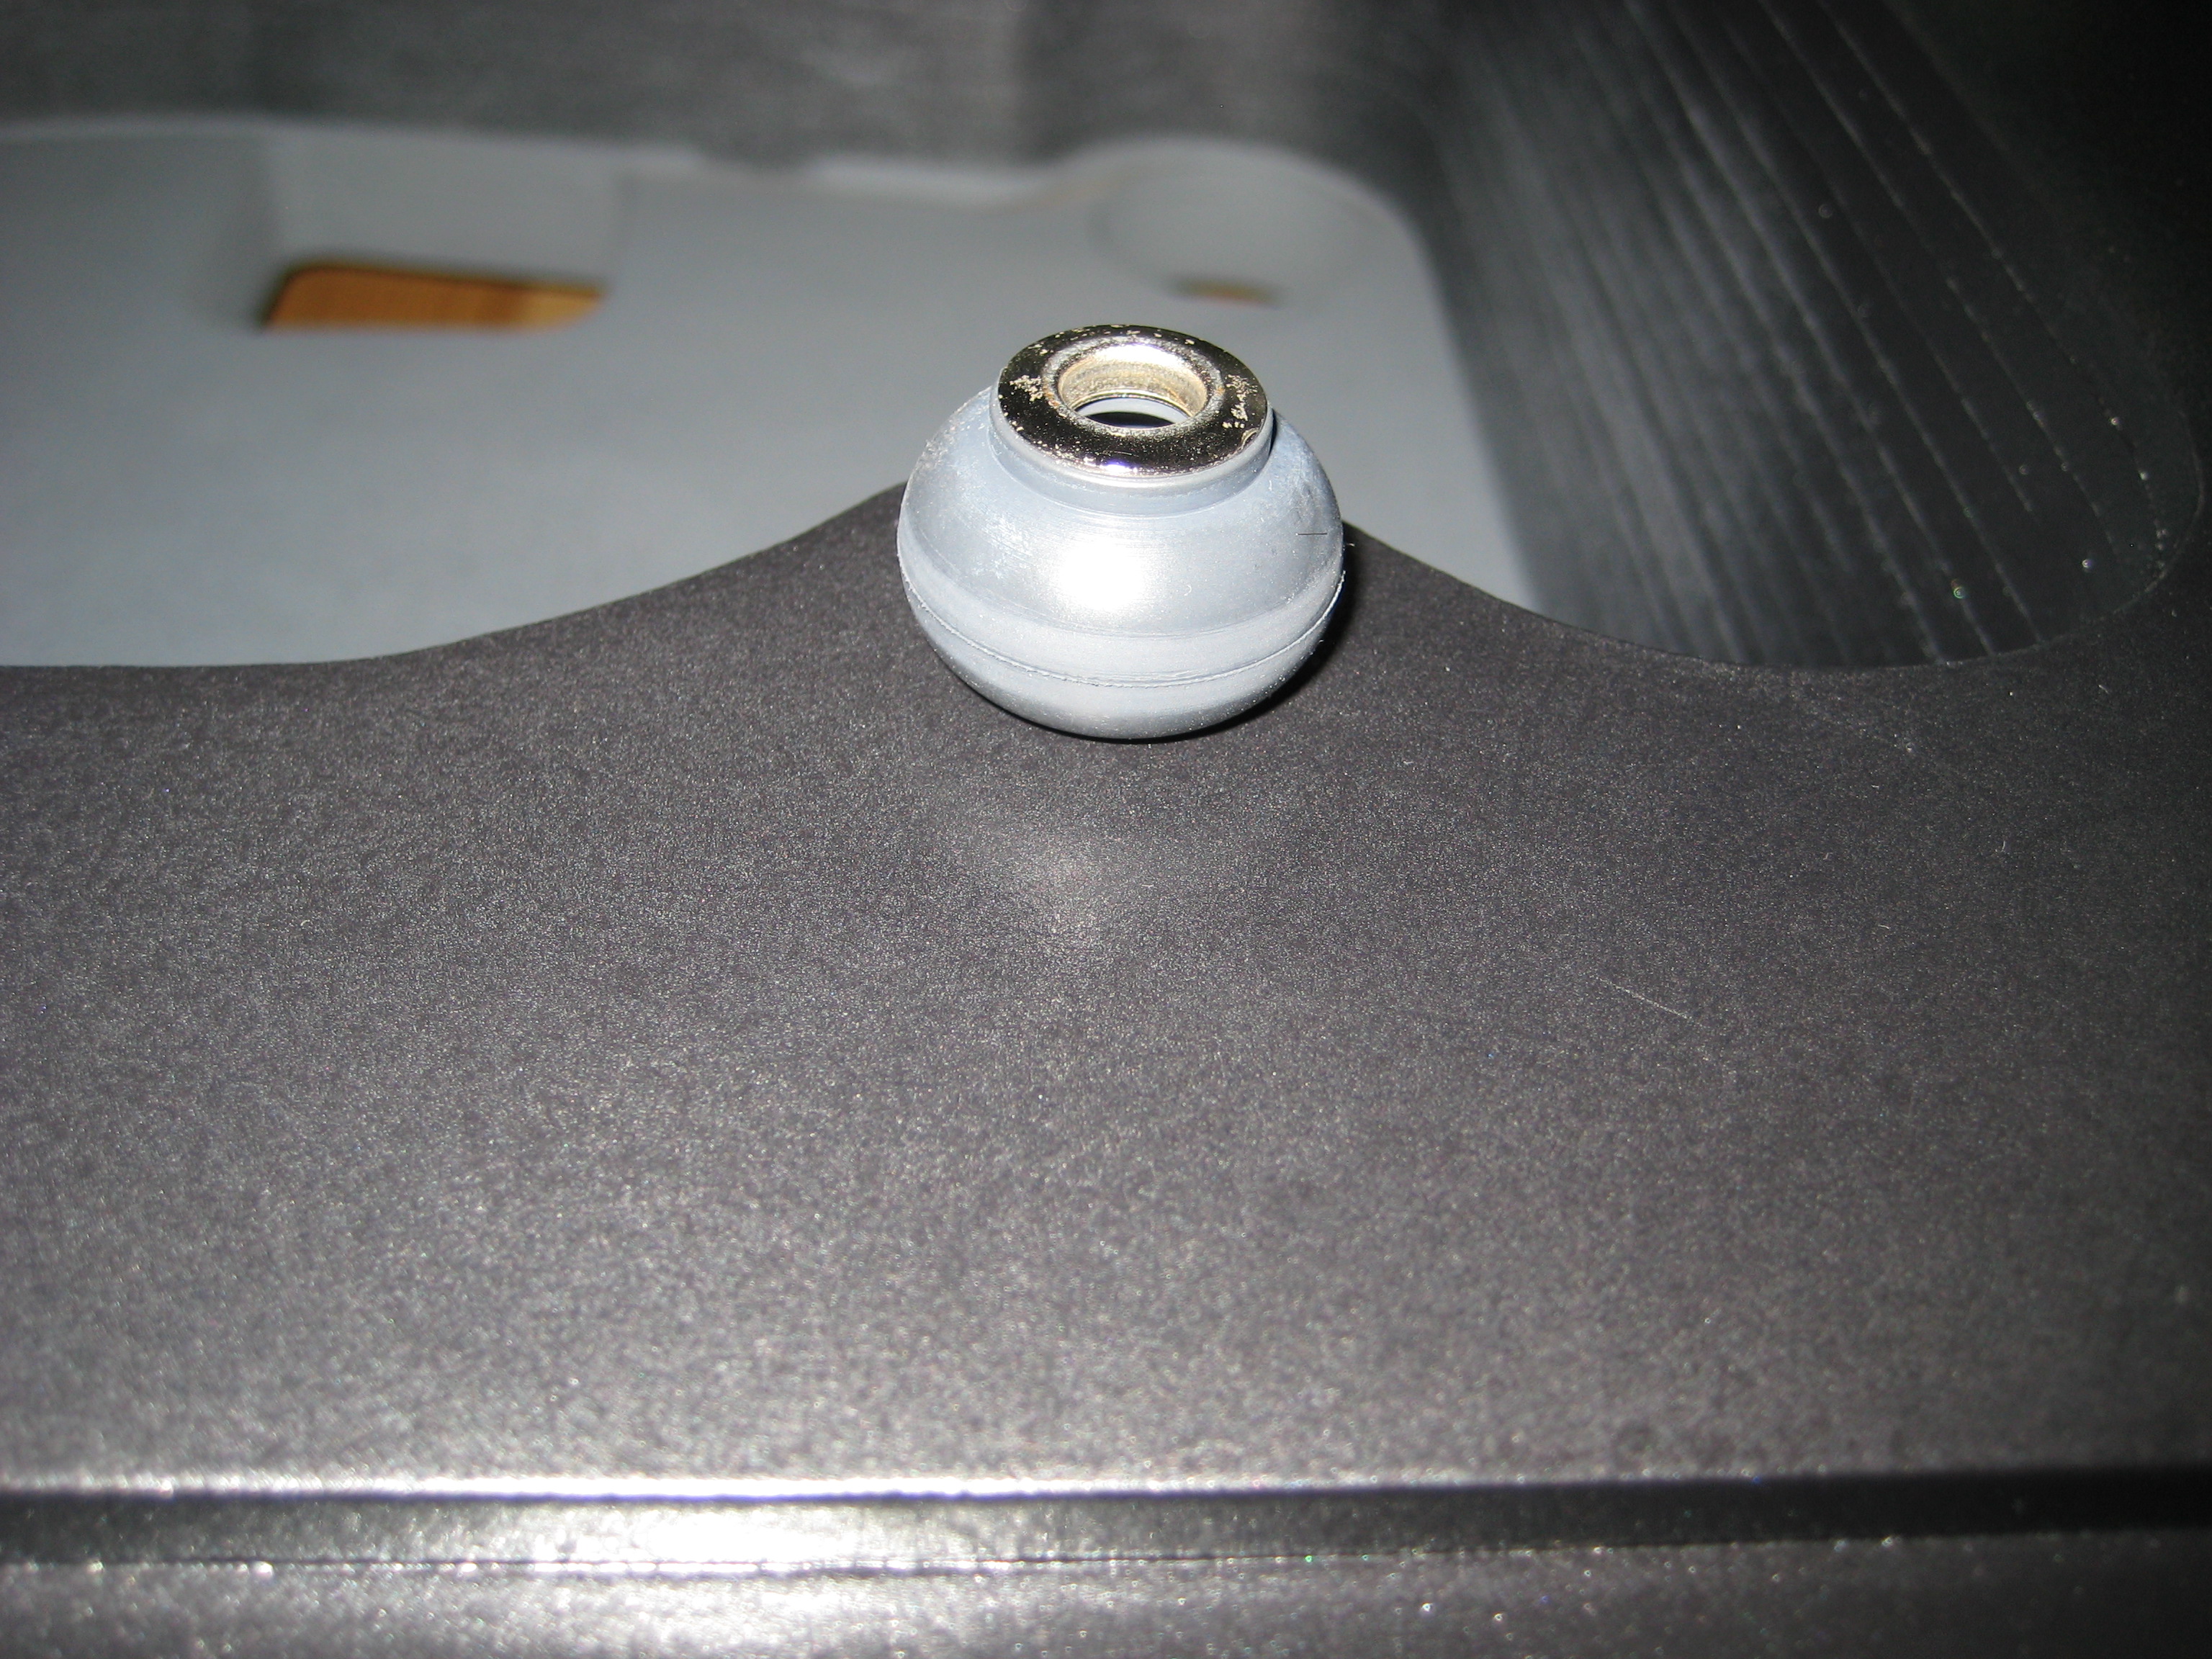
- 4x Rubber feet - £4
TOTAL: £198.14 - a fair price in my opinion.
As promised, here's all the sketchup cad files.
Thanks for reading and if you decide to build a plinth yourself good luck!